powerpoint 2000: introduction to the basics now: next week:
Post on 22-Dec-2015
215 views
TRANSCRIPT
PowerPoint 2000: Introduction to the
Basics
Now:
Next Week:

PPT = Great Way to Present (Plus Integrate, Share, Even
Web Publish) Lots of MultiMedia

Behind the Scenes: Making Folders to Hold PPT shows &
resources
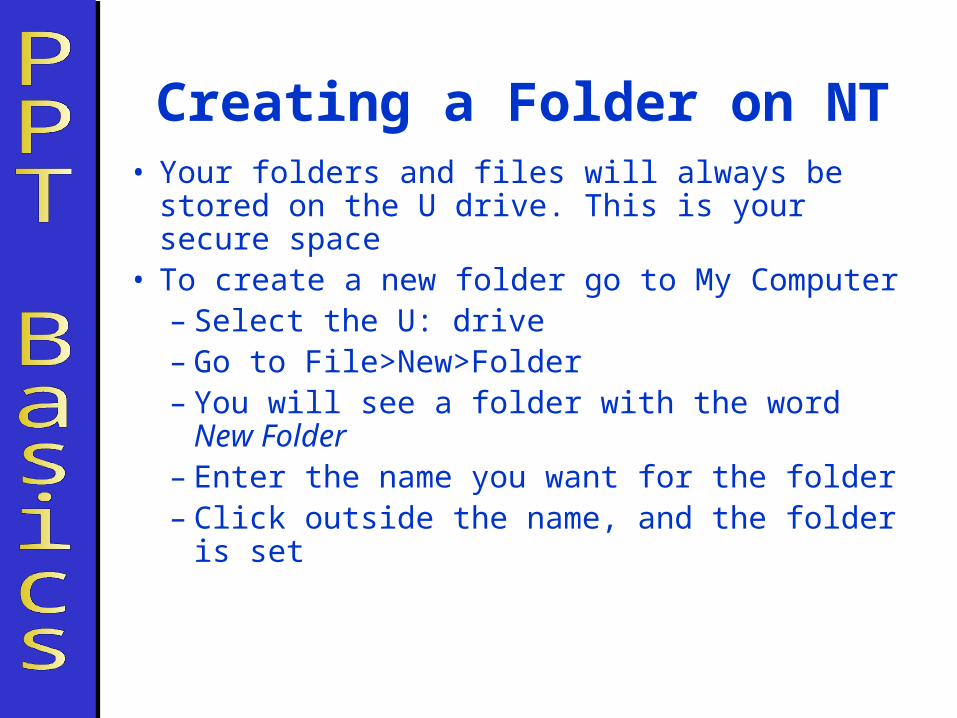
Creating a Folder on NT• Your folders and files will always be stored
on the U drive. This is your secure space• To create a new folder go to My Computer
– Select the U: drive– Go to File>New>Folder– You will see a folder with the word New
Folder– Enter the name you want for the folder– Click outside the name, and the folder is
set
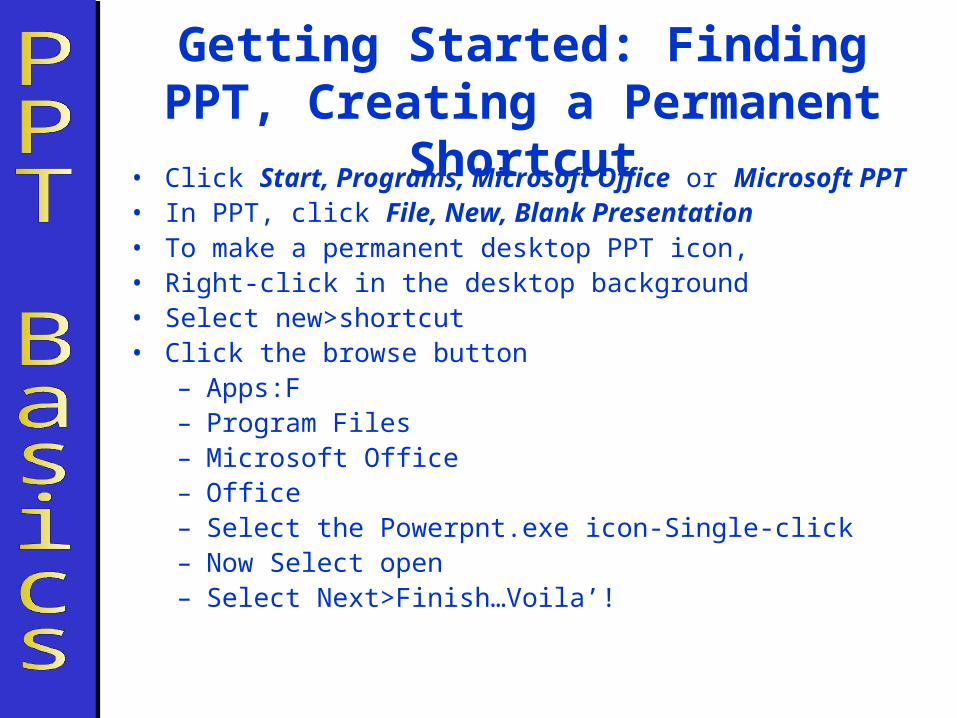
Getting Started: Finding PPT, Creating a Permanent Shortcut
• Click Start, Programs, Microsoft Office or Microsoft PPT• In PPT, click File, New, Blank Presentation• To make a permanent desktop PPT icon, • Right-click in the desktop background• Select new>shortcut• Click the browse button
– Apps:F– Program Files– Microsoft Office– Office– Select the Powerpnt.exe icon-Single-click– Now Select open– Select Next>Finish…Voila’!

Taking Control: Using the Blank Presentation Format
Why not use templates?
While often templates are fine for simple bulleted text, their decorative elements can interfere with or crowd non-text
Also the blank presentation style lets you establish your own look(s), put in WU identifiers, etc
Q:
A:

Setting the Stage: Most Useful Actions

The Slide Master Lets You Make Your Own Template
• To open Slide Master, Click View, Master, Slide Master
• Starting Slide Master • It lets you establish
uniform show elements: – Font style, size &
color– Bulleted format– Background– Transition style

Slide Master 1st Choice: Background
• To change default white bkg, click Format, Background
• To create custom one, click in lower box (see arrow), dropdown box appears
• Click More Colors for solid colors
• Click Fill Effects for shaded, two tone, & to insert pictures

Slide Master Font Choices• Click Format, Font• Font box lets you
choose font kind, style, size, color & effects
• My preferences for regular classroom showing:– Non-serif font (not
curly)– Title = 40-44 pt
bold– Bullets = 24-28 pt
regular
Times New Roman = serif font
Arial = sans serif font
This = 44 ptThis = 28 pt
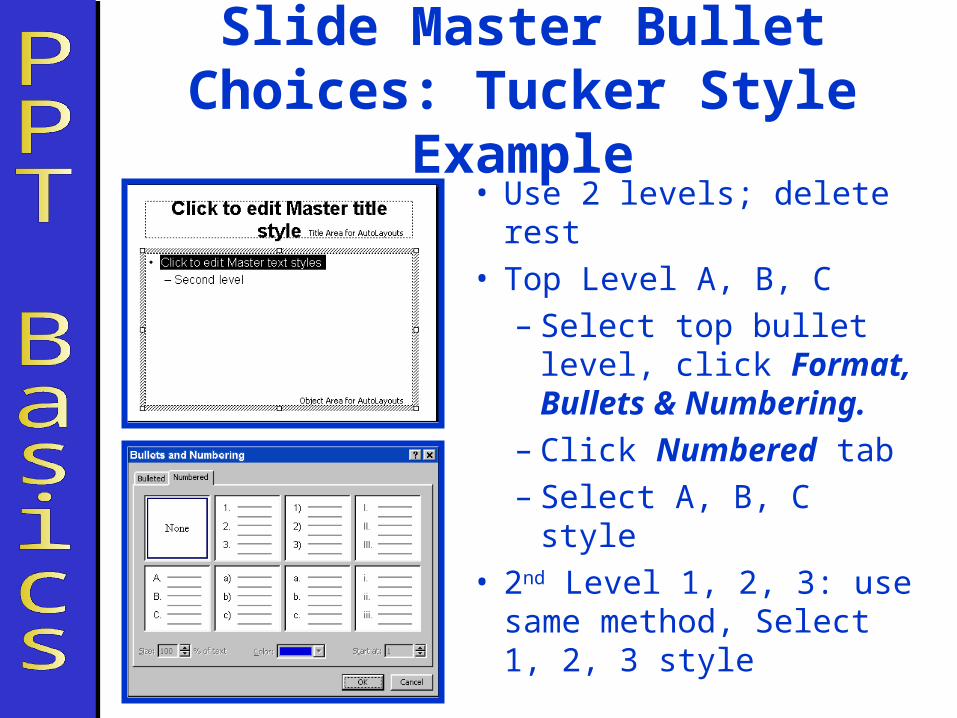
Slide Master Bullet Choices: Tucker Style Example
• Use 2 levels; delete rest• Top Level A, B, C
– Select top bullet level, click Format, Bullets & Numbering.
– Click Numbered tab– Select A, B, C style
• 2nd Level 1, 2, 3: use same method, Select 1, 2, 3 style

“Set Up Show” Choices
To open, click Slide Show, Set Up Show. Sets presentation style, pen color, etc

Setting Slide Transition Style• Transition is special
effect used to introduce slide change
• Doesn’t need to be done first, but this way you don’t forget
• Click Slide Show, Slide Transition
• Click down arrow button (shown left) to select effect
• Can also choose manual / automatic slide advance, sound
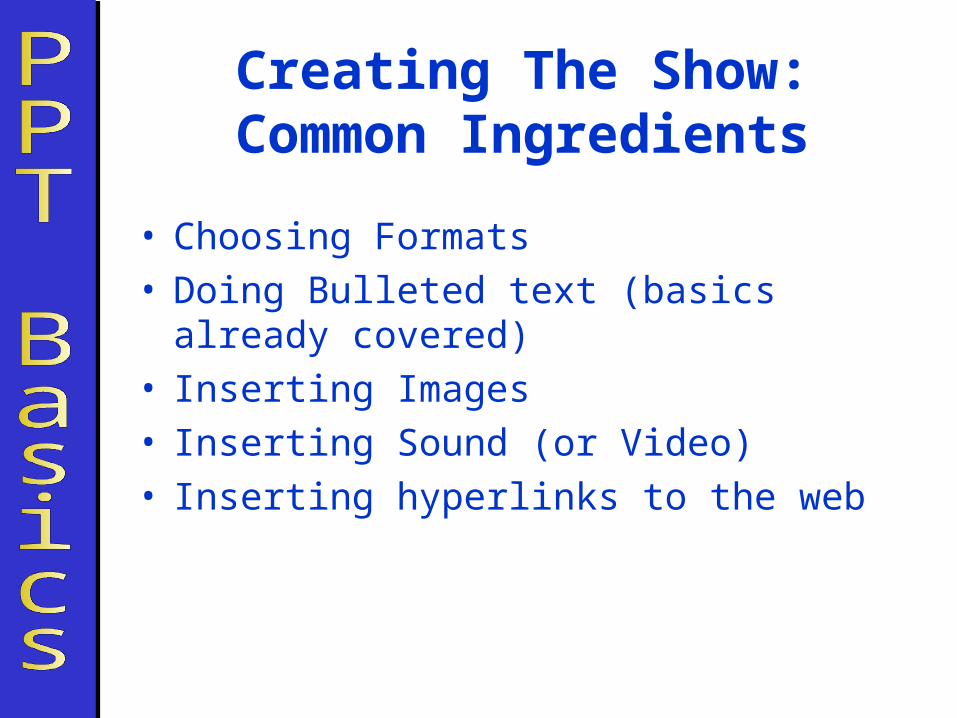
Creating The Show: Common Ingredients
• Choosing Formats• Doing Bulleted text (basics already covered)• Inserting Images• Inserting Sound (or Video)• Inserting hyperlinks to the web
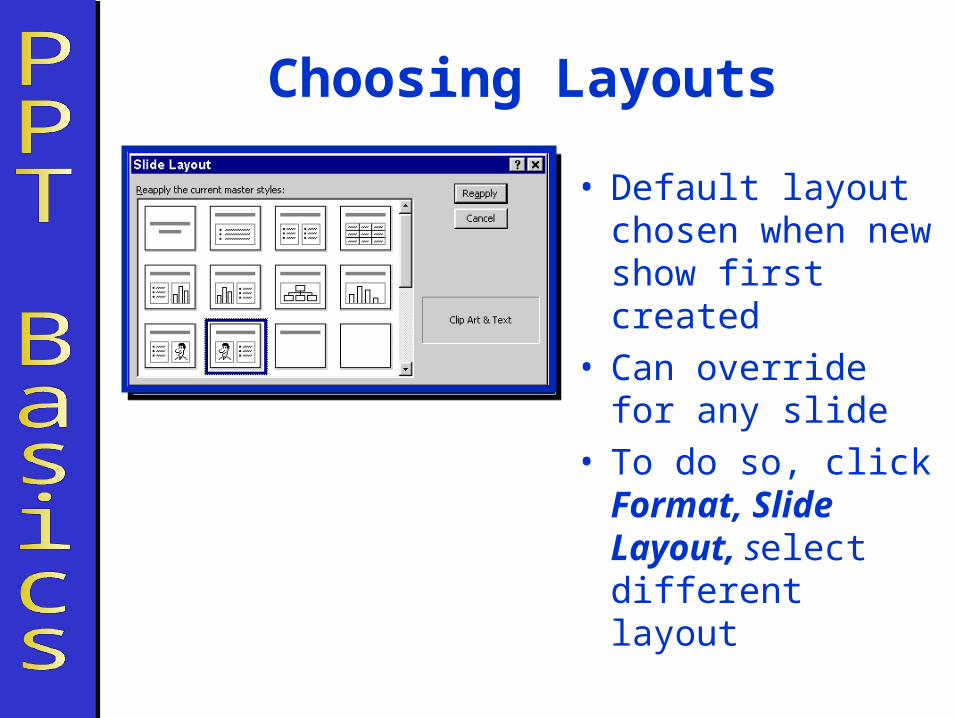
Choosing Layouts
• Default layout chosen when new show first created
• Can override for any slide
• To do so, click Format, Slide Layout, select different layout
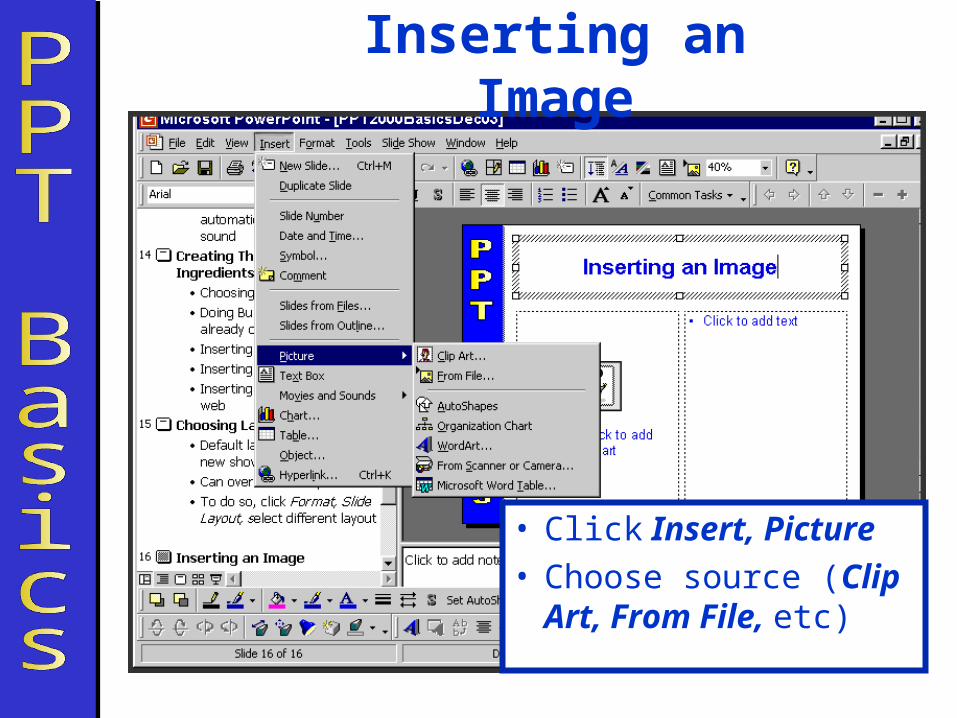
Inserting an Image
• Click Insert, Picture• Choose source (Clip
Art, From File, etc)

Image EnhancementsOne way: • Select image• Right Click,
choose Format Picture
• Choose Tabs for size, border lines & color, etc
Right
Click
Box
Format
Picture
Button
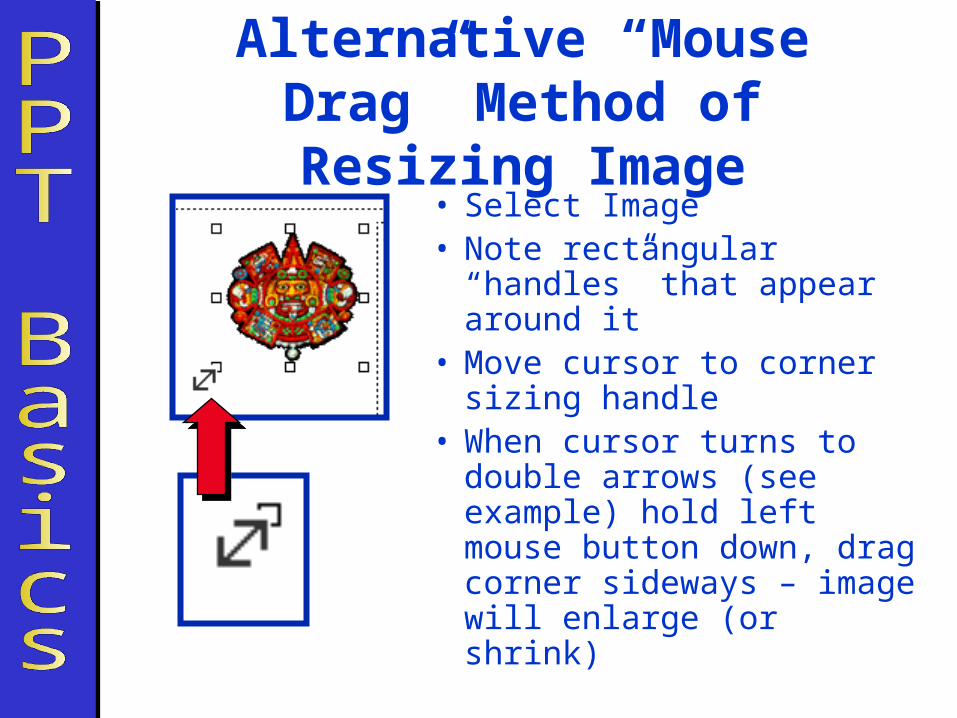
Alternative “Mouse Drag” Method of Resizing Image
• Select Image• Note rectangular “handles”
that appear around it• Move cursor to corner
sizing handle• When cursor turns to
double arrows (see example) hold left mouse button down, drag corner sideways – image will enlarge (or shrink)

Cropping Images• Click View, Toolbars, and
select Drawing toolbar. If it is not already checked, do so
• Select image • Find & select Crop tool on
Drawing Toolbar – your cursor will become a crop tool
• Place cursor/crop tool over sizing handle, hold left mouse button down, move handle inward until desired crop achieved
• NOTE: cropped areas aren’t lost, just hidden
Uncropped image
Cropped image

Inserting Sound
• To insert your own sound file: • Click Insert, Movies & Sounds, Sound
from File• Browsing box will appear showing your own
files: select desired sound file• Small horn image will appear on slide & you
will be asked if you want the sound to play automatically as slide is selected

Sound Examples
• Example 1: Bullwinkle theme = automatic, with appearance of slide
• Example 2: Elvis commentary = on click

Inserting Hyperlink
• Put cursor in text box or select icon• Click Insert, Hyperlink• Edit Hyperlink box will appear• For web link, select top Existing Web Page choice
in left box (circled in red), then key in or browse to add url, click OK

Example: Weblink on Jackie Robinson
(http://lcweb2.loc.gov/ammem/jrhtml/jrabout.html)
Web Resources: American Memory Exhibit –
“Jackie Robinson & Baseball”

Printing Handouts• Click File, Print • PPT handout print options:
– Slides: Single slide / page– Handout: 2-9 slides / page– Outline: bulleted text only
• Can print all, selected, or single slide; collate, etc
• TIP: at WU, do not click printer icon (will get automatic print without chance to make selections)