post-processing equipment - wildlifecampus · post-processing equipment © andre nel & 1 ......
TRANSCRIPT

Digital Wildlife Photography Course
Post-Processing Equipment © Andre Nel &
1
Module # 4 – Component # 2
Post-Processing Equipment
Introduction
In the previous Component , we looked at getting your image right in the camera, and downloading it to your computer. In the next module, we will
look at processing the image in your computer. In this module, we look at the factors you should consider when choosing a computer that is suitable for Digital Image Processing.
When choosing a computer platform for processing images, there are three
broad choices, based on the underlying operating system1:
1) Windows
2) Linux
3) Apple Mac
1Computer Applications are written for a particular operating system, so the operating system determines the packages that you can use. An operating system is a layer of
software that resides between your application and the computer hardware, and it manages
the computer resources – like memory, disk etc.

Digital Wildlife Photography Course
Post-Processing Equipment © Andre Nel &
2
I will start by looking at Microsoft Windows, which is the most common operating system to be found in the home environment and the office.
If you already know Windows, that is a good reason to stick with it. Because it is common, it is well-supported by the industry and the
associated hardware is cheap. Windows is not free, although it often comes pre-installed on your computer, so you quite probably paid for it when you bought your computer. There are a few different versions of
Windows. At the time of writing this module, Windows 7 is fast becoming the most popular version in the domestic sector – it replaces Windows XP
and Windows Vista, which were popular a few years back. Windows 7 is much better than XP or Vista, simply because it supports
more RAM memory. Even if your computer allows you to fit a lot of RAM (and you need a lot of RAM for graphics processing), XP will only see a
maximum of about 2.5 GB, so any excess is wasted. Windows 7 sees more RAM, although there are different versions of
Windows 7 which see different amounts of RAM – check the Microsoft web site for details on how much RAM each version of Windows 7 can see.
Lastly, Windows 7 is available in 64-bit versions, as well as the earlier 32-bit versions. 64-bit is better in graphic-intensive applications, but check
carefully before buying, as the other programs you run on your computer also influence your choice of 32-bit or 64-bit.

Digital Wildlife Photography Course
Post-Processing Equipment © Andre Nel &
3
In the Windows environment, you will need to purchase a graphics package to process your photos. In years gone by, there were a number of packages available from different vendors, but Adobe's Photoshop
dominates the market by a long way these days.
Corel are a very distant second. Although Photoshop is the market leader, it is an expensive product, which is a major drawback. Adobe do offer a "cut-back" version of Photoshop, called Photoshop Elements, which is a
good deal cheaper than Photoshop and adequately meets the needs of many photographers.
GIMP is a graphics package that is totally free. There is a version for Windows, but GIMP originates in the Linux environment, so we will
consider it in that section.

Digital Wildlife Photography Course
Post-Processing Equipment © Andre Nel &
4
Linux is an operating-system that is popular amongst the techno-savvy
computer geeks. It is free and can be downloaded from many sites on the Internet. However, there are many versions of Linux, making it difficult for
a newcomer to decide what to use. Ubuntu Linux is a popular version for desktop users, and offers a "look-
and-feel" very similar to Windows, so it is a popular choice for photographers used to Windows. Linux is very fast and stable – couple
that with the fact that it is free, and the fact that Ubuntu Linux come pre-installed with the GIMP package for manipulating photographs, you can see why Linux is popular. Linux also runs on exactly the same hardware as
Windows, so you can overwrite Windows with Linux, if you wish, or you can "partition" your hard drive to allow you to run Windows or Linux.
One of the drawbacks of Linux is support, Due to the fact that you cannot purchase it from your local PC shop, when your system gives
trouble (and it will) you might find difficulty getting the help you need. Refer to the Internet for more information.
On the other hand, Linux (and Apple) are not serious targets for viruses,
spyware and other malware applications that are rife in Windows. Which ever OS you select, very good Virus Protection and a Firewall are non-negotiable. AVG has an excellent freeware option.
GIMP is a powerful graphics program, and features are being added at a
rapid rate. My only gripe with GIMP is that its user interface is very different to Photoshop, making it difficult for people who need to switch between the two.

Digital Wildlife Photography Course
Post-Processing Equipment © Andre Nel &
5
Apple's Mac computer system is generally regarded as being superior to the Windows solution in terms of quality, but it is more expensive. Apple
use proprietary hardware and software, both of which are expensive, and their main claim to fame is that Apple products are more stable than
Microsoft ones. Again, research this product for yourself and see if it suits your needs.
Digital Wildlife Photography Course
Post-Processing Equipment © Andre Nel &
6
The Right PC
For the rest of this Component, I am going to tell you what to look for in
buying a computer for our specialised processing needs. I am going to assume that you are looking for and industry standard hardware architecture to run Windows or Linux, and I am going to assume that
you will be processing with Photoshop – simply because it dominates the market. However, my recommendations can be broadly applied to any
photo-processing machine, irrespective of the operating system or package being used. I will talk in general terms, because the computer industry changes rapidly and specific information dates quickly.
Take the recommendations I give you here and use it s a basis for your
own Internet research. Be careful with what you read on the Internet – especially in this area, where many people have strong opinions, but few have either the knowledge, or the exposure to give authoritative
recommendations. Prefer reviews by credible organisations rather than individuals.
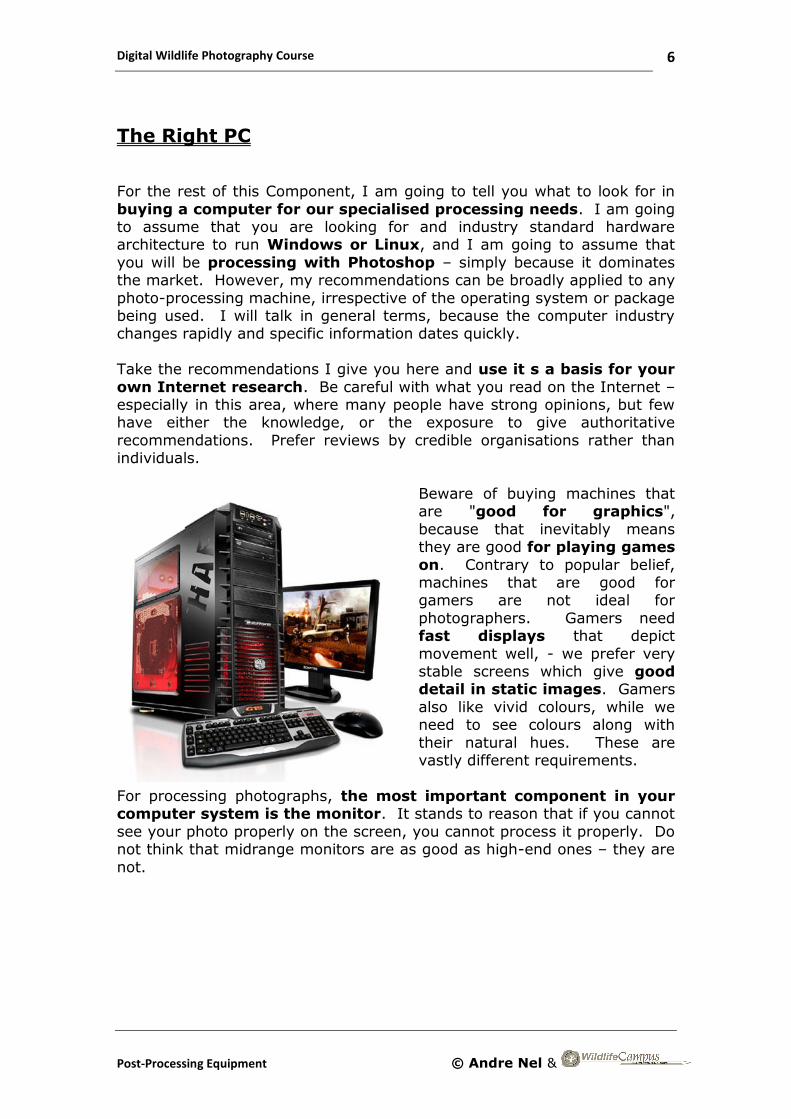
Beware of buying machines that are "good for graphics",
because that inevitably means they are good for playing games
on. Contrary to popular belief, machines that are good for gamers are not ideal for
photographers. Gamers need fast displays that depict
movement well, - we prefer very stable screens which give good detail in static images. Gamers
also like vivid colours, while we need to see colours along with
their natural hues. These are vastly different requirements.
For processing photographs, the most important component in your computer system is the monitor. It stands to reason that if you cannot
see your photo properly on the screen, you cannot process it properly. Do not think that midrange monitors are as good as high-end ones – they are
not.

Digital Wildlife Photography Course
Post-Processing Equipment © Andre Nel &
7
The Right Monitor
You, of course, need to decide on which monitor to buy, based on your budget. You can research on the Internet, but there is no substitute to
looking at the monitor in action.
When I bought my system, I went to
the superstore at the Mall and looked at all of the notebook monitors to
find one I liked. I then visited the high-end photographic outlets to look at the monitors they had on
display to get a comparison. I ended up buying a high-resolution, 30inch
Hewlett Packard display and building a computer around it. The large, 30 inch display worked well for me.
Much better than the 24 inch monitor in the same range. But, my eyes are
ageing, so the extra picture size helps me a lot. Younger eyes may well do fine with a smaller display, so
find what works for you.
Here are a few things to think about when buying a monitor. At the time of writing this, the industry is abuzz with comparing LCD monitors with the newer LED monitors and there is a great deal of consumer
confusion.
An LCD monitor uses an LCD panel that is backlit by a fluorescent tube – this is called CCFL technology, an acronym for (cold-cathode fluorescent).
An LED monitor also uses an LCD panel, but it is backlit with LED's and not fluorescent tube.
There are two types of LED monitor – edge lit and full LED. With edge-lit technology, the LEDs are to the side of the screen and light
is piped to illuminate the panel from behind. This keeps the panel attractively thin, but makes even illumination more difficult.
The big benefit of LED's (besides their lower power consumption) is that
their brightness is easier to control, so LED displays deliver better contrast ratios as a result. This is a huge benefit in movies and games – and a slight, but definite benefit in still photography, but the better control
over contrast also makes it more difficult to illuminate the panel evenly, and that is a huge disadvantage in photography. As I said earlier –
evaluate your monitor before buying.

Digital Wildlife Photography Course
Post-Processing Equipment © Andre Nel &
8
Other factors which are important in monitors is the panel display type. S-IPS panels are better for photography than the more common, and cheaper TN panels. A digital interface (like DVI) is much better than the
more common analogue interface, although you need both your computer and your monitor to support DVI, and the higher your resolution, the
better.
100% Crop Before going any further with monitors, I would like to digress to
make sure that you understand an important aspect of viewing an image – referred to as "100% crop".
This term comes up frequently with respect to evaluating an image or a monitor. You will know that a digital camera sensor is made
up of dots, or pixels, arranged in a matrix of rows and columns. A computer monitor is also made of pixels, arranged in a similar
matrix arrangement. But how do you view an image that is 800 pixels wide, on a monitor that is 1000 pixels wide? You do so by "stretching" the pixels – for every four input pixels, you generate
five output pixels, and the generated pixel is calculated from the four pixels it is associated with.
This is done by your graphics viewing software. Likewise, you can view an image that is "larger" than your viewing screen by
shrinking pixels. But whenever you recalculate pixels to fill your screen, you will get rounding errors from your calculation, which
degrades the image. And whenever you view an image as "full screen", this resizing calculation takes place. If you set your viewing software to "100% crop", the software makes no attempt
to resize your image – it simply displays one pixel of your image on one pixel of your screen. The image that you view will not be the
size of the screen, but you do get the huge benefit of seeing the pixels "as they really are". It is important when evaluating the sharpness of an image to view it at 100% crop, and not as "full-
screen". Likewise, when evaluating a monitor, view a crisp, sharp image in 100% crop rather than full-screen mode.
By the way, the pixel of a camera sensor is different to the pixel of a monitor. Sensor pixels are sensitive to one colour only, while
monitor pixels can represent a full range of colours. Under normal circumstances, we can ignore this complication completely – and
you can certainly ignore it when understanding the concept of 100% crop, but if you are going to calculations involving sensor pixel to monitor pixel conversion, you need to be aware of it.

Digital Wildlife Photography Course
Post-Processing Equipment © Andre Nel &
9
Calibration
Returning to our discussion computer hardware. A good monitor
demands a computer that can match its capability. Therefore you need a good graphics card in your computer. Again, a good gaming card
does not help us much, but we need a card that offers good, static graphics displays at high resolution, with the interface that our monitor requires.
The colour characteristics of monitors vary quite a bit from monitor to
monitor – this is very obvious when looking at a number of monitors side-by-side and displaying the same picture. Some monitors look a little
insipid, some look a little blue and so on. Because of this variation (which changes as the monitor ages, by the way) it is always recommended that a monitor is "colour calibrated" for use in photography.
Colour calibration products like Spyder and ColorMunki are hardware
devices. They contain a sensor that is accurately calibrated to colour and they are accompanied with software. The calibration process consists of pointing the sensor at the monitor and running the software. The software
tells the monitor "display this colour" and the sensor monitors how accurately the colour is displayed. The sensor talks back to the computer
and adjustments are made until the colour is represented accurately.
At the end of the calibration – an automated process that tests a range of
colours and tones, an "adjustment file" is saved on the computer. After calibration, the computer uses the adjustment file to compensate for monitor deficiencies and display colours correctly.

Digital Wildlife Photography Course
Post-Processing Equipment © Andre Nel &
10
RAM / CPU / HDD
Having paid careful attention to the graphics capability of your computer,
the next hardware component to consider is RAM. Graphic applications like Photoshop like lots of RAM – the more the better, so make sure you
buy a computer with lots of RAM, and that your operating system sees it all. As I said earlier, 64-bit systems handle photo applications better than 32-bit operating systems.
After RAM, your CPU (Computer Processing Unit) is the next thing to
consider. Again, faster is generally better. Finally, you need to buy an appropriate hard drive (HDD = HARD Disk Drive). Faster is better, but
because hard drive performance is at the end of your performance chain, this is the factor that affects your overall speed the least. Rather ensure that your hard drive has a high-enough capacity to hold the photos that
you want it to. As I have said before, I like to keep my photos from the last year on my hard drive, so I size its capacity accordingly.
Having run through the essential considerations for computer hardware, I remind you of what I said at the beginning –
.
Get the display right, as that is by far the most important in our line of work and it pegs the limit of quality that you can achieve
All of the other factors simply determine the speed at which you can work.

Digital Wildlife Photography Course
Post-Processing Equipment © Andre Nel &
11
File Formats
To conclude this Component, I would like to revisit a topic that I discussed
at the start of section one – image file formats. You will recall that we were discussing cameras, and how they allow you to store your photos on the digital film in one of two formats – RAW or JPEG. We need to expand
this topic, because the question at this stage is – what file format do you use to store your pictures after they have been processed?
Your graphics processing software can open a file that is stored in any one of a number of "supported file formats". After processing, it then stores
the output file in a variety of allowable "output file formats". The input file format need not be the same as the output file format, and in
practice, it rarely is. Here are some of the file formats in common use. There are many others, but these are the ones that you should know about, and their relevant characteristics.
The RAW file format may be used by the camera to store the image, and
is therefore commonly supported by graphics packages. RAW is not a standardised file format, and the RAW file produced by a Nikon camera is different to the one produced by a Canon or Sony. In fact, different
cameras from the same manufacturer produce different RAW files. It is useful solely as a format for cameras to store files on disk. After you have
processed a file, you will never save it as a RAW, because there is no standardised format for a RAW.
Some years ago, the DNG file format was developed as an alternative to RAW and it is a standardised file format, offering the same benefits of very
high quality. If camera manufacturers were to support the DNG format, instead of RAW, the confusion associated with each different camera supporting a different RAW would be overcome. The DNG file format has
never really caught on, and no major camera manufacturer offers the choice of storing pictures as DNG. It is, however, sometimes used as an
output file format. DNG, by the way, is an acronym for "Digital Negative". In the early days, negatives produced by different film cameras were all compatible during processing. DNG attempted to do the same in the
digital world.
Digital Wildlife Photography Course
Post-Processing Equipment © Andre Nel &
12
JPEGs are a common file format in photography, because you can store high-quality images in small files – their compression ratio is very high. They achieve this high compression by being "lossy" – a term used to
indicate that information is lost. In layman's terms, JPEGs do not attempt to store everything – JPEGs ignore subtle tone changes across an
image in order to save storage space. When you save a JPEG, you frequently have the option of selecting the "Quality Setting". At a low quality setting, the JPEG algorithm can be quite ruthless in the information
that it discards, but it will produce an impressively small file, suitable for emailing or use on the web.
It follows that JPEGs are intended as an output file format and this should be considered as their sole purpose. Low quality JPEGs are good over the
Internet, and high-quality ones can be used to produce large prints of very high quality.
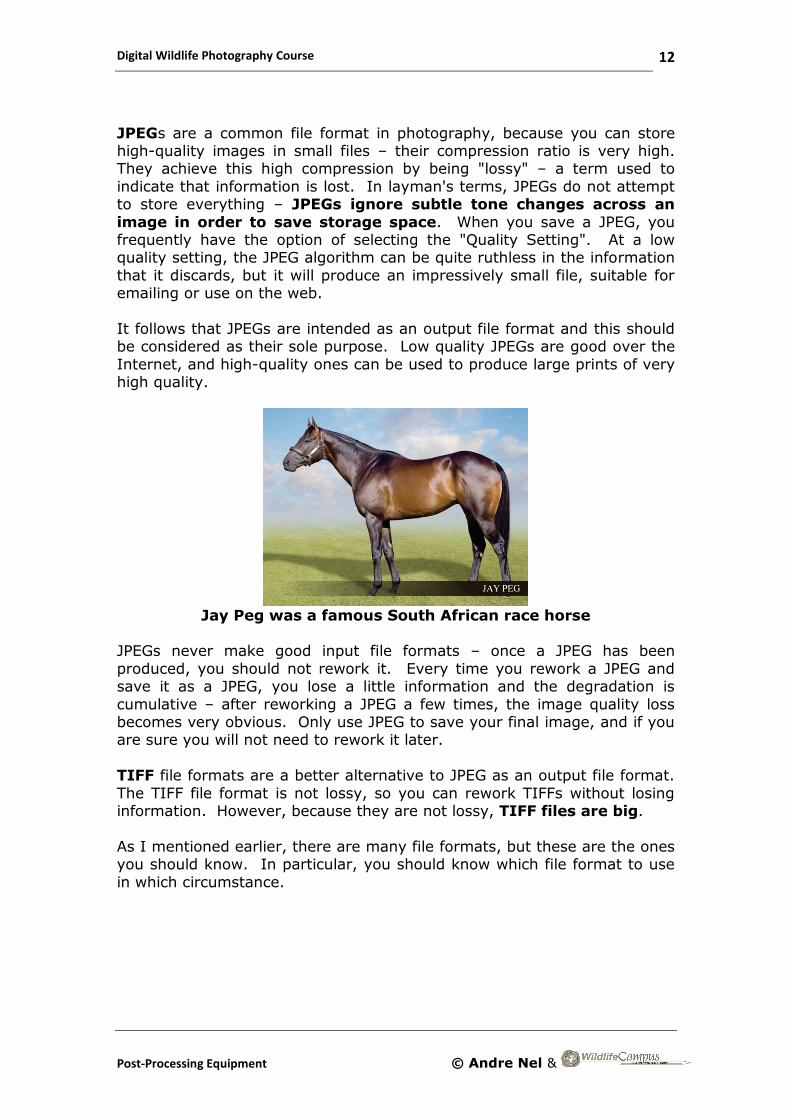
Jay Peg was a famous South African race horse
JPEGs never make good input file formats – once a JPEG has been
produced, you should not rework it. Every time you rework a JPEG and save it as a JPEG, you lose a little information and the degradation is
cumulative – after reworking a JPEG a few times, the image quality loss becomes very obvious. Only use JPEG to save your final image, and if you are sure you will not need to rework it later.
TIFF file formats are a better alternative to JPEG as an output file format.
The TIFF file format is not lossy, so you can rework TIFFs without losing information. However, because they are not lossy, TIFF files are big.
As I mentioned earlier, there are many file formats, but these are the ones you should know. In particular, you should know which file format to use
in which circumstance.

Digital Wildlife Photography Course
Post-Processing Equipment © Andre Nel &
13
Colour Depth
Before I dispense with file formats, I need to discuss another concept –
colour depth. When you are about to save a file like a TIFF, your package may ask: "Do you want to save this as 8-bit or as 16-bit?" What does this mean and why do I care? Let me shake this down to the essentials for
you.
A pixel on a colour monitor has three colour components – red, green and blue. By combining these three primary colours, you can reconstruct any colour in the optical spectrum. An absence of all three colours gives
black, and when all three combine at full strength, you get white.
By appropriately adjusting the intensity of each colour, you can reproduce any shade between black and white. In what increments can you adjust the shade of each colour? If you represent the colours in 8-bit, you have
256 shades, and if you represent it in 16-bit, you get 65,536. Be careful to appreciate this properly – a 0 value in both cases represents the same
thing – a complete absence of colour. A 256 on the 8-bit scale is identical to 65536 in 16-bit, i.e. full colour. The
only difference comes in between, where you work in courser steps than you do in 16-bit. I use the term "full colour" here to mean full colour
intensity. Full colour on a colour monitor looks a little different to "full colour" on a printer, so you can apply a "gamut" to determine the intensity of colour. The SRGB gamut, describes the range of colours possible on a
monitor, while the Adobe RGB gamut describes the range of printed colours. You can research this further on the Internet, if you are
interested, or you can ignore it, if you find the information a little overwhelming at this stage.
Colour monitors (and colour printers) work in 8-bit, so 16-bit images do not look any better to 8-bit ones. So why use 8-bit – what benefit do
we get from the extra size of the image file? The rule is this: Work in 16-bit while processing your image – as you make subtle
changes to tones and colours, 16-bit mode makes those adjustments in fine detail. If you want to store your image and
work on it later, store it in 16-bit, using a lossless file type, like TIFF. This way, you preserve the file in its greatest detail.
When you have finished your processing of the photograph and wish to print it, or store it for view on a monitor, only then do you
convert to 8-bit.