placing an image into text - … solid color from the top of the list that appears: ((6.photoshop...
TRANSCRIPT

Placing and Image into Your Text 1. Open your Photograph in Photoshop
2. Duplicate The Background Layer. Look in your Layers panel, you'll see the image sitting on the Background layer, currently the only layer in the document We need to make a copy of this layer. Go up to the Layer menu in the Menu Bar along the top of the screen, chooseNew, then choose Layer via Copy. Or, you can select this same command from the keyboard by pressing Ctrl+J

3. Photoshop creates a copy of the layer, names it "Collage Copy", and places it directly above the Background layer (Collage):
4. Add A White Solid Color Fill Layer to use as the background for our effect. Click on the New Fill or Adjustment Layer icon at the bottom of the Layers panel:

5. Choose Solid Color from the top of the list that appears:
6. Photoshop will pop open the Color Picker so we can choose the color we want to fill the layer with. I'm going to use white for my background color by entering a value of 255 into the R, G and B boxes:

7. Click OK to close out of the Color Picker. Back in the Layers panel, we see the white Solid Color Fill layer (named "Color Fill 1") sitting above the two image layers. And because the Fill layer is sitting above both of our image layers, the document is now temporarily filled with white
8. We need to move the Solid Color Fill layer below Layer 1. Click on the Solid Color Fill layer (make sure you click on its little color swatch icon on the left, not the layer mask icon on the right), and with your mouse button still held down, drag the layer downward until you see a highlight bar appear between the Background layer and Layer 1:

9. Click on top layer (Collage Copy) in the Layers panel to select it:
10. Select The Type Tool. We're ready to add our text. Select Photoshop's Type Tool from the Tools panel along the left of the screen. You can also select the Type Tool simply by pressing the letter T on your keyboard:
11. Choose Your Font. With the Type Tool selected, go up to the Options Bar along the top of the screen and choose your font. Since our goal is to place an image within the text, generally fonts with thick letters work best. I'm going to choose Arial Black, but of course you can choose any font you like. Set the font size at 72 for now. We'll resize the type manually later:

12. Set Your Type Color To White. If your type color is already set to white (or some other color you can easily see in front of your image), you can skip this step. To change the type color, click on the color swatch in the Options Bar:
13. Add Your Text. With your Type Tool selected, your font chosen and your type color set to white, click inside your document and add your text. I'll type my quote “How Wild it was, to let it be":
14. Click the checkmark in the Options Bar when you're done to accept your text and exit out of text editing mode:

15. Drag The Type Layer Below Collage Copy (or Layer 1) If we look in the Layers panel, we see our newly added Type layer sitting above Layer 1, which is why the text is appearing in front of the image in the document:
16. Click once again on Layer 1 to select it and make it active:

17. Create A Clipping Mask. With Layer 1 selected, click on the small menu icon in the top right corner of the Layers panel:

18 This clips the image on Collage Copy (Layer 1) to the text on the Type layer below it, meaning that only the area of the image that sits directly above the actual text on the Type layer remains visible, creating the illusion that the image is inside the text. The rest of the image is now hidden from view, and in its place, we see the solid white Fill layer:
18. If you want to change the size of your text do the following….Select The Type Layer. Click on the Type layer to select it and make it active:
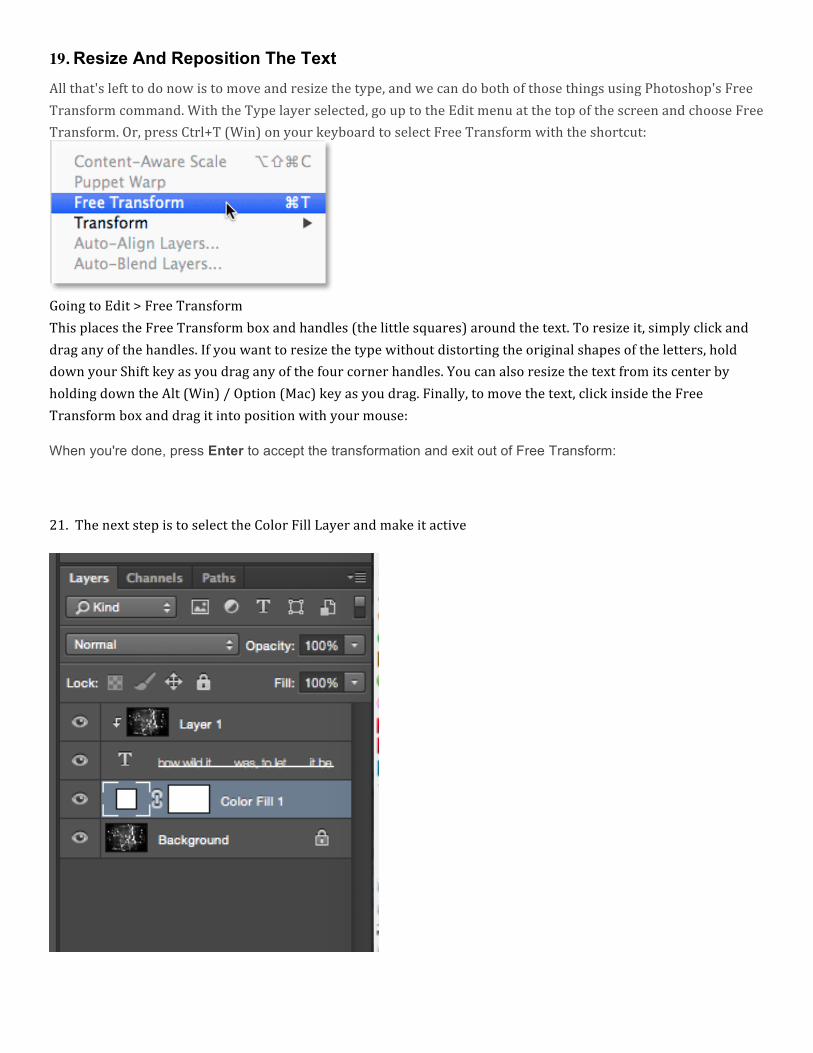
19. Resize And Reposition The Text
All that's left to do now is to move and resize the type, and we can do both of those things using Photoshop's Free Transform command. With the Type layer selected, go up to the Edit menu at the top of the screen and choose Free Transform. Or, press Ctrl+T (Win) on your keyboard to select Free Transform with the shortcut:
Going to Edit > Free Transform This places the Free Transform box and handles (the little squares) around the text. To resize it, simply click and drag any of the handles. If you want to resize the type without distorting the original shapes of the letters, hold down your Shift key as you drag any of the four corner handles. You can also resize the text from its center by holding down the Alt (Win) / Option (Mac) key as you drag. Finally, to move the text, click inside the Free Transform box and drag it into position with your mouse: When you're done, press Enter to accept the transformation and exit out of Free Transform:
21. The next step is to select the Color Fill Layer and make it active

21. The next step is to select the Color Fill Layer and make it active and go up to the Drop down menu where it says Normal
22. From the Dropdown menu select Soft Light

23. You should get a result similar to the one below….
24. If you would like to use an invert effect Select Layer 1

25. Hold Down CNTL + I and you will get an effect like the one below
26. Once you are finished Flatten your image and post to you Blog