original bmw parts and accessories. · the installation time shown does not include any time spent...
TRANSCRIPT
© BMW AG, Munich 01 29 2 464 596 11/2018 (V/Z) 1.5 1/27
Original BMW Parts and Accessories.Installation Instructions.M Performance Aerodynamic peripheries Retrofit Kit.BMW 3 Series Saloon (G20)
Retrofit kit number51 19 2 455 832 Front attachment, black51 19 2 455 835 Pro carbon front attachment, left51 19 2 455 836 Pro carbon front attachment, right51 19 2 455 880 Matt black rear spoiler51 19 2 455 897 High gloss black sill add-on section, left51 19 2 455 896 High gloss black sill add-on section, right51 19 2 458 369 Carbon rear spoiler51 19 2 455 821 High gloss black rear diffuser51 19 2 455 819 Carbon rear diffuser51 19 2 459 740 Carbon rear diffuser51 19 2 455 856 High gloss black rear bumper trim51 19 2 455 859 High gloss black rear bumper trim51 12 2 455 862 High gloss rear towing eyelet cover
Installation timeInstallation time, see table. This may vary depending on the condition of the car and its equipment package.The installation time shown does not include any time spent on programming/coding.The calculation of the total costs for the programming time must be factored into the calculation of retrofittingcosts (must not be invoiced under the warranty).Retrofit kit Hours
Front attachment, black 0.5Pro carbon front attachment 0.25Matt black rear spoiler 0.5Carbon rear spoiler 0.5High gloss black sill add-on section 0.5 per sideHigh gloss black rear bumper trim and rear diffuser 0.75
Important informationThese installation instructions are primarily designed for use within the BMW dealership organisation and by au-thorised BMW service companies.These installation instructions are intended for use by qualified specialist staff trained on BMW cars with the rele-vant expert knowledge.All work must be completed using the latest BMW repair manuals, wiring diagrams, servicing manuals and workinstructions, in a logical order, using the prescribed tools (special tools), and observing current health and safetyregulations.The carbon rear diffusers HA and IA cannot be installed on cars with a trailer to pitch SA 3AC. If the carbon reardiffusers HA and IA are installed on cars with Comfort access SA 322, the Smart Opener function of this op-tion will be disabled and can therefore no longer be used. After installing the carbon rear diffusers retrofit kits HAand IA, the Smart Opener function must be decoded by setting the K word "DSMO".

© BMW AG, Munich 01 29 2 464 596 11/2018 (V/Z) 1.5 2/27
If you experience installation or function problems, restrict troubleshooting to approx. 0.5 hours formechanical work and 1.0 hour for electrical work.To avoid unnecessary extra work and/or costs, send an inquiry straight away to the technical parts support teamvia the Aftersales Assistance Portal (ASAP).Quote the following information:– VIN,– retrofit kit part number,– a detailed description of the problem,– any work already carried out.Do not archive the hard copy of these installation instructions, since daily updates are supplied in ASAP.
Pictograms! Denotes instructions that draw your attention to dangers.
Denotes instructions that draw your attention to special features.
Denotes the end of the instruction or other text.
Installation informationAll illustrations show LHD (left-hand drive) cars; proceed similarly on RHD (right-hand drive) cars. Installation isshown on one side of the car only, proceed in the same way on the other side.Bonding surfaces must be cleaned with a cleaner and must be clean and free from wax and grease. The ambienttemperature for bonding and drying must not be below 15°C or exceed 35°C . The car may be driven after ap-prox. 6 hours and may be taken through a car wash after approx. 48 hours.If the foil application Frozen Black (Part No. 51 14 2 458 194) is not fitted, the M Performance logo sticker(Part No. 51 14 2 461 811, to be ordered separately) must also be fitted.The matt black rear spoiler BA can be partially painted as required by the customer.Please note the following combinations for installing the bumper trim with rear diffuser:
High gloss black rear bumper trim MSP High gloss black rear bumper trim MPA
High gloss black rear diffuser PUR x xCarbon rear diffuser MSP xCarbon rear diffuser MPA xHigh gloss rear towing eyelet cover x x
Special tools requiredNone

Table of contents
© BMW AG, Munich 01 29 2 464 596 11/2018 (V/Z) 1.5 3/27
Section Page1. Black front attachment parts list . . . . . . . . . . . . . . . . . . . . . . . . . . . . . . . . . . . . . . . . . . . . . . . . . . . . . . . . . . . . . . . . 4
2. Pro carbon front attachment parts list . . . . . . . . . . . . . . . . . . . . . . . . . . . . . . . . . . . . . . . . . . . . . . . . . . . . . . . . . . . 5
3. Matt black rear spoiler parts list . . . . . . . . . . . . . . . . . . . . . . . . . . . . . . . . . . . . . . . . . . . . . . . . . . . . . . . . . . . . . . . . 6
4. Carbon rear spoiler parts list . . . . . . . . . . . . . . . . . . . . . . . . . . . . . . . . . . . . . . . . . . . . . . . . . . . . . . . . . . . . . . . . . . . 7
5. High gloss black side sill add-on section parts list . . . . . . . . . . . . . . . . . . . . . . . . . . . . . . . . . . . . . . . . . . . . . . . 8
6. High gloss black rear bumper trim MSP parts list . . . . . . . . . . . . . . . . . . . . . . . . . . . . . . . . . . . . . . . . . . . . . . . . 9
7. High gloss black rear bumper trim MPA parts list . . . . . . . . . . . . . . . . . . . . . . . . . . . . . . . . . . . . . . . . . . . . . . . . 10
8. High gloss black rear diffuser PUR parts list . . . . . . . . . . . . . . . . . . . . . . . . . . . . . . . . . . . . . . . . . . . . . . . . . . . . . 11
9. Carbon rear diffuser MSP parts list . . . . . . . . . . . . . . . . . . . . . . . . . . . . . . . . . . . . . . . . . . . . . . . . . . . . . . . . . . . . . 12
10. Carbon rear diffuser MPA parts list . . . . . . . . . . . . . . . . . . . . . . . . . . . . . . . . . . . . . . . . . . . . . . . . . . . . . . . . . . . . . 13
11. Preparatory work . . . . . . . . . . . . . . . . . . . . . . . . . . . . . . . . . . . . . . . . . . . . . . . . . . . . . . . . . . . . . . . . . . . . . . . . . . . . . . 14
12. Installing the black front attachment . . . . . . . . . . . . . . . . . . . . . . . . . . . . . . . . . . . . . . . . . . . . . . . . . . . . . . . . . . . . 15
13. Installing the Pro carbon front attachment . . . . . . . . . . . . . . . . . . . . . . . . . . . . . . . . . . . . . . . . . . . . . . . . . . . . . . . 17
14. Installing the matt black rear spoiler . . . . . . . . . . . . . . . . . . . . . . . . . . . . . . . . . . . . . . . . . . . . . . . . . . . . . . . . . . . . . 18
15. Installing the carbon rear spoiler . . . . . . . . . . . . . . . . . . . . . . . . . . . . . . . . . . . . . . . . . . . . . . . . . . . . . . . . . . . . . . . . 20
16. Installing the high gloss black side sill add-on section . . . . . . . . . . . . . . . . . . . . . . . . . . . . . . . . . . . . . . . . . . . . 22
17. Installing the high gloss black bumper trim . . . . . . . . . . . . . . . . . . . . . . . . . . . . . . . . . . . . . . . . . . . . . . . . . . . . . . 24
18. Installing the rear diffuser . . . . . . . . . . . . . . . . . . . . . . . . . . . . . . . . . . . . . . . . . . . . . . . . . . . . . . . . . . . . . . . . . . . . . . 25
19. Concluding work and coding . . . . . . . . . . . . . . . . . . . . . . . . . . . . . . . . . . . . . . . . . . . . . . . . . . . . . . . . . . . . . . . . . . . 27

1. Black front attachment parts list
© BMW AG, Munich 01 29 2 464 596 11/2018 (V/Z) 1.5 4/27
LegendA Front attachment, blackB Front attachment support, leftC Front attachment support, rightD Expanding rivet (Part No. 7 002 953) (12 x)E Screws (Part No. 7 133 553) (4 x)F Liquid adhesive (see EPC for further information and part numbers)

2. Pro carbon front attachment parts list
© BMW AG, Munich 01 29 2 464 596 11/2018 (V/Z) 1.5 5/27
LegendAA Pro carbon front attachment, left/right (the figure features the left attachment)

3. Matt black rear spoiler parts list
© BMW AG, Munich 01 29 2 464 596 11/2018 (V/Z) 1.5 6/27
BCBB
BA
G20 0034 V
LegendBA Matt black rear spoilerBB Cleaner (not included in kit, see EPC for details)BC Liquid adhesive (not included in kit, see EPC for details)
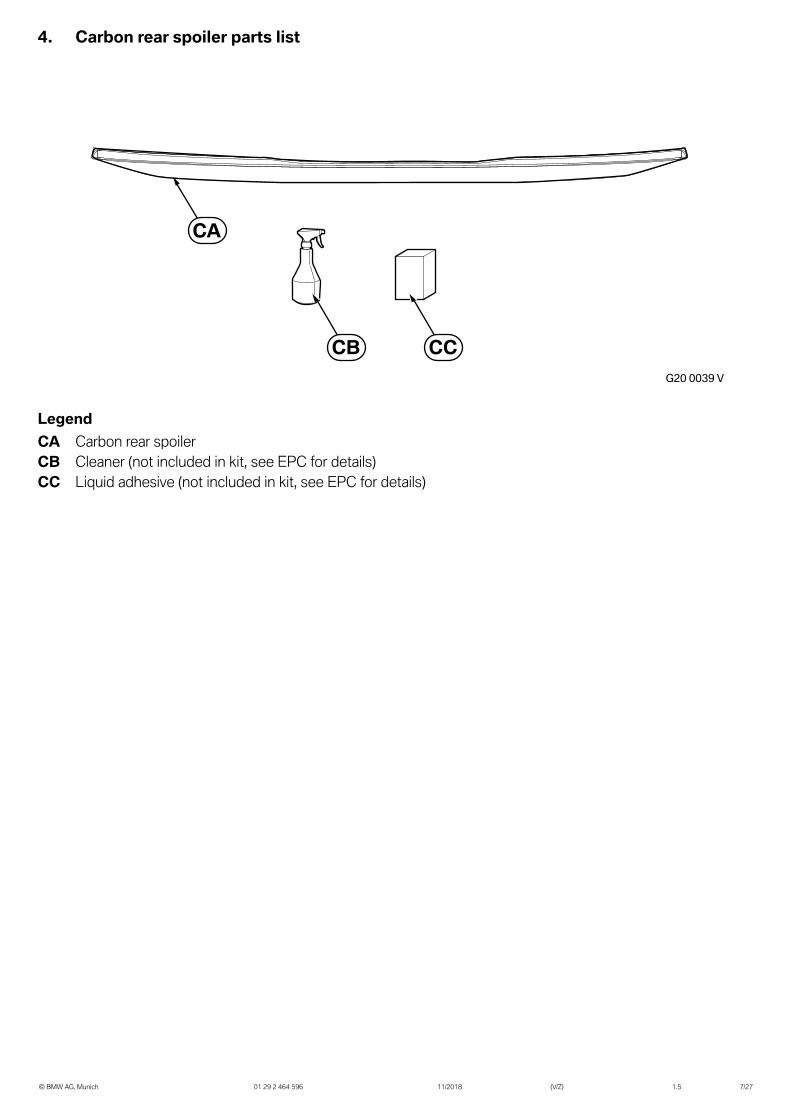
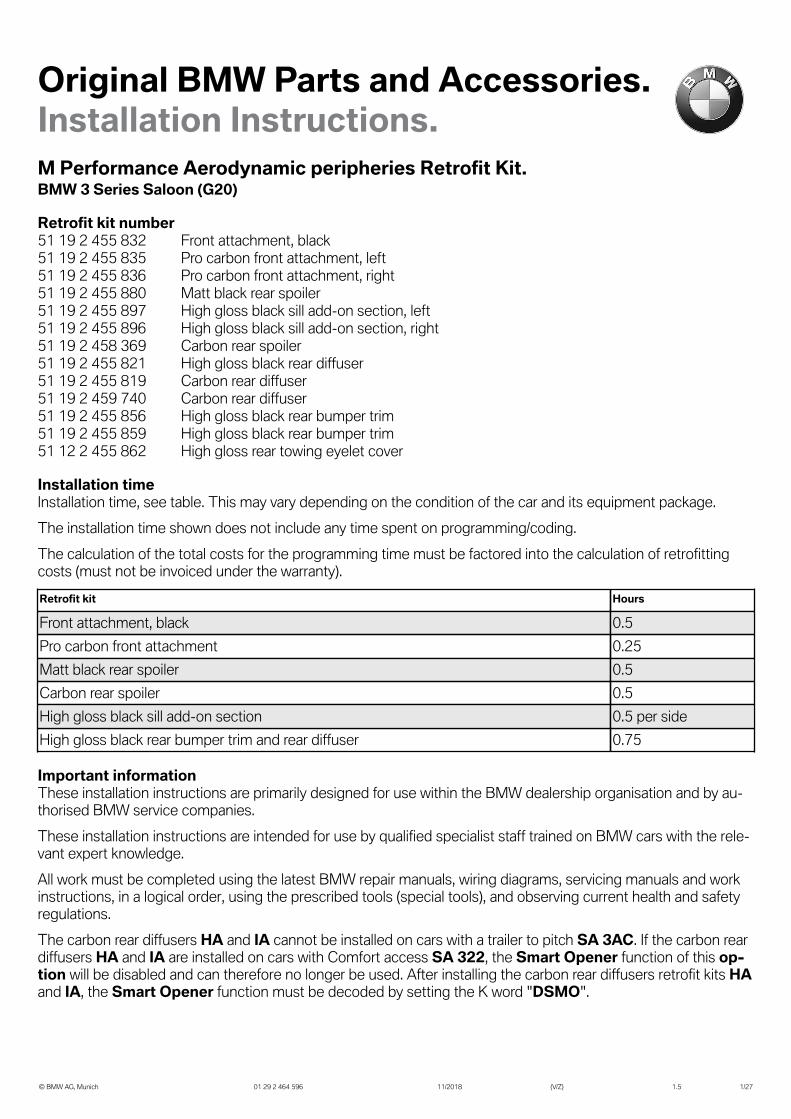
4. Carbon rear spoiler parts list
© BMW AG, Munich 01 29 2 464 596 11/2018 (V/Z) 1.5 7/27
LegendCA Carbon rear spoilerCB Cleaner (not included in kit, see EPC for details)CC Liquid adhesive (not included in kit, see EPC for details)

5. High gloss black side sill add-on section parts list
© BMW AG, Munich 01 29 2 464 596 11/2018 (V/Z) 1.5 8/27
LegendDA High gloss black sill add-on section, left/right (the figure features the left section)DB Rivet (14 x per side)DC Cleaner (not included in kit, see EPC for details)DD Liquid adhesive (not included in kit, see EPC for details)

6. High gloss black rear bumper trim MSP parts list
© BMW AG, Munich 01 29 2 464 596 11/2018 (V/Z) 1.5 9/27
LegendEA High gloss black rear bumper trim MSPEB High gloss black rear towing eyelet cover

7. High gloss black rear bumper trim MPA parts list
© BMW AG, Munich 01 29 2 464 596 11/2018 (V/Z) 1.5 10/27
LegendFA High gloss black rear bumper trim MPAFB High gloss black rear towing eyelet cover

8. High gloss black rear diffuser PUR parts list
© BMW AG, Munich 01 29 2 464 596 11/2018 (V/Z) 1.5 11/27
LegendGA High gloss black rear diffuser PUR

9. Carbon rear diffuser MSP parts list
© BMW AG, Munich 01 29 2 464 596 11/2018 (V/Z) 1.5 12/27
LegendHA Carbon rear diffuser MSP
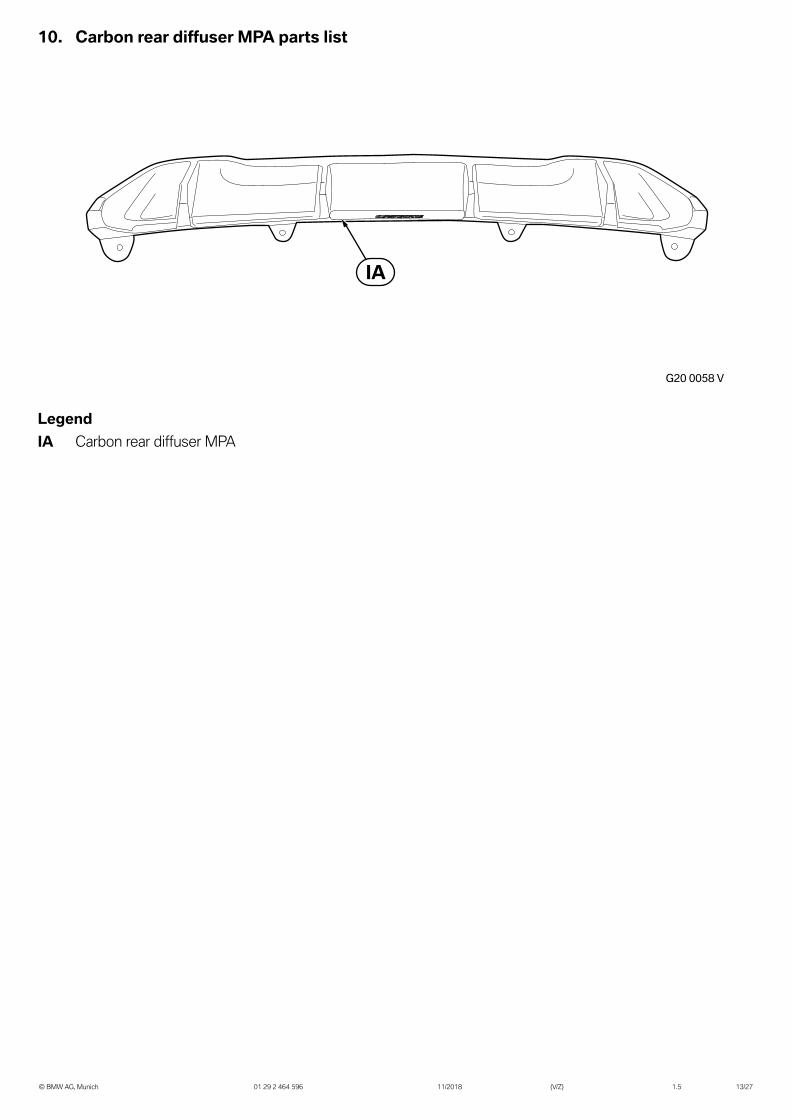
10. Carbon rear diffuser MPA parts list
© BMW AG, Munich 01 29 2 464 596 11/2018 (V/Z) 1.5 13/27
LegendIA Carbon rear diffuser MPA

11. Preparatory work
© BMW AG, Munich 01 29 2 464 596 11/2018 (V/Z) 1.5 14/27
The following components must be removed first of all: ISTA/AIR No.
Only for the installation of the high gloss black bumper trimStandard bumper trim ---

12. Installing the black front attachment
© BMW AG, Munich 01 29 2 464 596 11/2018 (V/Z) 1.5 15/27
The bonding surfaces must be completely dry,clean, and free from wax or grease.
Clean the surfaces (1). Remove the screws (2).
Rivet the front attachment support B to the blackfront attachment A from below using the expandingrivets D.
Follow the instructions for using the liquid adhe-sive F.
Abrade and clean the bonding flanges (1) and thesection (2) of the black front attachment A.Apply a bead of liquid adhesive F to the bondingflanges (1) and the section (2).
A second person is required for this step.
Align the black front attachment A on the wheelarches (1) and hold it in position and press it ontothe car starting from the wheel arches and secure iton both sides using the existing expanding rivets (2).Check that it fits accurately on the wheel arches (1)and secure the front attachment support B using theexisting screws (3).
Remove any excess liquid adhesive immediate-ly.

12. Installing the black front attachment
© BMW AG, Munich 01 29 2 464 596 11/2018 (V/Z) 1.5 16/27
Check the accurate fit on the wheel arches again, se-cure it with adhesive tape and secure the black frontattachment A from below using the screws E.

13. Installing the Pro carbon front attachment
© BMW AG, Munich 01 29 2 464 596 11/2018 (V/Z) 1.5 17/27
The bonding surfaces must be completely dry,clean, and free from wax or grease.
Clean the surface (1) of the black front attachment A.Remove the expanding rivets (2).
Secure the Pro carbon front attachment AA with theexpanding rivets (1).

14. Installing the matt black rear spoiler
© BMW AG, Munich 01 29 2 464 596 11/2018 (V/Z) 1.5 18/27
Painting instructionsCheck that all the kit components fit accurately on the car before painting them. Primed kit components must bepre-treated accordingly before painting.Follow the BMW painting instructions (see ISTA/AIR No. 99 00 ...).
The matt black rear spoiler BA can be partially painted as required by the customer.
The bonding surfaces must be completely dry,clean, and free from wax or grease.
Clean the surface (1) of the car with cleaner BB (notincluded in the parts kit, see EPC for further details).
Position the matt black rear spoiler BA on the bootlid (1), centre it and mark the position (2) using suit-able tools.
Abrade and clean the edge area (1) of the matt blackrear spoiler BA using suitable products.Apply an adequate quantity of liquid adhesive BC,as shown, in the form of a bead, generously to thematt black rear spoiler BA.Remove backing film (2).

14. Installing the matt black rear spoiler
© BMW AG, Munich 01 29 2 464 596 11/2018 (V/Z) 1.5 19/27
Remove any excess liquid adhesive BC immedi-ately.
Position the matt black rear spoiler BA between themarks (1) and align it.Pull the centre of the matt black rear spoiler BA tothe rear in the direction shown by the arrow withouttouching the boot lid (2) until the front gap (3) hasclosed. Then press the matt black rear spoiler BAonto the boot lid (2) so that the bottom gap (4) alsocloses.Secure the matt black rear spoiler BA first in thecentre with adhesive tape (5) and then with theouter adhesive tapes (6) and (7).The adhesive tapes (5), (6) and (7) cannot be re-moved for at least 6 hours.

15. Installing the carbon rear spoiler
© BMW AG, Munich 01 29 2 464 596 11/2018 (V/Z) 1.5 20/27
The bonding surfaces must be completely dry,clean, and free from wax or grease.
Clean the surface (1) of the car with cleaner CB (notincluded in the parts kit, see EPC for further details).
Position the carbon rear spoiler CA on the boot lid(1), centre it and mark the position (2) with suitabletools.
Abrade and clean the edge area (1) of the carbonrear spoiler CA using suitable products.Apply an adequate quantity of liquid adhesive CC,as shown, in the form of a bead, generously to thecarbon rear spoiler CA.Remove backing film (2).

15. Installing the carbon rear spoiler
© BMW AG, Munich 01 29 2 464 596 11/2018 (V/Z) 1.5 21/27
Remove any excess liquid adhesive CC immedi-ately.
Position the carbon rear spoiler CA between themarks (1) and align it.Pull the centre of the carbon rear spoiler CA to therear in the direction shown by the arrow withouttouching the boot lid (2) until the front gap (3) hasclosed. Then press the carbon rear spoiler CA ontothe boot lid (2) so that the bottom gap (4) closes.Secure the carbon rear spoiler CA first in the centrewith adhesive tape (5) and then towards the outsidewith adhesive tapes (6) and (7). Do not remove theadhesive tapes (5), (6) and (7) for at least 6 hours.

16. Installing the high gloss black side sill add-on section
© BMW AG, Munich 01 29 2 464 596 11/2018 (V/Z) 1.5 22/27
The bonding surfaces must be completely dry,clean, and free from wax or grease.
Clean the surface (1).
Position the side sill add-on section DA on the sidesill (1). The rear contour (2) of the side sill add-onsection DA must be flush with the rear contour ofthe side sill (1). Secure the side sill add-on sectionDA using suitable adhesive tape (3).
.Drill the 14 holes (1) from the side sill add-on sectionDA with a diameter of 6.5 mm in the side sill (2). Re-move the adhesive tape (3) and the side sill add-onsection DA.
Follow the instructions for use for the liquid ad-hesive DD. Apply the liquid adhesive DD to theside sill add-on section DA only on the externalside of the car at the installation position.
Clean the flange (1) on the side sill add-on sectionDA using the cleaner DC.Apply a bead of liquid adhesive DD to the flange (1).

16. Installing the high gloss black side sill add-on section
© BMW AG, Munich 01 29 2 464 596 11/2018 (V/Z) 1.5 23/27
If the foil application Frozen Black(Part No. 51 14 2 458 194) is not fit-ted, the M Performance logo sticker(Part No. 51 14 2 461 811, to be orderedseparately) must also be fitted.
Position the side sill add-on section DA and secure itwith the rivets DB.Apply suitable adhesive tape (1).
Do not apply the adhesive tape (1) with exces-sive tension to prevent stress in the side silladd-on section DA. Refer to the installation in-structions on page 2.Remove any excess liquid adhesive immediate-ly.

17. Installing the high gloss black bumper trim
© BMW AG, Munich 01 29 2 464 596 11/2018 (V/Z) 1.5 24/27
Install the high gloss black bumper trim EA/FA in thesame way as the standard trim.

18. Installing the rear diffuser
© BMW AG, Munich 01 29 2 464 596 11/2018 (V/Z) 1.5 25/27
Remove the cover on the towing eyelet cover (1).Carefully bend the two barbs (2) on the rear of thetowing eyelet cover (1) towards the inside withoutdeforming the holders (3) too badly, and press themout towards the front of the towing eyelet cover (1).
The body-coloured towing eyelet cover (1) willbe reused.
Bend the holders (2) on the towing eyelet cover (1)slightly towards the outside. Clip the barbs (3) on thehigh gloss towing eyelet cover EB/FB from the frontinto the towing eyelet cover (1).Lock the towing eyelet cover into position on the car.
For high gloss black rear bumper trim MPARemove the lug (1) at the predetermined breakingpoint (2) on the high gloss black rear diffuser PURGA using suitable tools.
For cars with trailer tow hitchRemove the lug (1) completely using suitable toolsand deburr it.

18. Installing the rear diffuser
© BMW AG, Munich 01 29 2 464 596 11/2018 (V/Z) 1.5 26/27
For all carsClip the rear diffuser into the high gloss blackbumper trim (1) at the appropriate points (2).
For rear diffusers, high gloss black PUR andcarbon MSPSecure the rear diffuser (1) at the points show (2) us-ing the existing screws.
For rear diffusers, high gloss black PUR andcarbon MPASecure the rear diffuser (1) at the points show (2) us-ing the existing screws.

19. Concluding work and coding
© BMW AG, Munich 01 29 2 464 596 11/2018 (V/Z) 1.5 27/27
The retrofit system only requires programming/coding if the carbon rear diffuser retrofit kit HA and IA is installed.– Connect the battery– Connect the battery charger to the car– Connect the car to the ISTA workshop system– Open the ISTA/P car programming facility– When using ISTA/P, please refer to the instructions provided in the ISTA/P application documentation– Retrofit K-word: Select "DSMO“ via the – Retrofits – path and work through the action plan– If necessary, carry out a vehicle test using the ISTA system, and note, or work through, any errors that has
been recorded– Conduct a function test– Re-assemble the car– Give the customer the customer information