ops i5 pc - install guide for p series nec displaysrise... · ops i5 pc - install guide for p...
TRANSCRIPT

OPS i5 PC - Install Guide for P Series NEC displays
Revised 01-16-2012 Page 1

Required Tools
● Philips Head Screw Driver● CATX Ethernet Patch Cable
Step 1
1. Remove LCD display from box and lay screen face down on the box.
2. Place protective cover that comes on LCD display on box for
protection
Revised 01-16-2012 Page 2
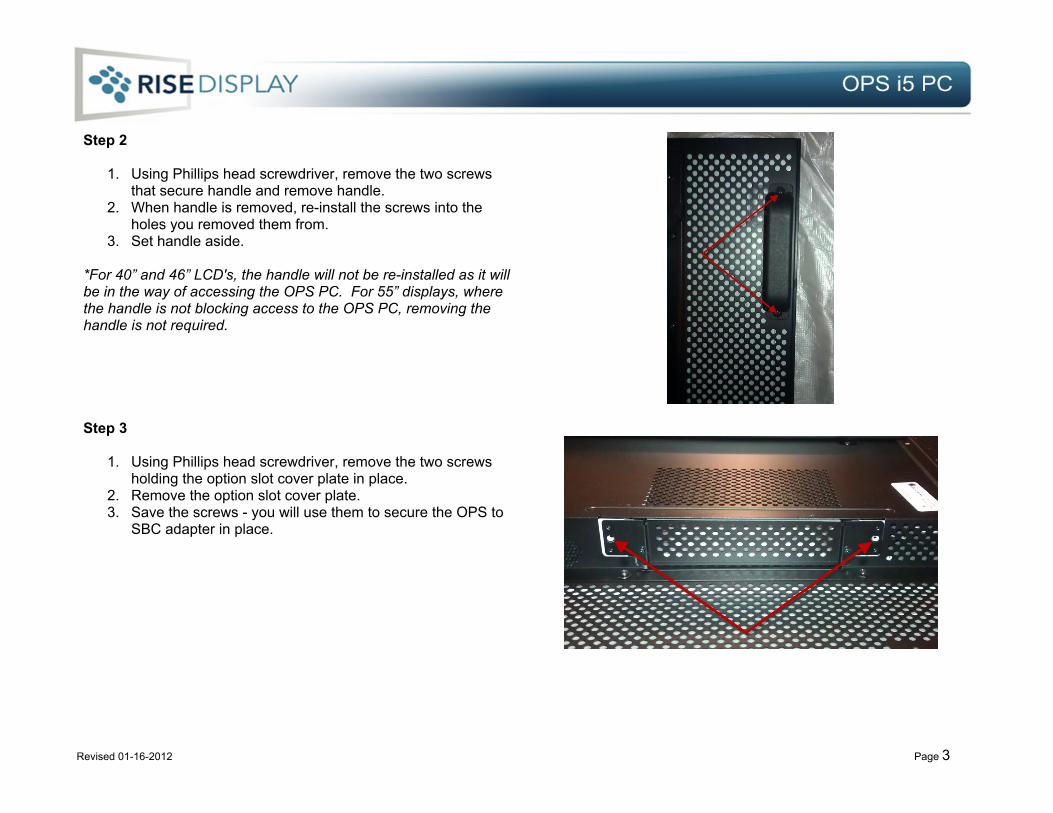
Step 2
1. Using Phillips head screwdriver, remove the two screws that secure handle and remove handle.
2. When handle is removed, re-install the screws into the holes you removed them from.
3. Set handle aside. *For 40” and 46” LCD's, the handle will not be re-installed as it will be in the way of accessing the OPS PC. For 55” displays, where the handle is not blocking access to the OPS PC, removing the handle is not required.
Step 3
1. Using Phillips head screwdriver, remove the two screws holding the option slot cover plate in place.
2. Remove the option slot cover plate.3. Save the screws - you will use them to secure the OPS to
SBC adapter in place.
Revised 01-16-2012 Page 3

Step 4
1. Open box containing Expansion Slot adapter. You will find the adapter and a bag with two small screws.
Step 5
1. Slide adapter into the option slot as shown - open side facing away from the display.
Step 6
1. Secure adapter in place with the 2 screws you removed when removing the option slot cover plate.
Revised 01-16-2012 Page 4

Step 7
1. Open box containing OPS PC and remove contents - there should be the OPS PC, CD and Option board slot cover.
2. Set Option board slot cover aside - you will not use it.
Step 8
1. Insert OPS PC into adapter slot with fan facing away. Make sure the OPS PC is seated properly, do not force. IMPORTANT - make sure the fan is visible and facing away from the display as you insert it.
Revised 01-16-2012 Page 5
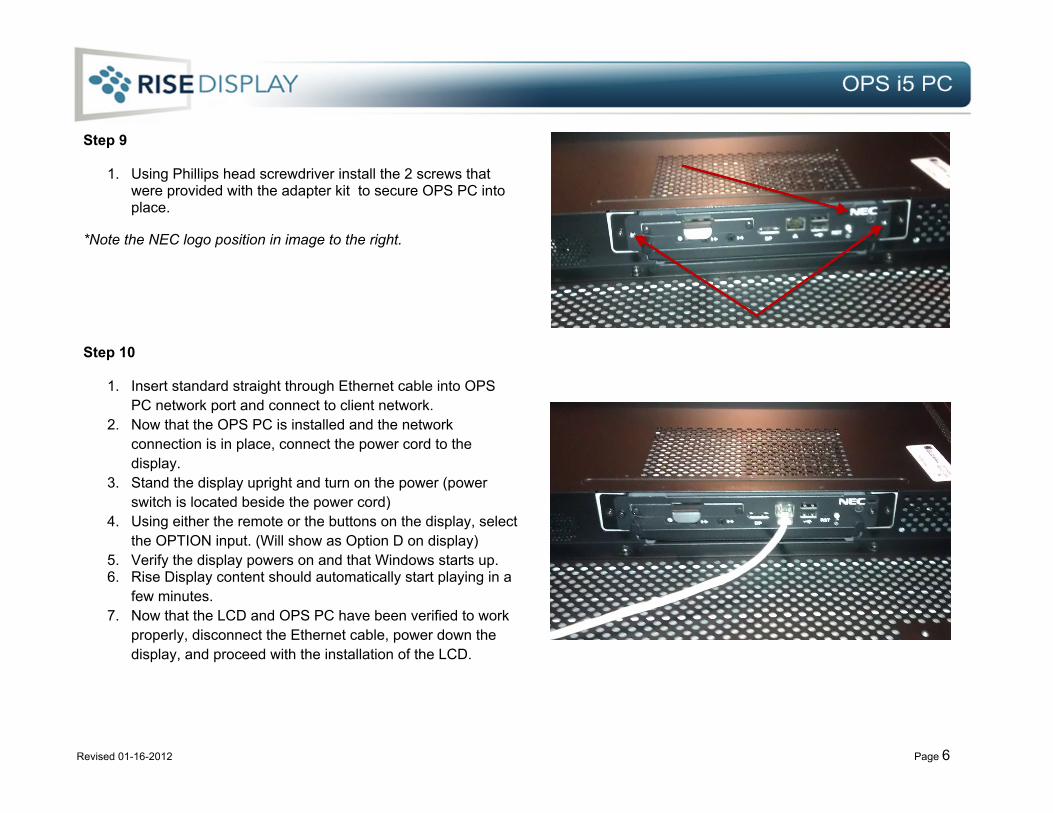
Step 9
1. Using Phillips head screwdriver install the 2 screws that were provided with the adapter kit to secure OPS PC into place.
*Note the NEC logo position in image to the right.
Step 10
1. Insert standard straight through Ethernet cable into OPS PC network port and connect to client network.
2. Now that the OPS PC is installed and the network connection is in place, connect the power cord to the display.
3. Stand the display upright and turn on the power (power switch is located beside the power cord)
4. Using either the remote or the buttons on the display, select the OPTION input. (Will show as Option D on display)
5. Verify the display powers on and that Windows starts up.6. Rise Display content should automatically start playing in a
few minutes.7. Now that the LCD and OPS PC have been verified to work
properly, disconnect the Ethernet cable, power down the display, and proceed with the installation of the LCD.
Revised 01-16-2012 Page 6