ms outlook training for teachers by katherine wallis
TRANSCRIPT

MS OutlookTraining for Teachersby Katherine Wallis

Agenda
• E-mail features– How to create a signature– How to create distribution lists– How to flag e-mails for follow up– How to organize e-mails into folders
• Calendar appointment features– How to create appointments– How to create a recurring appointment

E-mail Features - Signature
• What?– You decide but typically:
• Your name• Your position• Your contact information
• Why?– Convenience– Time Saver

E-mail Features – Signature (cont.)
• How?– Go to
• ‘Tools’ • ‘Options’ • ‘Mail Format’• ‘Signatures’

E-mail Features – Signature (cont.)
• How?– Go to
• ‘New…’
– Create a name then click on ‘Next’
– Create your signature
• You can choose a font, color, etc. to make it more personal
– Set your signature

E-mail Features – Distribution List
• What?– A list of contacts you
often e-mail at the same time.
• Why?– Convenience– Time Saver

E-mail Features – Distribution List (cont.)
• Go to ‘Contacts’• Go to the drop down arrow next to ‘New’ and select ‘Distribution
List’• Type in a name for your distribution list• Go to ‘Select Members…’• Add members to distribution list then go to ‘Save and Close’
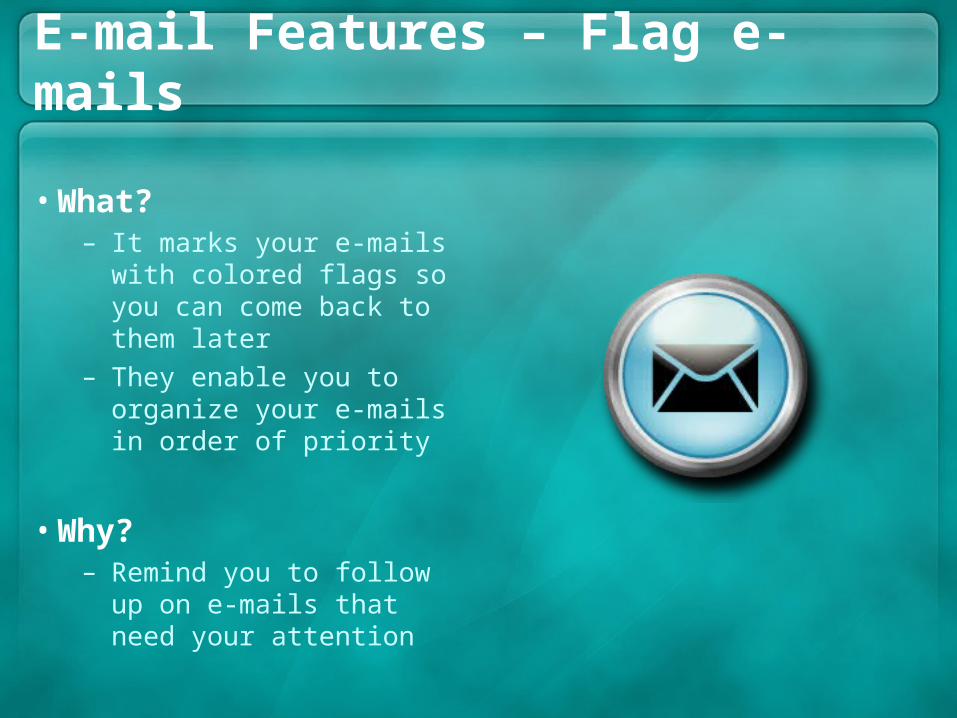
E-mail Features – Flag e-mails
• What?– It marks your e-mails with
colored flags so you can come back to them later
– They enable you to organize your e-mails in order of priority
• Why?– Remind you to follow up on
e-mails that need your attention

E-mail Features – Flag e-mails (cont.)
• Right click on the e-mail you want to flag
• Go to ‘Follow Up’
• Go to the color flag you want
• Your e-mail is now flagged for follow up

E-mail Features – Organize into folders
• What?– Organizes your e-mails
in a way similar to a filing cabinet
• Why?– To get them out of your
inbox but not deleted– To make it easier to find
them later

E-mail Features – Organize into folders (cont.)
• Right click on your Inbox and select ‘New Folder…’
• Name the folder then click OK• Click and drag the e-mail into
the new folder• Click on the new
folder to confirm the e-mail is there

Calendar – Create Appointments
• What?– Faculty Meetings– Parent Conferences– Grade Level Meetings– Etc.
• Why?– So you won’t forget!– To ensure you don’t
overbook yourself.
Calendar – Create Appointments (cont.)
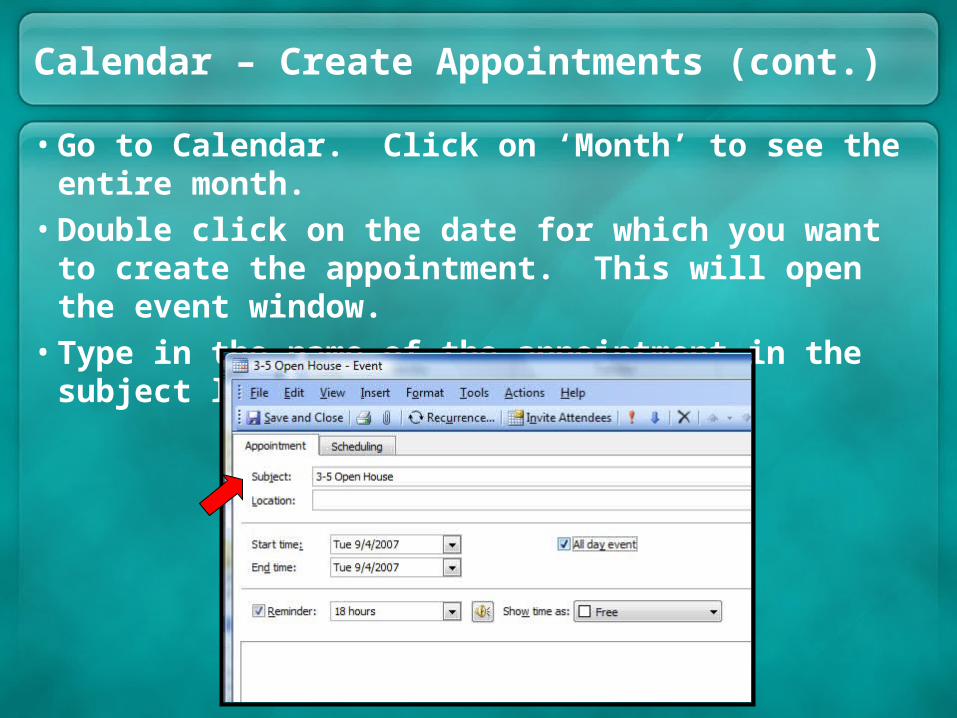
• Go to Calendar. Click on ‘Month’ to see the entire month.
• Double click on the date for which you want to create the appointment. This will open the event window.
• Type in the name of the appointment in the subject line
Calendar – Create Appointments (cont.)
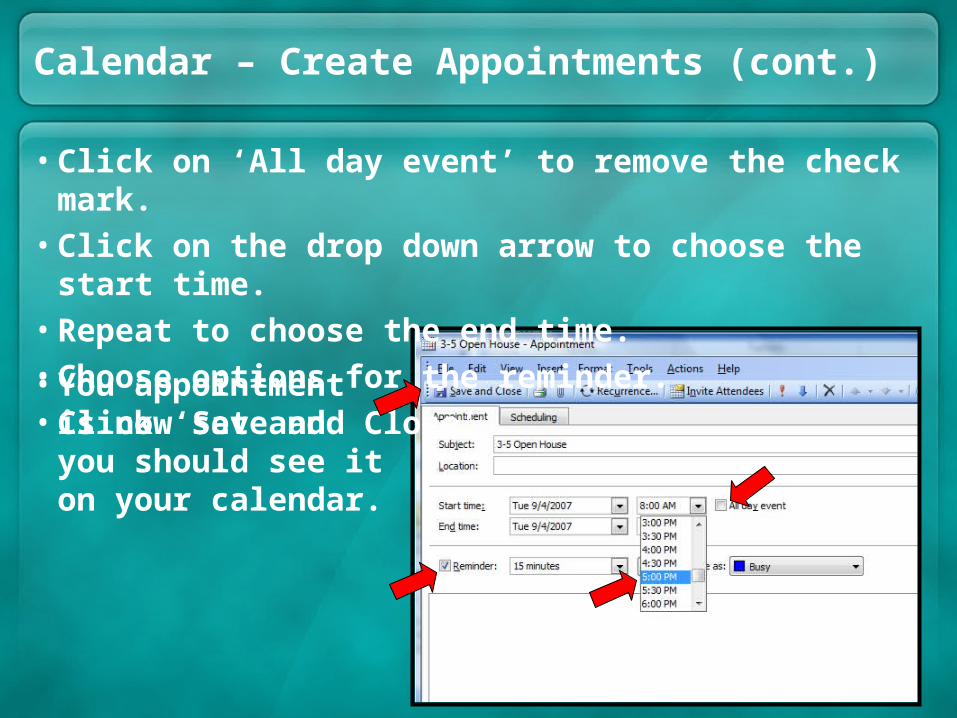
• Click on ‘All day event’ to remove the check mark.• Click on the drop down arrow to choose the start time.• Repeat to choose the end time.• Choose options for the reminder.• Click ‘Save and Close’• You appointment is
now set and you should see it on your calendar.

Calendar – Recurring Appointments
• What?– Schedules appointments
to repeat on your calendar
• Example: Faculty Meetings
• Example: Grade Level Meetings
• Why?– Time Saver
Calendar – Recurring Appointments
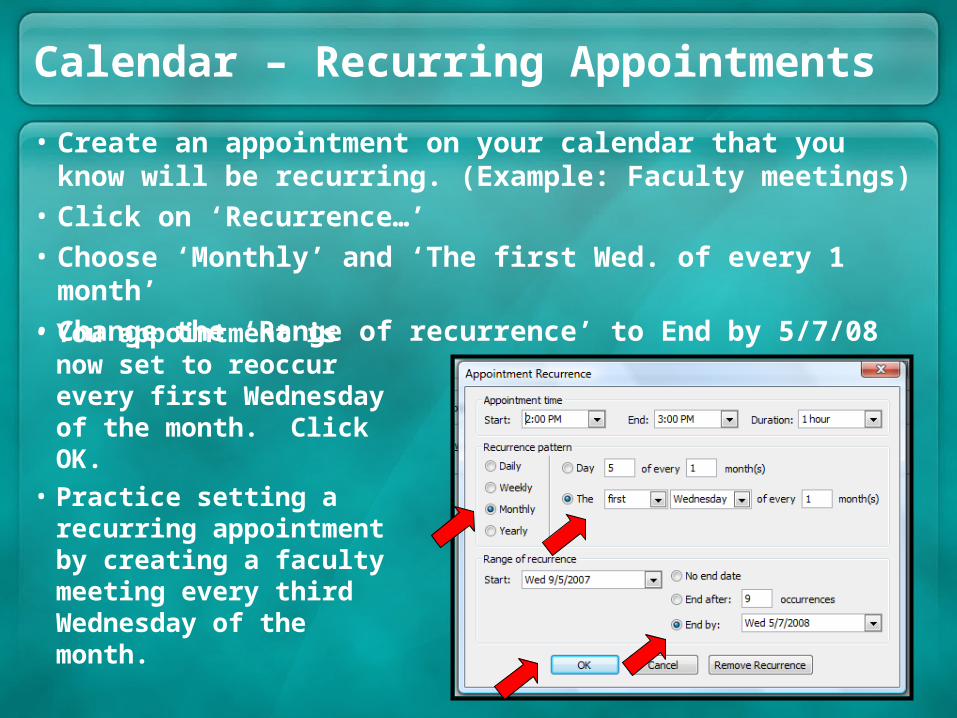
• Create an appointment on your calendar that you know will be recurring. (Example: Faculty meetings)
• Click on ‘Recurrence…’• Choose ‘Monthly’ and ‘The first Wed. of every 1 month’• Change the ‘Range of recurrence’ to End by 5/7/08• You appointment is now
set to reoccur every first Wednesday of the month. Click OK.
• Practice setting a recurring appointment by creating a faculty meeting every third Wednesday of the month.
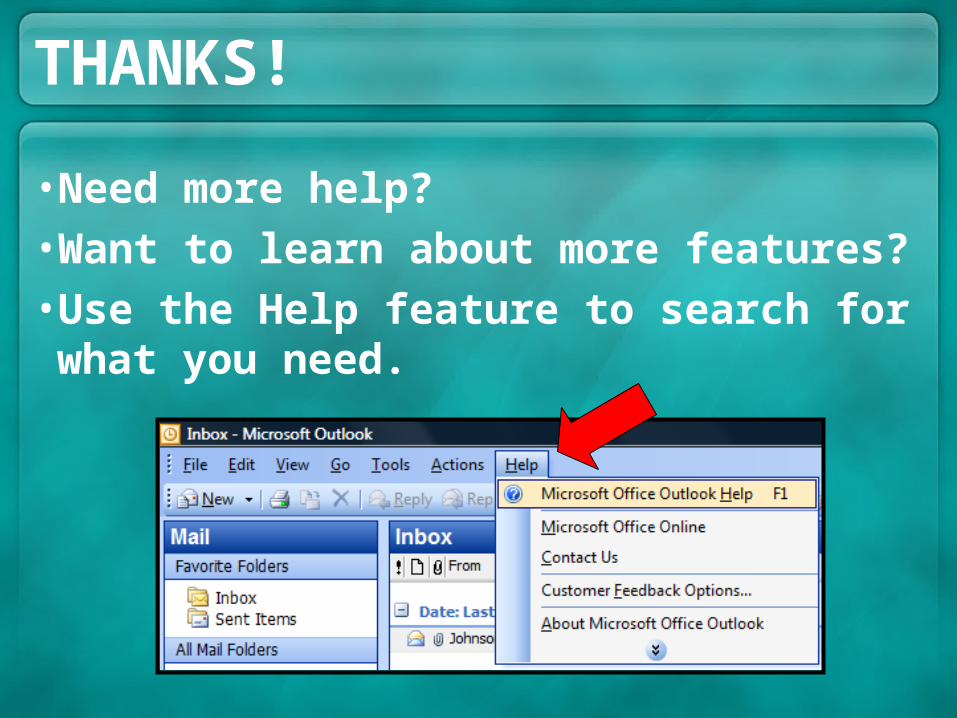
THANKS!
• Need more help?
• Want to learn about more features?
• Use the Help feature to search for what you need.