module 5 b word processing. cont how to add colour to your microsoft word logo to add a coloured...
TRANSCRIPT

MODULE 5 B
WORD PROCESSING

cont

cont• How to Add Colour to Your Microsoft Word Logo• To add a coloured background to your shape, do the following:• Make sure that your shape is highlighted (has it got the white
squares? If not click on the edges of the shape with your left mouse button)
• From the menu bar, click Format• From the drop down menu, click AutoShape. ( Or click on the edges
of your shape with your right mouse button. Then click Format Auto Shape from the pop up menu.)
• You'll get the Format Auto Shape dialogue box popping up. Click on the "Colours and Lines" tab at the top. Your dialogue box should look like this one:

cont

WordArt
• You can use WordArt to produce special text effects in a Microsoft Word document.
• For example, you can create curved, slanted, or three-dimensional text by inserting a WordArt object.

Insert a WordArt Object
• To insert a WordArt object, follow these steps: On the Insert menu, point to Picture, and then Click WordArt.– Or click the WordArt button on the Drawing
toolbar.– Or click Insert WordArt on the WordArt toolbar.

cont
• Note If the WordArt toolbar or the Drawing toolbar are not displayed, point to Toolbars on theView menu, and then click Drawing or WordArtIn the WordArt Gallery dialog box, double-click the style that you want.
• In the Edit WordArt Text dialog box, type your text and select the font and size that you want.
• Click Bold or Italic to make all the text bold or italic.
Note You cannot apply bold or italic to only a selected part of the text.In the Edit WordArt Text dialog box, click OK.
Your text is inserted into the document.

WordArt Menu

Correcting Spelling and Grammar

cont

cont
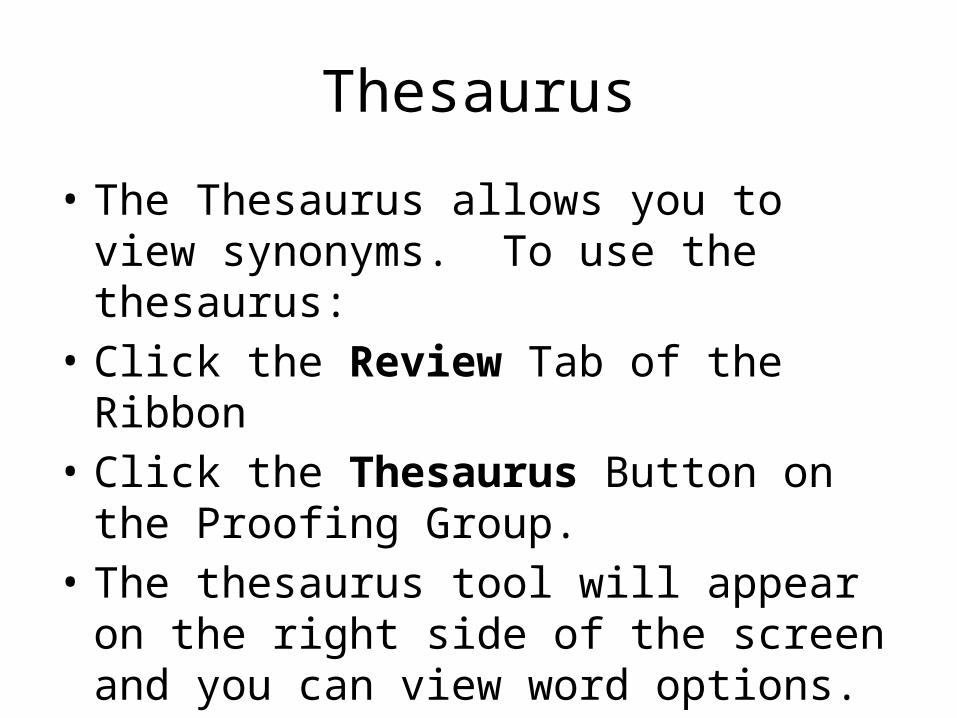
Thesaurus
• The Thesaurus allows you to view synonyms. To use the thesaurus:
• Click the Review Tab of the Ribbon• Click the Thesaurus Button on the Proofing
Group. • The thesaurus tool will appear on the right
side of the screen and you can view word options.

cont

cont
• You can also access the thesaurus by right-clicking any word and choosing Synonyms on the menu.

Working with Tables
• Tables are used to display data in a table format. • Create a Table
To create a table:• Place the cursor on the page where you want the new table• Click the Insert Tab of the Ribbon• Click the Tables Button on the Tables Group. You can create a
table one of four ways:– Highlight the number of row and columns– Click Insert Table and enter the number of rows and columns– Click the Draw Table, create your table by clicking and entering the
rows and columns– Click Quick Tables and choose a table

cont

cont
• Enter Data in a TablePlace the cursor in the cell where you wish to enter the information. Begin typing.
• Modify the Table Structure and Format a TableTo modify the structure of a table:
• Click the table and notice that you have two new tabs on the Ribbon: Design and Layout. These pertain to the table design and layout.

cont

cont
• On the Design Tab, you can choose:• Table Style Options• Table Styles• Draw Borders • To format a table, click the table and then click
the Layout Tab on the Ribbon. This Layout tab allows you to:

cont
• View Gridlines and Properties (from the Table Group)• Insert Rows and Columns (from the Rows & Columns
Group)• Delete the Table, Rows and/or Columns (from the
Rows & Columns Group)• Merge or Split Cells (from the Merge Group)• Increase and Decrease cell size (Cell Size Group)• Align text within the cells and change text directions
(Alignment Group)

Printing
• To print your document:• 1. Click on the [Office] button and choose Print
button ( or click on the [Print] button on the Quick Access Toolbar or use the keyboard combination <Ctrl p>) – the following window appears:

cont

cont
• 2. Check that Name: is set to HP LaserJet Profession P 1102 (for black and white output
• 3. Set the required Page range and Number of copies:
• 4. The final step would normally be to click on [OK] but here, click on [Cancel]

cont
• It's a good idea to preview your work to check it fits neatly on the page before you print it. To do this:
• 5. Click on the [Office] button then move the mouse cursor over Print – a sub-menu appears:
• 6. From the further options that appear, choose Print Preview
• 7. Click on [Close print Preview] on the far right of the new Print Preview tab to return to normal typing

cont