microsoft powerpoint 2010 - amazon s3 file•microsoft powerpoint 2010 provides several standard,...
TRANSCRIPT

Microsoft
PowerPoint 2010 Lesson 2

Learning Objectives
Create a new presentation from a theme
Create a new slide
Delete a slide
Enter text in the Outline tab
Edit text in Normal View
Enter Speaker notes in the Notes pane and Note
Page View
Show slides in Slide Show view
Rearrange slides in Slide Sorter view
Insert slides from other presentations
• On completion of this lesson, students will be able to do the following:
Presentation Themes
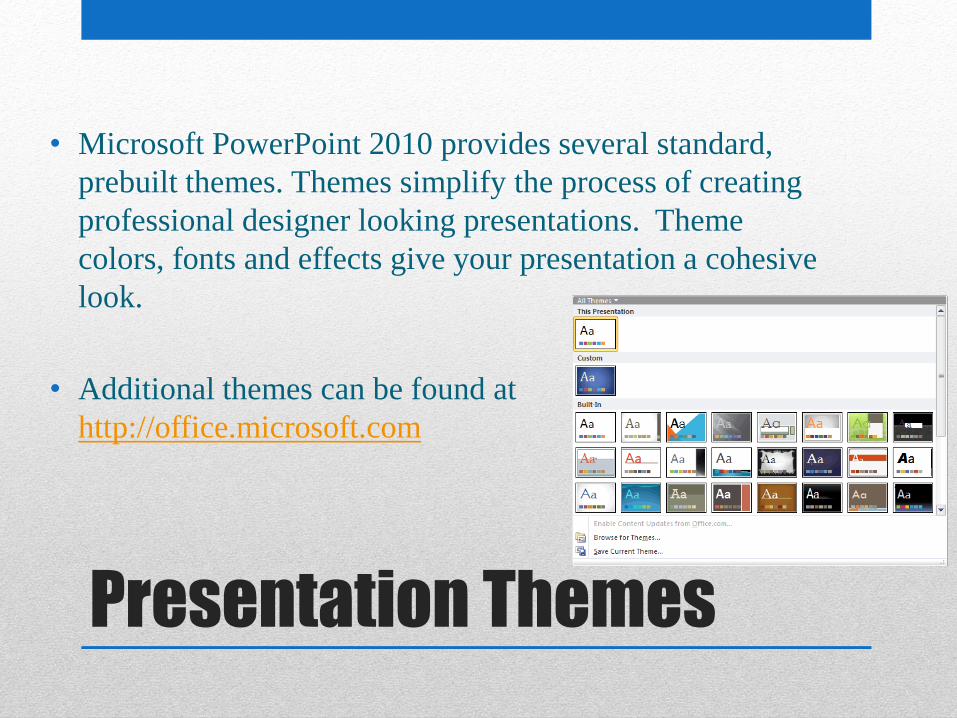
• Microsoft PowerPoint 2010 provides several standard,
prebuilt themes. Themes simplify the process of creating
professional designer looking presentations. Theme
colors, fonts and effects give your presentation a cohesive
look.
• Additional themes can be found at
http://office.microsoft.com

Selecting a Theme
• To access these themes
click on the Design Tab
on the Ribbon and select a
theme

Entering Text
• Notice the Placeholders (something used or included temporarily or
denotes or reserves a place for something to come later) guide the
user in entering data.
• By clicking on a text placeholder, it will change the placeholder to a
text object that can be used for text entry.

Creating a New Slide
• A new slide can be inserted anywhere in the slide
presentation.
Simply select the slide you wish to precede the new slide
then click new slide. A blank slide will be inserted after the
slide that was selected. You can then change the layout of
the slide if desired. PowerPoint has nine different slide
layouts by default.

Creating a New Slide
• To insert a new slide,
select the New Slide
button on the Home Tab
under the Slides group
• You may alter the
layout of any slide as
you see fit by selecting
the Layout button on
the Home Tab under the
Slides group.
Keyboard
Shortcut
CTRL + M

Inserting Slides from
other Presentations
• Using previously created slides when creating a new
presentation is a time-saving technique.
• Steps:
Click Home Tab
Click New Slide drop-down arrow, select Reuse Slide
Under the Insert Slide From option, select Browse, then Browse
File
Find the File in which you want to borrow the slide and select it
Scroll through the slides until you find the slide you wish to use.

Entering Text
• The outline tab displays the entire presentation in outline
format.
• The Outline Pane allows the user to concentrate on the
content of the slide rather than the design aspect of the
slide.
• Text can be edited in the Outline Tab or in the Slide
Pane by simply moving your cursor to the item you wish
to edit and typing your additions.
• To change slides in the Slide/Outline Pane, click on the
new slide/section you wish to move to.

The Window ***Normal View***
The filename appears in the Title Bar

Views
The different PowerPoint Views Include:
• Normal (Default View)
• Slide Sorter
• Notes Page
• Reading View
Views and Zoom In/Out

Speaker Notes
• Speaker notes are a special area in which the speaker can
make comments about the presentation. They are not
visible in the presentation and are viewed and printed
only by the speaker.
• Speaker notes can be created in the Notes Pane in
Normal View or in Notes Page View.
• Entering notes in the Notes Page View allows for one slide
to be visible at a time, and it allows for a much larger
visible area.

Notes Page View
Use the up/down arrow
or the page up/page
down keys on the
keyboard as well as the
scroll bar and scroll
wheel on the mouse to
navigate through slides.
Zoom in/out to
control the size
of the window

Slide Sorter View
View the
presentation in
slide sorter view to
easily rearrange
slides.
Simply click &
drag the slide to
it’s new desired
location.

Slide Show View
• Slide Show view is used to show a presentation in full
screen view from the first slide to the last slide in the
presentation in order by slide number.
• To view the slide show click on the Slide Show tab on the
Ribbon. This will allow you to view from the beginning
or from the current slide you are editing.
• You can also press F5 on your keyboard to run the slide
show.
• In Normal View you can also press the Slide Show icon
located at the bottom of the window.

Slide Show View
• To advance to the next slide during the slide show/return to a previous one, use the control buttons that the bottom on the lower left corner of the presentation window.
• You can also control the slides by using the Page Up & Page Down buttons and the arrows on your keyboard, or by clicking the left mouse button.
• To end the show, press the ESC button on
your keyboard.