lt. 1.1 protective mask and clothing (1-1 page 1)
DESCRIPTION
LT. 1.1 PROTECTIVE MASK AND CLOTHING (1-1 page 1). Enabling objectives. 1.1 Inspect individual protective mask . 1.2 Perform the five levels of mission-oriented protective posture. 1.3 Describe the procedures for relieving oneself in a contaminated environment. MCU-2/P MASK. - PowerPoint PPT PresentationTRANSCRIPT

LT. 1.1 PROTECTIVE MASK AND LT. 1.1 PROTECTIVE MASK AND CLOTHING (1-1 page 1)CLOTHING (1-1 page 1)

Enabling objectivesEnabling objectives
1.1 Inspect1.1 Inspect individual protective maskindividual protective mask..
1.2 Perform1.2 Perform the five levels of mission-the five levels of mission-oriented protective posture.oriented protective posture.
1.3 Describe 1.3 Describe the procedures for the procedures for relieving oneself in a contaminated relieving oneself in a contaminated environment. environment.

Sizes are :smallmediumlarge
Identified by a raised letter on facepiece.
MCU-2/P MASK

MCU-2/P MASK MCU-2/P MASK COMPONENTSCOMPONENTS
Head HarnessHead Harness FacepieceFacepiece LensLens NosecupNosecup Nosecup Nosecup
ValvesValves
VoicemitterVoicemitter Inlet Valve AssyInlet Valve Assy Outlet Valve AssyOutlet Valve Assy Outlet Valve Outlet Valve
CoverCover Drinking TubeDrinking Tube

MCU-2/P MASK Inspection (page 3)
1. Head Harness2. Buckles3. Tabs
6. Side Voicemitter Retaining Ring.7. Side Voicemitter
4. Faceseal5. Facepiece6. Lens
9. Front Voicemitter Retaining Ring10. Front Voicemitter

11. Inlet valve disk
12. Outlet Valve Disk
MCU-2/P MASK Inspection
13. Outlet Valve Cover
14. External Drinking Tube
15. Internal Drinking Tube
16. Nosecup

CANISTER (page 4)
Canisters not effective against ammonia,carbon monoxide, carbon dioxide,commercial fuel gases, nitrous fumes,or sulfur dioxide
Canisters are packaged in sealed containersand have a shelf life of five years from dateof manufacture.Extensions are based on surveillance testresults.

CANISTER SHOULD BE CANISTER SHOULD BE CHANGED WHEN:CHANGED WHEN:
Clear indication chemical/biological Clear indication chemical/biological agents is imminent and MOPP level agents is imminent and MOPP level III is set by Commanding OfficerIII is set by Commanding Officer
Thirty days after exposureThirty days after exposure Immediately after exposure to Immediately after exposure to
blood agentsblood agents
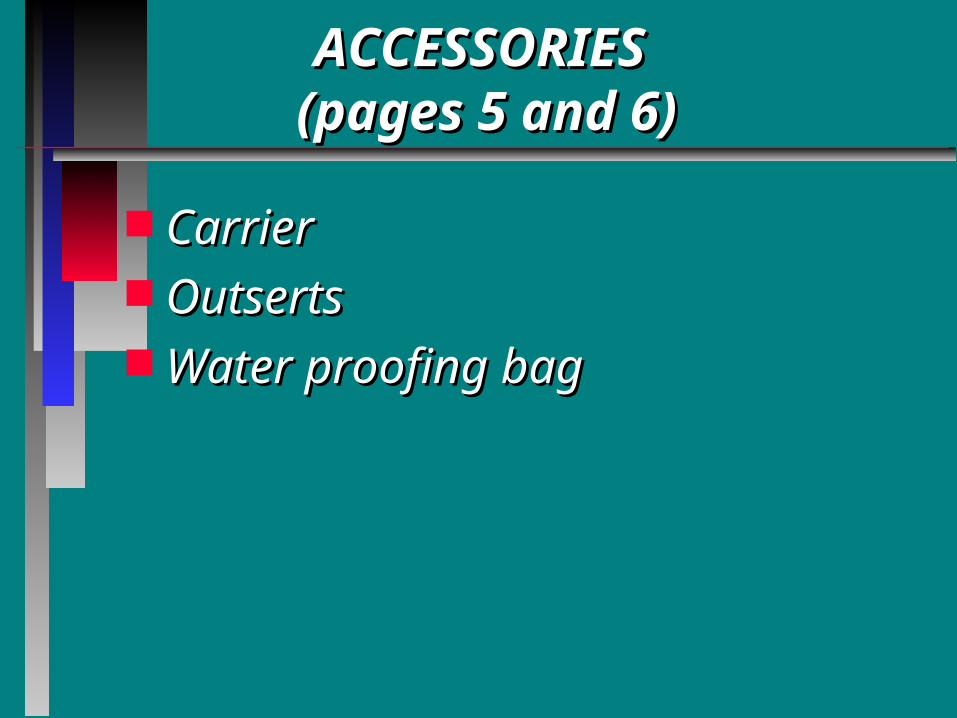
ACCESSORIES ACCESSORIES (pages 5 and 6)(pages 5 and 6)
CarrierCarrier OutsertsOutserts Water proofing bagWater proofing bag

CARRIER CARRIER (page 5)(page 5)
Web Belt carry.Web Belt carry.
The mask should be stored in a ready condition inside the mask carrier.
May be worn in any of these three positions.

Waist carry

shoulder carry

CARRIERCARRIER
Shoulder strapShoulder strap D-ringD-ring Front hookFront hook Waist strapWaist strap Rear hookRear hook Shoulder strap Shoulder strap
pocketpocket
Waist strap hook Waist strap hook Pile fastenerPile fastener
Accessory pocketAccessory pocket Carrier flap pull Carrier flap pull
tabtab Inside top pocketInside top pocket Large inside Large inside
pocket pocket
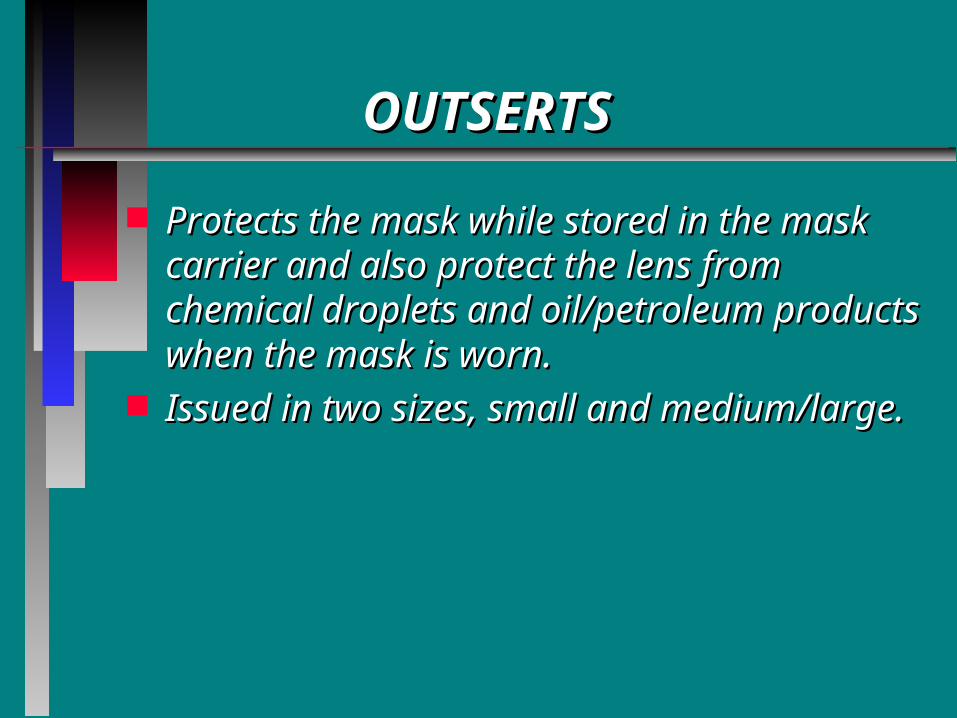
OUTSERTSOUTSERTS
Protects the mask while stored in the mask Protects the mask while stored in the mask carrier and also protect the lens from carrier and also protect the lens from chemical droplets and oil/petroleum products chemical droplets and oil/petroleum products when the mask is worn.when the mask is worn.
Issued in two sizes, small and medium/large.Issued in two sizes, small and medium/large.

WATER PROOFING BAG WATER PROOFING BAG (page 6) (page 6)
Twist gathered end of Twist gathered end of bag tightly, fold twisted bag tightly, fold twisted part backpart back
Use a rubber band, Use a rubber band, secure endsecure end
Place bag in carrierPlace bag in carrier Close carrier flapClose carrier flap
Remove the Remove the waterproofing bagwaterproofing bag
Put the mask in the bagPut the mask in the bag Gather open endGather open end Squeeze bagSqueeze bag
Stowed in the carrier- used to protect the mask and canister from moisture.To use the water proofing bag, the following applies:

WARNING!!!!WARNING!!!! DO NOT STORE FOOD IN THE DO NOT STORE FOOD IN THE
WATERPROOF BAG. POSSIBLE WATERPROOF BAG. POSSIBLE TOXIC EFFECTS COULD RESULT.TOXIC EFFECTS COULD RESULT.
DO NOT STORE YOUR MASK IN THE DO NOT STORE YOUR MASK IN THE WATERPROOF BAG FOR MORE WATERPROOF BAG FOR MORE THAN 24 HOURS, MOISTURE AND THAN 24 HOURS, MOISTURE AND OFF-GASSING BUILD-UP IN THE BAG OFF-GASSING BUILD-UP IN THE BAG MAY AFFECT THE CANISTER.MAY AFFECT THE CANISTER.

ADDITIONAL ACCESSORIESADDITIONAL ACCESSORIES
Combat Spectacles (MAG 1)Combat Spectacles (MAG 1) M-1 Canteen CapM-1 Canteen Cap

MASK FITTING PROCEDURES MASK FITTING PROCEDURES (page 7 through 10)(page 7 through 10)
A correctly adjusted mask is necessary A correctly adjusted mask is necessary for the mask to fit properly.for the mask to fit properly.• Remove outsert and canister.Remove outsert and canister.• Loosen straps all but one inch from buckleLoosen straps all but one inch from buckle• Reverse head harnessReverse head harness• Pull head harness, quick don tabPull head harness, quick don tab• Tighten temple straps Tighten temple straps • Headpad centeredHeadpad centered

MASK FITTING PROCEDURESMASK FITTING PROCEDURES
NOTE *** TIGHTEN ALL STRAPS NOTE *** TIGHTEN ALL STRAPS TOWARDS THE REAR OF YOUR HEAD.TOWARDS THE REAR OF YOUR HEAD.
WARNING !!!!! DO NOT WARNING !!!!! DO NOT OVERTIGHTEN STRAPS, THIS OVERTIGHTEN STRAPS, THIS MAY CAUSE DISTORTION OF MAY CAUSE DISTORTION OF MASK, CAUSING LEAKS.MASK, CAUSING LEAKS.
MASK FITTING PROCEDURESMASK FITTING PROCEDURES
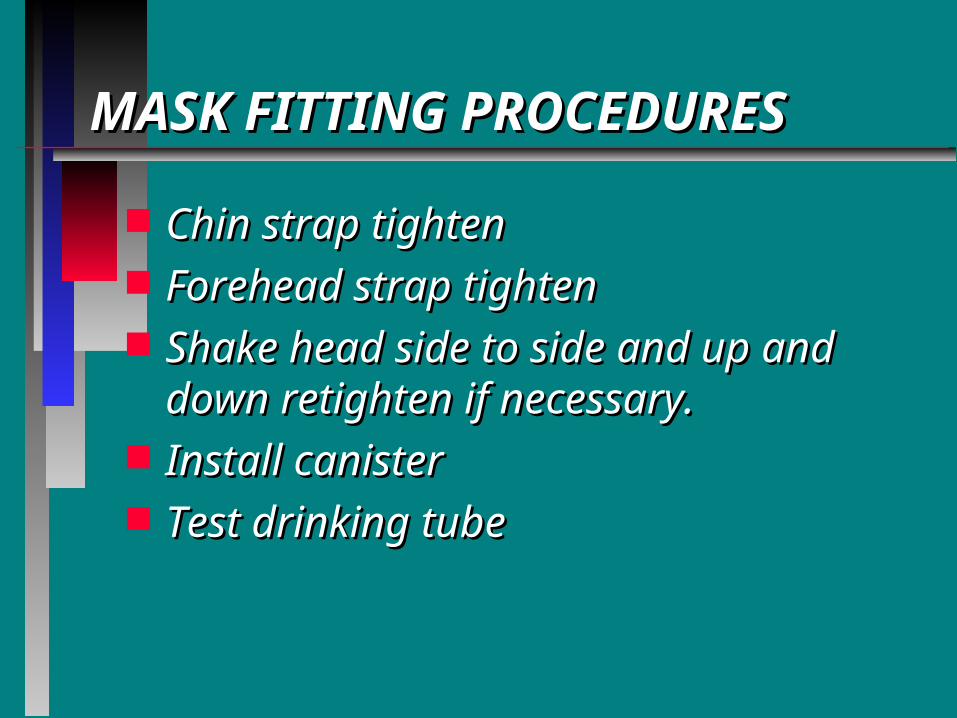
Chin strap tightenChin strap tighten Forehead strap tightenForehead strap tighten Shake head side to side and up and Shake head side to side and up and
down retighten if necessary.down retighten if necessary. Install canister Install canister Test drinking tubeTest drinking tube

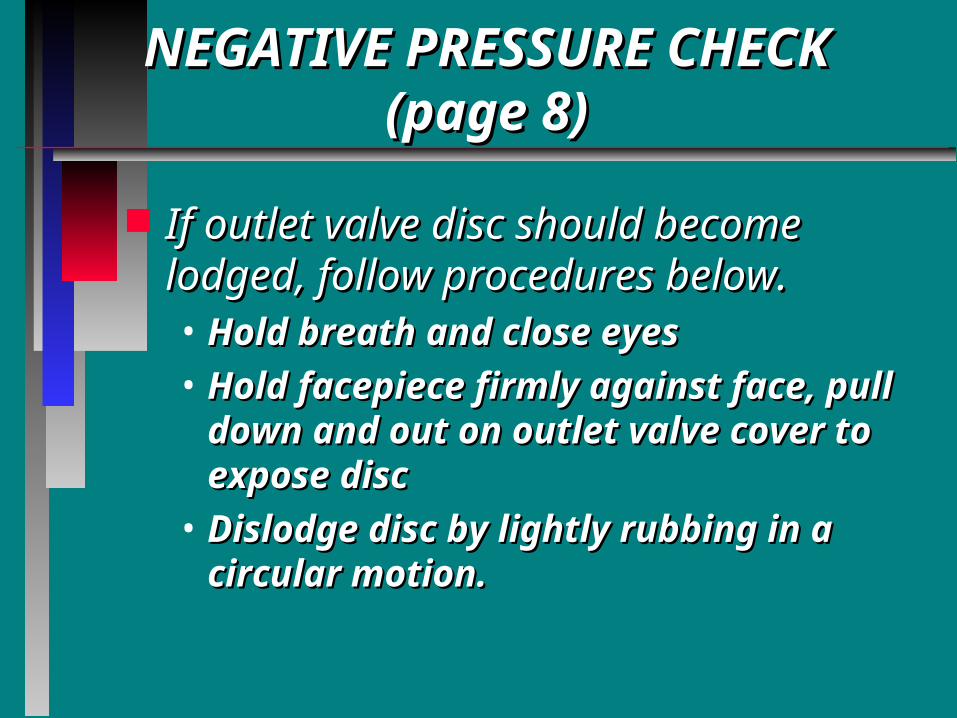
NEGATIVE PRESSURE CHECK NEGATIVE PRESSURE CHECK (page 8)(page 8)
Press palm over canister, breathe Press palm over canister, breathe in lightly until resistance is felt. in lightly until resistance is felt. Hold breath for five to ten seconds.Hold breath for five to ten seconds.
WARNINGS!!!!!WARNINGS!!!!!
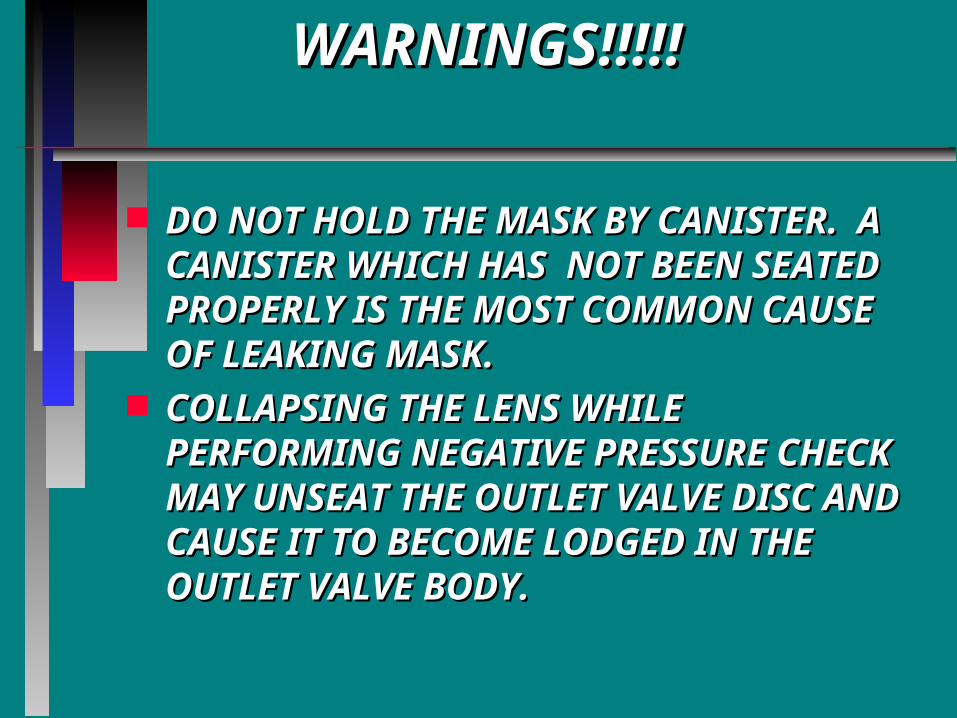
DO NOT HOLD THE MASK BY CANISTER. DO NOT HOLD THE MASK BY CANISTER. A CANISTER WHICH HAS NOT BEEN A CANISTER WHICH HAS NOT BEEN SEATED PROPERLY IS THE MOST SEATED PROPERLY IS THE MOST COMMON CAUSE OF LEAKING MASK.COMMON CAUSE OF LEAKING MASK.
COLLAPSING THE LENS WHILE COLLAPSING THE LENS WHILE PERFORMING NEGATIVE PRESSURE PERFORMING NEGATIVE PRESSURE CHECK MAY UNSEAT THE OUTLET CHECK MAY UNSEAT THE OUTLET VALVE DISC AND CAUSE IT TO BECOME VALVE DISC AND CAUSE IT TO BECOME LODGED IN THE OUTLET VALVE BODY.LODGED IN THE OUTLET VALVE BODY.
NEGATIVE PRESSURE CHECK NEGATIVE PRESSURE CHECK (page 8)(page 8)
If outlet valve disc should become If outlet valve disc should become lodged, follow procedures below.lodged, follow procedures below.• Hold breath and close eyesHold breath and close eyes• Hold facepiece firmly against face, pull Hold facepiece firmly against face, pull
down and out on outlet valve cover to down and out on outlet valve cover to expose discexpose disc
• Dislodge disc by lightly rubbing in a Dislodge disc by lightly rubbing in a circular motion.circular motion.

NEGATIVE PRESSURE CHECKNEGATIVE PRESSURE CHECK
• Clear mask by exhalingClear mask by exhaling• Conduct negative pressure checkConduct negative pressure check• Open eyes and breath normallyOpen eyes and breath normally• Replace outlet valve coverReplace outlet valve cover

LEAK CHECKSLEAK CHECKS
You must check the mask for leaks You must check the mask for leaks when it is fitted, each time you put it on when it is fitted, each time you put it on and when you change canisters.and when you change canisters.
Install canister before performing leak Install canister before performing leak checks.checks.

DRINKING TUBE LEAK CHECK DRINKING TUBE LEAK CHECK (page 8)(page 8)
To perform a leak check the To perform a leak check the following procedures should be following procedures should be used.used.
• Test drinking tube-blow into, until Test drinking tube-blow into, until resistance is felt.resistance is felt.

DONNING PROCEDURES DONNING PROCEDURES (page 9)(page 9)
You must presume the following You must presume the following prior to donning the maskprior to donning the mask
With suspected presence of contamination, don your mask immediately before taking another breath.eyeglasses or contact lenses removedmask leak checked and ready for donning procedures

DONNINGDONNING PROCEDURES PROCEDURES
Stop breathingClose eyes tightlyRemove headgearOpen carrier and remove maskDon mask using the quick don pull tabTighten neck straps
Expel air that has been held in the lungs
Check seal by covering canister opening and inhaling
Open eyes and resume normal breathing
Secure hood, don headgearClose carrier
DOFFING PROCEDURES DOFFING PROCEDURES (page 9)(page 9)
For uncontaminated environment are as follows :
Remove headgearUnfasten and lower hoodLoosen mask neck strapsRemove maskReverse head harness, shake or wipe any moisture from inside
mask.
Stow mask in carrier

DOFFING PROCEDURES
For a Contaminated or Unknown Environment:
With a M256A1 kit (15 min)
Without a M256A1 kit
DOFFINGDOFFING PROCEDURES PROCEDURES
For a Contaminated or Unknown For a Contaminated or Unknown Environment:Environment:
• Should be conducted as soon as Should be conducted as soon as possible to alleviate soldiers’ possible to alleviate soldiers’ encapsulation and restore their encapsulation and restore their combat potential.combat potential.
• Two Unmasking Procedures:Two Unmasking Procedures:— With M256A1 Chemical Agent With M256A1 Chemical Agent
Detector KitDetector Kit— Without M256A1 Chemical Agent Without M256A1 Chemical Agent
Detector KitDetector Kit

Overview of Unmasking Overview of Unmasking Procedures Procedures (cont.)(cont.)
• Selected soldiers should be disarmed before they Selected soldiers should be disarmed before they unmask.unmask.
• Should be conducted in shade. Bright, direct Should be conducted in shade. Bright, direct sunlight can cause pupils in the eyes to constrict, sunlight can cause pupils in the eyes to constrict, giving false signs of nerve agent exposure.giving false signs of nerve agent exposure.

Unmasking with the M256A1 Unmasking with the M256A1 Chemical Agent Detector Kit Chemical Agent Detector Kit
(1)(1) Senior person present selects one or Senior person present selects one or two two soldiers to unmask after permission is soldiers to unmask after permission is received from higher headquarters.received from higher headquarters.(2)(2) Conduct unmasking procedures in Conduct unmasking procedures in shade.shade.(3)(3) Use M256A1 Chemical Agent Detector Use M256A1 Chemical Agent Detector
Kit Kit to test for chemical agents. Use to test for chemical agents. Use M8 Paper to check for liquid contamination.M8 Paper to check for liquid contamination.NOTE: Continue only if both tests come NOTE: Continue only if both tests come up negative.up negative.

Unmasking with the M256A1 Chemical Unmasking with the M256A1 Chemical Agent Detector Kit (cont.)Agent Detector Kit (cont.)
(4)(4) Direct at least two soldiers to Direct at least two soldiers to unmask for 5 minutes and then don, unmask for 5 minutes and then don, seal, and clear masks.seal, and clear masks.(5)(5) Observe these soldiers for 10 Observe these soldiers for 10 minutes for symptoms.minutes for symptoms.(6)(6) If no symptoms appear, direct all If no symptoms appear, direct all soldiers to unmask.soldiers to unmask.

Unmasking with the M256A1 Chemical Unmasking with the M256A1 Chemical Agent Detector Kit (cont.)Agent Detector Kit (cont.)
(7)(7) Check soldiers for delayed symptoms. Check soldiers for delayed symptoms. Have first aid treatment available.Have first aid treatment available.(8)(8) Complete steps (1) through (7) in Complete steps (1) through (7) in sequence.sequence.NOTE: This entire procedure will take NOTE: This entire procedure will take approximately 15 minutes.approximately 15 minutes.

Unmasking without M256A1 Unmasking without M256A1 Chemical Agent Detector KitChemical Agent Detector Kit
(1)(1) Senior person present selects one or Senior person present selects one or two two soldiers to unmask after permission is soldiers to unmask after permission is received from higher headquarters.received from higher headquarters.(2)(2) Conduct unmasking in the shade.Conduct unmasking in the shade.(3)(3) Use M8 paper to check for possible Use M8 paper to check for possible liquid contamination.liquid contamination.NOTE: Continue unmasking procedures NOTE: Continue unmasking procedures only if test is negative.only if test is negative.
Unmasking without M256A1 Chemical Unmasking without M256A1 Chemical Agent Detector Kit (cont.)Agent Detector Kit (cont.)
(4)(4) Select one or two soldiers to take a Select one or two soldiers to take a deep breath and break the seals of their deep breath and break the seals of their masks, while keeping their eyes open for 15 masks, while keeping their eyes open for 15 seconds; then reseal and clear their masks.seconds; then reseal and clear their masks.(5)(5) Observe them for 10 minutes for Observe them for 10 minutes for symptoms.symptoms.(6)(6) If no symptoms appear, direct these If no symptoms appear, direct these soldiers to break the seals of their masks, soldiers to break the seals of their masks, take two or three breaths, and then reseal take two or three breaths, and then reseal and clear their masks.and clear their masks.

Unmasking without M256A1 Chemical Unmasking without M256A1 Chemical Agent Detector Kit (cont.)Agent Detector Kit (cont.)
(7)(7) Observe them for 10 more minutes Observe them for 10 more minutes for symptoms.for symptoms.(8)(8) If no symptoms appear, direct these If no symptoms appear, direct these soldiers to unmask for 5 minutes and soldiers to unmask for 5 minutes and then don, seal, and clear their masks.then don, seal, and clear their masks.(9)(9) Observe them for 10 minutes for Observe them for 10 minutes for symptoms.symptoms.

Unmasking without M256A1 Unmasking without M256A1 Chemical Agent Detector Kit (cont.)Chemical Agent Detector Kit (cont.)
(10) If no symptoms appear, direct all (10) If no symptoms appear, direct all soldiers to unmask.soldiers to unmask.(11) Check soldiers for delayed (11) Check soldiers for delayed symptoms and have first aid available.symptoms and have first aid available.(12) Complete steps (1) through (11) in (12) Complete steps (1) through (11) in sequence.sequence.NOTE: This entire procedure will take NOTE: This entire procedure will take approximately 35 minutes.approximately 35 minutes.

CHEMICAL PROTECTIVE CHEMICAL PROTECTIVE ENSEMBLE (Saratoga Suit) ENSEMBLE (Saratoga Suit)
(Page 11) (Page 11) Individual Individual
protective action protective action should be an should be an immediate concern immediate concern when personnel when personnel are under are under chemical, chemical, biological, and biological, and radiological attack.radiological attack.

The Saratoga Suit is a camouflage over garment consisting of a coat and trousers. Normally worn over uniform, in high temps, may be worn over underwear.
CHEMICAL PROTECTIVE ENSEMBLE (page 11)
Contaminated environment, provides 24 hours of protection.
The suit protects against chemical agent vapors, liquid droplets, biological agents, toxins and radioactive alpha particles.
Can be worn for 30 consecutive days and may be laundered up to 10 times within those 30 days.
Contact with POL’s will significantly degrade protection provided by suit.

FIVE LEVELS OF MISSION ORIENTED PROTECTIVE POSTURE/DONNING
PROCEDURES (MOPP)
MOPP IIMOPP IIIMOPP IV
MOPP 0MOPP I
MOP
P
ission
riented
rotective
osture
NOTE: MOPP Levels 1-4 can be either Open or Closed reference unit SOP

MOPP I
DON TROUSERS
SMOCK
OVERBOOTS
MOPP II
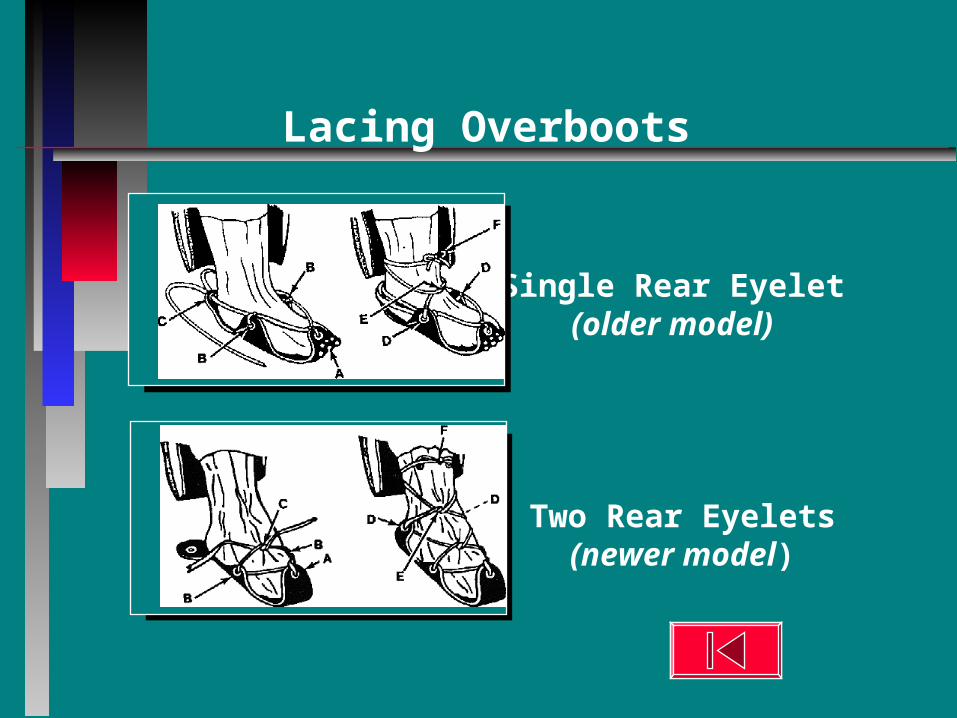
Single Rear Eyelet(older model)
Two Rear Eyelets(newer model)
Lacing Overboots

DON MASK
MOPP lll MOPP IVDon chemical cotton liners,and gloves

CAUTION!!!CAUTION!!!
ENSURE THAT ENSURE THAT THE HOOD IS THE HOOD IS PULLED DOWN PULLED DOWN SECURELY SECURELY AROUND THE AROUND THE FACEPIECE OF FACEPIECE OF THE MASK SO THE MASK SO THAT NO SKIN IS THAT NO SKIN IS EXPOSEDEXPOSED
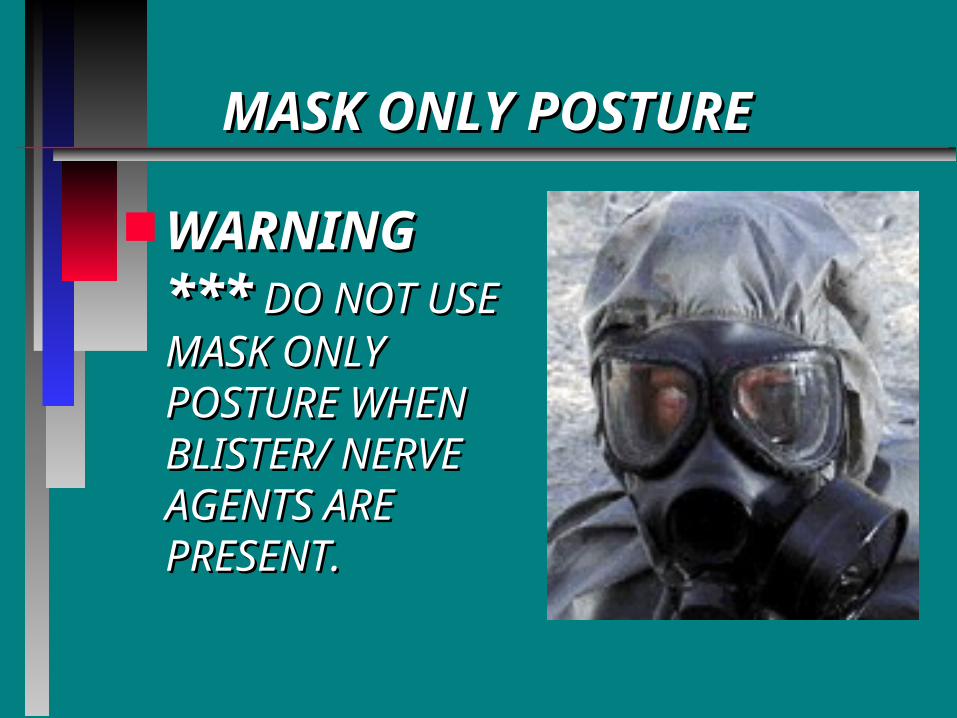
MASK ONLY POSTUREMASK ONLY POSTURE
WARNING ***WARNING *** DO NOT USE DO NOT USE MASK ONLY MASK ONLY POSTURE POSTURE WHEN BLISTER/ WHEN BLISTER/ NERVE AGENTS NERVE AGENTS ARE PRESENT.ARE PRESENT.

RELIEF OF BODILY WASTERELIEF OF BODILY WASTE

SUMMARY AND REVIEWSUMMARY AND REVIEW
PROTECTIVE MASKPROTECTIVE MASK CHEMICAL PROTECTIVE CLOTHINGCHEMICAL PROTECTIVE CLOTHING MISSION ORIENTED PROTECTIVE MISSION ORIENTED PROTECTIVE
POSTUREPOSTURE RELIEF OF BODILY WASTERELIEF OF BODILY WASTE