introduction to kerpoof make a picture
DESCRIPTION
Brief introduction to Kerpoof Make a PictureTRANSCRIPT

Creating Artwork With
Make a Picture
Lesson Plan and
Supporting Documents
Questions? Contact us at 303-262-9819 or [email protected].

2
Table of Contents
Table of Contents/Contact Information…..……………………………. 2
Lesson Plan…………………………………………………………………… 3
Make a Picture Tutorial for Educators…….……………………………… 4
Step-by-step Classroom Demonstration …………………………………. 5-6
Student Worksheet…………………………………………………..………… 7-8
Handout for Students to Take Home…………………………………….. 9
Questions? Contact us at 720-220-7824 or [email protected].

3
Title: Introduction to Kerpoof’s Make a Picture Topic(s): computer literacy, problem solving, meta-cognitive thinking Grade level: 3-5 Objective: Students will learn how to create artwork with Kerpoof’s Make a Picture while practicing a range of computer skills, including typing and mouse manipulation. These skills can be used to en-hance content-based lessons in the future. Student Assignment: Make a picture in Kerpoof following the student worksheet (p. 8-9). Materials and Resources provided by Kerpoof:
Educator tutorial
Step-by-step classroom demonstration
Student worksheet
A handout to copy/cut/give to students telling them how to find Kerpoof online
Set-up:
Print and copy the materials provided.
Read through educator tutorial. Tasks/activities: Introduce Kerpoof by drawing on experiences with programs like KidPix and Pixie (5 minutes) Demonstrate Kerpoof using the provided walkthrough (10 minutes) Pass out the student worksheet Give students 10 minutes to explore and find a scene they like Give students 20 minutes to complete the worksheet If time and technology allow, have each student present their picture electronically. Otherwise,
have each student print their picture to share with the class.
Kerpoof Make a Picture Lesson Plan

4
How to Use Kerpoof’s Make a Picture — Educator Tutorial
Waypoint
Characters
Kerpoof’s Make a Picture has three main parts: the scene, the object library, and the control buttons. See the descriptions and figure below for a quick tour of the application. Scene There are more than 50 scenes or backgrounds to choose from, ranging from wacky cartoon worlds to histori-cal worlds, animal habitats and the “Master Artist” series. Object Library Each scene has a library of 40-70 objects that can be used to create a picture. To access more objects, click on one of the objects in the library and watch more items “kerpoof” into view! Control Buttons From top to bottom: Cherry bomb — When this is dragged into a scene it removes all movable objects from the scene in a
spectacular explosion. Text tool — When this is dragged into the scene it allows users to add a title or other text to their scene. Save — Allows users who are logged in to save their picture to their gallery. Printer — Allows users to print their picture. Includes the option to print as a black-and-white coloring book
page. Mail — Allows users who are logged in to e-mail their picture to a friend or family member.
Object Library
Scene
Control Buttons

5
How to Use Kerpoof’s Make a Picture — Educator Tutorial
Kerpoof Make a Picture Classroom Demonstration
Step 1 We’re on the Kerpoof home page. How do you think we should start? I think we click on “Make a Picture.”
Step 2 I’m going to pick a scene.
There are a lot of scenes to choose from. I can see more scenes if I click on this arrow.
I’m going to pick this scene with the ice and snow.
Step 3 I’m going to make a picture that shows what
wildlife lives in Antarctica. First I’m going to drag in a whale.
Hold down your mouse button while you drag and then let go when you have it where you want it.
Step 4 The whale can’t swim on land, so I have to
move him into the water.
See the shadow beneath him? I’m going to click on it and hold down my mouse while I drag him back to the water.
Step 5 He’s also
smaller than I would like him to be, so I’m going to hold my mouse button down while I click on this arrow and drag to resize.
Step 6 Now I’m going to add more objects to my
scene. Here are some penguins. I have to make the grey one smaller because he’s just a baby (his feathers haven’t changed yet). A grey whale is “fluking” (showing his tail) out there in the water. And here’s a seal. All of these animals live in Antarctica, at the very bottom of the earth.
Be sure to keep hold-ing down your mouse button as you drag objects around the scene. Select an object by clicking on it. See how it gets an orange glow around the edges?
Checkpoint

6
Kerpoof Make a Picture Classroom Demonstration
Features for registered users:
Now that I’m registered, I can save artwork under the “My Gallery” tab in My Bag.
I can also delete scenes from My Gallery by clicking on the trash can.
When I’m done creating a piece of artwork, I’ll have the option to “Share with Every-one.” My picture will be reviewed before it is posted in the community gallery.
There are two more tabs in My Bag: “Inventory” and “Groups.” I can access my favorite Kerpoof characters and stuff I’ve bought with my Kerpoof Koins under the “Inventory” tab, and I can chat or Buddy Draw with my friends by clicking on the “Group Tab.”
Optional Registration: You can save and share your artwork if you
register on Kerpoof. It’s very safe and easy. Let’s see how we do that.
First I’m going to click done to get back to the main page.
Here’s the login button.
If I click that button, a box comes up to ask me for my nickname and password. I don’t have one yet so I’m going to click here on the “sign up” button.
Now I’ll be asked some questions. I know it isn’t safe for me to give my real name, so I’m going to pick a nickname. I’ll also pick a pass-word and a few se-cret questions, just in case I forget it. I’ll also type in a parent or guardian’s e-mail address so that they’ll know that I’m regis-tered on Kerpoof.
Step 9 I think my picture is
perfect! Now I want to print it.
First I’m going to click on the print icon.
Step 10 Now I have the print
dialogue box, and I have to make some choices.
I can print it in color (or grayscale on a black and white printer).
I can print it as a coloring book page to give to a younger student or sibling.
I can print the picture or the coloring sheet as a one larger card or two small cards.
Now you’ll see your com-puter’s print dialogue box. Just print like you always do.
Step 7 I want the baby pen-
guin to be facing the other way, so that it looks like he’s walking toward his mother.
I’m going to click on the arrow again and drag it to the right. See how he flips and becomes a mirror image?
Step 8 I can also rotate things so that they are at
a different angle, or even upside down.
I want the seal to be laying on his back, so I’m going to grab the arrow that looks like a circle and pull it in the direction I want him to rotate.
If you bring an object into your scene and decide that you DON’T want it in your scene after all, just click-and-drag it out of the scene. It will “kerpoof” away. You can also use your delete key to remove objects. If you want everything in your scene to dis-appear, just drag in the cherry bomb and wait while the fuse burns.
Checkpoint
7
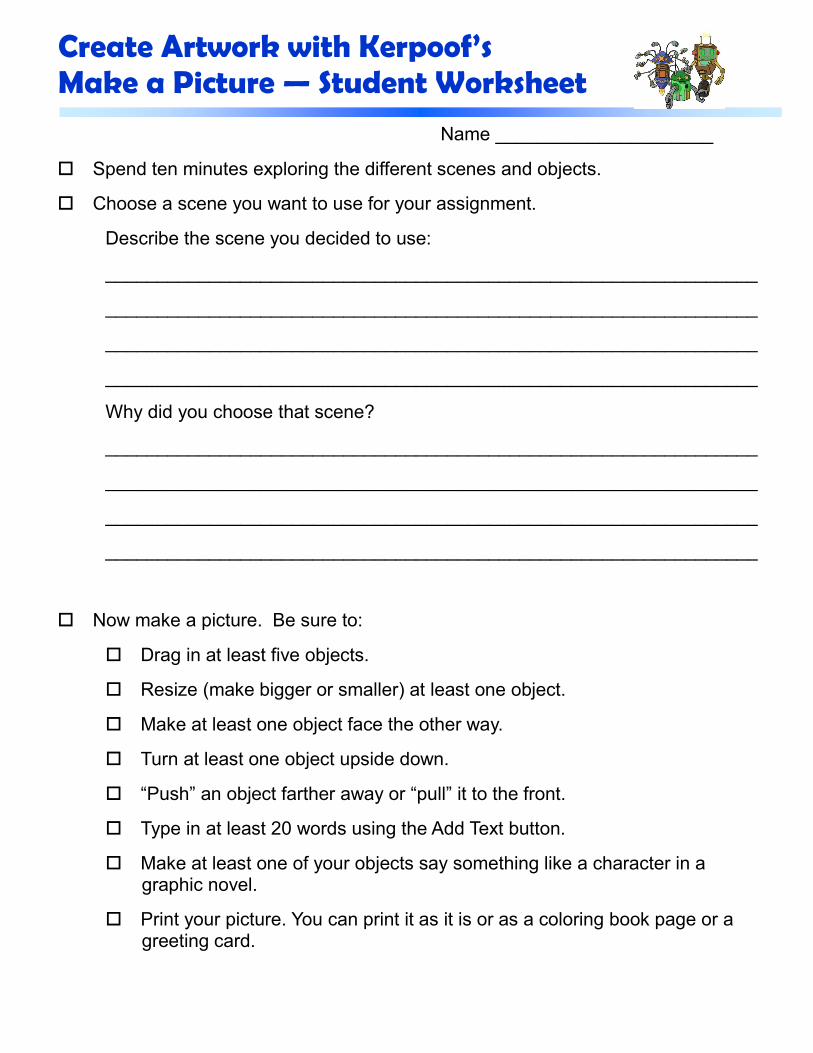
Name _____________________
Spend ten minutes exploring the different scenes and objects.
Choose a scene you want to use for your assignment.
Describe the scene you decided to use:
_______________________________________________________________
_______________________________________________________________
_______________________________________________________________
_______________________________________________________________
Why did you choose that scene?
_______________________________________________________________
_______________________________________________________________
_______________________________________________________________
_______________________________________________________________
Now make a picture. Be sure to:
Drag in at least five objects.
Resize (make bigger or smaller) at least one object.
Make at least one object face the other way.
Turn at least one object upside down.
“Push” an object farther away or “pull” it to the front.
Type in at least 20 words using the Add Text button.
Make at least one of your objects say something like a character in a graphic novel.
Print your picture. You can print it as it is or as a coloring book page or a greeting card.
Create Artwork with Kerpoof’s Make a Picture — Student Worksheet

8
What was the hardest thing you had to learn to make a picture in Kerpoof?
_______________________________________________________________
_______________________________________________________________
_______________________________________________________________
_______________________________________________________________
If you had to teach someone how to use Kerpoof, what are the top three things you would tell them to get them started?
1. _____________________________________________________________
2. _____________________________________________________________
3. _____________________________________________________________
List three ways we can use Kerpoof to help us learn.
1. _____________________________________________________________
2. _____________________________________________________________
3. _____________________________________________________________
Create Artwork with Kerpoof’s Make a Picture — Student Worksheet
Writing down how you think and make decisions helps you find your way around your own brain!

9
DID YOU LIKE MAKING
A PICTURE IN KERPOOF?
You can find your way to fun anytime at:
www.kerpoof.com
DID YOU LIKE MAKING
A PICTURE IN KERPOOF?
You can find your way to fun anytime at:
www.kerpoof.com
DID YOU LIKE MAKING
A PICTURE IN KERPOOF?
You can find your way to fun anytime at:
www.kerpoof.com
DID YOU LIKE MAKING
A PICTURE IN KERPOOF?
You can find your way to fun anytime at:
www.kerpoof.com
DID YOU LIKE MAKING
A PICTURE IN KERPOOF?
You can find your way to fun anytime at:
www.kerpoof.com
DID YOU LIKE MAKING
A PICTURE IN KERPOOF?
You can find your way to fun anytime at:
www.kerpoof.com