introduction - coldfusion administrator loginpdf.pgalinks.com/regmemos/gcdr_wea.doc · web viewgolf...
TRANSCRIPT

Golf Club Design and Repair
Work Experience Activities
Work Experience ActivitiesGolf Club Design and Repair
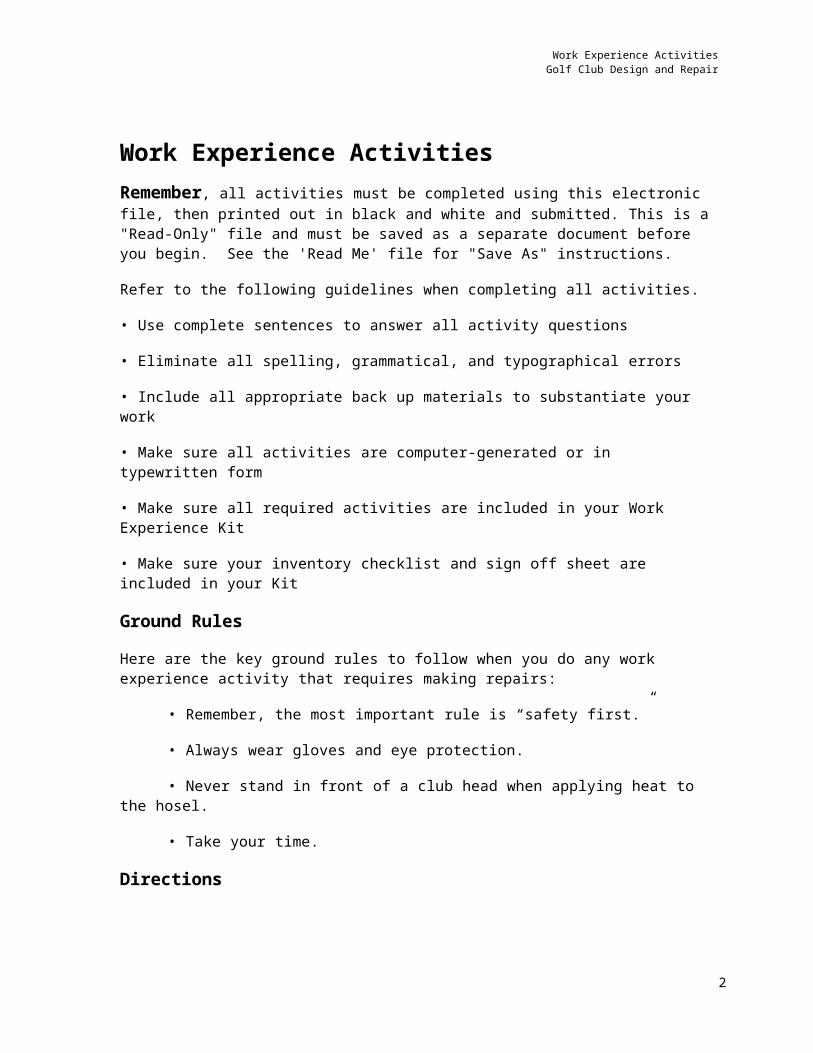
Work Experience ActivitiesRemember, all activities must be completed using this electronic file, then printed out in black and white and submitted. This is a "Read-Only" file and must be saved as a separate document before you begin. See the 'Read Me' file for "Save As" instructions.
Refer to the following guidelines when completing all activities.
• Use complete sentences to answer all activity questions
• Eliminate all spelling, grammatical, and typographical errors
• Include all appropriate back up materials to substantiate your work
• Make sure all activities are computer-generated or in typewritten form
• Make sure all required activities are included in your Work Experience Kit
• Make sure your inventory checklist and sign off sheet are included in your Kit
Ground Rules
Here are the key ground rules to follow when you do any work experience activity that requires making repairs:
• Remember, the most important rule is “safety first.”
• Always wear gloves and eye protection.
• Never stand in front of a club head when applying heat to the hosel.
• Take your time.
Directions
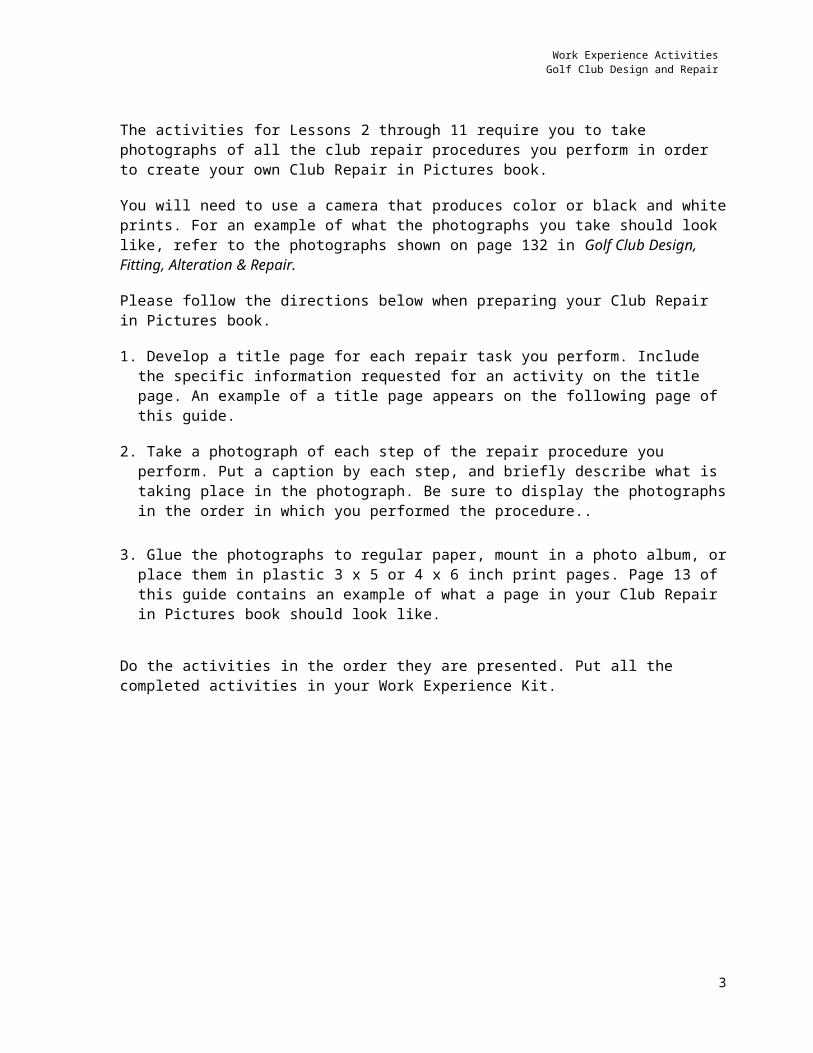
The activities for Lessons 2 through 11 require you to take photographs of all the club repair procedures you perform in order to create your own Club Repair in Pictures book.
You will need to use a camera that produces color or black and white prints. For an example of what the photographs you take should look like, refer to the photographs shown on page 132 in Golf Club Design, Fitting, Alteration & Repair.
Please follow the directions below when preparing your Club Repair in Pictures book.
2
Work Experience ActivitiesGolf Club Design and Repair
1. Develop a title page for each repair task you perform. Include the specific information requested for an activity on the title page. An example of a title page appears on the following page of this guide.
2. Take a photograph of each step of the repair procedure you perform. Put a caption by each step, and briefly describe what is taking place in the photograph. Be sure to display the photographs in the order in which you performed the procedure..
3. Glue the photographs to regular paper, mount in a photo album, or place them in plastic 3 x 5 or 4 x 6 inch print pages. Page 13 of this guide contains an example of what a page in your Club Repair in Pictures book should look like.
Do the activities in the order they are presented. Put all the completed activities in your Work Experience Kit.
3

Work Experience ActivitiesGolf Club Design and Repair
Sample Title Page
4
Regripping a ShaftClub used—5 ironShaft used—steel (TT-Lite)Club make and model—Titleist DCIDiameter of Shaft—.600Grip core size—.60Desired increase—1/64"Number of wraps of tape—_____Time required for repair—30 min.

Work Experience ActivitiesGolf Club Design and Repair
Sample Photo Page
5
Photograph Photograph
Photograph Photograph
Caption Caption
Caption Caption
4. After cutting through the length of the grip, pull the remaining portion of the grip from the shaft.
Work Experience ActivitiesGolf Club Design and Repair
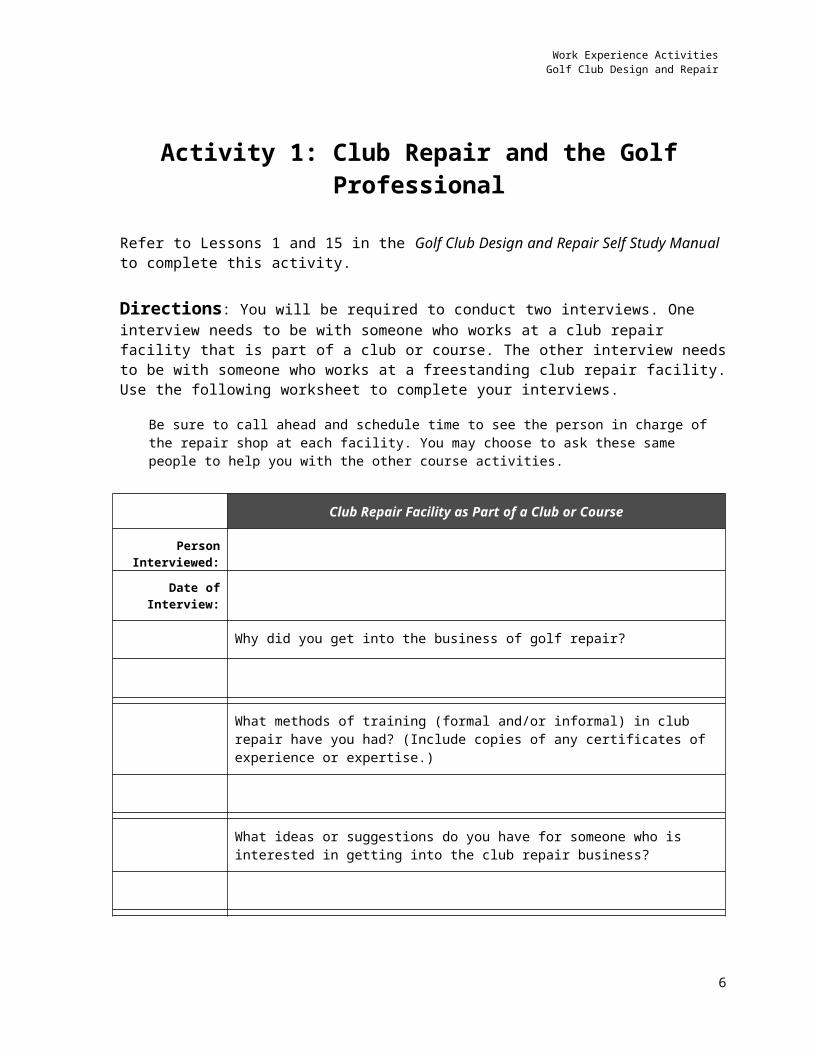
Activity 1: Club Repair and the Golf Professional
Refer to Lessons 1 and 15 in the Golf Club Design and Repair Self Study Manual to complete this activity.
Directions: You will be required to conduct two interviews. One interview needs to be with someone who works at a club repair facility that is part of a club or course. The other interview needs to be with someone who works at a freestanding club repair facility. Use the following worksheet to complete your interviews.
Be sure to call ahead and schedule time to see the person in charge of the repair shop at each facility. You may choose to ask these same people to help you with the other course activities.
Club Repair Facility as Part of a Club or Course
Person Interviewed:
Date of Interview:
Why did you get into the business of golf repair?
What methods of training (formal and/or informal) in club repair have you had? (Include copies of any certificates of experience or expertise.)
What ideas or suggestions do you have for someone who is interested in getting into the club repair business?
What are the advantages of having a club repair facility at the club?
What are the disadvantages of having a club repair facility at the club?
6
Work Experience ActivitiesGolf Club Design and Repair
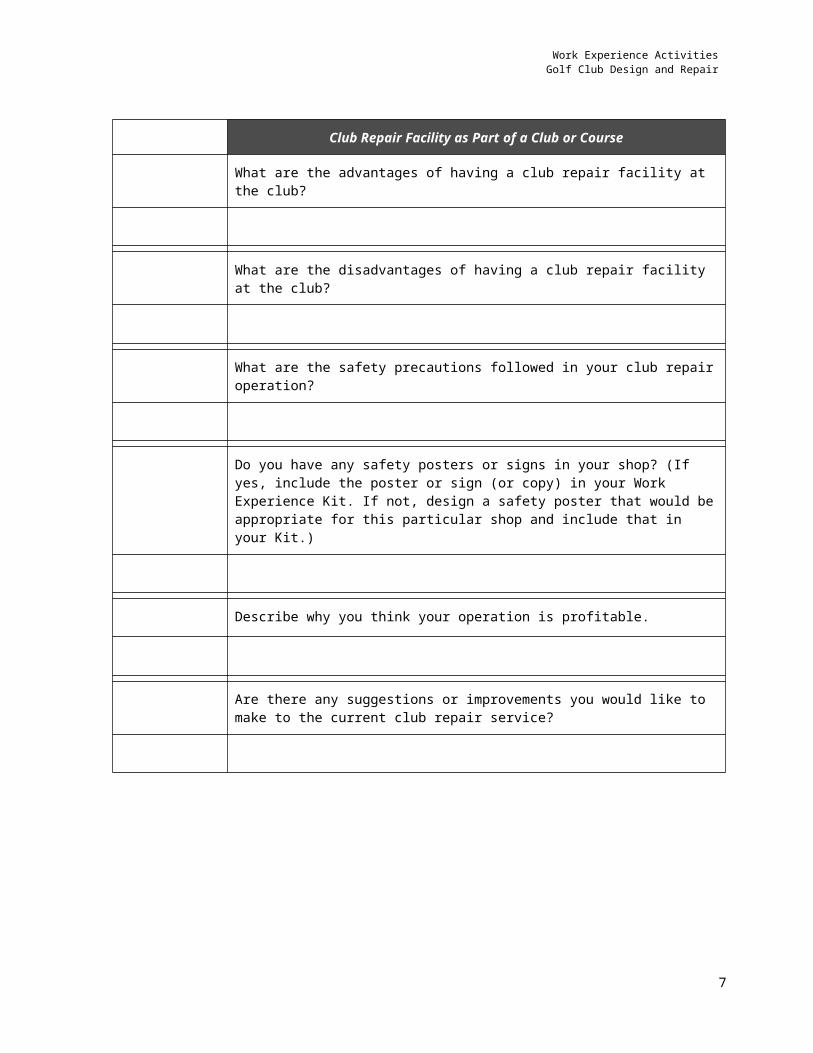
Club Repair Facility as Part of a Club or Course
What are the safety precautions followed in your club repair operation?
Do you have any safety posters or signs in your shop? (If yes, include the poster or sign (or copy) in your Work Experience Kit. If not, design a safety poster that would be appropriate for this particular shop and include that in your Kit.)
Describe why you think your operation is profitable.
Are there any suggestions or improvements you would like to make to the current club repair service?
7

Work Experience ActivitiesGolf Club Design and Repair
Freestanding Club Repair Facility
Person Interviewed:
Date of Interview:
Why did you get into the business of golf club repair?
What methods of training (formal and/or informal) in club repair have you had? (Include copies of any certificates of experience or expertise.)
What ideas or suggestions do you have for someone who is interested in getting into the club repair business?
What are the advantages of having a freestanding club repair facility?
What are the disadvantages of having a freestanding club repair facility?
What safety precautions are followed in your club repair operation?
Do you have any safety posters or signs in your shop? (If yes, include the poster or sign (or copy) in your Work Experience Kit. If not, design a safety poster that would be appropriate for this particular shop and include that in your Kit.)
8

Work Experience ActivitiesGolf Club Design and Repair
Freestanding Club Repair Facility
Why do you think your operation is profitable?
Are there any suggestions or improvements that you would like to make to the current club service?
9

Work Experience ActivitiesGolf Club Design and Repair
Activity 2: Removing the Original Shaft (Steel or Graphite) from an Iron or Metal Wood
Directions: Select a steel shafted iron or metal wood, or a head with a graphite shaft, to work on.
Collect
Collect the tools and materials you need to make the repairs. A list of these tools and materials appears on the next page.
Review
Review the videotaped segment of Lesson 2 that relates to the type of club you will be using. See Golf Club Design, Fitting, Alteration & Repair for directions on removing the original shaft from an iron (pages 231 – 235) or metal wood (pages 130 – 131, 135 – 136).
Photograph
Photograph each step of the procedure. Label each step and briefly describe what is taking place in the photograph. Display the photographs in the same order in which you performed the procedure.
Complete
At the top of your photo display, include the following information:
• Club repair procedure (for example, Removing Head from an Iron)
• Club type (iron, wood, or metal wood)
• Shaft type (steel or graphite)
• Club make and model
• Time required to perform the repair procedure
Ask your supervising golf professional or golf repair professional for help in obtaining the equipment and materials necessary to perform this and other activities.
10

Work Experience ActivitiesGolf Club Design and Repair
Bench Tools
A 4' x 8' table/bench A 31/432" punch
1 vise 1 ball peen hammer
1 pair aluminum vise pads 1 pair safety glasses
1 rubber shaft clamp 1 pair leather gloves
1 aluminum lock-tites 1 shaft cutter
1 golf shaft identification gauge 1 propane torch
1 swingweight scale 1 leverage block
A 48" ruler
Material/Tools:
An assembled steel iron or metal wood that has a steel shaft and a plastic ferrule
11

Work Experience ActivitiesGolf Club Design and Repair
Activity 3: Installing a New Shaft in a Hosel
Directions: Use the same club head you removed in Activity 2, or use a new iron or metal wood head. Select a shaft that you want to install.
Collect
Collect the tools and materials you need to make the repairs. A list of these tools and materials appears on the next page.
Collect
Review the videotaped segment of Lesson 2 that relates to the type of club head and shaft you will be using. See Golf Club Design, Fitting, Alteration & Repair for directions on installing a new shaft (steel or graphite) in a hosel. Refer to pages 244 – 250 for an iron, or pages 132 – 133 for a steel or graphite shaft metal wood.
Collect
Photograph each step of the procedure. Label each step and briefly describe what is taking place in the photograph. Display the photographs in the order in which you performed the procedure.
At the top of your photo display, include the following information:
• Club repair procedure
• Club type
• Shaft type
• Club make and model
• Time required to perform the repair procedure
Remember, it takes at least one hour for most epoxies to dry. Give the club a chance to dry before performing additional repairs on it.
12

Work Experience ActivitiesGolf Club Design and Repair
Bench Tools
1 golf shaft identification gauge 1 fine file
1 48" ruler 1 can Acetone
1 pair safety glasses Ferrules (iron and metal wood)
A 4' x 8' table/bench Paper towels
Epoxy 1 felt tip marker
Materials/Tools
The iron or metal wood on which you were previously working
1 replacement shaft
13
Work Experience ActivitiesGolf Club Design and Repair
Activity 4: Measure and Adjust the Lie of an Iron
Directions: Select a steel shaft iron to work on.
Collect
Collect the tools and materials you need to make the repairs. A list of these tools and materials appears below.
Review
Review the videotaped segment of Lesson 3 that relates to the club you will be working with. See Golf Club Design, Fitting, Alteration & Repair for directions on measuring and adjusting the lie of an iron (pages 214 – 220).
Photograph
Photograph each step of the procedure. Label each step and briefly describe what is taking place in the photograph. Display the photos in the order in which you performed the procedure.
Complete
At the top of your photo display, include the following information:
• Club repair procedure
• Club type
• Shaft type
• Club make and model
• Original lie angle of iron
• Final or adjusted lie angle of iron
• Time required to perform the repair procedure
Materials/Tools:
• Assembled stainless steel or carbon steel iron
• Golf club bending and measuring machine
14

Work Experience ActivitiesGolf Club Design and Repair
Activity 5: Measure and Adjust the Loft of an Iron
Directions: Select a steel shaft iron to work on.
Collect
Collect the tools and materials you need to make the repairs. A list of these tools and materials appears below.
Review
Review the videotaped segment of Lesson 3 that relates to the club
you will be working with. See Golf Club Design, Fitting, Alteration & Repair for directions on measuring and adjusting the loft of an iron (pages 214 – 220).
Photograph
Photograph each step of the procedure. Label each step and briefly describe what is taking place in the photograph. Display the photos in the order in which you performed the procedure.
Complete
At the top of your photo display, include the following information:
• Club repair procedure
• Club type
• Shaft type
• Club make and model
• Original lie angle of iron
• Final or adjusted lie angle of iron
• Time required to perform the repair procedure
Materials/Tools:
• Assembled stainless steel or carbon steel iron
• Golf club bending and measuring machine
15

Work Experience ActivitiesGolf Club Design and Repair
Activity 6: Finish a Ferrule
Directions: Select a club that needs to have its ferrule diameter reduced, or use the club you worked on for Lesson 2 of this tape. If you use the club from Lesson 2, remember to allow the epoxy to dry for at least one hour before performing this activity.
Collect
Collect the tools and materials you need to make the repairs. A list of these tools and materials appears on the following page.
Review
Review the videotaped segment of Lesson 4 that relates to the type of club you will be using. See Golf Club Design, Fitting, Alteration & Repair for directions on finishing a ferrule (pages 247 – 248).
Photograph
Photograph each step of the procedure. Label each step and briefly describe what is taking place in the photograph. Display the photos in the order in which you performed the procedure.
Complete
At the top of your photo display, include the following information:
• Club repair procedure
• Club type
• Shaft type
• Club make and model
• Time required to perform the repair procedure
Materials/Tools:
• The iron or metal wood on which you were previously working.
16

Work Experience ActivitiesGolf Club Design and Repair
Bench Tools
A 4' x 8' table/bench 1 knife
1 vise 1 roll 31/44" masking tape
1 rubber shaft clamp .000 steel wool
1 golf shaft identification gauge 1 fine file
Sandpaper strips 1 can Acetone
1 pair safety glasses Paper towels
17
Work Experience ActivitiesGolf Club Design and Repair
Activity 7: Cut a Club to Length
Directions: Select a steel shaft iron to work on. For this activity, use a shaft that has to be cut down to 36 inches.
Collect
Collect the tools and materials you need to make the repairs. A list of these tools and materials appears on the following page.
Review
Review the videotaped segment of Lesson 4 that relates to the type of club you will be using. See Golf Club Design, Fitting, Alteration & Repair for directions on cutting a club (steel shaft) to length (pages 250 – 251).
Photograph
Photograph each step of the procedure. Label each step and briefly describe what is taking place in the photograph. Display the photos in the order in which you performed the procedure.
Complete
At the top of your photo display, include the following information:
• Club repair procedure
• Club type
• Shaft type
• Club make and model
• Original length of club
• Final or adjusted length of club
• Time required to perform the repair procedure
Materials/Tools:
• A steel shaft iron.
18

Work Experience ActivitiesGolf Club Design and Repair
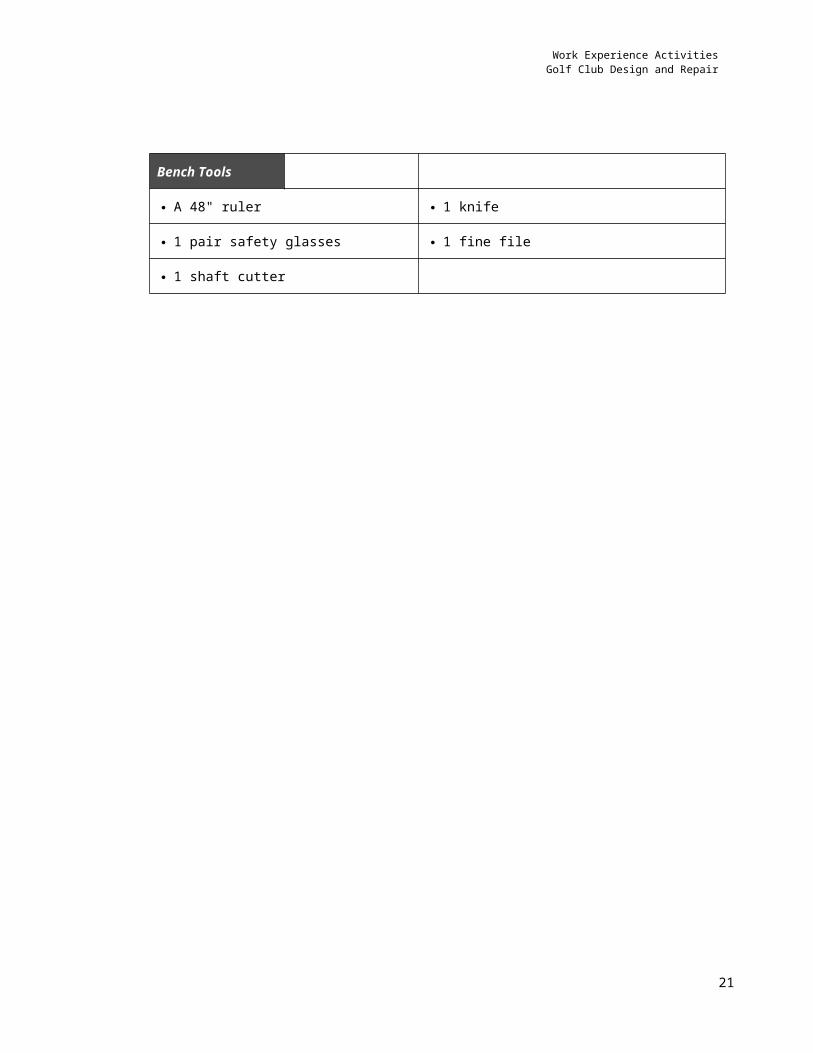
Bench Tools
A 48" ruler 1 knife
1 pair safety glasses 1 fine file
1 shaft cutter
19
Work Experience ActivitiesGolf Club Design and Repair
Activity 8: Installing a Hosel Pin
Directions: Although this is an optional activity, you should complete it if the club you are working on needs a hosel pin. Select a club that needs to have a rivet or hosel pin installed.
Collect
Collect the tools and materials you need to make the repairs. A list of these tools and materials appears on the following page.
Review
Review the videotaped segment of Lesson 4 that relates to the type of club you will be using. See Golf Club Design, Fitting, Alteration & Repair for directions on installing a new hosel pin (pages 248 – 250).
Photograph
Photograph each step of the procedure. Label each step and briefly describe what is taking place in the photograph. Display the photos in the order in which you performed the procedure.
Complete
At the top of your photo display, include the following information:
• Club repair procedure
• Club type
• Shaft type
• Club make and model
• Time required to perform the repair procedure
Materials/Tools:
• An iron that needs to have a new hosel pin.
20
Work Experience ActivitiesGolf Club Design and Repair
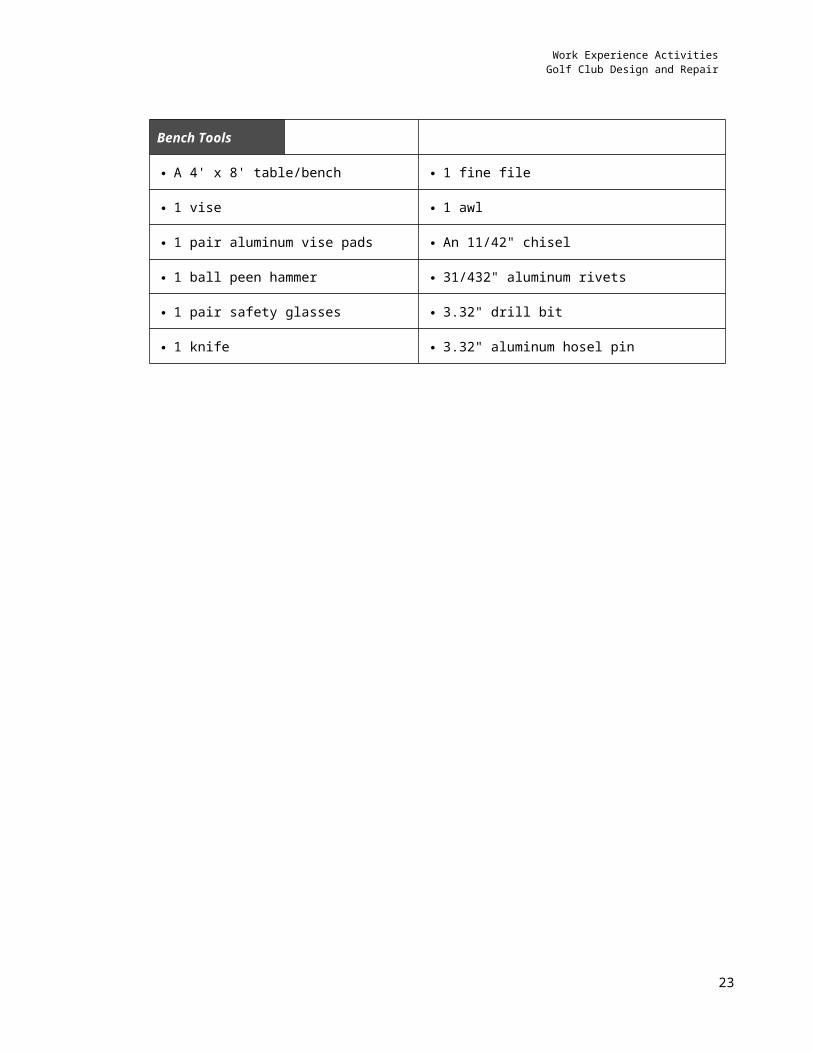
Bench Tools
A 4' x 8' table/bench 1 fine file
1 vise 1 awl
1 pair aluminum vise pads An 11/42" chisel
1 ball peen hammer 31/432" aluminum rivets
1 pair safety glasses 3.32" drill bit
1 knife 3.32" aluminum hosel pin
21
Work Experience ActivitiesGolf Club Design and Repair
Activity 9: Regrip a Club
Directions: Select a club that needs to have a new grip installed, or the same club you used for previous activities. For this activity, you will need to increase the size of the grip to 1/64" oversize. You will also need to install a rubber grip.
Collect
Collect the tools and materials you need to make the repairs. A list of these tools and materials appears on the following page. The size of the grip you use will depend on the diameter of the shaft you are working with.
Review
Review the videotaped segment of Lesson 5. See Golf Club Design, Fitting, Alteration & Repair for directions on:
• Removing an old grip (pages 267 – 268)
• Measuring the diameter of a shaft (page 271)
• Determining the core size of a grip (page 271)
• Installing a slip on rubber grip (pages 271 – 273)
Consult the charts on page 287 for instructions on increasing grip size by applying additional buildup tape.
Photograph
Photograph each step of the procedure. Label each step and briefly describe what is taking place in the photograph. Display the photos in the order in which you performed the procedure.
Complete
At the top of your photo display, include the following information:
• Club repair procedure
• Club type
• Shaft type
• Club make and model
• Diameter of shaft
• Grip core size
• Desired increase in grip size (1/64")
22
Work Experience ActivitiesGolf Club Design and Repair
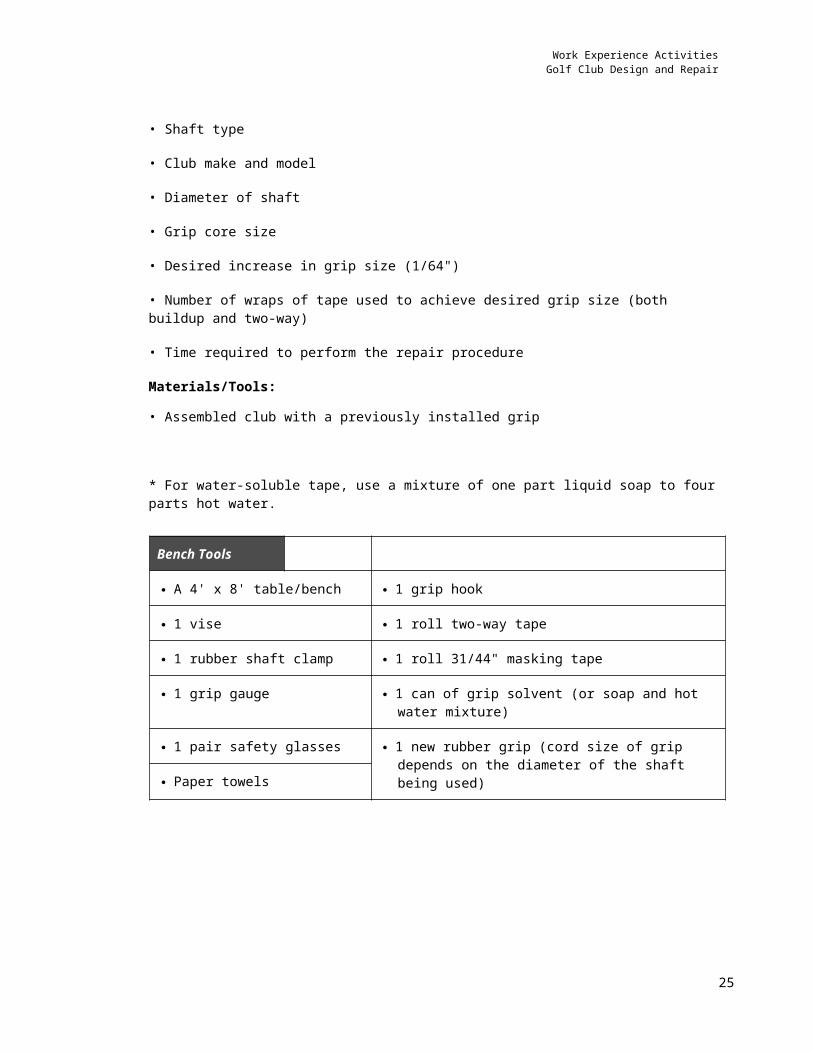
• Number of wraps of tape used to achieve desired grip size (both buildup and two-way)
• Time required to perform the repair procedure
Materials/Tools:
• Assembled club with a previously installed grip
* For water-soluble tape, use a mixture of one part liquid soap to four parts hot water.
Bench Tools
A 4' x 8' table/bench 1 grip hook
1 vise 1 roll two-way tape
1 rubber shaft clamp 1 roll 31/44" masking tape
1 grip gauge 1 can of grip solvent (or soap and hot water mixture)
1 pair safety glasses 1 new rubber grip (cord size of grip depends on the diameter of the shaft being used)
Paper towels
23
Work Experience ActivitiesGolf Club Design and Repair
Activity 10: Measure and Changea Club’s Swingweight
Directions: Select an iron that needs to have its swingweight changed. For this activity, you will need to increase the swingweight of the club by two swingweight points by adding lead tape.
Collect
Collect the tools and materials you need to make the repairs. A list of these tools and materials appears on the following page.
Review
Review the videotaped segment of lesson 5. See Golf Club Design, Fitting, Alteration & Repair for directions on measuring and changing a club’s swingweight (pages 208 – 209).
Photograph
Photograph each step of the procedure. Label each step and briefly describe what is taking place in the photograph. Display the photos in the order in which you performed the procedure.
Complete
At the top of your photo display, include the following information:
• Club repair procedure• Club type • Shaft type• Club make and model • Original swingweight of club• Desired change in swingweight• Final swingweight of club• Amount of lead tape used (inches and number of strips used)• Time required to perform the repair procedure
Materials/Tools:
• Assembled club with an installed grip
Bench Tools
1 swingweight scale
24
Work Experience ActivitiesGolf Club Design and Repair
Activity 11: Assemble a Metal Wood or Iron
Directions: Assemble a club that is different from the one you used for previous lessons. If you have been working on an iron, assemble a metal wood for this activity, or vice versa. For this activity, your final club will have a standard grip size, and no additional swingweight added. You determine the club’s length.
Collect
Collect the tools and materials you need to make the repairs. A list of these tools and materials appears on the following page.
Review
Review the videotaped segment of Lesson 6, and any other sections that might be appropriate. See Golf Club Design, Fitting, Alteration & Repair for directions on assembling a metal wood (pages 383 – 393) or an iron (pages 369 – 378).
Photograph
Photograph each step of the procedure. Label each step and briefly describe what is taking place in the photograph. Display the photos in the order in which you performed the procedure.
Complete
At the top of your photo display, include the following information:
• Club repair procedure
• Club type
• Shaft type
• Shaft diameter
• Club make and model
• Club swingweight
• Club length
• Lie angle of club
• Loft angle of club
• Grip size (external)
• Grip core size
• Time required to perform the repair procedure
25

Work Experience ActivitiesGolf Club Design and Repair
Materials/Tools:
• Metal wood or iron head
• Steel or graphite shaft
Bench Tools
A 4' x 8' table/bench 1 roll two-way tape
1 vise 1 roll 31/44" masking tape
1 rubber shaft clamp 1 can of grip solvent (or soap and hot water mixture)
1 grip gauge 1 new rubber grip
1 golf shaft identification Epoxy
1 swingweight scale 1 fine file
1 48" ruler 1 can Acetone
Sandpaper strips Ferrule
1 pair safety glasses Paper towels
1 pair leather gloves 1 felt tip marker
1 knife (or grip hook) 1 shaft cutter
26

Work Experience ActivitiesGolf Club Design and Repair
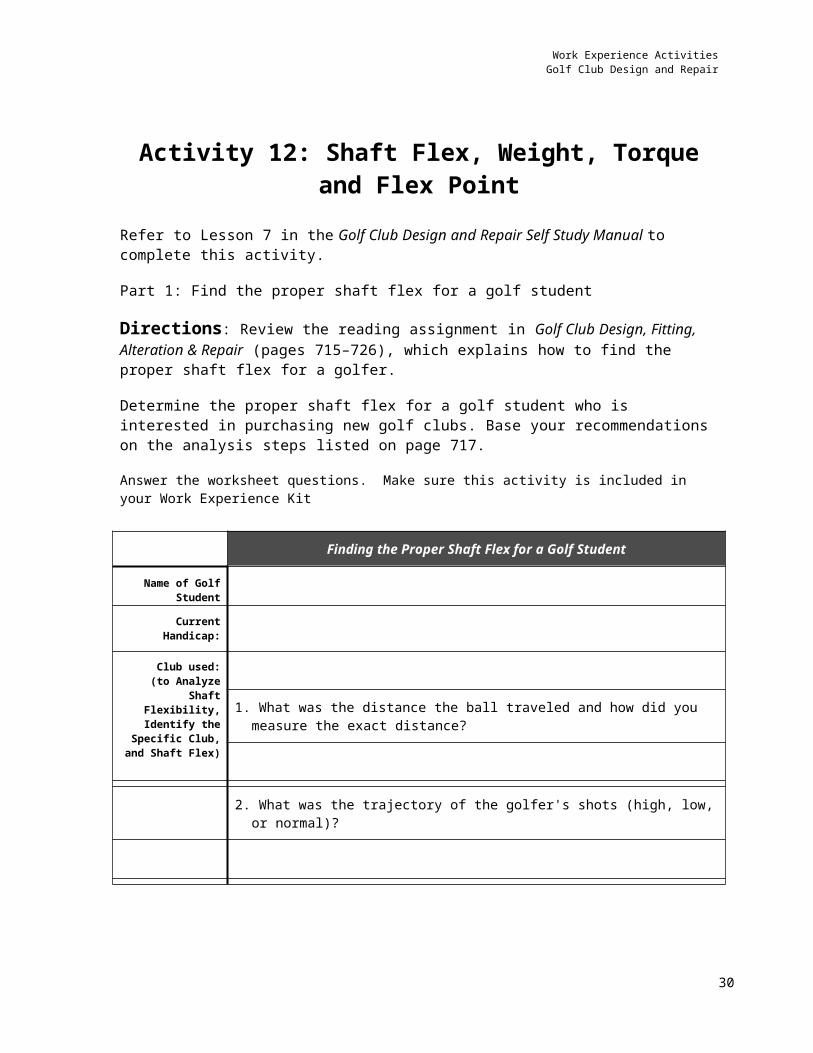
Activity 12: Shaft Flex, Weight, Torque and Flex Point
Refer to Lesson 7 in the Golf Club Design and Repair Self Study Manual to complete this activity.
Part 1: Find the proper shaft flex for a golf student
Directions: Review the reading assignment in Golf Club Design, Fitting, Alteration & Repair (pages 715–726), which explains how to find the proper shaft flex for a golfer.
Determine the proper shaft flex for a golf student who is interested in purchasing new golf clubs. Base your recommendations on the analysis steps listed on page 717.
Answer the worksheet questions. Make sure this activity is included in your Work Experience Kit
Finding the Proper Shaft Flex for a Golf Student
Name of Golf Student
Current Handicap:
Club used:(to Analyze Shaft
Flexibility, Identify the Specific Club,
and Shaft Flex)1. What was the distance the ball traveled and how did you measure the exact
distance?
2. What was the trajectory of the golfer's shots (high, low, or normal)?
3. On a scale of 1 to 5 (1 being poor and 5 being very good), how was the directional control of the golfer's shots?
4. Using the above scale (1 being inconsistent and 5 being very consistent), how was the consistency of the golfer's shots?
27

Work Experience ActivitiesGolf Club Design and Repair
Finding the Proper Shaft Flex for a Golf Student
5. What comments did the golfer have about the way the club felt?
6. As an instructor, would you recommend changing the shaft flex in this student's clubs?
Complete the following chart to determine if your student is playing with the correct shaft
Current Shaft #1 Test Shaft
Type of shaft: Type of shaft:
Distance of shot: Distance of shot:
Trajectory of shot: Trajectory of shot:
Feel of shot: Feel of shot:
Overall rating 1 - 5: Overall rating 1 - 5:
#2 Test Shaft #3 Test Shaft
Type of shaft: Type of shaft:
Distance of shot: Distance of shot:
Trajectory of shot: Trajectory of shot:
Feel of shot: Feel of shot:
Overall rating 1 - 5: Overall rating 1 - 5:
28

Work Experience ActivitiesGolf Club Design and Repair
Part 2: Changing the swingweight of a club
Directions: Review the reading assignment in Golf Club Design, Fitting, Alteration & Repair (pages 676 – 678), which explains how to change the swingweight of a club. You may also want to review the videotape section and the reading assignment for changing swingweight in lesson 5.
Collect
Collect the tools and materials you need to make the swingweight changes. A list of these tools and materials appears at the bottom of this page.
Describe
Using your own 5 iron, measure the swingweight of the club, change the swingweight, and describe the changes in feel and the results.
Answer
Answer the worksheet questions. Make sure this activity is included in your Work Experience Kit.
Materials/Tools:
• Your own 5 iron
• One swingweight scale
• One roll of lead tape
Shaft flex:
Current swingweight of club being tested:
Using lead tape, change the swingweight of your 5 iron by adding 3 swingweights.
Describe how you changed the swingweight of your club:
Based on your knowledge of the course material, what are the possible effects this change in swingweight will have?
AnswerHit some golf balls with the club that you changed. What was the actual effect the change in swingweight had on the flight of the ball?
29
Work Experience ActivitiesGolf Club Design and Repair
How does this actual change compare to what you thought would happen?
Do you recommend that the change in the swingweight be permanent? Why or why not?
30

Work Experience ActivitiesGolf Club Design and Repair
Activity 13: Impact of Lie and Length on Ball Flight
Refer to Lesson 8 in the Golf Club Design and Repair Self Study Manual to complete this activity.
Part 1: Impact of lie
Directions: Use Golf Club Design, Fitting, Alteration, & Repair and your own experiences to answer the worksheet questions. You can also ask your supervising golf professional or golf repair professional for assistance.
Identify whether your student is right handed or left handed.
Indicate where in the Golf Club Design, Fitting, Alteration & Repair manual you were able to locate the answers to the questions below.
Define
What is an upright lie?
What is a flat lie?
Describe
What will happen to the ball flight if a shot is hit with a club that has a lie angle that is too upright?
What will happen to the ball flight if a shot is hit with a club that has a lie angle that is too flat?
Discuss
Golfers will often request to have the loft of their clubs decreased to increase distance. What other factors must be considered and why could it be dangerous to comply with this request?
31

Work Experience ActivitiesGolf Club Design and Repair
Describe What are the different soles discussed in this lesson? Identify and explain which soles should be avoided.
DiscussIs there a correlation between length and lie? If so, what is it?
32

Work Experience ActivitiesGolf Club Design and Repair
Part 2: Impact of length
Directions: Use Golf Club Design, Fitting, Alteration & Repair and your own experiences to complete the worksheet about the impact of club length on performance and fitting (pages 727 – 733).
Discuss
How can you determine proper club length for a player?
Draw
Using face tape, masking tape or duct tape on the face of your 5 iron, hit five shots and observe the shot pattern of impact on the face. Answer the next question, then print out a copy of this page and use it to indicate your results by drawing a clubface and placing X’s in the appropriate place. Put the page in your Work Experience Kit and then place it in your printout of the entire Work Experience Activity.
What are the possible implications of these results pertaining to equipment?
33
Work Experience ActivitiesGolf Club Design and Repair
Activity 14: Understanding Loft, Bulge, and Roll of Woods and Metal Woods
Refer to Lesson 10 in the Golf Club Design and Repair Self Study Manual to complete this activity.
Directions: Use Golf Club Design, Fitting, Alteration & Repair and your own experiences to answer the worksheet questions on the impact of loft (pages 404 – 416), bulge (pages 448 – 450), and roll of woods and metal woods (pages 448 – 450) on ball flight. You may also ask your supervising professional or golf repair professional for assistance.
Identify where in the Golf Club Design, Fitting, Alteration & Repair manual you were able to locate the answers to the questions below.
Define
What is loft?
What is bulge?
What is roll?
AnswerWhy aren’t the faces of woods and metal woods flat or on a horizontal plane?
Why do metal woods commonly have less bulge than wood woods?
Why is the loft of a typical metal wood stronger than the loft of a typical wood?
34
Work Experience ActivitiesGolf Club Design and Repair
Activity 15: Setting Up and Running a Profitable Club Repair Facility
Refer to Lessons 12 & 13 in the Golf Club Design and Repair Self Study Manual to complete this activity.
Part 1:
Directions: Use the grids included here to design and draw a floor plan of the workshop for your facility. You can design the workshop to fit in your current facility or make up a new one. Either format the grid tables provided, or photocopy them and execute manually.
The floor plan view should look down on the shop through the roof. Be sure to include:
• A key at the bottom of the page that shows the measurement scale you used in the drawing.
• Drawings of the areas where certain tools or materials will be stored. Remember to label all of your drawings.
• Drawings or labels identifying where doors, windows, lighting and electrical outlets will be.
• Notes that identify any areas where additional work, such as removing a wall, adding a door, or putting in ventilation, will be necessary.
Use the grids to indicate where your workshop is in reference to the other parts of your facility. For example, if the workshop will be part of the golf shop, indicate where in the golf shop it will be.
35

Work Experience ActivitiesGolf Club Design and Repair
Sample Floor Plan
Heavy Machinery Bench Sander, Drill Press
Tool Storage Shelves
Workshop Bench #1
Shaft Storage Rack
Workshop DeskDrying Rack
Loft and Lie Angle Machine
Finishing Table
Drying RackSupply Storage
36
Scale = 1 square = 1 foot
Door
Work Experience ActivitiesGolf Club Design and Repair
Workshop Blueprint (Layout)
37
Scale = 1 square = 1 foot

Work Experience ActivitiesGolf Club Design and Repair
Workshop Blueprint (Floor Plan)
38

Work Experience ActivitiesGolf Club Design and Repair
39
Scale = 1 square = 1 foot

Work Experience ActivitiesGolf Club Design and Repair
Part 2:
Directions: List the equipment, tools, and any other items you plan to have in your workshop. Remember, the amount you can have is limited by the amount of space in your workshop.
Machinery Hand Tools Supplies Saleable Items
40

Work Experience ActivitiesGolf Club Design and Repair
Part 3:
Investigate an existing club repair operation and describe the workshop layout.
Answer
Would you categorize this shop as a basic shop or an advanced shop? Why?
List the variety of repairs that are completed in this club repair operation.
What type of club repair procedures does this shop have to send out? Where are the repairs sent and why?
How does the club repair shop keep track of the clubs that come through the shop? Include any documents the shop uses for tracking purposes (i.e. invoices, ID tags, description forms).
What does the owner/operator consider the keys to running a profitable business?
41

Work Experience ActivitiesGolf Club Design and Repair
Activity 16: Promoting and Advertising a Club Repair Facility
Refer to Lesson 14 in the Golf Club Design and Repair Self Study Manual to complete this activity.
Part 1: Advertising club repair services for members of a club or course
Directions: Review the reading assignment in Golf Club Design, Fitting, Alteration & Repair (pages 328 – 333) for directions on Refer to Lesson 14 in the Self Study Manual to complete this activity.
Create
Develop a plan for attracting the club’s membership to your shop. Make sure to include all of the steps that you will take to promote your services.
CreateDesign and produce a promotional flyer that will attract members to your shop.
DescribeWhat activities could build good will between the members and your club repair business?
42

Work Experience ActivitiesGolf Club Design and Repair
Part 2: Advertising a club repair facility to bring in outside business.
Directions: Review the reading assignment in Golf Club Design, Fitting, Alteration & Repair (pages 328 - 333) for directions on advertising a club repair facility to bring in outside business.
Create
Develop a plan for attracting outside business for your club repair facility. Be sure to include all of the steps you will take to advertise your services to the general public.
Create
Design and produce a promotional flyer that will attract the general public to your shop. Make sure this flyer is different than the flyer you designed for members of a club.
DescribeWhat activities could build good will between your customers and your club repair business?
AnswerName of club or course:
43