instructions to configure and use apache subversion (svn ... · 1 ece251: programming languages and...
TRANSCRIPT

1
ECE251: Programming Languages and Translators, Fall 2010
Instructions to configure and use Apache Subversion (SVN) with Eclipse
Introduction: SVN or Apache Subversion is an open source software versioning and a revision control
system. Developers use Subversion to maintain current and historical versions of files such as source
code, web pages, and documentation.
1. Install Eclipse IDE
• Obtain the Eclipse Classic from http://www.eclipse.org/downloads/
• Create a directory eclipse and put the download there, unzip and launch.
2. Install Subversive SVN plugins
• In Eclipse, choose menu Help | Install New Software…
• Select “Helios - http://download.eclipse.org/releases/helios” from the dropdown list.
• Expand “Collaboration” tree node and check “Subversive SVN Team Provide (Incubation)”
• Click next and accept the agreement.
• After the installation, restart the Eclipse.
• Right click in Project Explorer and select import.
• Select SVN and then Project from SVN.
• Select SVN Kit 1.1.7, 1.2.3 and 1.3.2 and install (accept terms and conditions).
• Type the URL, User and Password (given to you) and click next.
• On ‘Select Resource’ screen, select ‘Head Revision‘ and click finish.
• On ‘Check Out As’ screen, select ‘Check out a project configured….’ and Click finish.
• Click on Window | Open Perspective | Other. Here, you should see ‘SVN Repository
Exploring’.
Team Support with SVN
This part will help you to use the SVN team capabilities built into Subversive plug-in. It explains how to
share your project to the remote repository location and then work on it with your team mates. After
going through this part, you will be able to perform all the SVN actions easily.
1. Sharing a project
• Create a new Java Project.
• Select the project in your workbench, right click and then select Team | Share Project.
• Select SVN (if you see more than options) and click next. Just follow the Wizard and click
next…
• You can add any comments if you like and then click OK.
• Your project is uploaded on the server.

2
2. Checking out a resource
To check out a resource means creating a local copy of remote resource. That could be a simple
document or code file.
• To begin checking out, click on a 'Check Out' or 'Find/Check Out As' menu items in SVN
perspective.
• On a 'Check Out', click the selected resource which you want to check out.
• On a 'Find/Check Out As' click a check out wizard starts.
• To perform checking out just follow wizard instruction
3. Updating
Updating means changing the state of the local file copying the remote changes to the local copy if
possible.
• To update the local file click on the 'Team | Update' menu item.
• The operation is done.
4. Committing Changes
After you have made some changes, you surely would like to save them to a remote location. This is
when the commit operation is used.
• Right click on resource which you want to commit then select ‘Team | Commit' menu item.
• A dialog will appear which will allow you to enter commit comments and choose which
resources to commit.
• After performing this operation local changes are saved to a repository location.

3
Figure 1 – Commit comment dialog
5. Resolving conflicts
When you perform an update or a commit, the SVN compares your files with repository sources to
make sure that other changes have not already occurred in the same locations. When your previous
checkout (or update) no longer matches the repository (i.e. the most current revision), your update
or commit results in a conflict. Any conflicts that arise must be resolved before you commit files to
the repository.
Follow these steps to experience this situation:
• You have a local copy of server repository (yes). Switch to SVN Repository Exploring
Perspective.
• Select some folder which contain a file (e.g. a Java code), right click and check out.
• Switch to Java perspective and you should see another tree node in Package Explorer
indicating the name of the folder which you just checked out. It means now you have two
local copies of the same folder (and Java code file).
• Do some change in the original file and commit.

4
• Do some change in the copy of original file (in the folder which you just downloaded) and try
to commit.
• You should receive a message ‘Commit failed’. The reason of this failure is the changes done
in server copy of the file when you committed your changes in the original file. You need to
resolve this conflict.
• Right click on file which has conflict and select ‘Team | Synchronize with the repository‘. The
Eclipse should switch to Team Synchronize perspective.
• You should see a red heart icon with the file name. That is the place where conflict occurred
during commit process.
• Double click the file name to open Conflict Resolve editor (Figure 3).
Figure 2 – SVN Merge View
• Click on connection point (the red square) to move pieces from server copy to local
copy to synchronize.
• Once you finish editing process, right click on local file name and click synchronize to
make sure all conflicts are resolved.
• Click update. Work is done.
6. SVN Repository Exploring Perspective
To view projects or folders hierarchy, select 'SVN Repository Exploring Perspective'. Use this
perspective to operate and navigate through repository locations (Figure 3).

5
Figure 3 - SVN Repository Exploring Perspective
Using SVN on Unix/Linux Systems
Some notes on using Subversion from the command line on UNIX (and LINUX) systems.
• To check out the repository, use "cd" to go to the directory where you want to place files and
type:
o svn checkout http://ece251.patricklam.ca/svn/userid, where userid is your id on the
server.
• To check out a project (or folder), use "cd" to go to the directory where you want to place
project files and type:
o svn checkout http://ece251.patricklam.ca/svn/userid/userproject, where userproject is
the project or folder which you want to checkout.
• When you add a new file or directory to a project that has been checked out, use the following
commands.
o svn add file_or_dir_name
• To delete a file or directory from a project, use the following commands.
o svn delete file_or_dir_name
6
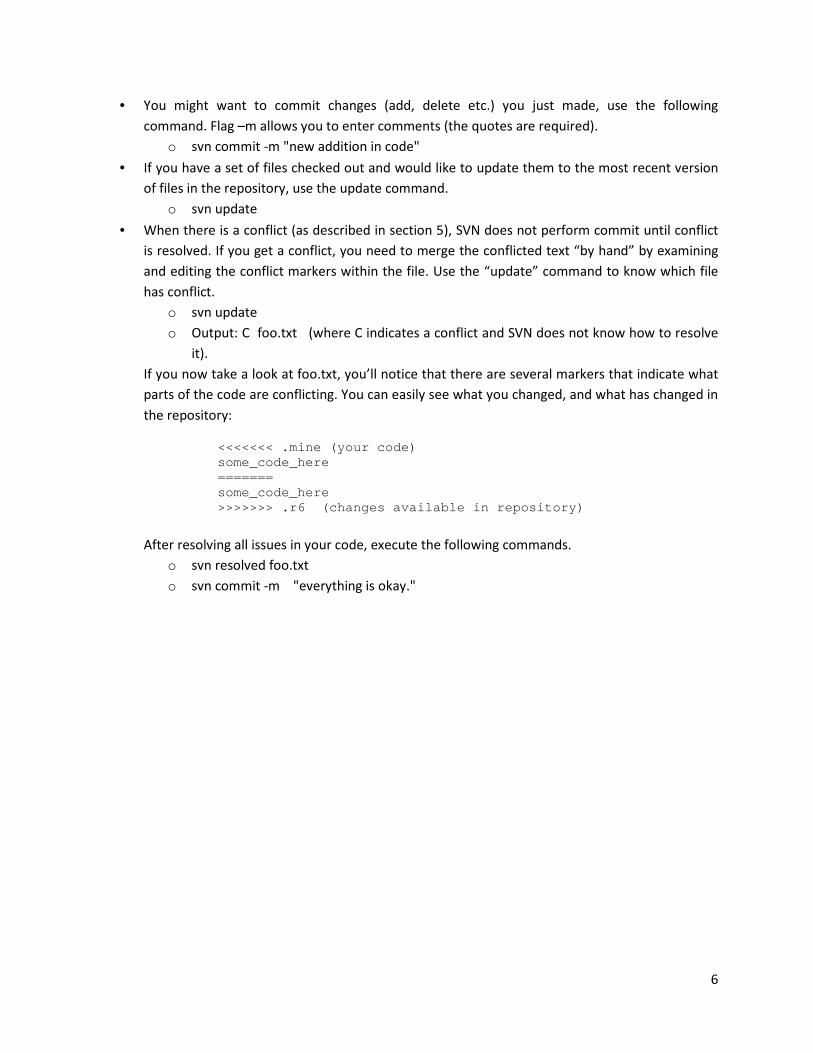
• You might want to commit changes (add, delete etc.) you just made, use the following
command. Flag –m allows you to enter comments (the quotes are required).
o svn commit -m "new addition in code"
• If you have a set of files checked out and would like to update them to the most recent version
of files in the repository, use the update command.
o svn update
• When there is a conflict (as described in section 5), SVN does not perform commit until conflict
is resolved. If you get a conflict, you need to merge the conflicted text “by hand” by examining
and editing the conflict markers within the file. Use the “update” command to know which file
has conflict.
o svn update
o Output: C foo.txt (where C indicates a conflict and SVN does not know how to resolve
it).
If you now take a look at foo.txt, you’ll notice that there are several markers that indicate what
parts of the code are conflicting. You can easily see what you changed, and what has changed in
the repository:
<<<<<<< .mine (your code) some_code_here ======= some_code_here >>>>>>> .r6 (changes available in repository)
After resolving all issues in your code, execute the following commands.
o svn resolved foo.txt
o svn commit -m "everything is okay."