ice breaker directions: pick up a ½ sheet located on the wooden stool. answer the questions to the...
TRANSCRIPT
Ice Breaker
Directions: Pick up a ½ sheet located on the wooden stool. Answer the questions to the best of your ability.
Design Cycle C: Planning

C: PLAN The student is expected to construct a plan to create their CHOOSEN product/solution that has a series of logical steps, and makes effective use of resources and time. Students are expected to EVALUATE the plan and justify any modifications to the design.
Achievement level DESCRIPTOR
0 The student does not meet any of the standards described by the descriptors.
1/2 The student produces a plan that contains some details of the steps and/or the resources required.
3/4 The student produces a plan that contains a number of logical steps that include resources and time. The student makes some attempt to evaluate the plan.
5/6 The student produces a plan that contains a number of detailed, logical steps that describes the use of resources and time. The student critically evaluates the plan and justifies any MODIFICATIONS to the design.
What comes after designing?
• After you chosen which design you are going to make, its time to make it.
• You will need to write down each step it takes to complete your design.• Step 1 is gathering materials.
• Final step is the finished product.
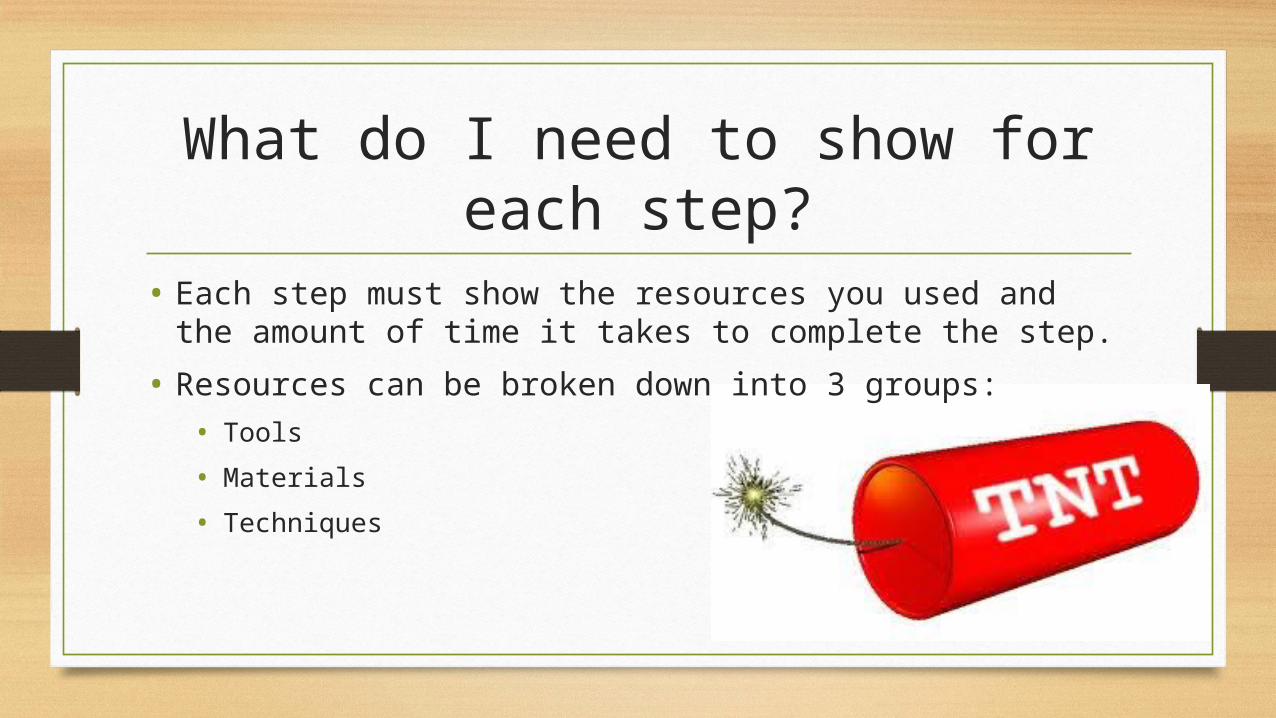
What do I need to show for each step?
• Each step must show the resources you used and the amount of time it takes to complete the step.
• Resources can be broken down into 3 groups:• Tools
• Materials
• Techniques
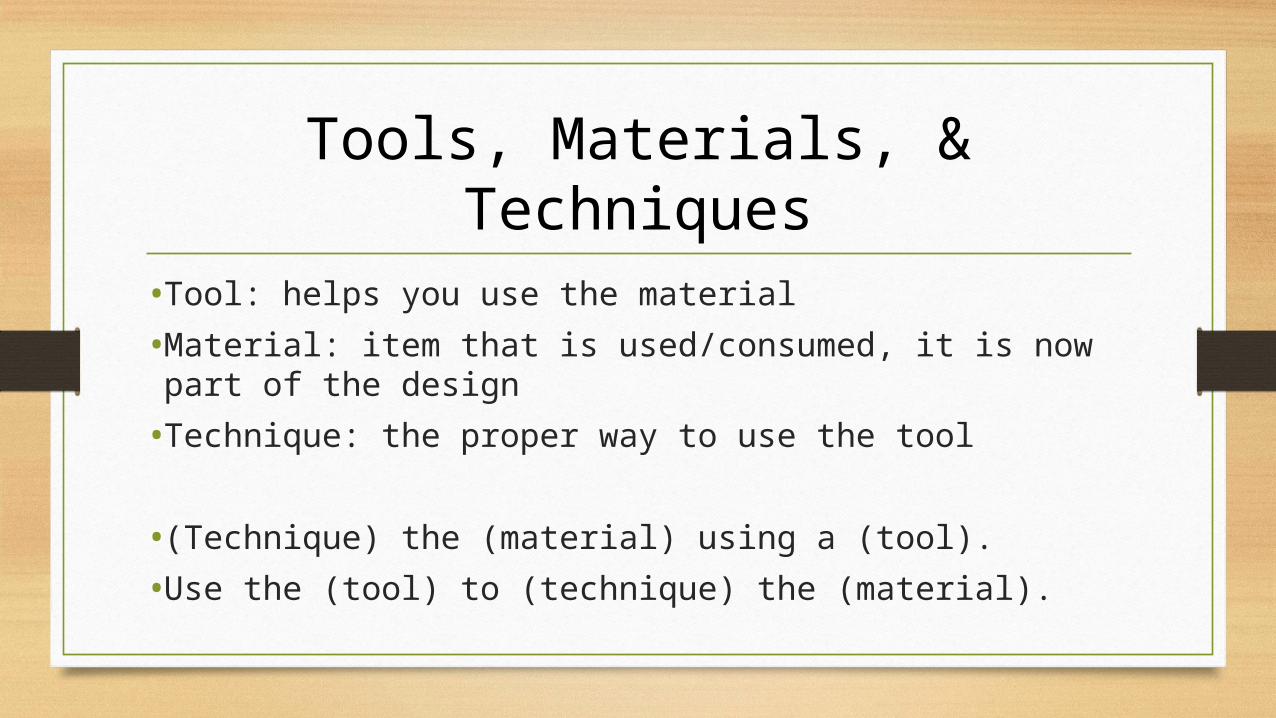
Tools, Materials, & Techniques
• Tool: helps you use the material
• Material: item that is used/consumed, it is now part of the design
• Technique: the proper way to use the tool
• (Technique) the (material) using a (tool).
• Use the (tool) to (technique) the (material).
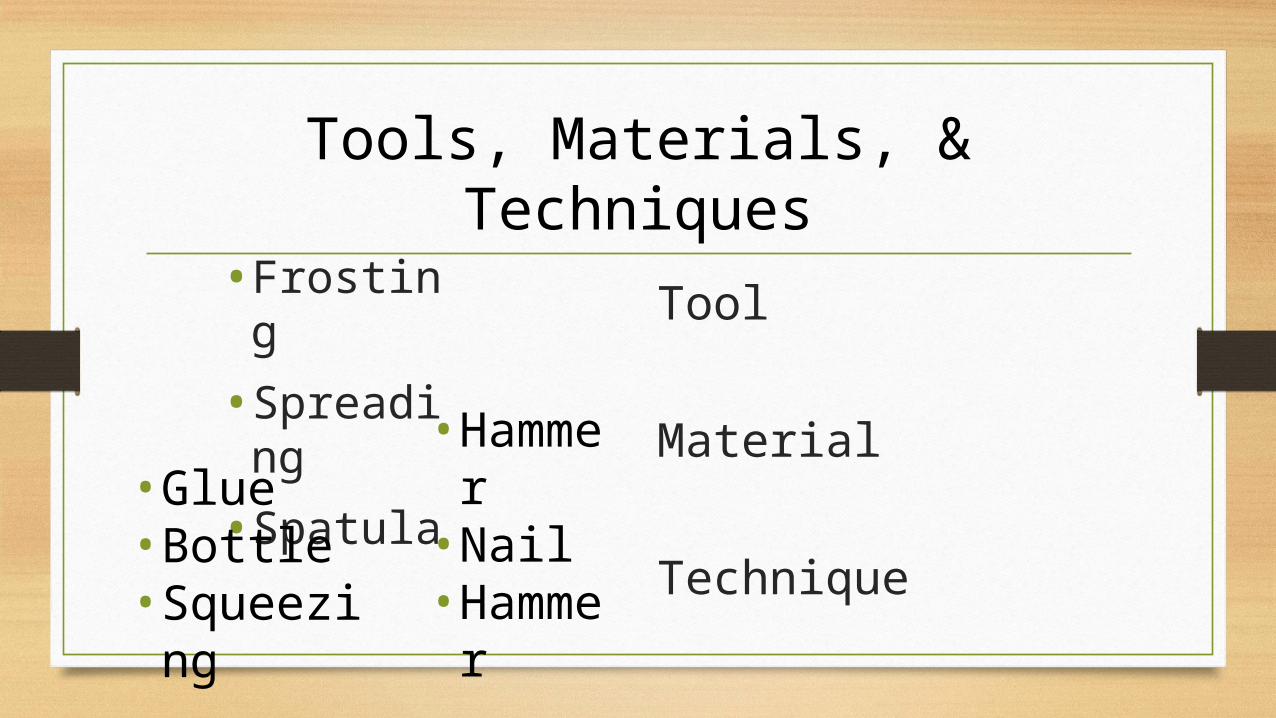
Tools, Materials, & Techniques
• Frosting
• Spreading
• Spatula
Tool
Material
Technique
• Hammer• Nail• Hammer
• Glue• Bottle• Squeezing

Anything Else?
• Students must also make modifications to their initial design during this phase.
• Modifications occur when you change the tool, material, or technique when you are creating the design.
• Students must also justify or explain why they are modifying their design?
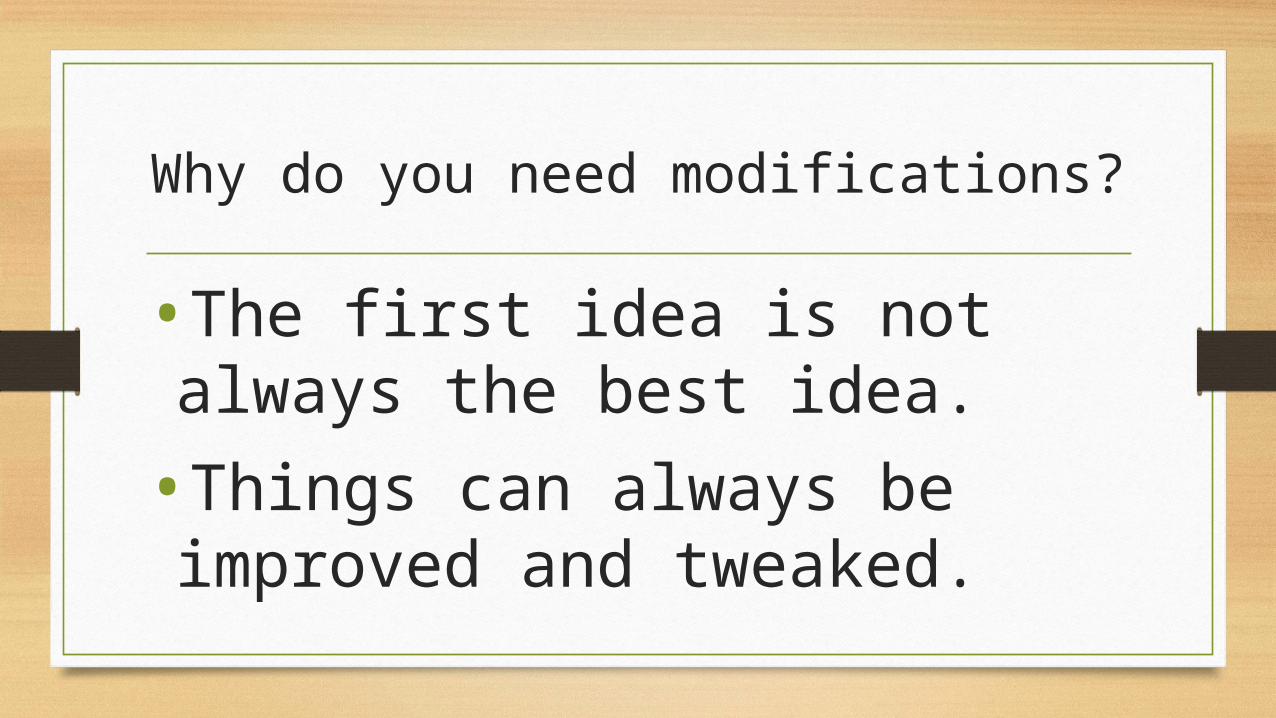
Why do you need modifications?
•The first idea is not always the best idea.
•Things can always be improved and tweaked.


1620

1776

1864

1867
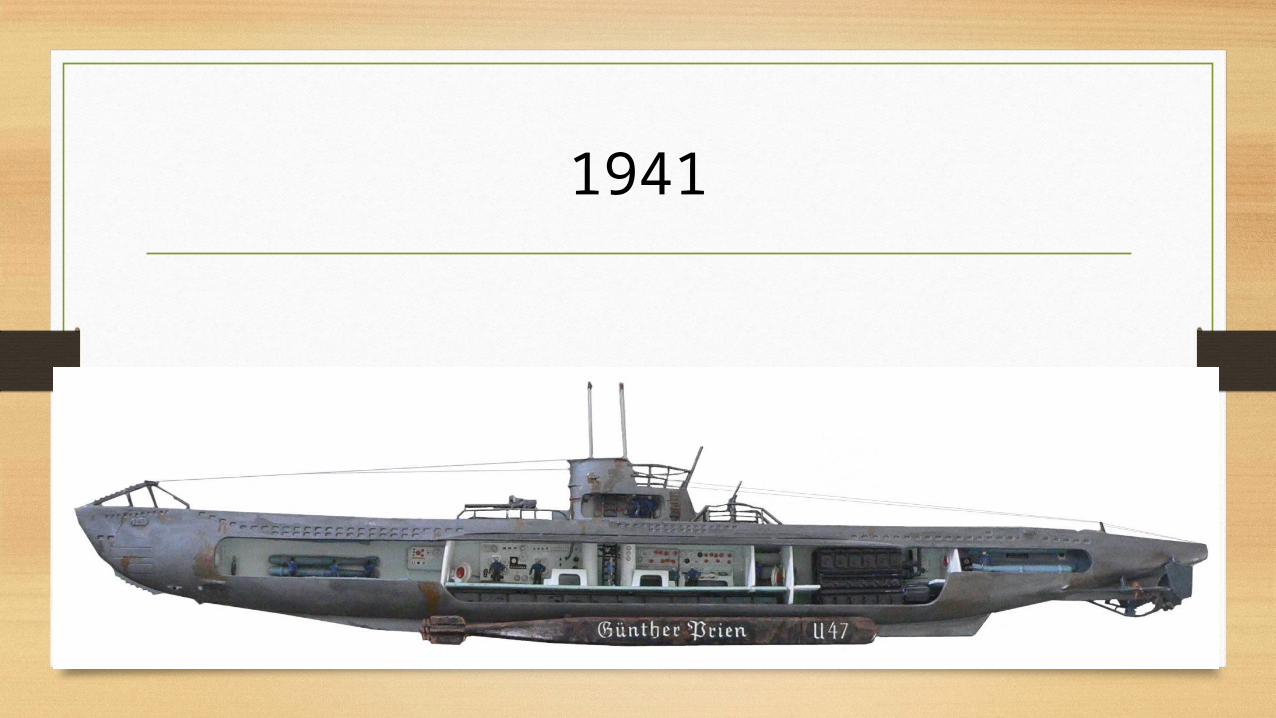
1941
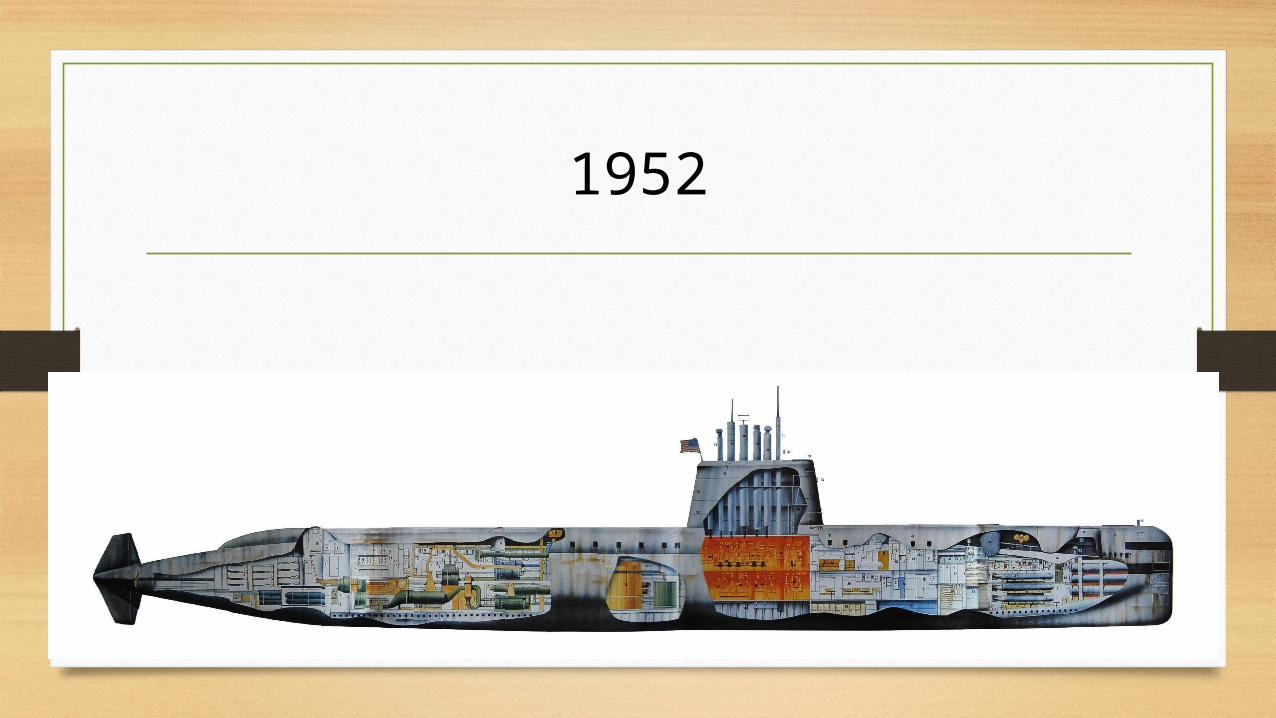
1952
Modifications & Justifications
Modification: Effectively communicate what you changed in your design.
• Use a complete sentence.
• Make sure TMT is in your sentence.
Justification: Explain why you modified your design.
• Use complete sentences.
• use the words: because OR so

To Complete Criterion C
•Create a chart of your steps.
•Modify your design
To get a 5/6 on Criterion C
• Create a detailed chart that outlines your tools materials, & techniques as well as time needed to complete each step.
• Have more than 12 steps in your plan.
• Have at least 3 modifications & justifications.

Sample Design BriefStep Tools Materials Techniques Time
1 gather resources
Oven, Knife, Glass Bowl, Kettle, Kitchen Aid Mixer, Spatula, Bundt Cake Pan,
Oven Mitt, Pastry Bag
Chocolate Chips, Cocoa Powder,
Chocolate, Water, Milk, Brown Sugar, Baking Soda, Salt
n/a 3 min
2 preheat oven to 350
Oven n/a Preheat 10 min
3 chop the chocolate chips
Chef’s Knife Chocolate Chop 3 min
4 combine chocolate chips
& cocoa powder
Glass Bowl Chocolate & cocoa powder
Mix 2 min
5 bring water to a boil
Kettle Water Boil 10 min
6 melt chocolate
Kettle, Glass Bowl
Water, chocolate Pour water over chocolate
2 min

Sample Design BriefStep Tools Materials Techniques Time
7 let mixture cool
Glass Bowl Melted chocolate Let cool 3 min
8 combine dry ingredients
Medium Sized Bowl
Flour, salt, baking soda
whisk 1 min
9 combine wet ingredients
Kitchen Aid Mixer
Butter, Brown Sugar, Vanilla
blend 3 min
10 slowly add the eggs to the
Mixer
Kitchen Aid Mixer
Eggs Mix 3 min
11 add milk to chocolate
Whisk Milk Whisk 3 min
12 assemble cake batter
Glass Bowl, Med. Bowl, Kitchen
Aid Mixer, Spatula
Chocolate Mixture, Dry
Ingredients, & Wet Ingredients
Combine 2 min

Sample Design BriefStep Tools Materials Techniques Time
13 add chocolate chips
Hands Chocolate chips pour 1 min
14 put batter into cake pan
Bundt Cake Pan, Spatula
Cake batter Pour 1 min
15 bake Oven, Cake Pan Cake Bake 55 min
16 take cake out of the oven
Oven Mitts Cake Remove Cake from Cake Pan
1 min
17 let cake cool
n/a Cake Let Cool 15 min
18 ice the cake
Pastry bag Melted Chocolate
Drizzle 2 min
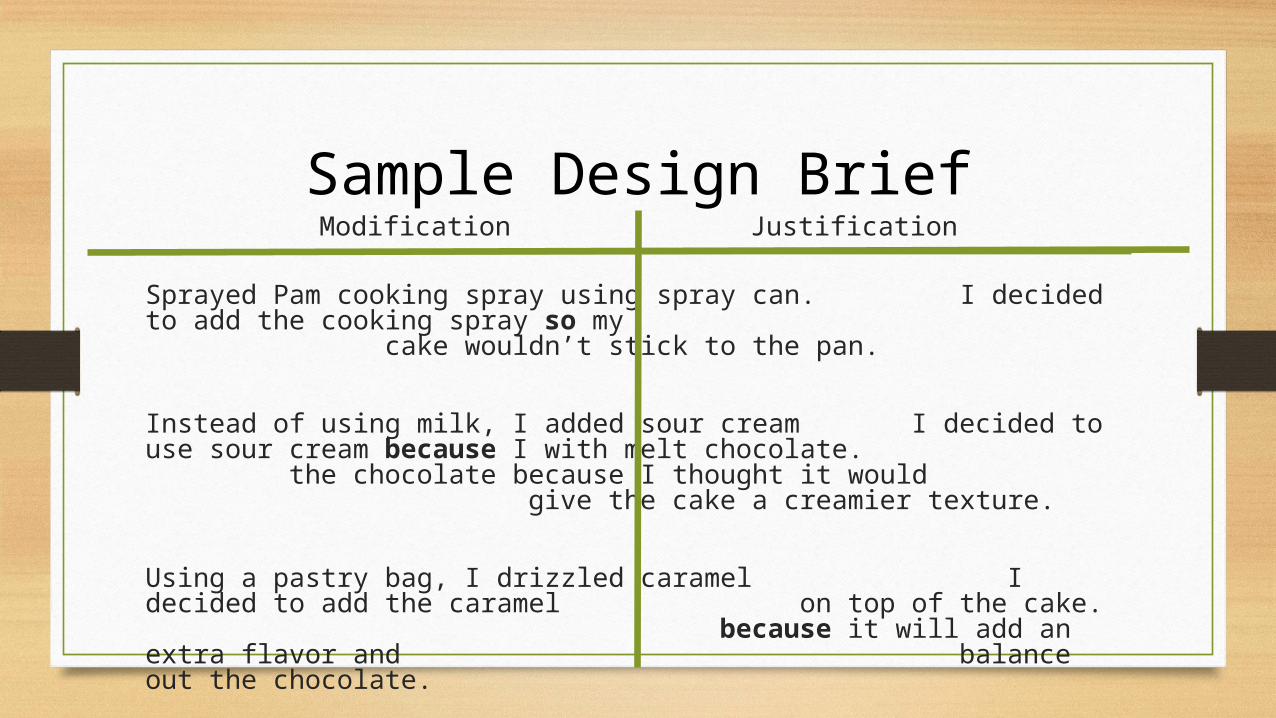
Sample Design BriefModification Justification
Sprayed Pam cooking spray using spray can. I decided to add the cooking spray so my
cake wouldn’t stick to the pan.
Instead of using milk, I added sour cream I decided to use sour cream because I with melt chocolate.
the chocolate because I thought it would
give the cake a creamier texture.
Using a pastry bag, I drizzled caramel I decided to add the caramel on top of the cake. because it will add an extra flavor and
balance out the chocolate.