how to start a food blog and make real money filehow to start a food blog and make real money ......
TRANSCRIPT
HOW TO START A FOOD BLOG AND MAKE REAL MONEY Are you a great foodie and love to eat different types of food?
Not just to eat but if you’re also trying to cook new recipes, do some healthy experiments in your kitchen and people praise you for your cooking skills, then a food blog is something waiting for you.
Especially, women and (men too) who are extremely fond of food & nutrition related topics can utilize their skills & knowledge to make a significant amount of money by creating a food blog.
Food blogs or the nutrition blogs often become popular with little efforts and if you publish the fresh, unique and high-quality contents regularly, I’m damn sure that no one can stop you from becoming a successful food blogger.
If you want to be an authority blogger in food niche or build one of the best nutrition blogs, then this step-by-step will assist you to start out.
Starting a blog is not enough to make real money. So, I’m also going to share some extremely useful and actionable tips to promote your food blog and make the profit from it.
1. Pick a Perfect Niche for Your Food Blog Though you love to enjoy all types of dishes and have a vast knowledge of food and nutrition industry, I’d suggest you pick your niche.
Niche blogs often perform better and easier to manage for design, development, SEO, content creation, etc.
Some of the popular niches are given below.
Gluten-free Foods
Carb/Sugar-free Foods
Vegan Foods
Non-veg Foods
Paleo Foods
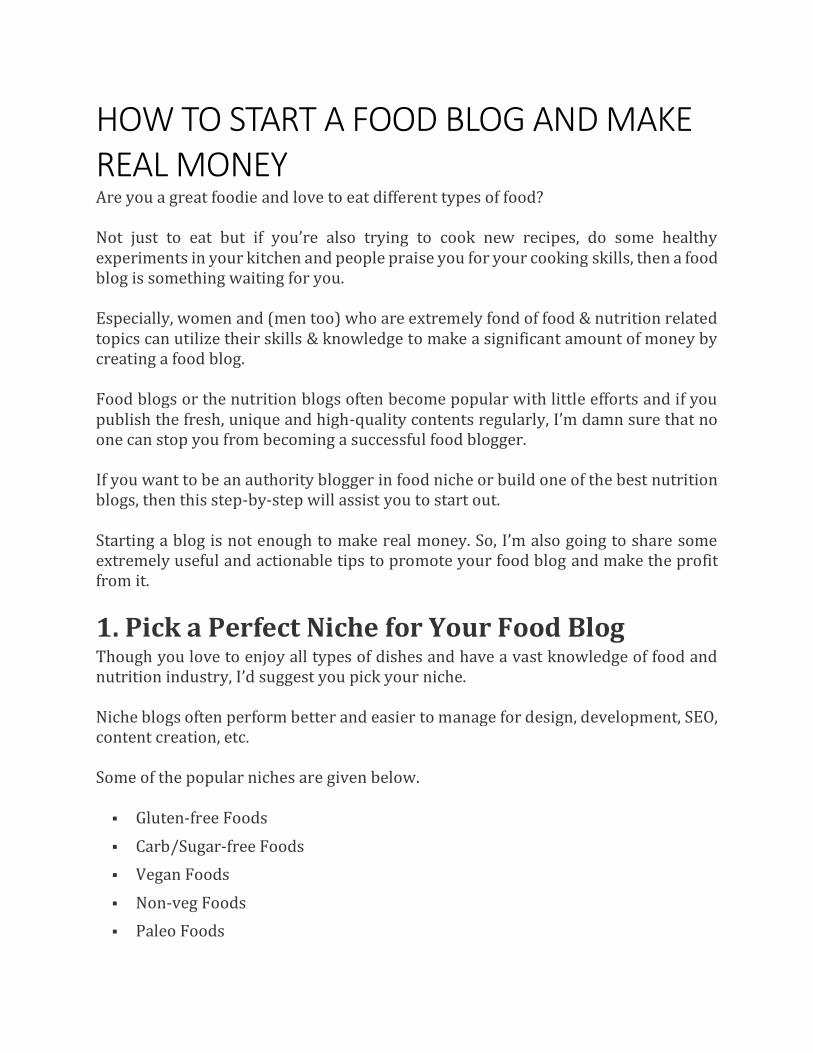
Continental Foods
Oriental Foods
Fast Foods
You can also have a blog on the side dishes and desserts including different types of cakes & bakery products, chocolates, ice-creams, salads, chutneys, health-drinks, etc. or popular dishes of a particular locality.
Don’t pick a broad or too narrow topic which often takes a lot of time to make a good income or you may end up with only a few pennies in your pocket.
However, if you have specialization in any of the food-related topics, then you can go with that. You may also have a health nutrition blog or a diet blog that helps foodies to be tension free all the times and enjoy different dishes.
Action tips: Take your time and write down at least five ideas. Then choose a where you have enough scope and you can create a significant amount of contents including blog posts, images or videos, etc. Also, consider the skills, knowledge, and expertise you have as well as efforts and time required in preparation for the recipes as well as contents.
2. Choose a Blog Name Once you finalize the niche, the next thing is choosing a blog name that describes your blog.
However, it’s always great to check beforehand that the blog name you have chosen is available as a domain name, preferably ending with a .COM extension.
You should also consider the name you have chosen is not copyrighted/brandmark of someone. Because this may raise some legal issues and eat some of your search traffic too.
Select a blog name that’s descriptive enough but not limited which will stop you expand further.
E.g. Broccoli Salad is a quite narrow niche and it is not recommended to pick this keyword as a domain name for your food blog.
Action tips: Pick a blog name extremely relevant to your niche and check whether it is available to buy as a domain name or not. Else, pick another name. This step may take some time to come with an appealing blog name. Don’t waste your time once you get your desired blog name and reserve it as a domain name immediately.
Go to NameSilo.com and enter your domain name in the search box. Check availability and book it with a .COM domain extension.
Select the Whois Protection (It’s free with NameSilo) and use coupon code SAVEMY1BUCK to save $1 on your purchase.
Pay with the PayPal or any other payment method you prefer to grab your domain.
Initially, you need not buy trademark registration which you can consider once your blog gets extremely popular and becomes one of the authority food blogs.
Register Your Domain Name
3. Purchase the Web Hosting Service Yes, you can create a food blog using some free web hosting resources including Blogger, WordPress.com, Weebly or Wix, etc. But the most of the successful food bloggers who make a big profit have self-hosted blogs.
This gives them full control over the functionality, management, and scalability of their blogs.
Initially, you can opt for shared hosting so you won’t have a big upfront cost and once your blog starts getting enough traffic, you can upgrade it to the VPS or dedicated server.
Remember, the web host you’ll select should have a good market reputation and all essential features including but not limited to an easy WordPress install, unbreakable security, maximum uptime, as well as good customer support, etc.
“But Ankit, I’m not that technical to choose a web hosting for my blog, could you help me?”
Yes, you can host your blog with any good hosting service however you should do a bit of research before taking a decision.
If you are just starting out, I would suggest you host with SiteGround’s GrowBig plan which is extremely VFM web hosting service with many great features and excellent customer support.
Plus, you’ll get free Let’s Encrypt SSL to secure your blog with one-click.
This is awesome, isn’t it?
I’m sure that you’ll never regret your SiteGround purchase.
Host with SiteGround (60% Discount)
Action tips: Decide how much posts, images or videos you are going to publish every week and choose a good web hosting service accordingly. If you are following this guide, then go with SiteGround’s GrowBig Plan. Purchase web hosting at least for a couple of years so you’ll get benefits as a new customer (flat 60% discount) and pay with your preferred payment method.
Within a few minutes, you’ll receive a couple of communication emails including the receipt/invoice of your web hosting purchase and cPanel details.
Plus, you’ll get the nameservers where you should point your domain.
Now, open your domain registration account. If I’m not wrong, you have one with NameSilo.
Click on the domain manager option and select the domain name you have purchased for your food blog.
Then select Change Nameservers for top options bar available at NameSilo and replace the default ones with the nameservers given by SiteGround.
Once, you submit these custom nameservers, it may take some time to complete the process. Then you can install WordPress on your hosting and start building your blog.
4. Setting up SSL & Email Addresses Once, you have your WordPress installed, the next thing is setting up the secure site by installing SSL certificate.
If you are with SiteGround, then it’s quite an easy task.
Just go to the cPanel and select Let’s Encrypt under Security Menu. On a next page, you can install Let’s Encrypt SSL certificate. You can also use HTTPS Enforce and External Links Rewrite options to get more security.
The whole process is automatic and takes just a couple minutes to install SSL certificate. Plus, it’s free too.
Once you install SSL the next part is setting up email addresses to your domain name. It looks more authentic and helps to build credibility.
If you are in cPanel, go to the Email accounts under Mail menu. Put any name before your domain including help. support, admin, contact, etc. However, putting your name there may create a great impression for your readers.
Choose a strong password and mailbox quota. (SiteGround’s GrowBig Plan allows maximum 4000MB for mailbox and that’s more than enough.)
You can also use an inbuilt password generator to create a strong password but either remember it carefully or write down at a secure place.
The next thing is Email Forwarding.
Under same Mail menu, you’ll see another option named as Forwarders. Select it and proceed further to Add Forwarder.
Add your regular email as a destination where you want to receive all blog related communication coming to the custom email address you have set up in above step and click on the Add Forwarder radio button.
That’s it. Now, you will get every email coming to your custom email address directly in the regular mailbox and you’ll also be able to reply from there.
Action Steps: Install free Let’s Encrypt SSL certificate and enable both options present under Let’s Encrypt management panel including HTTPS Enforce as well as External Links Rewrite. Setup a custom email address on your domain and add a forwarder to it so you can receive all emails coming to that address directly in your Gmail/Yahoo inbox.
5. Installing WordPress on Your Web Hosting Log in to your hosting account, you will see your domain name as a primary domain at the bottom of your hosting account.
Now, click on the cPanel and choose WordPress. You can also use the Softaculous script installer tool.
Select the protocol (HTTPS) and domain name where you want to install WordPress. Leave the directory field empty.
Select the auto update options for Core, theme, and plugins. You can also select limit login.
Put strong admin details including username and password. Prefer a strong combination of alphanumeric and special characters.
Plus, use the admin email which you use regularly to get instant notifications about your WordPress installation. You should also enable Backup option (It’s free too.) with daily frequency of single or a couple of backups.
Click on Install button at the bottom. It’ll take a couple of minutes and you’ll have a ready to use WordPress admin dashboard.
Now, you can log in your WordPress admin panel anytime using the username/email and password you used during the installation.
Action tips: Log in to your hosting account and Install WordPress through cPanel. You can also directly go to the cPanel using the username & password provided by SiteGround.
6. Installing a Theme You already have WordPress installed on your web hosting. The next step is installing a theme on your blog because your site would be looking very basic.
That’s why you need a theme which will present your content in a better way.
Yes, you can have a simple blog with a title, some images and the recipe written in a text format row-by-row showing how to cook the particular dish.
However, premium themes will help you insert different options including the preparation & cooking time, ingredient list with custom layout, nutrition value, image gallery, reviews, and likes, bookmark the recipe or print, etc.
Now tell me. what would you expect: a simple blog having a common layout or something that appeals you buy its design and advanced features?
Read here what you should pick between free or premium WordPress themes and their pros and cons. It’s your choice whether you should choose a free WordPress theme or a premium one. However, I would suggest you go with any theme which has all essential features and plugin compatibility required for a food blog.
For a free theme you can go WordPress Admin Dashboard >> Appearance >> Themes >> Add New and search for food or any other keyword related to your niche. You can choose any theme you like and click on Install and then Activate. By doing this you can change the layout and styling of your blog.
As I told free themes often come with the limited features required for a professional blog. So, I would always prefer one of the premium themes.
You’ll have a ton of options available for a premium food blog theme but I have listed a few of them below which are fully responsive, easy to navigate, loading ultra-fast and SEO optimized.
Here they are.
MyThemeShop MyBlog (Recommended for Newbies) ThemeForest Tasty Food StudioPress Genesis + Foodies Pro
ThemeForest Food_Blog ThemeForest FoodBook
These themes also have more advanced features and customization possibilities.
Action tips: Choose one of the premium theme mentioned above or any other high-quality WordPress theme that better caters your requirement and budget. Upload to your WordPress blog and install it. Don’t forget to Activate it too.
7. Install Plugins to Maximize the Functionalities A premium them often have some pre-bundled plugins to enhance its functionalities and recommended to install by the theme author. But there are a few other plugins you should consider for your blog.
These WordPress plugins are very important for your blog.
Akismet (Comment spam filtering)
WP Super Cache/W3 Total Cache + Autoptimize (Caching)
Yoast SEO (Search Engine Optimization & Readability improvements)
Sucuri Premium (Website Security)
WooCommerce + Add-ons (Selling your own products)
Thrive Leads (Lead generation & Email list building)
Some of these plugins are available for free in WordPress repository while you may need to pay for one of the Sucuri’s premium plans and Thrive Leads.
Action tips: Install and activate all recommended plugins mentioned above and consider buying the Sucuri premium as well as Thrive Leads WordPress plugin if your budget allows you. Some plugins like Yoast SEO will require additional set up.
8. Some Essential Settings for Your Food Blog Once, you build a WordPress blog and added theme/plugins, you should consider a few things before publishing the first piece of content.
Here are these settings you should consider.
Set up Permalink structure to Post name. Go to the WordPress Admin Panel >> Settings >> Permalinks and choose the option Post name under Common Settings. Create some important pages including Contact, About, Privacy Policy, ToS (Terms of Service), Earning Disclaimer and Sitemap, etc. and add them to either header or footer menu.
Now, go to the Reading Setting and choose whether you want a static page or the latest posts as your homepage.
You can also decide how many posts you want to display on each page and how (means the full length or only summary).
The next step is deleting default post/pages, Hello Dolly plugin and any spam comment on your WordPress blog.
It’s almost done.
Start adding categories and tags which you want to use for your food blog depending on the niche you have picked.
Action Tips: Set up Permalinks structure as Post name. Create and add some important pages to the Menus. Choose preferable Reading settings and then delete the default post, Hello Dolly Plugin and comment.
Start adding categories and tags to get started to post your first ever recipe.
9. Create and Post Engaging Contents It’s the most important part of your food blog because all contents you are going to post including the recipes, nutrition tips and the media files related to your niche will directly accessible to the end users at front-end.
So, you must be completely prepared with a ton of content ideas, some recipes or article in written format with appetizing photos and videos.
For the recipe article creation, it’s always better to learn & practice SEO where keyword research is the first part of the overall process.
If you have a budget for SEO, you can grab SEMRush which is one of the best premium SEO tools for keyword research and competitor analysis. The recipe articles should be original and plagiarism free with at least 1000 words each. Use proper heading tags and styling options for easier readability & SEO purpose.
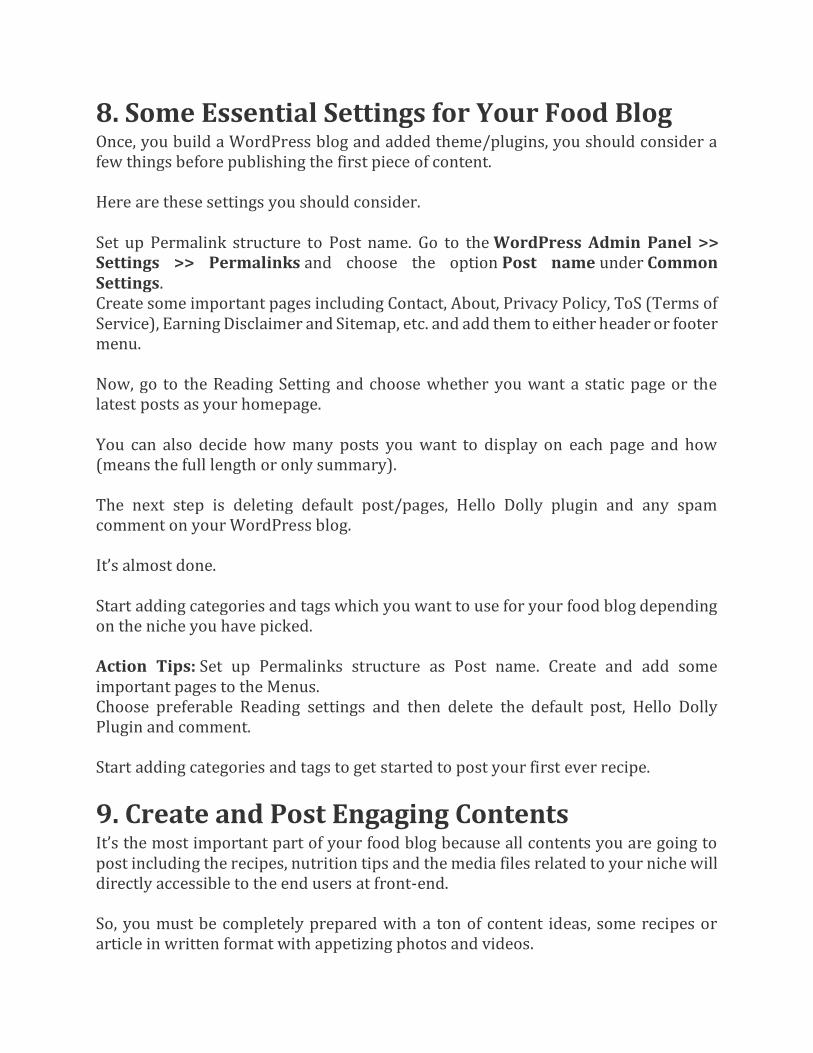
The quality of the images will give a big boost to your site, both in terms of attracting a lot of people to your blog, and keeping them engaged once they arrive.
So, invest a lot of time perfecting your camera and take mouthwatering images that’ll force people to read your blog, share your recipes, and try your recipes at their home.
Here are the recommended tools required for a food photography and video creation.

Camera: Canon EOS Rebel T6i 24.2 MP Digital SLR Camera (Wifi Enabled) Lighting setup: LimoStudio 16″ x 16″ Table Top Photography Studio Lighting
Light Tent Kit Photography Guides: Food Photography: From Snapshots to Great Shots Software: Adobe Creative Cloud Photography plan
In some cases, especially healthy diet blogs and nutrition blogs your visitors are likely to ask you something that’s not mentioned in the article like some special tips to enhance the taste of the recipe, reduce cost or overall time in making this dish.
You can make some posts or answer them directly by replying in the comment section.
If you don’t know an answer to any question, find it and let them know. I’m sure your visitors will appreciate the efforts and time you would take.
The last but not least, you should focus on doing something that sets yourself apart from the crowd.
Though a food and nutrition are evergreen topics for blogging, you must keep your blog updated regularly with a ton of high-quality where most of the blogs fail
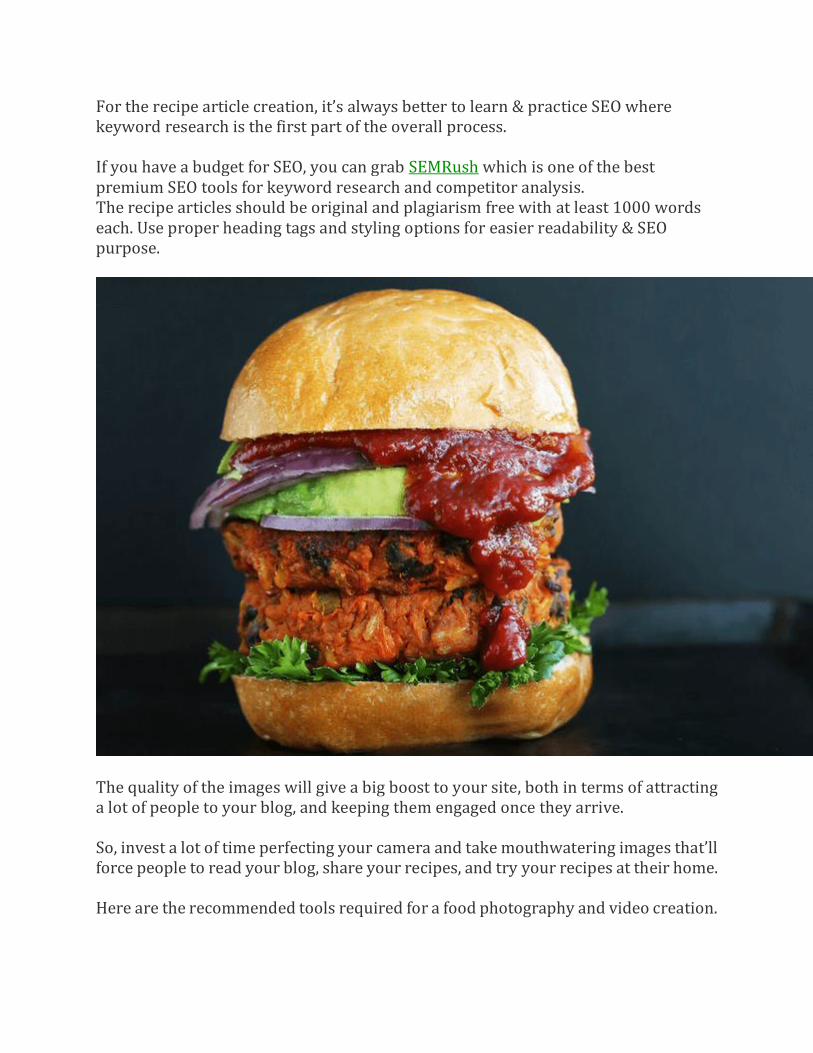
Suppose, you have a chicken recipe blog, then you can write down the process for preparation, marination, and cooking. Meanwhile, you can also shoot some amazing pictures and videos that’ll make more from your efforts.
Yes, you can add your own twists too in your recipes to look them more beautiful and taste better.
If you are altering your Grandma’s favorite recipe, let people know about the history or special stories around it and the changes you have made.
A great storytelling can rise your blog on the top within no time even it’s a food blog.
Action tips: Create solid contents for your blog including recipe articles and media files. If you have a recipe blog, always try them before you publish that contents. At the very first time, try to write at least 15-20 blog posts so that your visitors will have enough contents to consume and create a blogging schedule to add several new posts to your blog.
10. Setting up an Email Autoresponder You are making the blog for profit and you’ve already invested some money in the tools and services required for a food blog.
But without traffic, you can’t get a significant ROI from your efforts where an email list is the most suitable option for any blog whether you are receiving SEO traffic or not.
SEO or Social media channels are controlled by the third parties including Google, Microsoft, Yahoo, and Facebook, etc.
But the email list is your own and you can send emails at any time to your entire list to let them know about the new recipe or products reminding them to return to your blog.
And, then you can use any of the suitable monetization methods to generate income for your blog including but not limited to CPM/CPL ads, sponsored listings, affiliate marketing, etc.
If you have created a product, then you can promote it to your email subscribers and chances of sales are high because these people are your loyal readers who trust you or at least know you.
Setting up an autoresponder could seem a difficult task for many people especially for newbies.
However, you can do that yourself.
Just pick a lead generation plugin and email marketing service to integrate with your food blog (I recommend a Thrive Leads for lead generation and GetResponse as an email marketing service). Pick a freebie to giveaway or bait to make people sign up to your email list. It can be anything, a recipe book or diet plan or free weekly health tips, etc.
With Thrive Leads you can create extremely appealing popups, widgets or notification bars to attract people to be your email subscribers and GetResponse will help you to send them automated emails with predefined sequence and segmentation. Action tips: Create an autoresponder sequence for getting maximum opt-ins to your email list using a Thrive Leads and GetResponse.
Start Building Your Email List
11. Promote your Food blog A common myth among most of the people that building a blog is enough to make money.
It’s true that the content is king but right promotion is also required to get success in the blogging world.
When you’ll start a food, people don’t know about it so they can’t read your posts. That’s why you should give priority to building promotion & traffic generation strategies.
Remember,
While you’ll most likely to create SEO-friendly contents, you can’t rely only on Google’s mercy to drive a ton of traffic to your food blog.
Social media channels especially Instagram & Pinterest work great for the food blogs where media contents will help you get more exposure.
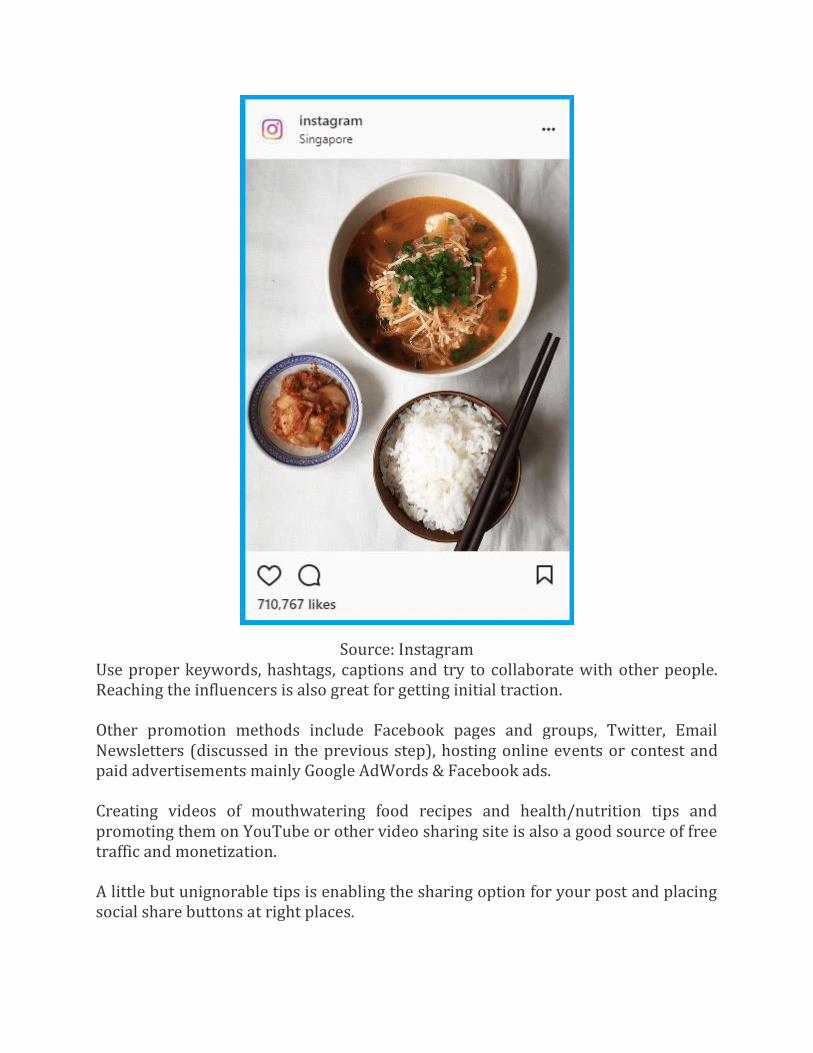
Source: Instagram Use proper keywords, hashtags, captions and try to collaborate with other people. Reaching the influencers is also great for getting initial traction.
Other promotion methods include Facebook pages and groups, Twitter, Email Newsletters (discussed in the previous step), hosting online events or contest and paid advertisements mainly Google AdWords & Facebook ads.
Creating videos of mouthwatering food recipes and health/nutrition tips and promoting them on YouTube or other video sharing site is also a good source of free traffic and monetization.
A little but unignorable tips is enabling the sharing option for your post and placing social share buttons at right places.
You can also develop some offline marketing methods like Printing blog’s URL/QR code on your business card or participating a cookery show in your locality.
If you have created any product related to your niche like an ebook, cooking course, food photography course, etc. then you can use incentive programs or referral schemes and give people rewards in the form of money, your exclusive contents and some hacks you generally don’t share.
By this way, you’ll attract more people to your blog and eventually you may get some sales too.
Action tips: Create a clear schedule for your food blog promotion and use the methods to increase your traffic. Yes, it’ll take some time to get a significant traffic but targeting the right audience and speaking their needs will help you a lot.
12. Monetizing Your Food Blog You have poured your soul into building a yummy chocolate cake, now it’s time to enjoy it.
The same feeling you’ll get once you have a food blog ready to monetize.
Remember, making money from your blog requires a good amount of traffic where promotional activities discussed in the previous step help a lot.
Once you successfully market your blog and start getting enough visitors (at least 10K monthly unique visitors), you can start monetizing your blog with the confidence.
You need to understand which money-making method would give you maximum ROI depending on your skills, knowledge, time, and money invested and focus only those.
Here I have listed a few of the legit blog monetization methods and you can pick any of them.
Advertising Networks Advertising programs is one of the set and forget monetization method to earn your first dollar from the food blog.
Major search engines including Google, Bing & Yahoo, etc. and their business models rely heavily on the ad revenue.
They charge advertisers for a prominent place in the search result on CPC or CPM basis for driving the traffic to advertiser’s landing page. If you are a part of one of
these ad networks including Google AdSense, then these companies share their revenue the publishers like you.
Once you start getting enough traffic, apply for Google AdSense or any other ad network you prefer. On approval, you need to add a JavaScript code to your blog so that Google will automatically display ads to your visitors.
Though you should not expect millions of dollars from this method, the heavily trafficked blogs can earn a great income alone with a food blog.
If you are following this guide, you’ll most likely to see your first paycheck within a few months.
Chitika, Media.net, etc. are a few Google AdSense alternative you can consider for your food niche site.
Sponsored Ads & Display Banners Though you can use Google AdSense on your food blog, the income is variable and you can’t control it. One day you may get a big chunk of money while fewer clicks only on another day.
That’s why you should consider a CPM based sponsored ads or display banner ads relevant to your niche. You can approach the ad networks or individual businesses to display sponsored ads on your site.
The best part of this revenue model is you receive funds prior displaying ads on your site and decide how much you want to make for the particular ad space ($$/CPM or $$/Month).
Affiliate Marketing You might be already knowing about this term. Affiliate marketing means driving visitors to someone else’s website where you get paid for a conversion.
Once you start getting a good number of blog visits and have a list of minimum thousand loyal email subscribers, you can start affiliate marketing as one of your primary monetization methods.
Whenever you post a recipe or article, try to be unique and a problem solver. Promote the products and services using your special affiliate link.
If someone buys a product by clicking through your affiliate link, you’ll receive a commission for that sale. However, some companies like Amazon and Flipkart, etc. pay for upsells or cross-sells too.
The affiliate commission varies from 1% to 80% or even more depending on the product or service you are promoting.
I have listed some of the best affiliate marketing companies for the food bloggers.
Amazon It’s one of the largest retail e-commerce brand selling A to Z products. The payout rates may seem very less but it opens the doors to maximize your affiliate commission because people are more likely buy other products related to the one you have referred.
You can promote different kitchen tools, household & grocery items, cooking books or other miscellaneous products related to your niche.
Amazon rewards its affiliate publishers for greater volumes so try to maximize your conversions by high-value products and higher volume for any calendar month.
ClickBank This is an excellent source for digital products where you can get more than 40% as an affiliate income for every sale you generate.
Plus, most of the products are courses, ebooks, etc. which are instantly available to download after purchase.
You can find a ton of good products on ClickBank related to food, nutrition, diet plans and health and you can easily promote them to your blog visitors and email list.
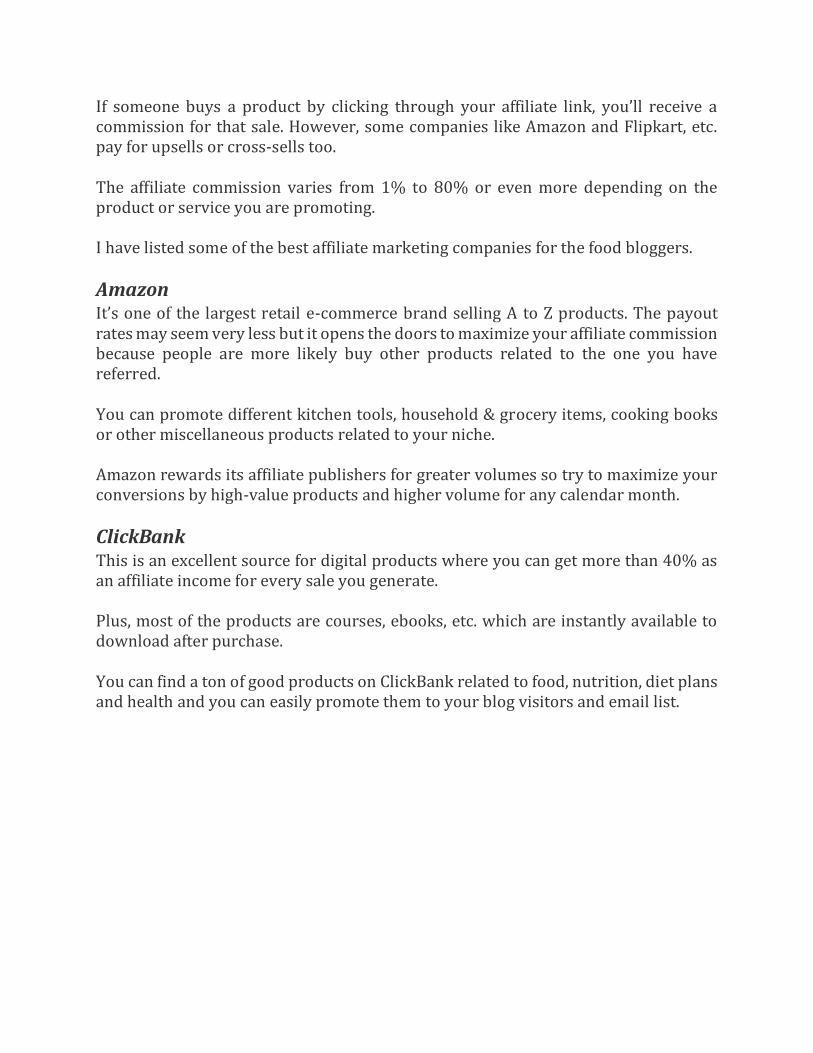
Other affiliate networks include Gourmet Ads, CJ Affiliate, Rakuten LinkShare, ShareASale and BigBasket (through Cuelinks) where you can sign up and promote the high-quality products.
YouTube & Product Reviews If you are creating the video contents and uploading to YouTube or any other video sharing sites, then you may get some followers there too.
Over the time, when your blog will grow, you can review different products for paid promotion or affiliate earning.
Plus, if you are regular on YouTube and fetching a good engagement, then you can consider adding Google AdSense to your channel.
YouTube is great for your own promotion too. Suppose, you have created own product to sell, you can show demo to your audience or educate them so that they can easily buy from you without any hesitation.
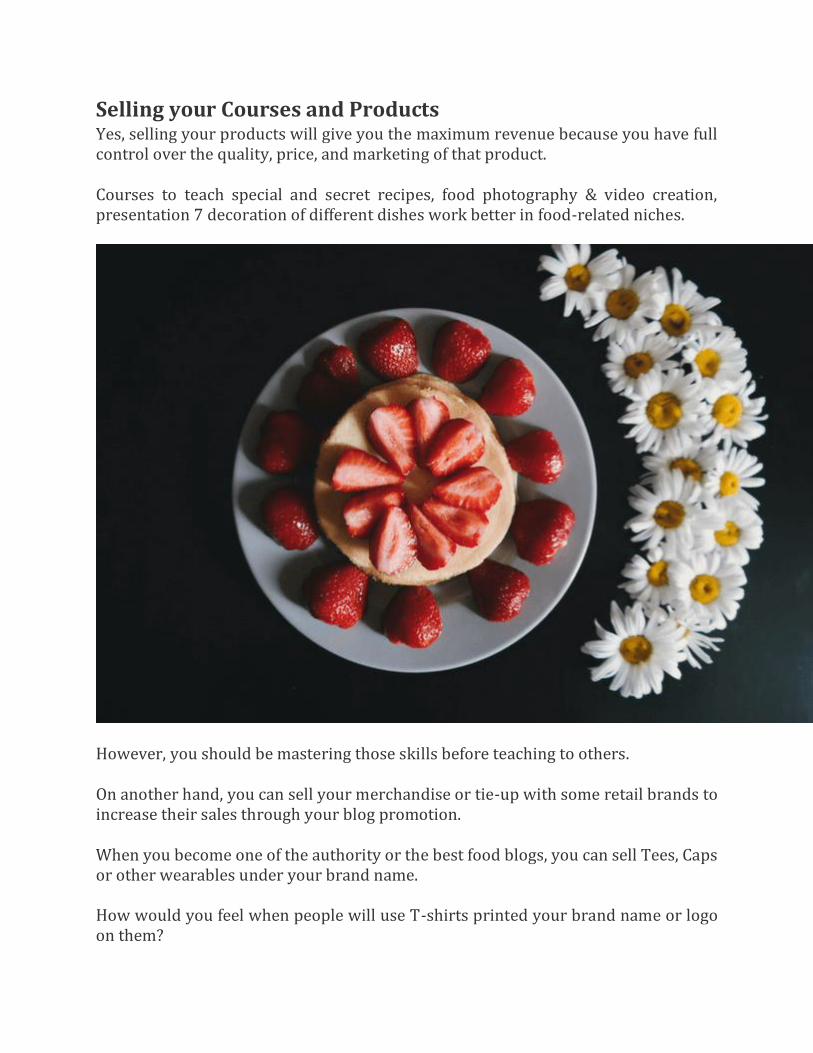
Selling your Courses and Products Yes, selling your products will give you the maximum revenue because you have full control over the quality, price, and marketing of that product.
Courses to teach special and secret recipes, food photography & video creation, presentation 7 decoration of different dishes work better in food-related niches.
However, you should be mastering those skills before teaching to others.
On another hand, you can sell your merchandise or tie-up with some retail brands to increase their sales through your blog promotion.
When you become one of the authority or the best food blogs, you can sell Tees, Caps or other wearables under your brand name.
How would you feel when people will use T-shirts printed your brand name or logo on them?

Isn’t it a nice feeling as a food blogger?
Selling Your Photos & Video Contents The last but not least method of monetizing your food blog is selling your photos and short videos online. There are a lot of sites which host your media files and pay you on direct sales basis or a royalty.
If you have visited Envato marketplace or popular websites like Shutterstock, Getty Images, you can easily understand the potential of professional food photography.
Here are a few awesome websites to sell your photos and graphics online. That’s why I have suggested buying a camera setup and other required tools. If properly done, you have a ton of opportunities as a food blogger and pro food photographer.

Action tips: Choose any of the food blog monetization methods discussed here and start using on your blog. You can use all methods at a time but you should only pick a few of them and focus more on improving user experience, blog performance, high-quality content and building a large audience base to get better revenue.
Wrapping Up In this step-by-step tutorial, you have learned how to pick a niche for your food blog to some money-making methods with the action tips and expected outputs.
I hope it’s helpful to all new and aspiring food bloggers who wanted a complete DIY guide for creating a food blog from the scratch.
If you’ve liked this article let me know by commenting below and share with your friends so they can get benefit from it.