gyotaku- the art of the fishprint gyotaku- the art of the...
TRANSCRIPT
Gyotaku- The Art of the Fishprint
heatherfortner.com Page 1 (c) 2010 Heather J Fortner
A step by step guide to creating beautiful GyotakuGyotaku (gyo (fish) taku (rubbbing)) is a Japanese art form that creates an image of a fish or other marine object with exacting detail. The name is descriptive of the technique of using ink and a rubbing motion to transfer the features of the fish to paper or silk. The following instructions refer to the direct method of printing, in which ink is applied directly onto the body of the fish.
Fish
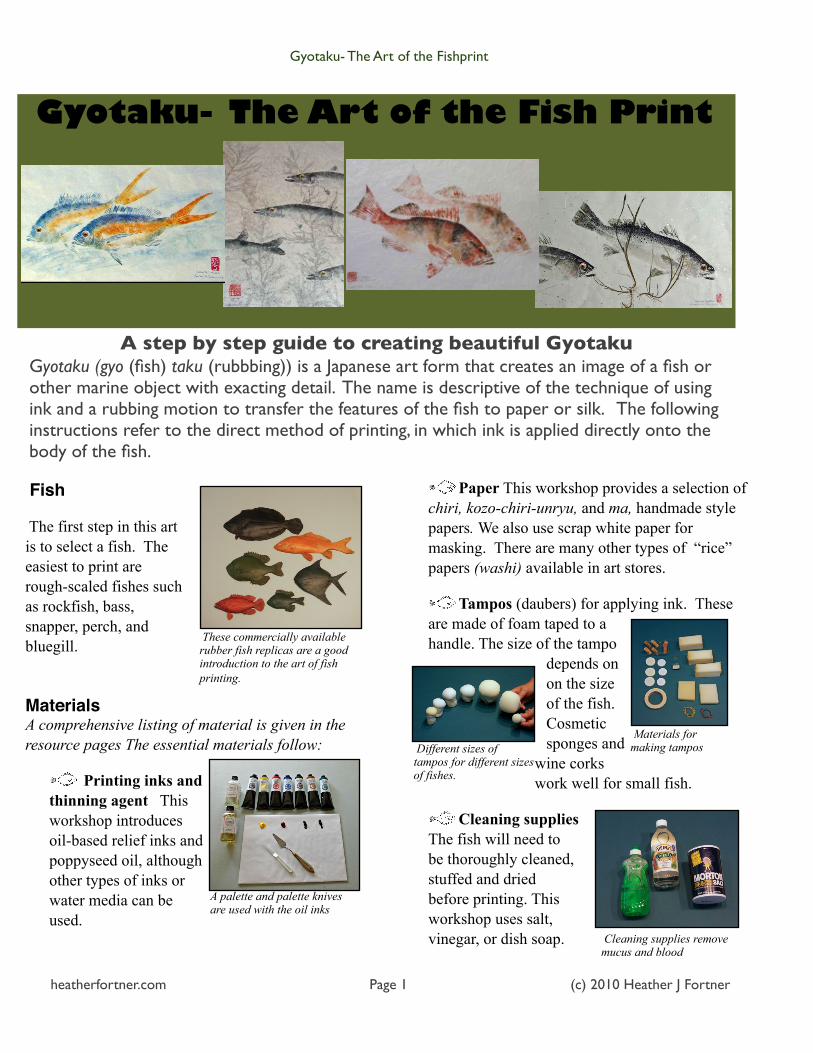
The first step in this art is to select a fish. The easiest to print are rough-scaled fishes such as rockfish, bass, snapper, perch, and bluegill.
MaterialsA comprehensive listing of material is given in the resource pages The essential materials follow:
Printing inks and thinning agent This workshop introduces oil-based relief inks and poppyseed oil, although other types of inks or water media can be used.
Paper This workshop provides a selection of chiri, kozo-chiri-unryu, and ma, handmade style papers. We also use scrap white paper for masking. There are many other types of “rice” papers (washi) available in art stores.
Tampos (daubers) for applying ink. These are made of foam taped to a handle. The size of the tampo
depends on on the size of the fish. Cosmetic sponges and
wine corks work well for small fish.
Cleaning supplies The fish will need to be thoroughly cleaned, stuffed and dried before printing. This workshop uses salt, vinegar, or dish soap.
Gyotaku- The Art of the Fish Print
These commercially available rubber fish replicas are a good introduction to the art of fish printing.
Materials for making tampos Different sizes of
tampos for different sizes of fishes.
A palette and palette knives are used with the oil inks
Cleaning supplies remove mucus and blood

Gyotaku- The Art of the Fishprint
heatherfortner.com Page 2 (c) 2010 Heather J Fortner
Tools Certain tools will make the process much easier. These include a teasing needle (probe) and a set of fine point tweezers (forceps) to assist in stuffing orifices, and straight pins for holding the fins in position.
Platform There are many options to support the fish, including modeling clay, foamboard, or cardboard. In this workshop we will use a section of insulation board available from home improvement stores.
Identify and Study the FishLook at the fish and note the external features. What kind of fish is this? How does it swim? What features do you want to emphasize in the print?
The drawing identifies the parts of a typical fish. Certain orifices including the nares or nostrils, the eye, the gill cover, and the vent (anus) will need special attention as they tend to leak.. The lateral line is a row of scales modified as a sensory organ that senses vibration in the water. This is often a distinct feature on many prints.
Wash the FishSelect a fish and wash with salt, vinegar or soap to remove mucous and blood. Wash in the direction from head to tail to prevent dislodging any scales. Inspect the fish and choose a side to print. Any damage (cuts, holes or missing scales) indicates that the other side is preferable. It is very difficult to stop a cut or spear hole from bleeding.
Plug the orifices
Plug all openings with soft tissue. Use the dissecting pin to push in the tissue. An alternate method is to seal openings with a dab of cyanoacrylate glue.
Prepare the platformWith a razor knife, cut a section of insulation board larger than your fish. Lay the fish onto it and lightly trace around the body, then remove the fish. Cut the traced section.
The tweezers, teasing needle, scissors and razor knife help in preparation.
Nares Eye
Spiny and soft dorsal fins
Lateral lineGill Cover
Anus or vent Ventral or anal fin
Tail or caudal fin
Pectoral fin
Generic parts of a fish. Trouble spots (leaking possibility) are identified by a red color. Each fish will have modifications of these features. It is important to know the characteristics of the fish in order to create a realistic image.
Pelvic fin
Use the dissecting pin to push soft tissue into the nares. and the vent. Place soft tissue in the gill cavity to hold moisture
Trace around the body of the fish
Gyotaku- The Art of the Fishprint
heatherfortner.com Page 3 (c) 2010 Heather J Fortner
The fish should be able to lay in the cavity with the fins supported by the board.
Lay out of the Fish Pull the fins into the desired
position and pin in place. The pelvic fin may
require an extra platform. Brush on isopropyl alcohol over the entire fish body. This will help to dry the fish and also to kill bacteria remaining on the body.
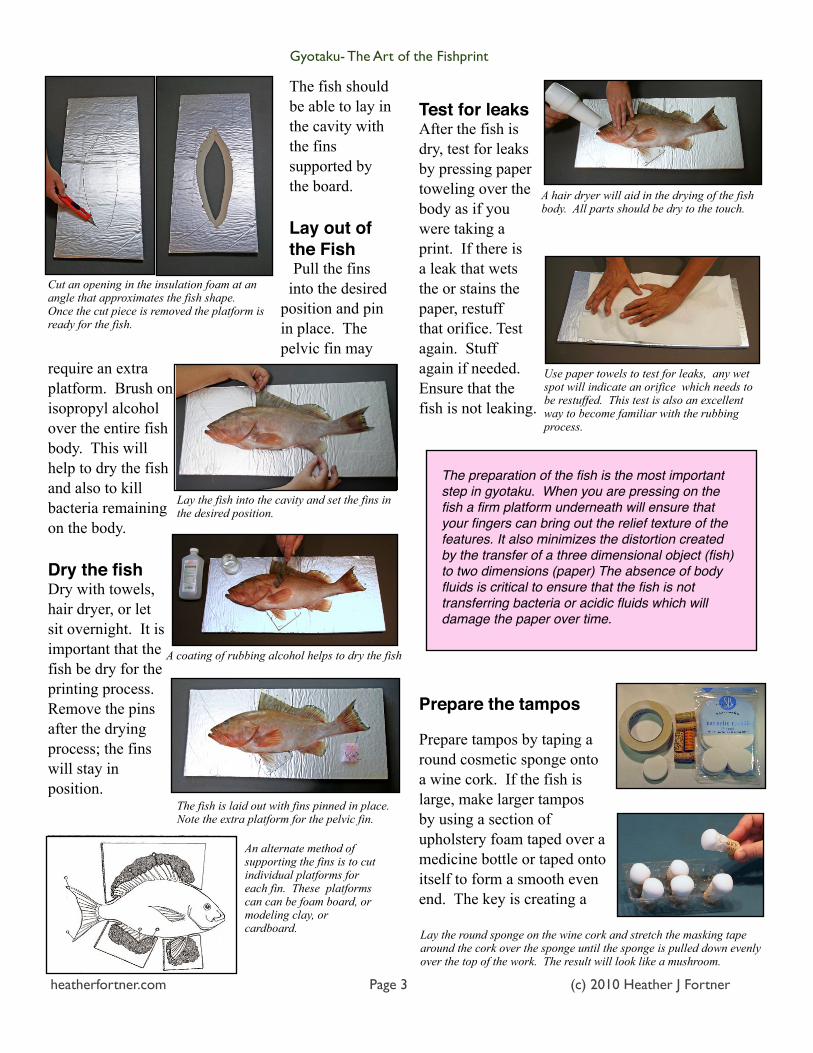
Dry the fishDry with towels, hair dryer, or let sit overnight. It is important that the fish be dry for the printing process. Remove the pins after the drying process; the fins will stay in position.
Test for leaksAfter the fish is dry, test for leaks by pressing paper toweling over the body as if you were taking a print. If there is a leak that wets the or stains the paper, restuff that orifice. Test again. Stuff again if needed. Ensure that the fish is not leaking.
Prepare the tampos
Prepare tampos by taping a round cosmetic sponge onto a wine cork. If the fish is large, make larger tampos by using a section of upholstery foam taped over a medicine bottle or taped onto itself to form a smooth even end. The key is creating a
Cut an opening in the insulation foam at an angle that approximates the fish shape. Once the cut piece is removed the platform is ready for the fish.
Lay the fish into the cavity and set the fins in the desired position.
A coating of rubbing alcohol helps to dry the fish
The fish is laid out with fins pinned in place. Note the extra platform for the pelvic fin.
An alternate method of supporting the fins is to cut individual platforms for each fin. These platforms can can be foam board, or modeling clay, or cardboard.
A hair dryer will aid in the drying of the fish body. All parts should be dry to the touch.
Use paper towels to test for leaks, any wet spot will indicate an orifice which needs to be restuffed. This test is also an excellent way to become familiar with the rubbing process.
Lay the round sponge on the wine cork and stretch the masking tape around the cork over the sponge until the sponge is pulled down evenly over the top of the work. The result will look like a mushroom.
The preparation of the fish is the most important step in gyotaku. When you are pressing on the fish a firm platform underneath will ensure that your fingers can bring out the relief texture of the features. It also minimizes the distortion created by the transfer of a three dimensional object (fish) to two dimensions (paper) The absence of body fluids is critical to ensure that the fish is not transferring bacteria or acidic fluids which will damage the paper over time.

Gyotaku- The Art of the Fishprint
heatherfortner.com Page 4 (c) 2010 Heather J Fortner
smooth surface.
Prepare the paletteFirst prepare a smooth palette surface. In the class we’ll use freezer wrap (shiny side out) taped to a sheet of plexiglass. Cleanup is easy; at the end of the
session we discard the paper and ink.Prepare the inksSelect the colors of ink for the fish.. Beginning printers may want to start with black to learn the technique before moving onto multiple colors. Oil based relief and block printing inks are used in the class. squeeze out only a small amount-(about 1/2 tsp to start). Thin with an artist oil to the consistency of warm honey (or cake batter). Use a palette knife to thoroughly mix the oil and the ink.
Select the paperSelect the paper for the print. Use inexpensive newsprint or sumi-e roll paper for your first prints, As you gain confidence, try a print on one of the oriental papers provided for the class, These “rice" papers (washi) are traditional, but you can print on any kind
of paper or cloth that is flexible and has a smooth surface.
Insert Slip sheetsPlace torn up sheets of white scrap paper under the fins. These masking papers or slip sheets will come out later..Apply ink to the FishInk the tampos by gently tapping into the ink. Ensure that the ink is
evenly absorbed. Use one tampo for each color.
Apply ink onto the fish with the sponge
tampos with a gentle repetitive tamping (dabbing) motion. Each dab adds a little more ink. Each tampo applies a different color. Some printers may ink the lightest color first, then move to darker tones. Ink the belly lightly or not at all. Make the most intense
Cover a smooth surface, such as plexiglass with the freezer wrap , shiny side out. Tape lightly with masking tape.
Four colors of ink are mixed for this red grouper to match the natural coloration. Note the slip sheets.
NOTE: Although we are using oil based inks with disposable tampos, you may also print with water based inks, tempura paint, sumi-e inks, acrylics or other liquid media and soft brushes.
Several layers of slip sheets go under the tail and fins
Tap into the ink and then tamp onto the palette to evenly distribute the ink that is on the sponge
Applying the first layer of ink to the top of the fish. Note that the ink goes beyond the fins onto the slip sheets.
Yellow has been added to the belly, and the red and the yellow are blended with a larger upholstery foam tampo.
The final step in multiple color inking is adding the highlight colors. The red grouper has black saddle bands, so the black tampo adds this coloration.

Gyotaku- The Art of the Fishprint
heatherfortner.com Page 5 (c) 2010 Heather J Fortner
inking on the upper part of the fish, to resemble natural shading. Do not worry if the ink goes onto the slip sheets. These sheets will be removed later. Inspect the inked fish at different angles to ensure that all parts are inked and that there are no blobs of ink.
Remove slip sheetsRemove or replace the slip sheets. Very Important
Step! Inspect the area around the fish and cover any spots of ink with clean paper. This critical step ensure that the only ink on your paper comes from the fish.
Take the printMist the printing paper slightly with a fine mister to relax the fibers. The paper will now move like a piece of cloth.
Lay the paper down on the fish and press with fingers, Start at either the head or the tail and
press/rub the entire fish, moving from the head to tail, or tail to head. A spoon or fingernail may help bring out detail in the fins and spines.
Rub each part of the fish one time. Do not go back to touch up, when the paper is rubbed again it may shift, resulting in a double print.Printing the
head of round fish takes some practice to stretch and manipulate the paper around the curves without creating crease lines and folds in the paper.
When every part of the fish has been pressed, gently peel the paper from the fish.
Shadow or Ghost print If you want a ghost or shadow print, lay the paper back down in a
The fish is ready for printing. Note that the slip sheets have been replaced. Ensure that there is NO INK on the platform or around the fish.
Do not ink the eyes: they have no texture. If ink gets on them, wipe with a cotton swab. The eyes are painted in after the print is taken.
The orientation of the paper determines the angle of the fish on the paper.
Press or rub the paper onto the fish. Anticipate how the paper will fit on the next section to avoid large wrinkles. Stretch the paper as you go.
A spoon or a fingernail may help to bring out hard features such as spines in the fins. Use the spoon carefully to avoid tears in the paper.
Both hands work together to press the paper onto the fish. Rub each part only one time.
Once the paper has been pressed to all of the features, gently peel it back off the fish. The resulting image will be a mirror image of the fish.
The paper is laid back on the fish and rubbed again, but not where the fish image overlaps the second. This results in an image of lighter value.

Gyotaku- The Art of the Fishprint
heatherfortner.com Page 6 (c) 2010 Heather J Fortner
different location. press the fish again. This will give you a much lighter image and the impression of a fish in the background.
Finish the PrintYou may wish to touch up your print, You can do this from your color palettes or with the water colors or colored pencils.
The eye gives soul and life to the fish. Follow separate instructions for painting an eye.If you have your own hanko or chop then sign it with this seal. Or sign it with your name and date, Some printers who are experienced in other media like to add backgrounds, such as a watercolor background, or paint in plants or create shadows and texture, Your imagination is your guide.
This is a shadow print with an offset to give the appearance of another fish in the background
Oriental red ink and three styles of stone seals or hankos
The completed print, with a painted eye, and a red seal along with a title and a signature. This print was also flattened by the process of a Japanese wet mount.
The following prints are examples of variations of the single “portrait” fish print
For more information on Gyotaku and other resources, visit the website of the Nature Printing Society at natureprintingsociety.com.
A pleasing composition results from the creative use of a single fish specimen. Title: headstrong
Some flattened fish, such as this Florida flounder, can be printed equally well on both sides.