gary sutcliffe, w9xt copyright © 2012 gary c. sutcliffe
TRANSCRIPT
Arduino and the Radio Amateur
Gary Sutcliffe, W9XT
Copyright © 2012 Gary C. Sutcliffe
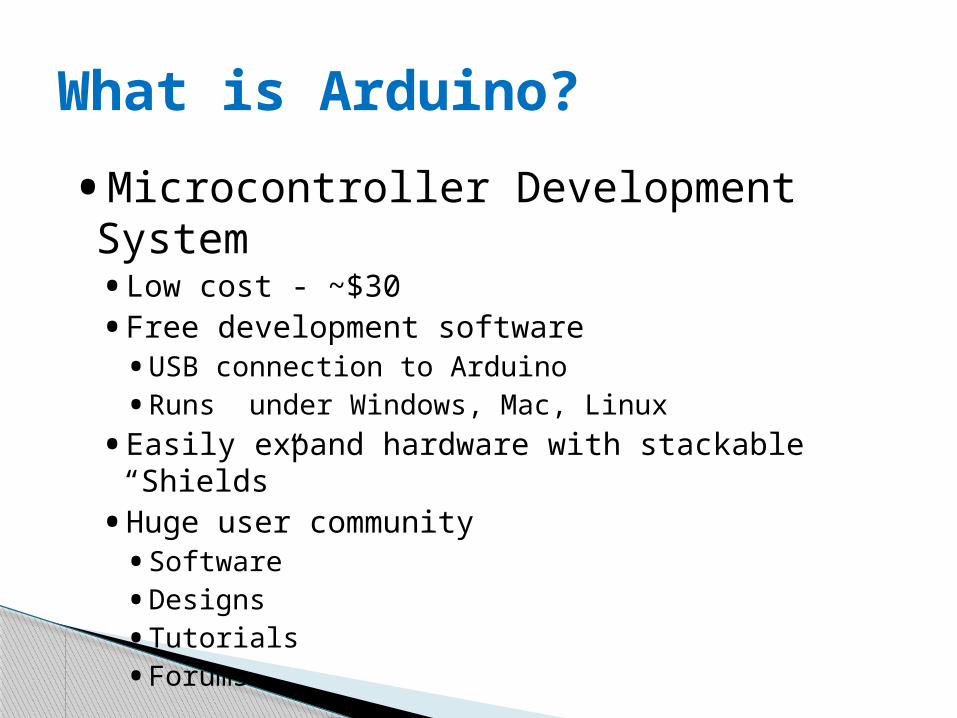
•Microcontroller Development System• Low cost - ~$30
• Free development software• USB connection to Arduino
• Runs under Windows, Mac, Linux
• Easily expand hardware with stackable “Shields”
• Huge user community• Software
• Designs
• Tutorials
• Forums
What is Arduino?
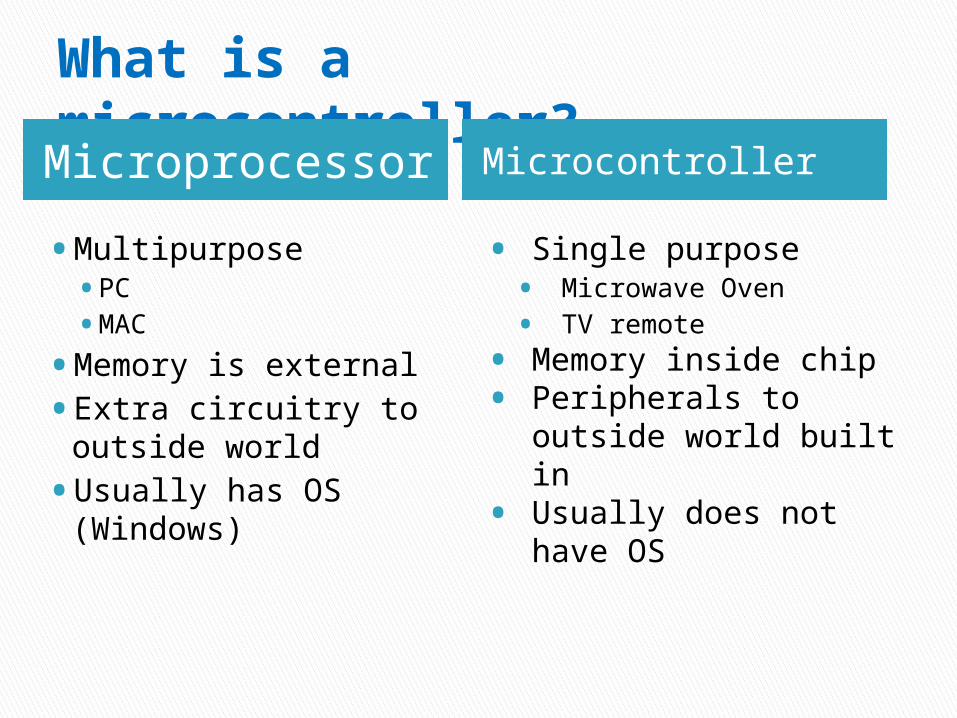
What is a microcontroller?Microprocessor Microcontroller
• Multipurpose • PC
• MAC
• Memory is external
• Extra circuitry to outside world
• Usually has OS (Windows)
• Single purpose• Microwave Oven
• TV remote
• Memory inside chip• Peripherals to outside
world built in• Usually does not have
OS
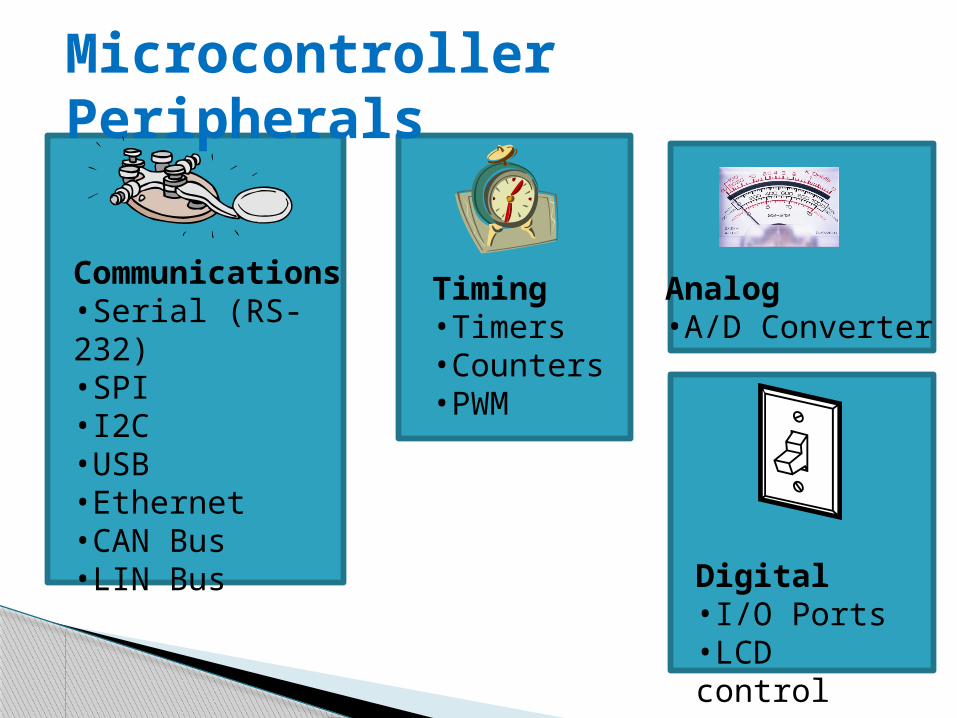
Microcontroller Peripherals
Communications•Serial (RS-232)•SPI•I2C•USB•Ethernet•CAN Bus•LIN Bus
Timing•Timers•Counters•PWM
Analog•A/D Converter
Digital •I/O Ports•LCD control
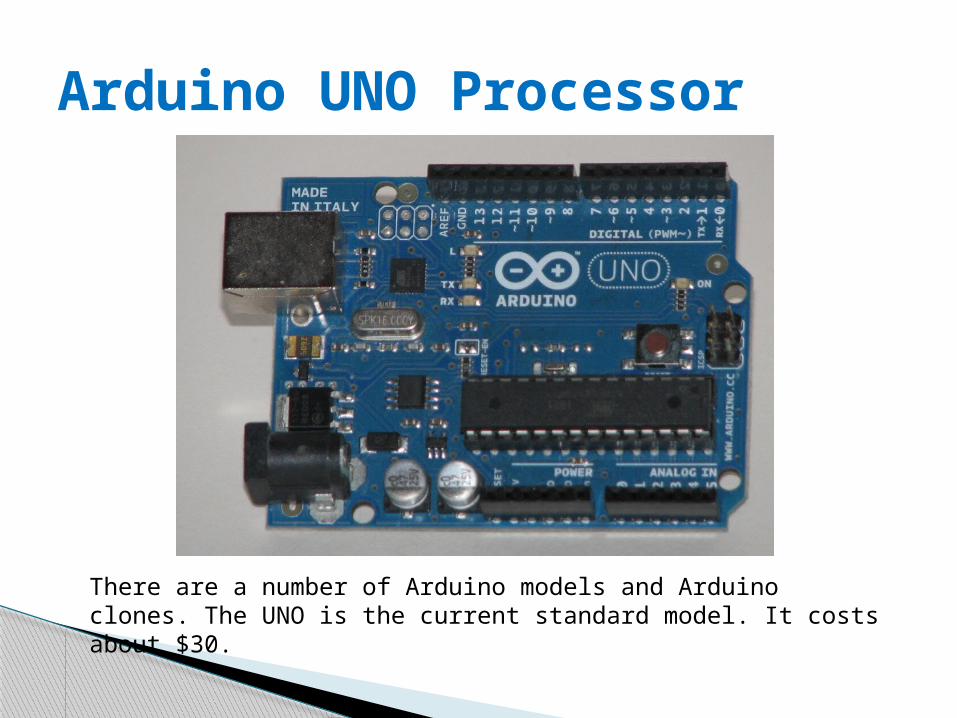
Arduino UNO Processor
There are a number of Arduino models and Arduino clones. The UNO is the current standard model. It costs about $30.
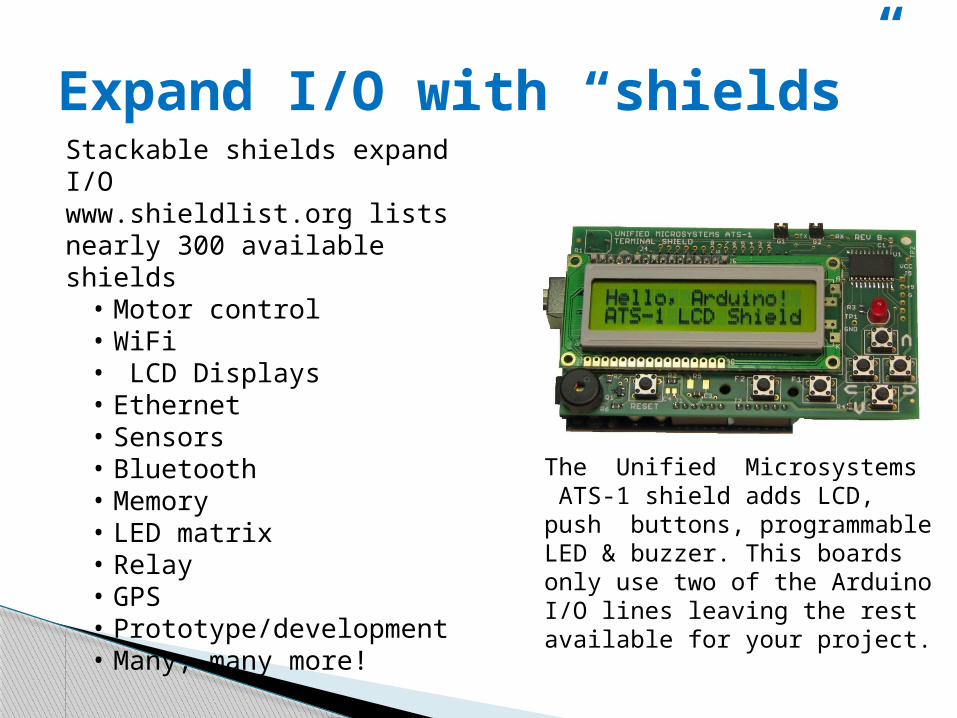
Expand I/O with “shields”Stackable shields expand I/Owww.shieldlist.org lists nearly 300 available shields• Motor control• WiFi• LCD Displays• Ethernet• Sensors• Bluetooth• Memory• LED matrix• Relay• GPS• Prototype/development• Many, many more!
The Unified Microsystems ATS-1 shield adds LCD, push buttons, programmable LED & buzzer. This boards only use two of the Arduino I/O lines leaving the rest available for your project.
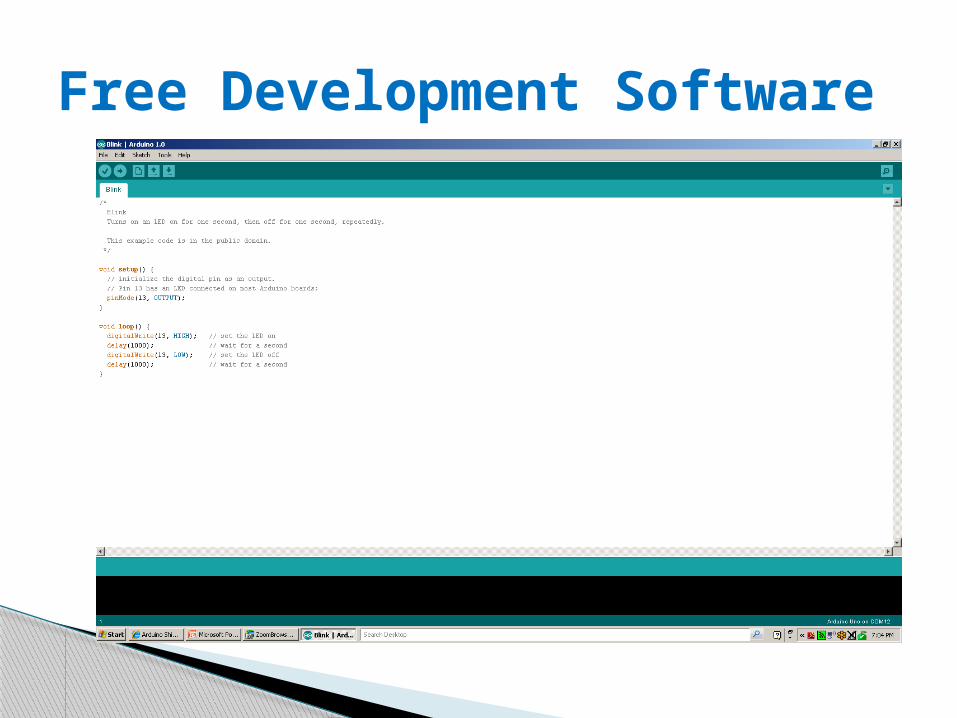
Free Development Software
• “Wiring Language” - C/C++ Based, simplified
• Fast - compiled, not interpreted
• Built in functions make it easy to use peripherals• Digital Input/Output
• Analog/Digital Converters
• Serial Ports
• I2C & SPI interface
• Thousands of programs & examples on web
Arduino Programming Language
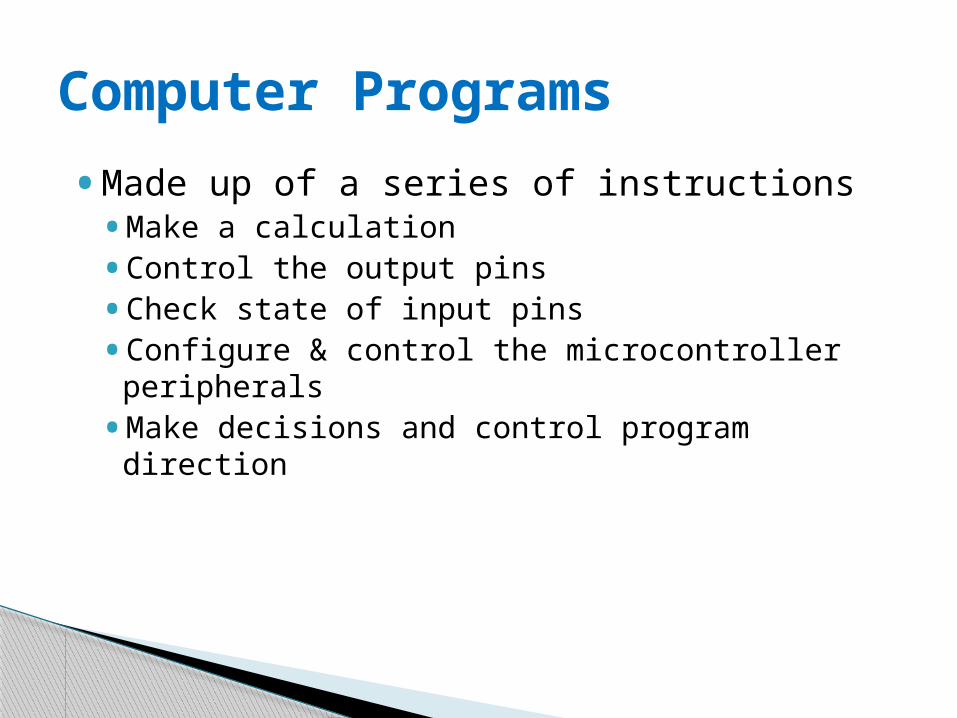
•Made up of a series of instructions•Make a calculation
• Control the output pins
• Check state of input pins
• Configure & control the microcontroller peripherals
•Make decisions and control program direction
Computer Programs

1.Lather2.Rinse3.Repeat
Simple Computer Program !
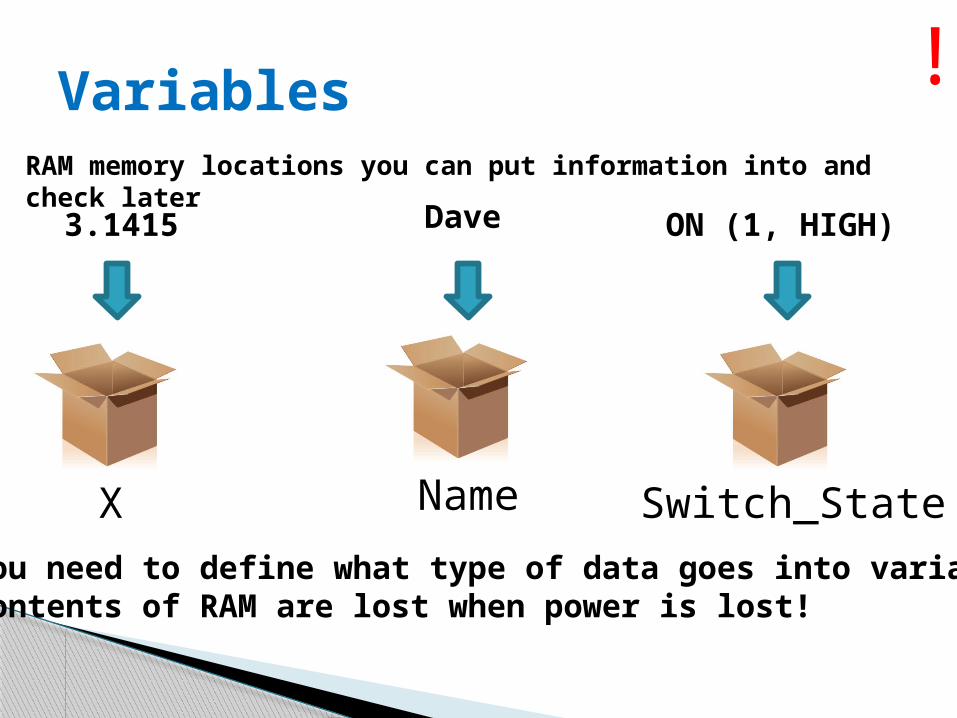
Variables
X Name Switch_State
3.1415 Dave ON (1, HIGH)
RAM memory locations you can put information into and check later
You need to define what type of data goes into variablesContents of RAM are lost when power is lost!
!

Digital signals can have only 2 states
•ON • “1”
• True
• High
• 5V at I/O pin
•OFF• “0”
• False
• Low
• 0V at I/O pin
Digital Input/Output Signals
Arduino has 14 digital lines that can be configured to be inputs or outputs.!
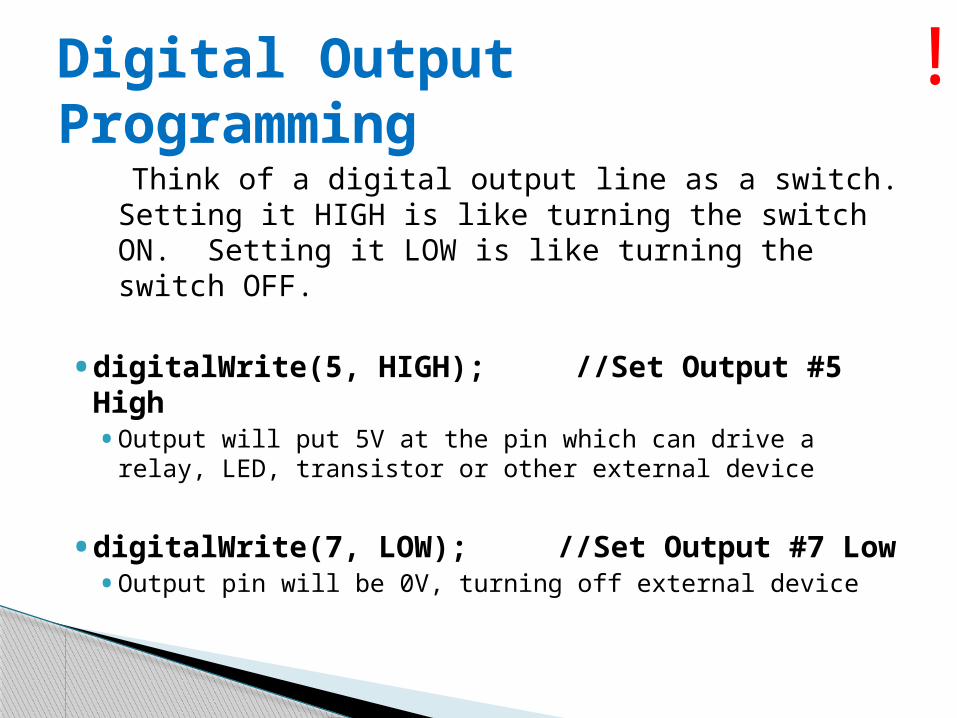
Think of a digital output line as a switch. Setting it HIGH is like turning the switch ON. Setting it LOW is like turning the switch OFF.
• digitalWrite(5, HIGH); //Set Output #5 High • Output will put 5V at the pin which can drive a relay, LED,
transistor or other external device
• digitalWrite(7, LOW); //Set Output #7 Low• Output pin will be 0V, turning off external device
Digital Output Programming
!
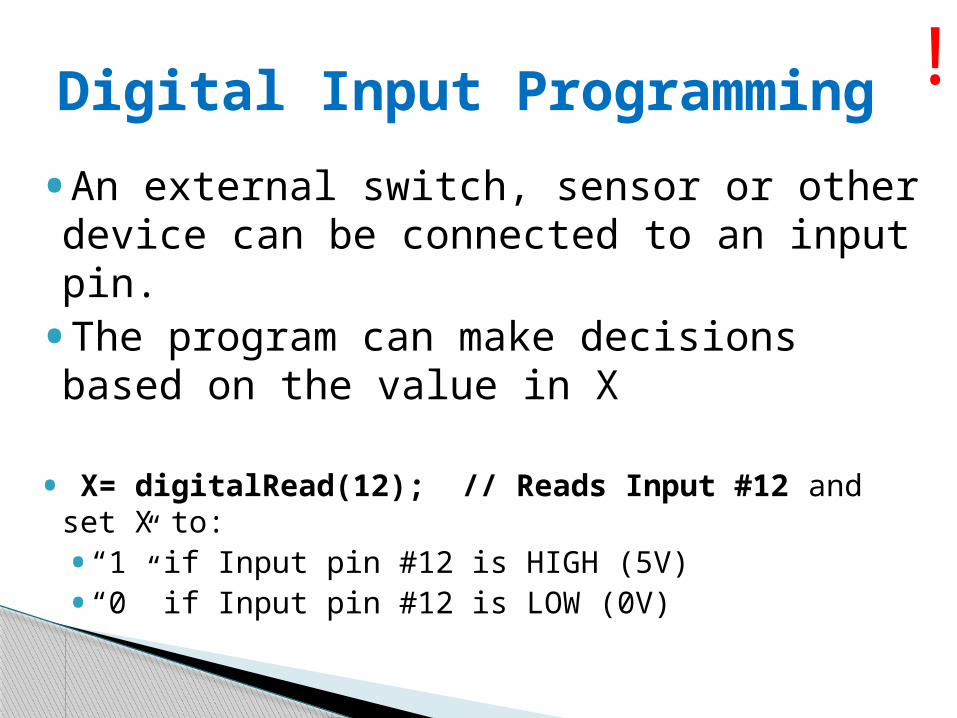
•An external switch, sensor or other device can be connected to an input pin.•The program can make decisions based on the value in X
• X= digitalRead(12); // Reads Input #12 and set X to:• “1” if Input pin #12 is HIGH (5V)• “0” if Input pin #12 is LOW (0V)
Digital Input Programming !
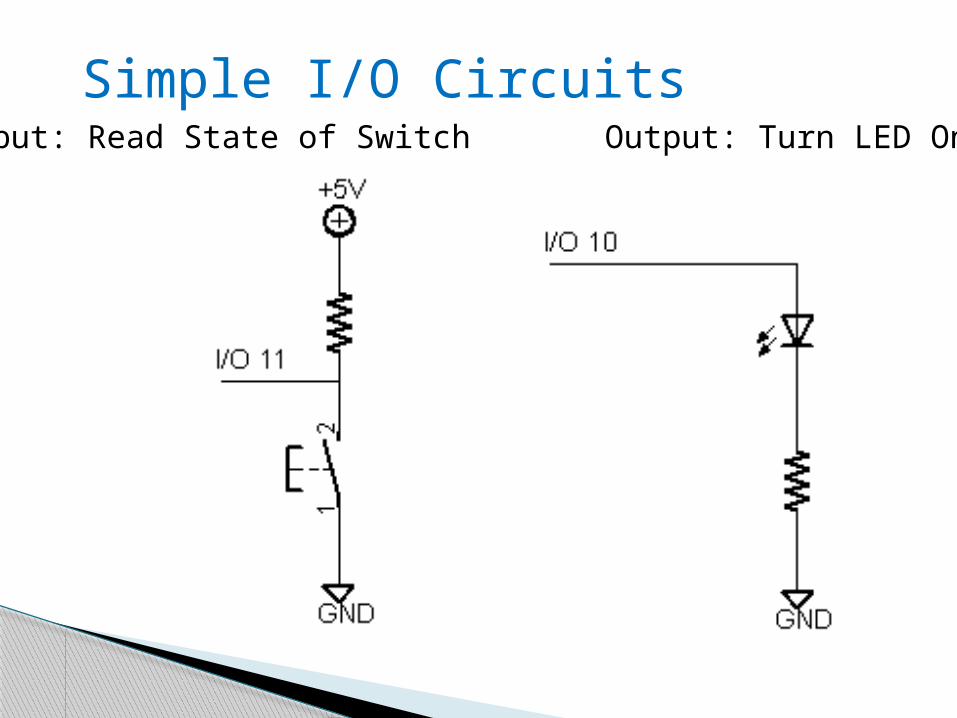
Simple I/O CircuitsInput: Read State of Switch Output: Turn LED On/Off
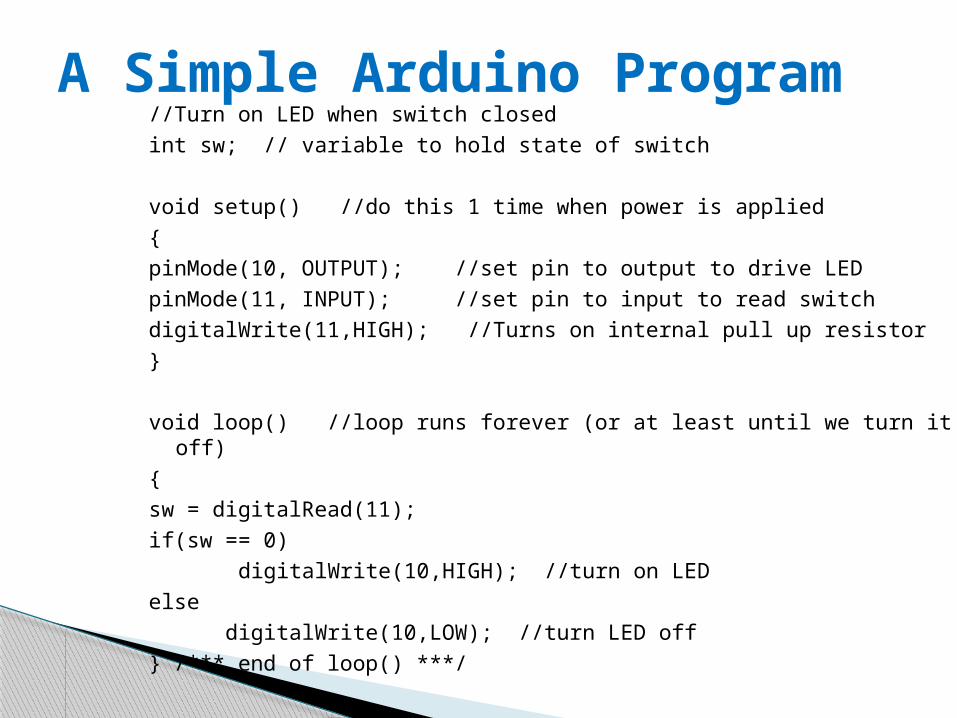
//Turn on LED when switch closedint sw; // variable to hold state of switch
void setup() //do this 1 time when power is applied{pinMode(10, OUTPUT); //set pin to output to drive LEDpinMode(11, INPUT); //set pin to input to read switchdigitalWrite(11,HIGH); //Turns on internal pull up resistor}
void loop() //loop runs forever (or at least until we turn it off){sw = digitalRead(11);if(sw == 0) digitalWrite(10,HIGH); //turn on LED else digitalWrite(10,LOW); //turn LED off } /*** end of loop() ***/
A Simple Arduino Program
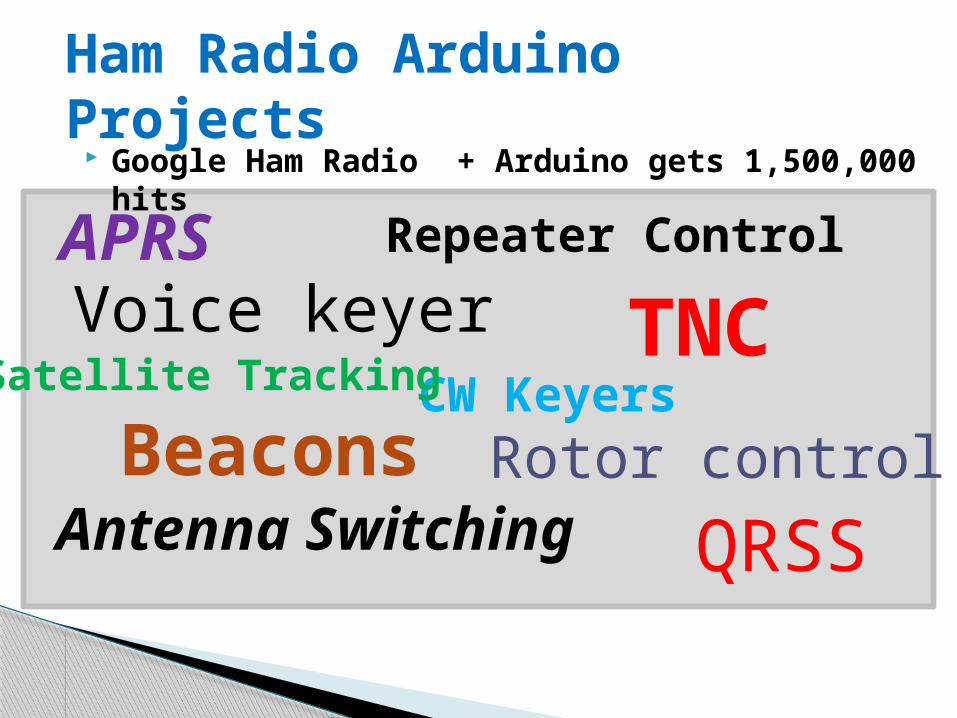
Google Ham Radio + Arduino gets 1,500,000 hits
Ham Radio Arduino Projects
CW Keyers
APRS
TNC
Antenna Switching
Satellite Tracking
Repeater Control
Rotor control
Voice keyer
BeaconsQRSS
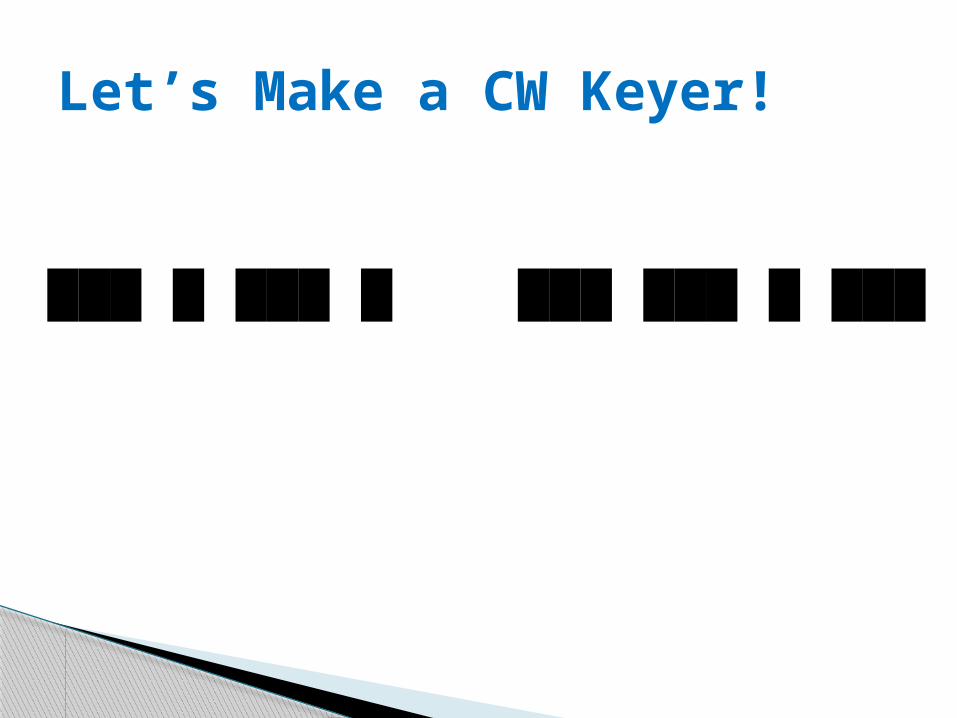
Let’s Make a CW Keyer!
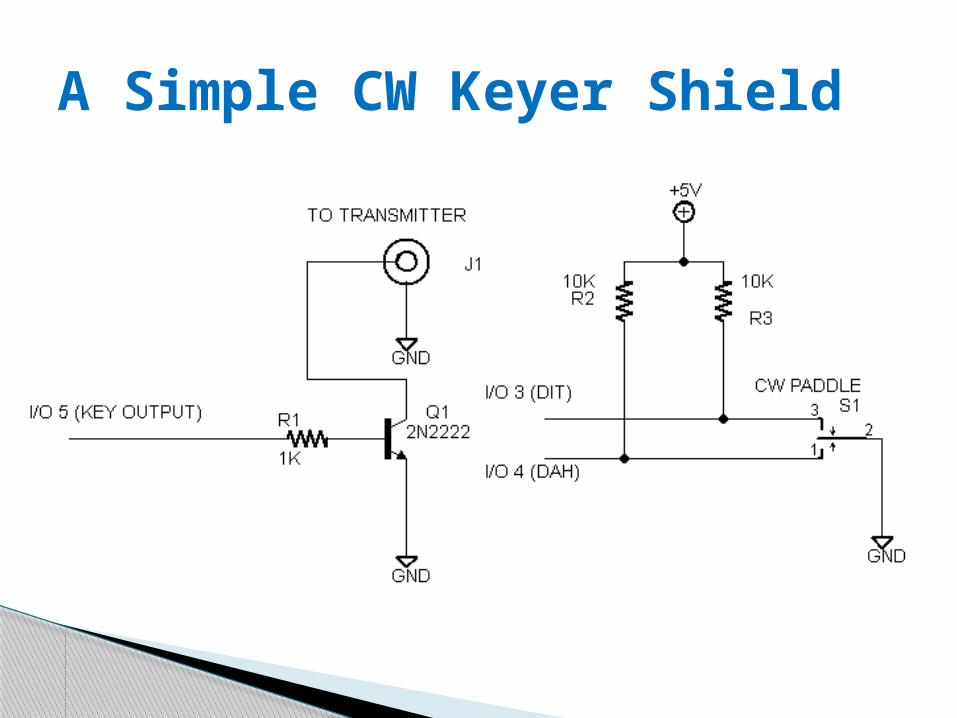
A Simple CW Keyer Shield
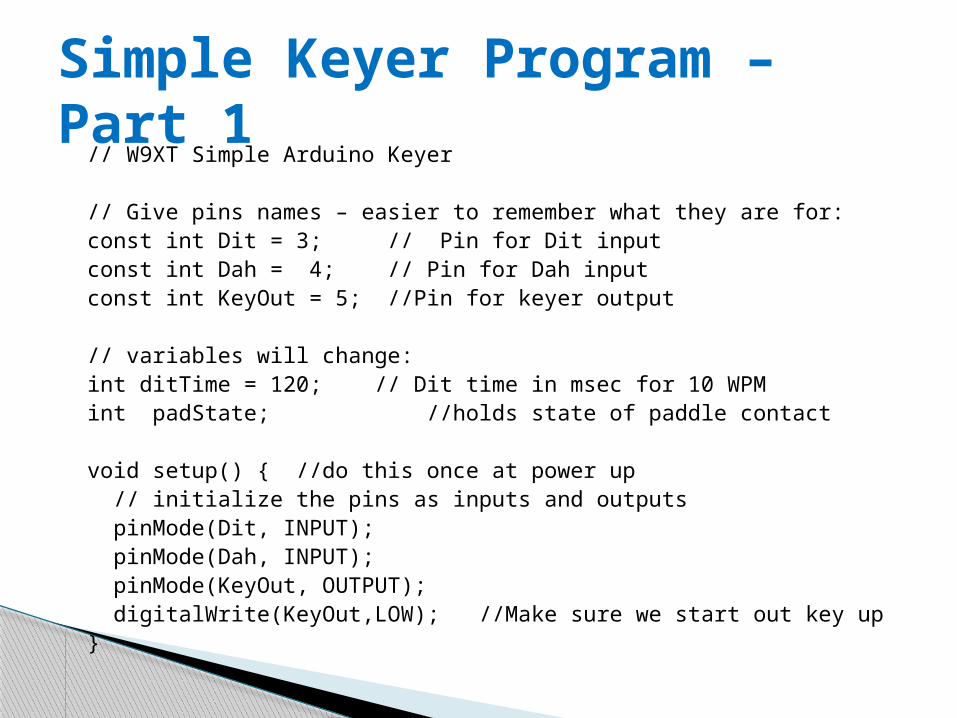
// W9XT Simple Arduino Keyer // Give pins names – easier to remember what they are for:const int Dit = 3; // Pin for Dit inputconst int Dah = 4; // Pin for Dah inputconst int KeyOut = 5; //Pin for keyer output
// variables will change:int ditTime = 120; // Dit time in msec for 10 WPM int padState; //holds state of paddle contact
void setup() { //do this once at power up // initialize the pins as inputs and outputs pinMode(Dit, INPUT); pinMode(Dah, INPUT); pinMode(KeyOut, OUTPUT); digitalWrite(KeyOut,LOW); //Make sure we start out key up }
Simple Keyer Program – Part 1
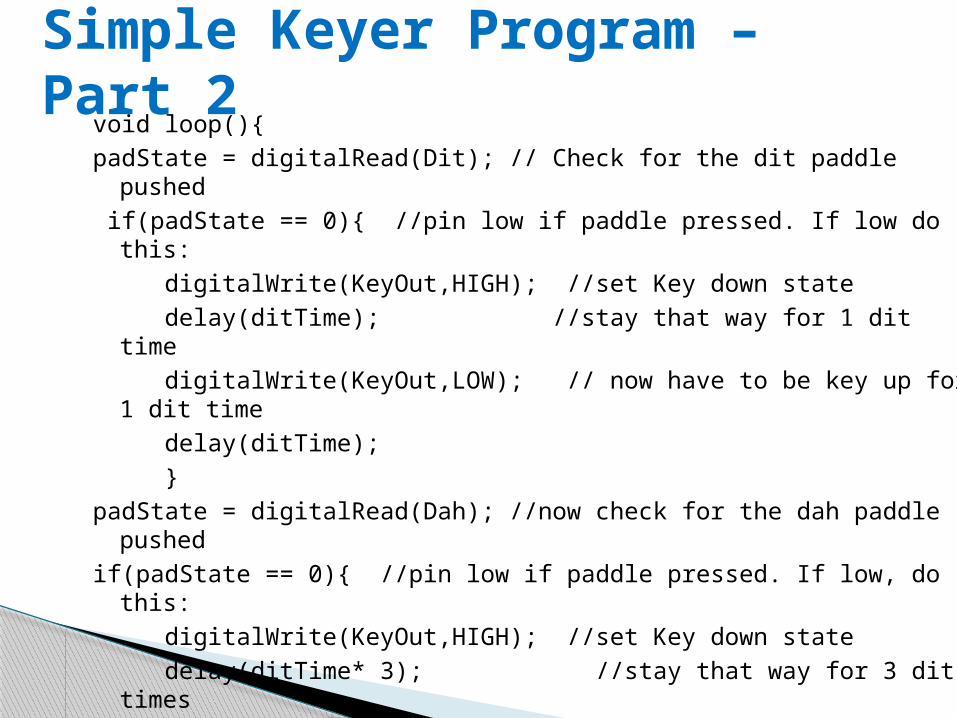
void loop(){padState = digitalRead(Dit); // Check for the dit paddle pushed if(padState == 0){ //pin low if paddle pressed. If low do this: digitalWrite(KeyOut,HIGH); //set Key down state delay(ditTime); //stay that way for 1 dit time digitalWrite(KeyOut,LOW); // now have to be key up for 1 dit time delay(ditTime); } padState = digitalRead(Dah); //now check for the dah paddle pushedif(padState == 0){ //pin low if paddle pressed. If low, do this: digitalWrite(KeyOut,HIGH); //set Key down state delay(ditTime* 3); //stay that way for 3 dit times digitalWrite(KeyOut,LOW); // now have to be key up for 1 dit time delay(ditTime); } } // end of loop()
Simple Keyer Program – Part 2
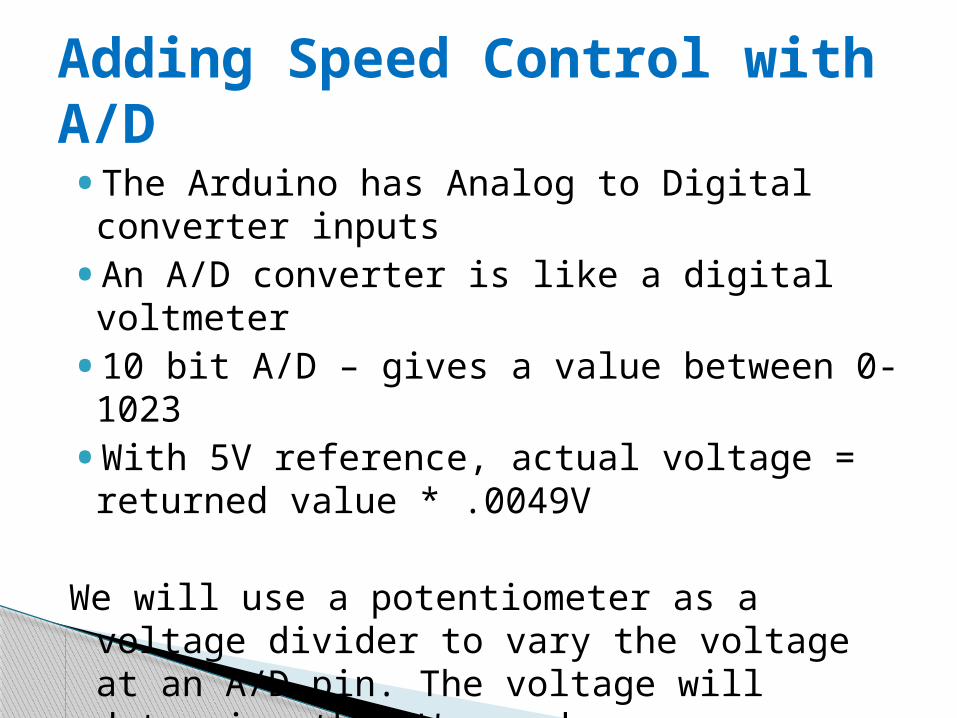
• The Arduino has Analog to Digital converter inputs
• An A/D converter is like a digital voltmeter
• 10 bit A/D – gives a value between 0-1023
•With 5V reference, actual voltage = returned value * .0049V
We will use a potentiometer as a voltage divider to vary the voltage at an A/D pin. The voltage will determine the CW speed.
Adding Speed Control with A/D
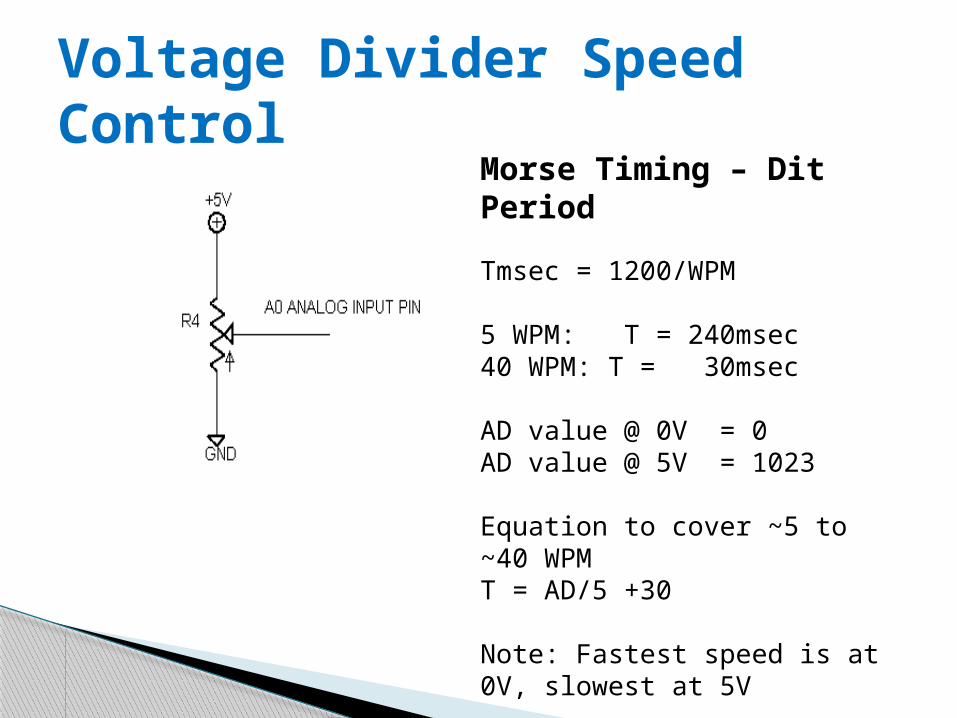
Voltage Divider Speed Control
Morse Timing – Dit Period
Tmsec = 1200/WPM
5 WPM: T = 240msec40 WPM: T = 30msec
AD value @ 0V = 0AD value @ 5V = 1023
Equation to cover ~5 to ~40 WPMT = AD/5 +30
Note: Fastest speed is at 0V, slowest at 5V
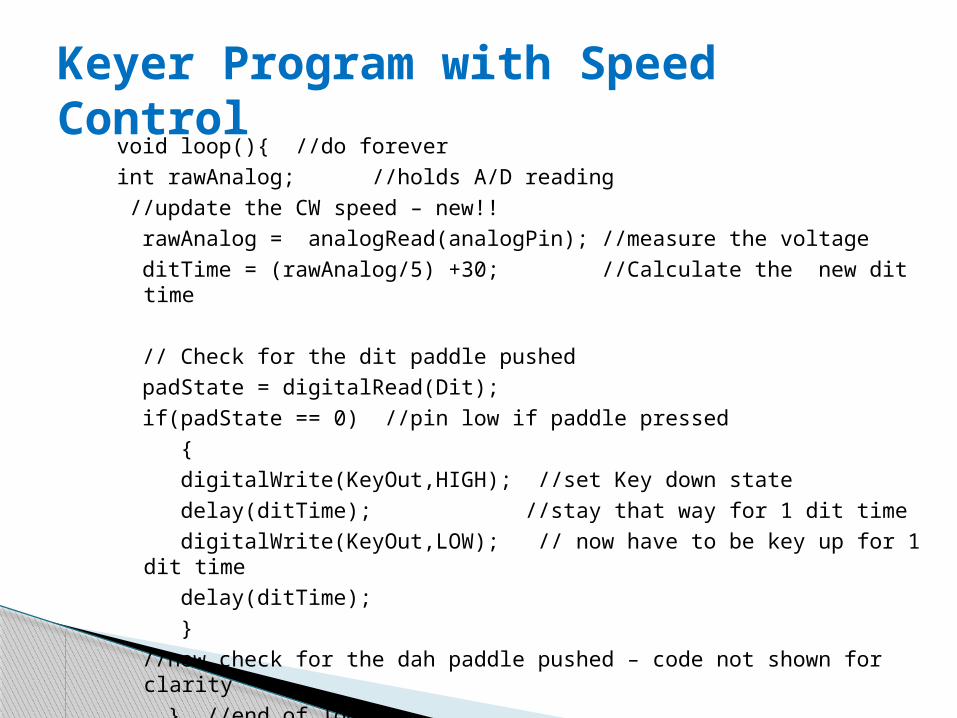
void loop(){ //do foreverint rawAnalog; //holds A/D reading //update the CW speed – new!! rawAnalog = analogRead(analogPin); //measure the voltage ditTime = (rawAnalog/5) +30; //Calculate the new dit time
// Check for the dit paddle pushed padState = digitalRead(Dit); if(padState == 0) //pin low if paddle pressed { digitalWrite(KeyOut,HIGH); //set Key down state delay(ditTime); //stay that way for 1 dit time digitalWrite(KeyOut,LOW); // now have to be key up for 1 dit time delay(ditTime); } //now check for the dah paddle pushed – code not shown for clarity } //end of loop
Keyer Program with Speed Control
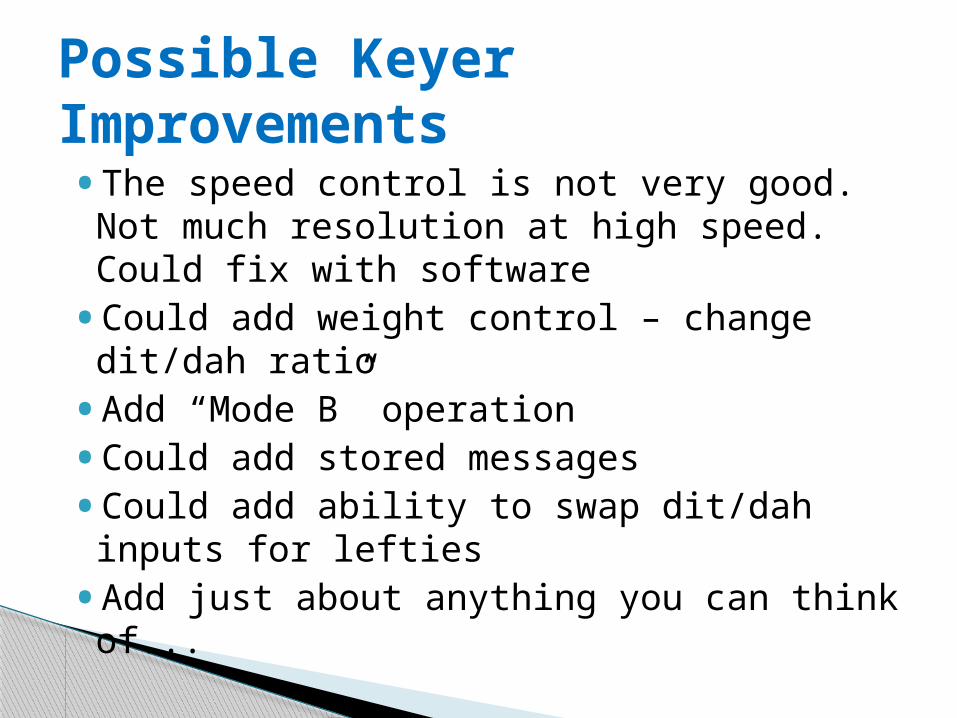
• The speed control is not very good. Not much resolution at high speed. Could fix with software
• Could add weight control – change dit/dah ratio
• Add “Mode B” operation
• Could add stored messages
• Could add ability to swap dit/dah inputs for lefties
• Add just about anything you can think of...
Possible Keyer Improvements
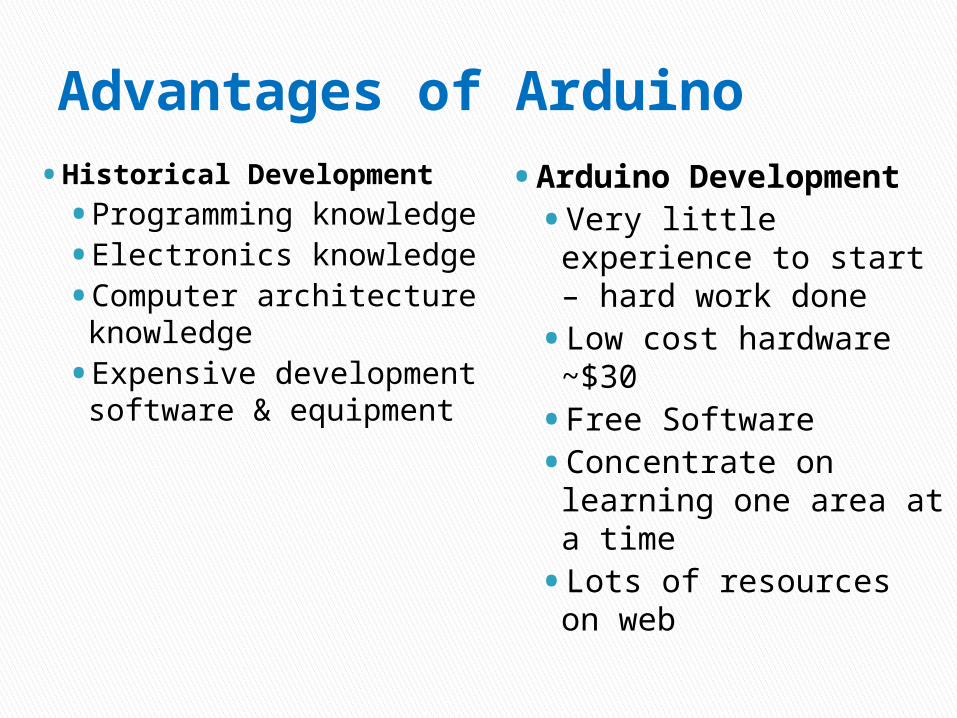
Advantages of Arduino• Historical Development
• Programming knowledge
• Electronics knowledge
• Computer architecture knowledge
• Expensive development software & equipment
• Arduino Development
• Very little experience to start – hard work done
• Low cost hardware ~$30
• Free Software
• Concentrate on learning one area at a time
• Lots of resources on web
• Great for beginners
• Inexpensive
• Much of the hard work is already done
• Lots of learning resources on the web
• Start simple and grow as you learn
What neat Arduino project will you come up
with?
Arduino Summary
•www.arduino.cc - Main Arduino site
•www.shieldlist.org – list of available shields
• Arduino sources• www.digikey.com
• www.mouser.com
• www.sparkfun.com
• www.newark.com
• Radio Shack
•www.unifiedmicro.com – LCD Shield
•www.w9xt.com – micro interfacing tutorial
This program will be available on www.w9xt.com
Arduino Resources