gardening basics – how to start a garden
TRANSCRIPT
PLANNING
Assess your needs, available space and other considerations
Assess your garden’s growing conditions
Choose plants that are right for you
Keep in mind habitat elements for local and migratory wildlife
PLANTING
Prepare the area
Planting tips
MAINTENANCE
Avoid pesticides
Water
Mulch
Compost
Care for grass
Container gardening
CHECKLIST
GARDENING BASICS – HOW TO START A GARDEN
If you are new to gardening and don’t know where to start, here are some tips to get you going. With a little thoughtful planning, you can create a garden you’ll love that will also support our beneficial wildlife. Keep in mind that you will learn about your garden along the way, so don’t be afraid to try out your own ideas and then notice what happens. Let’s get started!
2
PLANNING
ASSESS YOUR NEEDS AND AVAILABLE SPACE
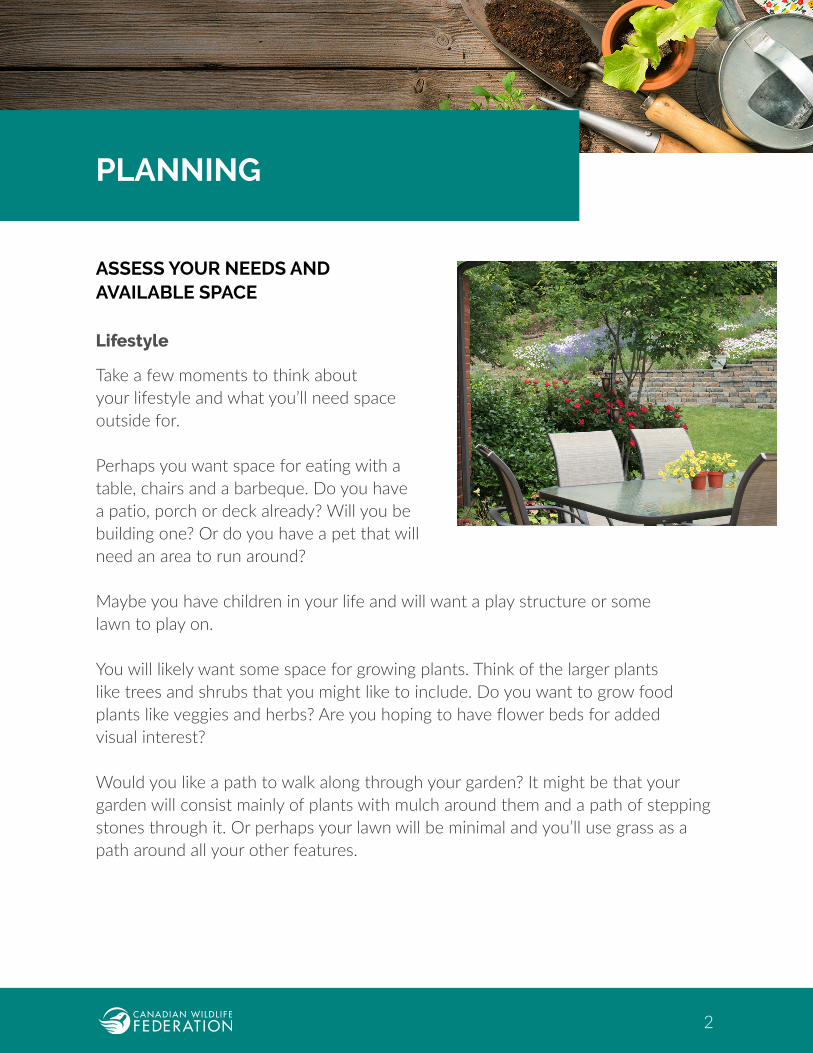
Lifestyle
Take a few moments to think about your lifestyle and what you’ll need space outside for.
Perhaps you want space for eating with a table, chairs and a barbeque. Do you have a patio, porch or deck already? Will you be building one? Or do you have a pet that will need an area to run around?
Maybe you have children in your life and will want a play structure or some lawn to play on.
You will likely want some space for growing plants. Think of the larger plants like trees and shrubs that you might like to include. Do you want to grow food plants like veggies and herbs? Are you hoping to have flower beds for added visual interest?
Would you like a path to walk along through your garden? It might be that your garden will consist mainly of plants with mulch around them and a path of stepping stones through it. Or perhaps your lawn will be minimal and you’ll use grass as a path around all your other features.
3
Wildlife Gardening Tip: Whatever space you have available, see how much you can fill with plants as they serve as food and shelter for our local and migratory wildlife. See below for tips on choosing wildlife-friendly plants and avoiding problematic ones.
Available Space
Once you know what elements you need to include in your garden, you will understand what space is available for planting. It can be helpful to draw a basic map of your garden on which you can jot down ideas for where to place the areas you identified above.
Where you have areas for making a garden bed or having containers, note what how much light the area gets and the moisture level of the soil. See below for help. This will help you to choose plants that will be able to thrive in those spots.
Other Considerations
Is there a particular look that appeals to you? Perhaps clean lines with beds that follow fence lines or more of a cottage style and meandering pathways? Imagine where you would put the larger plants and the smaller plant beds.
Wildlife Tip: Did you know that native plants can fit into any design scheme? Be it formal or cottage style, you can attain any style of garden you like with placement.
How much maintenance time and money are you willing to spend on your garden?
For lawns, if you want to keep mowing costs, noise and time to a minimum, consider having as little lawn as possible. This will also allow for larger garden beds to feed and shelter more insects. It might mean you leave an area under a tree for the leaves to lie each fall, supporting tree roots and creating habitat for certain butterflies and moths that need the leaf litter to finish their cycle.
4
What is your physical comfort for bending or kneeling? Perhaps raised beds or containers are the answer for you.
ASSESS YOUR GARDEN’S GROWING CONDITIONS
Light
Some plants need full sun which is considered six or more hours a day of direct sunlight. Some prefer or can adapt to partial-shade which is three to six hours of sun while others need shade which usually means fairly bright light but no indirect sun.
To determine what your garden has, note where the sun rises and sets and how it affects your garden. You don’t typically need to know where north, south, east or west is, as you’ll see how much light each area gets and that’s what counts. But if you are interested, note where it rises (east) and where it sets (west). Stand so your left side is on the sun setting westerly side and so your right side is on the east with the morning light. Your front will then be facing north and your back south. Want an easier solution? Check to see if your phone has a compass app to help figure that out.
Are there any spots that are mostly shady, either with solid shade or dappled lighting for part of the day? Are there spots that get mainly sun? How about spots that get sun in the morning or afternoon only? You’ll need to know before you find plants that will be happy to grow in those areas. Some plants do well in the sun but if you live in a part of Canada that has very hot summers, then check to see if these plants are okay in the sun during the hottest part of the day. Perhaps they would do better in a spot with mainly morning sun instead.
5
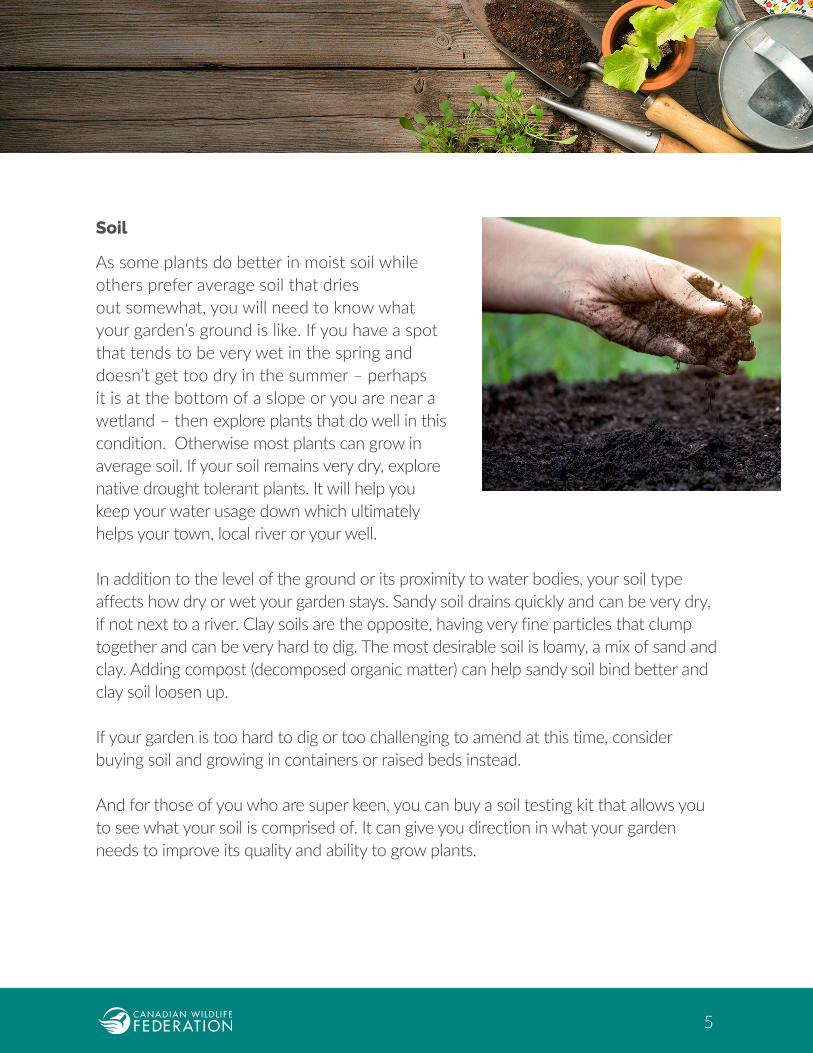
Soil
As some plants do better in moist soil while others prefer average soil that dries out somewhat, you will need to know what your garden’s ground is like. If you have a spot that tends to be very wet in the spring and doesn’t get too dry in the summer – perhaps it is at the bottom of a slope or you are near a wetland – then explore plants that do well in this condition. Otherwise most plants can grow in average soil. If your soil remains very dry, explore native drought tolerant plants. It will help you keep your water usage down which ultimately helps your town, local river or your well.
In addition to the level of the ground or its proximity to water bodies, your soil type affects how dry or wet your garden stays. Sandy soil drains quickly and can be very dry, if not next to a river. Clay soils are the opposite, having very fine particles that clump together and can be very hard to dig. The most desirable soil is loamy, a mix of sand and clay. Adding compost (decomposed organic matter) can help sandy soil bind better and clay soil loosen up.
If your garden is too hard to dig or too challenging to amend at this time, consider buying soil and growing in containers or raised beds instead.
And for those of you who are super keen, you can buy a soil testing kit that allows you to see what your soil is comprised of. It can give you direction in what your garden needs to improve its quality and ability to grow plants.

6
CHOOSING PLANTS THAT ARE RIGHT FOR YOU - Learn More
Colours
Do you have any favourite colours? Keep an eye out for plants whose flowers would appeal to you in gardening magazines, online websites and by visiting nurseries.
Wildlife Tip: Including a diversity of colours can attract a diversity of pollinators. Planting in drifts or clumps can accentuate the colour you see when that plant is blooming. It can also help attract pollinators that naturally feed from those plants.
Bloom Time
See if you can have at least one plant to bloom in spring, summer and fall. If you have space, plant more than one of the same kind and grow in clumps to add impact when the plant is in flower. The more space you have, the more flowering plants you can add to bloom in each season.
Wildlife Tip: See if you can grow plants that bloom at the very beginning of spring to help queen bumble bees that are waking from their winter’s sleep. The same applies to the end of fall when some animals are building up their storehouse for either hibernating or migrating.

7
Perennials vs annuals
Consider whether you are best suited to perennials, annuals or a combination of them both. Perennials are able to survive the winter and should last many years in your garden. If you buy a large mature plant, it will cost more than buying a flat of annuals. However, it will already be a big enough size to fill your space and will flower year after year. You can get them inexpensively if you purchase them as small plants but they may not bloom much or at all that first year. You may also get them for free from friends and neighbours, as plants or as seeds. They generally flower for at least a week with many species flowering for several weeks, such as Brown-eyed Susans.
Annuals, on the other hand, are not hardy enough for a typical Canadian winter (unless you live in southern British Columbia) and need to be purchased every year. While they can be cheaper to buy initially if you only buy a few, buying a lot to fill a garden can add up as will the repeated expense each year. The benefit with annuals is that they tend to bloom for much of the summer.
A combination of both perennials and annuals is often the best solution for people. Grow many perennials, adding more each year as desired. They can be especially helpful for early spring blooms that bring colour – and food for pollinators – early on when both are needed. They likewise can help extend the season, along with some annuals that last until frost.
Avoid Neonicotinoids
Some plants are grown with a group of pesticides that, even when the seed is sprayed, it can stay with the plant and harm or kill pollinators that eat its nectar or pollen. Ask your nursery to see if they used them. If they grew their plants from seed ask if they ensured the seeds were neonic-free. It can sometimes be mentioned in the fine print so nurseries have to check carefully to ensure the seeds they buy are safe.
8
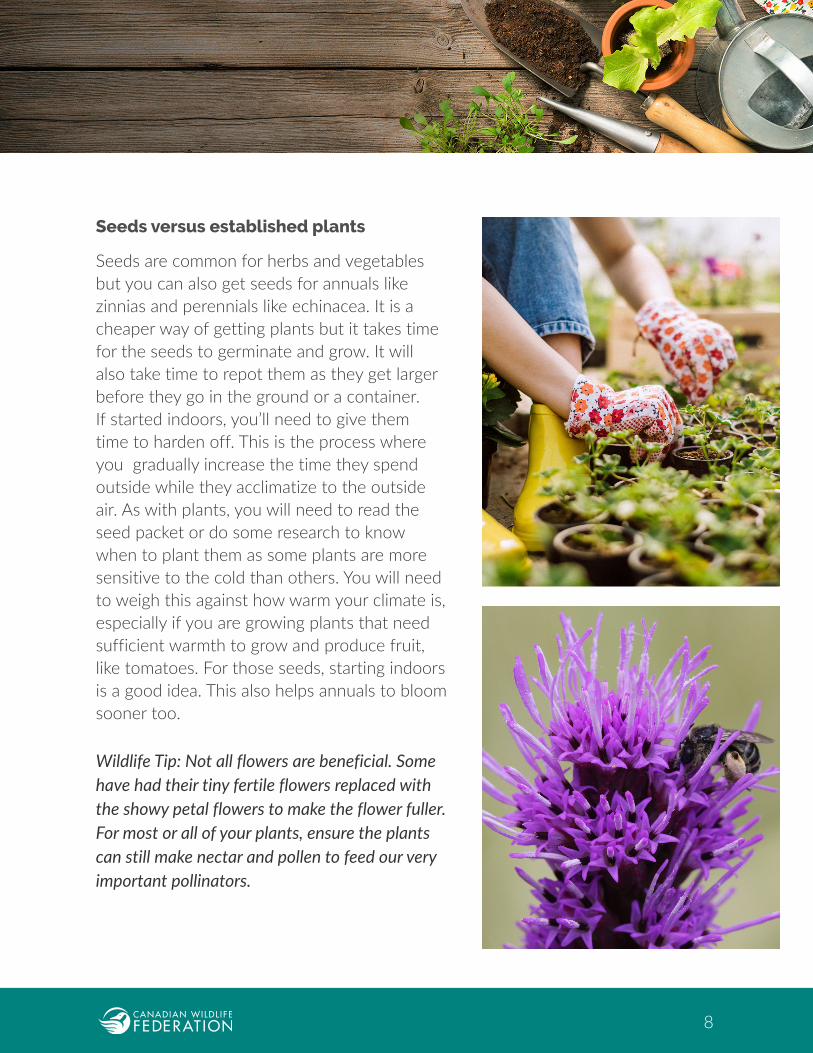
Seeds versus established plants
Seeds are common for herbs and vegetables but you can also get seeds for annuals like zinnias and perennials like echinacea. It is a cheaper way of getting plants but it takes time for the seeds to germinate and grow. It will also take time to repot them as they get larger before they go in the ground or a container. If started indoors, you’ll need to give them time to harden off. This is the process where you gradually increase the time they spend outside while they acclimatize to the outside air. As with plants, you will need to read the seed packet or do some research to know when to plant them as some plants are more sensitive to the cold than others. You will need to weigh this against how warm your climate is, especially if you are growing plants that need sufficient warmth to grow and produce fruit, like tomatoes. For those seeds, starting indoors is a good idea. This also helps annuals to bloom sooner too.
Wildlife Tip: Not all flowers are beneficial. Some have had their tiny fertile flowers replaced with the showy petal flowers to make the flower fuller. For most or all of your plants, ensure the plants can still make nectar and pollen to feed our very important pollinators.

9
Space needs
Consider the height of the plants you would like to include and decide how they could fit together with their various heights and widths. How much space will they need among themselves now and at their mature height? If certain plants will take more than one growing season to reach its greatest width and you want a fuller look to the garden, intersperse annuals or containers until perennials fill in. Are there any other factors such as power lines above or fences and walls on either side of the plants?
Growing conditions
As mentioned above, remember the growing conditions of the spaces you have for planting when choosing which plants to bring home. If you have some ideas, research their needs online to help you decide if the plant is suitable to your garden and your needs. You can also look at the labels in the pot at the nursery and as nursery staff about what they know of the plant.
Variety
If you have room, consider planting a variety of trees and shrubs which can serve as a background or focal point in a garden. If your space is very tiny, perhaps you will be able to have one small tree/large shrub rather than several or maybe just a small shrub. Either way, having something that stands out all year can go a long way in visual appeal – and wildlife benefit from them too!
In addition to trees and shrubs, growing different herbaceous perennials, beneficial annuals, herbs and veggies can add visual interest and culinary benefit for you as well as help wildlife. Even a vine on a fence adds colour and potential shelter and food for our beneficial insects and birds. The more vegetation we grow the more we help mitigate the effects of greenhouse gases as well. So plan some spots for a garden bed or containers, keeping in mind that they can be grown on their own or mixed in with other plants.
10
Wildlife Tip: Layers are important to allow for the many species of animals, including birds with diverse eating and nesting habits, to live in the same space. So too are the variety of shapes and sizes of flowers to meet the needs of our many pollinators that are various sizes and have different feeding habits.
Avoiding invasive plants
Some non-native plants can easily spread to natural areas and push out the native plants that grow there. This reduces or eliminates the food supply for many of our birds and pollinating insects. To prevent this, avoid invasive plants such as Norway Maples and Asian Bush Honeysuckles.
You can check to see which plants are on the invasive species list in your province here.
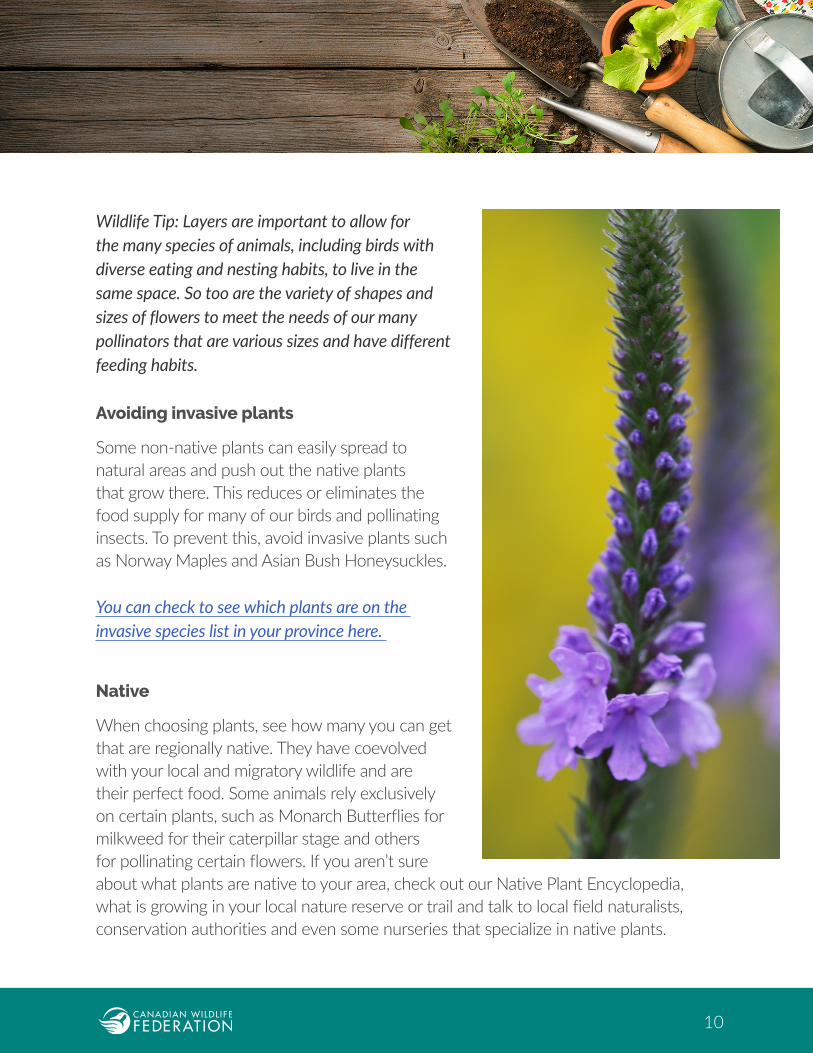
Native
When choosing plants, see how many you can get that are regionally native. They have coevolved with your local and migratory wildlife and are their perfect food. Some animals rely exclusively on certain plants, such as Monarch Butterflies for milkweed for their caterpillar stage and others for pollinating certain flowers. If you aren’t sure about what plants are native to your area, check out our Native Plant Encyclopedia, what is growing in your local nature reserve or trail and talk to local field naturalists, conservation authorities and even some nurseries that specialize in native plants.
11
KEEP IN MIND HABITAT ELEMENTS FOR LOCAL AND MIGRATORY WILDLIFE
Another important consideration as you plan your garden are the basic needs of your local and migratory wildlife. This is covered in more detail in Level 2 but for now, here are the points to be aware of as you move forward:
Food
Many plants provide food for wildlife in the form of their fruit, seeds and leaves. They also attract insects and spiders that are a critical food for so many of our birds, who eat them as adults. Many also need a large supply of insects, such as soft juicy caterpillars, to feed their young.
Water
During the warmer months having a shallow dish of water, bird bath or pond with sloping sides goes a long way in giving thirsty animals a drink. Even a dish with sand or stones can allow some butterflies to get their nutrients by mudpuddling or other beneficial insects to get a drink while perching safely on a stone.
Shelter
Plants also offer shelter for animals to nest, rest, escape predators and inclement weather. They can also offer shade in the heat.
Green Gardening
In addition to having key elements in a garden, the choices we make everyday in how we manage that space can have a direct and indirect impact on our wildlife and environment. In particular, avoiding pesticides ensures your property is a safe place for us and our wild neighbours. We can also work with nature by composting, mulching and conserving water in the garden.
12
PLANTING
PREPARING THE AREA
Mark the area
Once you have a sense of your lifestyle needs and the plants you want, it’ll be time to take your plan and make it a reality. For new or expanding garden beds, lay down some string or twigs to mark where you plan to dig. If you already have your plants, you might want to place them where you plan to put them. Either way, look at that spot from different angles to make sure you are happy with it before preparing the area.
Removing sod
Once you are happy with the look, you can remove the grass right away or you can smother the grass if you have time, perhaps in the autumn for spring planting the following year.
Removing sod method - You can use a tool like a spade or edger that has a sharp end that you push on with your foot to cut through the sod along the perimeter and within it to shape manageable pieces for removing. After slicing you can use the spade or garden shovel to get under the piece to remove it.
Smothering sod method – This method doesn’t disturb the microorganisms in the soil or cause potential weed seeds to move to the surface and is definitely easier on the back! Lay down several sheets of newspaper or even cardboard and cover with a heavy enough layer of compost to keep the paper below from flying away or the grass from pushing upwards (some grass is more resilient than others).
Amending soil
If you identified earlier that your soil needs amending, now is a good time. Add in compost and mix well. If you ever need to add compost to an existing bed, you can simply place on top or very lightly mix in with the top layer as gently as needed to not disturb the roots of surrounding plants.
13
PLANTING TIPS
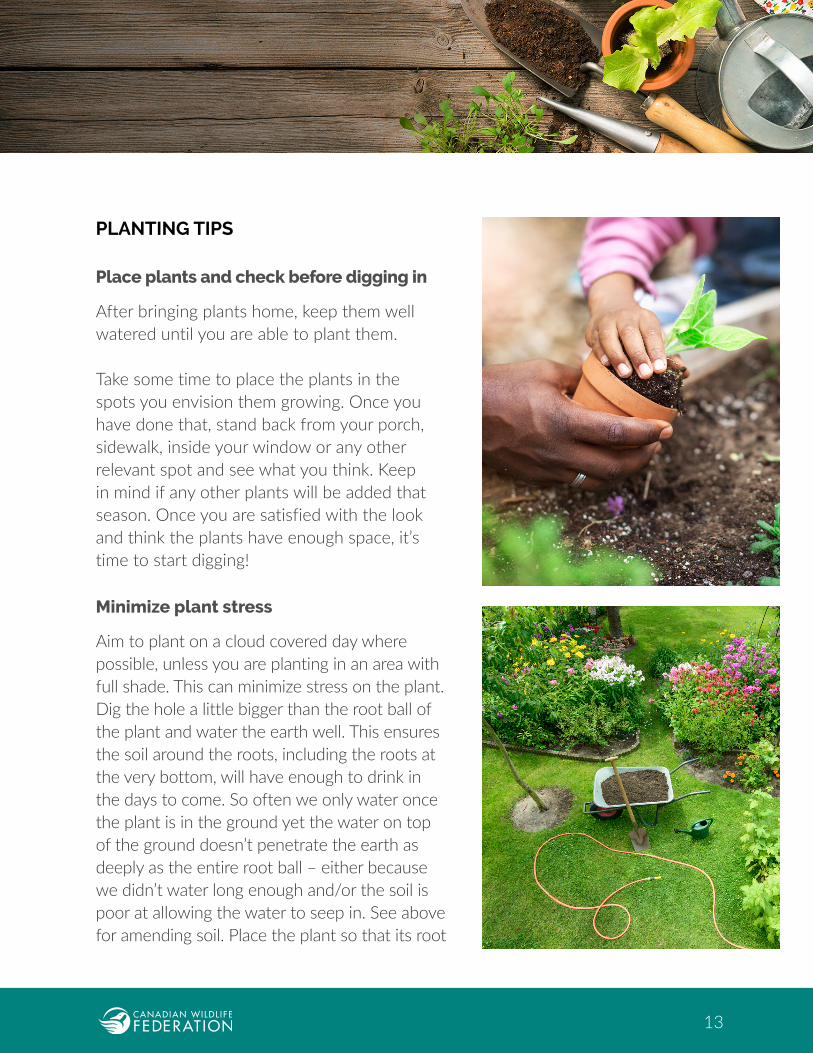
Place plants and check before digging in
After bringing plants home, keep them well watered until you are able to plant them.
Take some time to place the plants in the spots you envision them growing. Once you have done that, stand back from your porch, sidewalk, inside your window or any other relevant spot and see what you think. Keep in mind if any other plants will be added that season. Once you are satisfied with the look and think the plants have enough space, it’s time to start digging!
Minimize plant stress
Aim to plant on a cloud covered day where possible, unless you are planting in an area with full shade. This can minimize stress on the plant. Dig the hole a little bigger than the root ball of the plant and water the earth well. This ensures the soil around the roots, including the roots at the very bottom, will have enough to drink in the days to come. So often we only water once the plant is in the ground yet the water on top of the ground doesn’t penetrate the earth as deeply as the entire root ball – either because we didn’t water long enough and/or the soil is poor at allowing the water to seep in. See above for amending soil. Place the plant so that its root
14
ball and the earth it came with is level with the ground so you don’t expose roots or bury the stem (for many plants, in particular woody stemmed plants, this can cause problems), fill with more soil and gently pat down to keep the plant in place.
Water deeply as needed.
MAINTENANCE
Avoid pesticides
There are usually gentle ways to both prevent and deal with potential problems. Ensuring you put plants in a spot where they have a good chance of thriving and give suitable care afterwards such as watering in the weeks that follow to help keep insects that target weak plants away.
Attract a diversity of allies such as birds, solitary wasps (which are completely harmless and only use their stinger to immobilize their insect prey), toads, snakes (little garden snakes are great for eating slugs!) and bats. They will help maintain a balance in your garden and beyond.
If you do encounter a problem, such as aphids, start with the most gentle option of spraying with plain water or soapy water before you resort to other means.
Watering
You can help your plants and your water consumption by watering deeply at the base of plants. You can also keep moisture levels up in garden beds by using mulch (see above). Rain barrels can save water and help during dry spells.
Mulch
To help keep roots down and minimize watering, consider using mulch. This will
15
also help plant roots keep an even temperature during extreme temperatures and can add nutrients to the soil as it slowly breaks down.
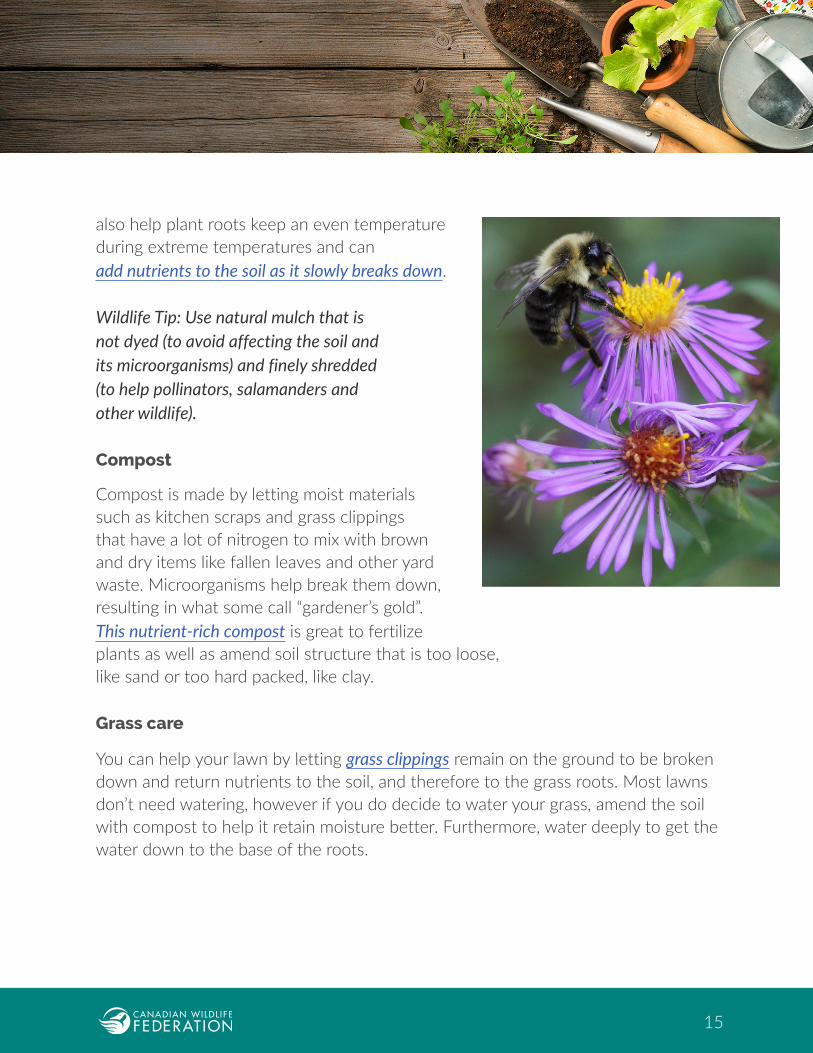
Wildlife Tip: Use natural mulch that is not dyed (to avoid affecting the soil and its microorganisms) and finely shredded (to help pollinators, salamanders and other wildlife).
Compost
Compost is made by letting moist materials such as kitchen scraps and grass clippings that have a lot of nitrogen to mix with brown and dry items like fallen leaves and other yard waste. Microorganisms help break them down, resulting in what some call “gardener’s gold”. This nutrient-rich compost is great to fertilize plants as well as amend soil structure that is too loose, like sand or too hard packed, like clay.
Grass care
You can help your lawn by letting grass clippings remain on the ground to be broken down and return nutrients to the soil, and therefore to the grass roots. Most lawns don’t need watering, however if you do decide to water your grass, amend the soil with compost to help it retain moisture better. Furthermore, water deeply to get the water down to the base of the roots.
16
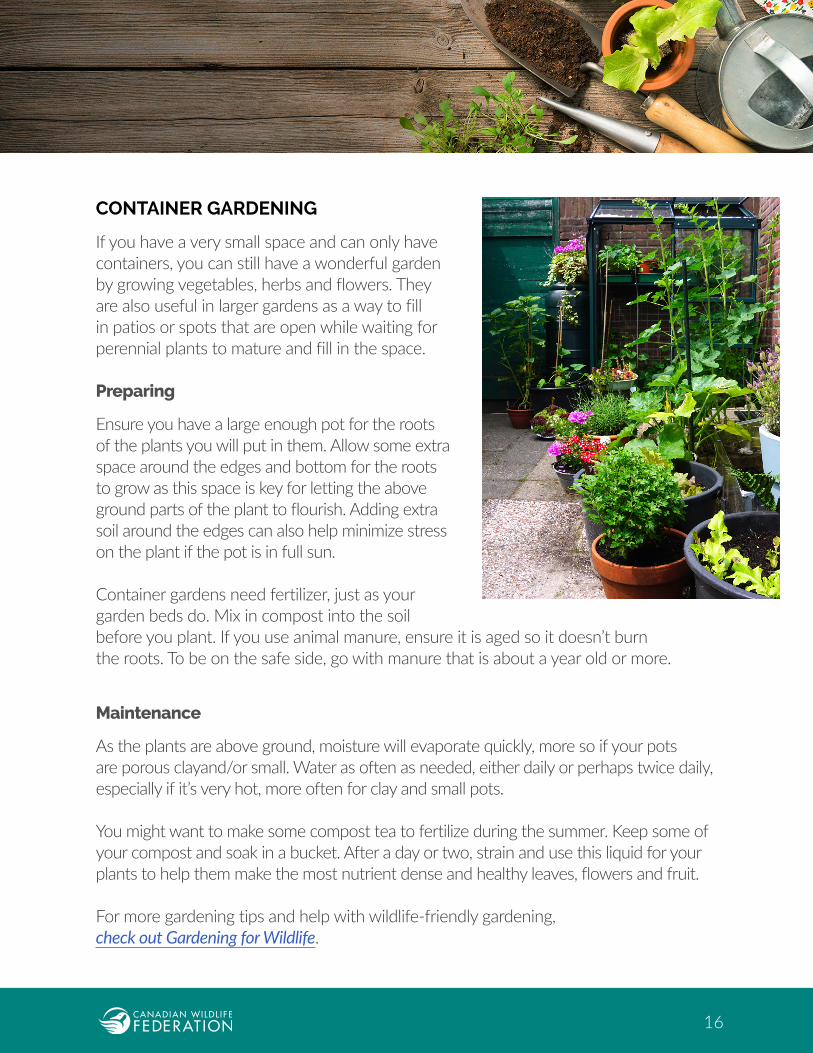
CONTAINER GARDENING
If you have a very small space and can only have containers, you can still have a wonderful garden by growing vegetables, herbs and flowers. They are also useful in larger gardens as a way to fill in patios or spots that are open while waiting for perennial plants to mature and fill in the space.
Preparing
Ensure you have a large enough pot for the roots of the plants you will put in them. Allow some extra space around the edges and bottom for the roots to grow as this space is key for letting the above ground parts of the plant to flourish. Adding extra soil around the edges can also help minimize stress on the plant if the pot is in full sun.
Container gardens need fertilizer, just as your garden beds do. Mix in compost into the soil before you plant. If you use animal manure, ensure it is aged so it doesn’t burn the roots. To be on the safe side, go with manure that is about a year old or more.
Maintenance
As the plants are above ground, moisture will evaporate quickly, more so if your pots are porous clayand/or small. Water as often as needed, either daily or perhaps twice daily, especially if it’s very hot, more often for clay and small pots.
You might want to make some compost tea to fertilize during the summer. Keep some of your compost and soak in a bucket. After a day or two, strain and use this liquid for your plants to help them make the most nutrient dense and healthy leaves, flowers and fruit.
For more gardening tips and help with wildlife-friendly gardening, check out Gardening for Wildlife.