face detection on the iphone - o'reilly mediaassets.en.oreilly.com/1/event/45/face detection on...
TRANSCRIPT

Face detection on the iPhoneAlasdair Allan, Babilim Light IndustriesThe current generation of
high-end mobile devices, such as the iPhone or iPod touch, are quite capable of performing fairly advanced feats of computer vision in real-time.
Practical session, I’m not going to go into the mathematics of Haar classifiers.

The Open CV Library
The Open Source Computer Vision (OpenCV) Library is a collection of routines intended for real-time computer vision, released under the BSD License, free for both private and commercial use.

OpenCV• General image processing• Image segmentation• Geometric descriptions• Object tracking• Object detection• Object recognition
The library has a number of different possible applications including object recognition and tracking.

Building the Library
• Create symbolic links
• Build the library for x86
• Build the library for the ARM
• Create a single “fat” static library
Building the OpenCV library for the iPhone isn’t entirely straightforward, as we need different versions of the library compiled to run in the iPhone Simulator, and on the iPhone or iPod touch device itself.
We therefore have to go ahead and compile both a statically linked x86 version of the library, and a cross-compile a version for the ARMv6 (and optionally v7) processors.
Building under Snow Leopard, for the 3.1.x and 3.2 SDKs although not for the 4.x SDK, you need to create a symlink between the Mac OS X SDK version of crt1.10.6.o and the iPhone SDK.
It isn’t present...

Downloads
http://programmingiphonesensors.com/pages/samplecode.html

OPENCV_VERSION=2.0.0 GCC_VERSION=4.2 SDK_VERSION=4.0 SDK_NAME=Simulator ARCH=i686 HOST=i686 PLATFORM=/Developer/Platforms/iPhone${SDK_NAME}.platform BIN=${PLATFORM}/Developer/usr/bin SDK=${PLATFORM}/Developer/SDKs/iPhone${SDK_NAME}${SDK_VERSION}.sdk
PREFIX=`pwd`/`dirname $0`/${ARCH} PATH=/bin:/sbin:/usr/bin:/usr/sbin:${BIN}
${CONFIGURE} \ --prefix=${PREFIX} --build=i686-apple-darwin9 --host=${HOST}-apple-darwin9 --target=${HOST}-apple-darwin9 \ --enable-static --disable-shared --disable-sse --disable-apps --without-python --without-ffmpeg \ --without-1394libs --without-v4l --without-imageio --without-quicktime --without-carbon --without-gtk \ --without-gthread --without-swig --disable-dependency-tracking $* \ CC=${BIN}/gcc-${GCC_VERSION} \ CXX=${BIN}/g++-${GCC_VERSION} \ CFLAGS="-arch ${ARCH} -isysroot ${SDK}" \ CXXFLAGS="-arch ${ARCH} -isysroot ${SDK}" \ CPP=${BIN}/cpp \ CXXCPP=${BIN}/cpp \ AR=${BIN}/ar
make || exit 1
Building for x86

OPENCV_VERSION=2.0.0 GCC_VERSION=4.2 SDK_VERSION=4.0 SDK_NAME=OS ARCH=armv6 HOST=arm PLATFORM=/Developer/Platforms/iPhone${SDK_NAME}.platform BIN=${PLATFORM}/Developer/usr/bin SDK=${PLATFORM}/Developer/SDKs/iPhone${SDK_NAME}${SDK_VERSION}.sdk
PREFIX=`pwd`/`dirname $0`/${ARCH} PATH=/bin:/sbin:/usr/bin:/usr/sbin:${BIN}
${CONFIGURE} \ --prefix=${PREFIX} --build=i686-apple-darwin9 --host=${HOST}-apple-darwin9 --target=${HOST}-apple-darwin9 \ --enable-static --disable-shared --disable-sse --disable-apps --without-python --without-ffmpeg \ --without-1394libs --without-v4l --without-imageio --without-quicktime --without-carbon --without-gtk \ --without-gthread --without-swig --disable-dependency-tracking $* \ CC=${BIN}/gcc-${GCC_VERSION} \ CXX=${BIN}/g++-${GCC_VERSION} \ CFLAGS="-arch ${ARCH} -isysroot ${SDK}" \ CXXFLAGS="-arch ${ARCH} -isysroot ${SDK}" \ CPP=${BIN}/cpp \ CXXCPP=${BIN}/cpp \ AR=${BIN}/ar
make || exit 1
Building for ARM

lipo -create ${I686DIR}/src/.libs/libcv.a ${ARMDIR}/src/.libs/libcv.a -output libcv.a lipo -create ${I686DIR}/src/.libs/libcxcore.a ${ARMDIR}/src/.libs/libcxcore.a -output libcxcore.a lipo -create ${I686DIR}/src/.libs/libcvaux.a ${ARMDIR}/src/.libs/libcvaux.a -output libcvaux.a lipo -create ${I686DIR}/src/.libs/libml.a ${ARMDIR}/src/.libs/libml.a -output libml.a lipo -create ${I686DIR}/src/.libs/libhighgui.a ${ARMDIR}/src/.libs/libhighgui.a -output libhighgui.a
Fat Library

Adding to Xcode
• Drag-and-drop the static libraries
• Drag-and-drop the include !les
• Linker Flags
-lstdc++
-lz
• #import "opencv/cv.h"
1) In the Groups & Files panel in Xcode, first double-click on the “Targets” group.
2) Double-click on your main application target inside that group (for most Xcode projects this will be the entry in the group) to open the Target Info window.
3) Click on the Build tab and scroll down to “Other Linker Flags”, and add –lstdc++ and –lz to this setting.

Face Detection

FaceDetect.app

Haar Cascades
• Haar-like features encode the existence of oriented contrasts between regions in the image.
• A set of these features can be used to encode the contrasts exhibited by a human face.
• Detect face using features in a cascade.

Haar-like Features
OpenCV Face Detection: Visualized from Adam Harvey.

Building the Application
• Build the User Interface
• Write utility and face detection methods
Open Xcode and choose Create a new Xcode project in the startup window, and then choose the View-based Application template from the New Project popup window.
Go ahead and add the OpenCV static libraries and include files to this project.
The first thing we want to do is build out the user interface. In the Groups & Files dialog panel in Xcode double-click on the FaceDetectViewController.xib file to open it in Interface Builder.


FaceDetectViewController.h
#import <UIKit/UIKit.h>
@interface FaceDetectViewController : UIViewController <UIImagePickerControllerDelegate, UINavigationControllerDelegate> {
IBOutlet UIImageView *imageView; IBOutlet UIBarButtonItem *cameraButton; UIImagePickerController *pickerController;
}
- (IBAction)getImageFromCamera:(id) sender;- (IBAction)getImageFromPhotoAlbum:(id) sender;
@end
Since we’re going to make use of the UIImagePickerController class we need to declare our view controller to be both an Image Picker Controller Delegate and a Navigation Controller Delegate.
The image view will hold the image returned by the image picker controller, either from the camera or from the photo album depending on whether a camera is available.
We will enable or disable the button allowing the application user to take an image with the camera depending on whether the device has a camera present from our viewDidLoad: method.

viewDidLoad
- (void)viewDidLoad { [super viewDidLoad];
pickerController = [[UIImagePickerController alloc] init]; pickerController.allowsEditing = NO; pickerController.delegate = self; if ( [UIImagePickerController isSourceTypeAvailable:UIImagePickerControllerSourceTypeCamera]) { cameraButton.enabled = YES; } else { cameraButton.enabled = NO; }}

getImageFromCamera:and getImageFromPhotoAlbum
- (IBAction)getImageFromCamera:(id) sender { pickerController.sourceType = UIImagePickerControllerSourceTypeCamera; NSArray* mediaTypes = [UIImagePickerController availableMediaTypesForSourceType:UIImagePickerControllerSourceTypeCamera]; pickerController.mediaTypes = mediaTypes; [self presentModalViewController:pickerController animated:YES];}
- (IBAction)getImageFromPhotoAlbum:(id) sender { pickerController.sourceType = UIImagePickerControllerSourceTypeSavedPhotosAlbum; [self presentModalViewController:pickerController animated:YES];}

UIImagePickerControllerDelegate
- (void)imagePickerController:(UIImagePickerController *)picker didFinishPickingMediaWithInfo:(NSDictionary *)info {
[self dismissModalViewControllerAnimated:YES]; UIImage *image = [info objectForKey:@"UIImagePickerControllerOriginalImage"]; imageView.image = image;}
- (void)imagePickerControllerDidCancel:(UIImagePickerController *)picker { [self dismissModalViewControllerAnimated:YES];}


If you test the application in the iPhone Simulator you’ll notice that there aren’t any images in the Saved Photos folder.
There is a way around this problem. In the Simulator, tap on the Safari Icon and drag and drop a picture from your computer (you can drag it from the Finder or iPhoto) into the browser.
You’ll notice that the URL bar displays the file: path to the image. Click and hold down the cursor over the image and a dialog will appear allowing you to save the image to the Saved Photos folder.

Utilities.h
#import <Foundation/Foundation.h>#import “opencv/cv.h”
@interface Utilities : NSObject {
}
+ (IplImage *)CreateIplImageFromUIImage:(UIImage *)image;+ (UIImage *)CreateUIImageFromIplImage:(IplImage *)image;+ (UIImage *)opencvFaceDetect:(UIImage *)originalImage;
@end
Let’s go ahead and implement the actual face detection functionality.
To support this we’re going to go ahead and implement a Utility class that you can reuse in your own code to encapsulate our dealings with the OpenCV library.
The utility code shown below is based on previous work by Yoshimasa Niwa, and is released under the terms of the MIT license.
The original code can be obtained from Github.
As the OpenCV library uses the IplImage class to hold image data we’re going to need methods to convert to and from the IplImage class and the iPhone’s own UIImage class.
You can see from the method names we’re going to implement methods to create an IplImage from a UIImage, and a UIImage from an IplImage.
We’re also going to go ahead and tackle the meat of the problem and implement a method that will take a UIImage and carry out face detection using the OpenCV library.

CreateIplImageFromUIImage:
+ (IplImage *)CreateIplImageFromUIImage:(UIImage *)image { CGImageRef imageRef = image.CGImage; CGColorSpaceRef colorSpace = CGColorSpaceCreateDeviceRGB(); IplImage *iplimage = cvCreateImage(cvSize(image.size.width, image.size.height),IPL_DEPTH_8U, 4); CGContextRef contextRef = CGBitmapContextCreate(iplimage->imageData, iplimage->width, iplimage->height, iplimage->depth, iplimage->widthStep, colorSpace, kCGImageAlphaPremultipliedLast|kCGBitmapByteOrderDefault); CGContextDrawImage(contextRef, CGRectMake(0, 0, image.size.width, image.size.height),imageRef); CGContextRelease(contextRef); CGColorSpaceRelease(colorSpace); IplImage *ret = cvCreateImage(cvGetSize(iplimage), IPL_DEPTH_8U, 3); cvCvtColor(iplimage, ret, CV_RGBA2BGR); cvReleaseImage(∓iplimage); return ret;}

CreateUIImageFromIplImage:
+ (UIImage *)CreateUIImageFromIplImage:(IplImage *)image { CGColorSpaceRef colorSpace = CGColorSpaceCreateDeviceRGB(); NSData *data = [NSData dataWithBytes:image->imageData length:image->imageSize]; CGDataProviderRef provider = CGDataProviderCreateWithCFData((CFDataRef)data); CGImageRef imageRef = CGImageCreate(image->width, image->height, image->depth, image->depth * image->nChannels, image->widthStep, colorSpace, kCGImageAlphaNone|kCGBitmapByteOrderDefault, provider, NULL, false, kCGRenderingIntentDefault);
UIImage *ret = [UIImage imageWithCGImage:imageRef]; CGImageRelease(imageRef); CGDataProviderRelease(provider); CGColorSpaceRelease(colorSpace);
return ret;}

Cascade Files
• OpenCV comes with a selection of pre-trained cascade !les for face detection.
• Also comes with tools to build your own.

<opencv_storage><haarcascade_frontalface_default type_id="opencv-haar-classifier"> <size>24 24</size> <stages> <_> <!-- stage 0 --> <trees> <_> <!-- tree 0 --> <_> <!-- root node --> <feature> <rects> <_>6 4 12 9 -1.</_> <_>6 7 12 3 3.</_></rects> <tilted>0</tilted></feature> <threshold>-0.0315119996666908</threshold> <left_val>2.0875380039215088</left_val> <right_val>-2.2172100543975830</right_val></_></_> <_> . . .</opencv_storage>

opencvFaceDetect:
+ (UIImage *) opencvFaceDetect:(UIImage *)originalImage { cvSetErrMode(CV_ErrModeParent); IplImage *image = [self CreateIplImageFromUIImage:originalImage]; // Scaling down image
// Load cascade file // Detect faces and draw rectangle
// Create canvas to show the results
// Draw results on the canvas
// Build return image
... return returnImage;}
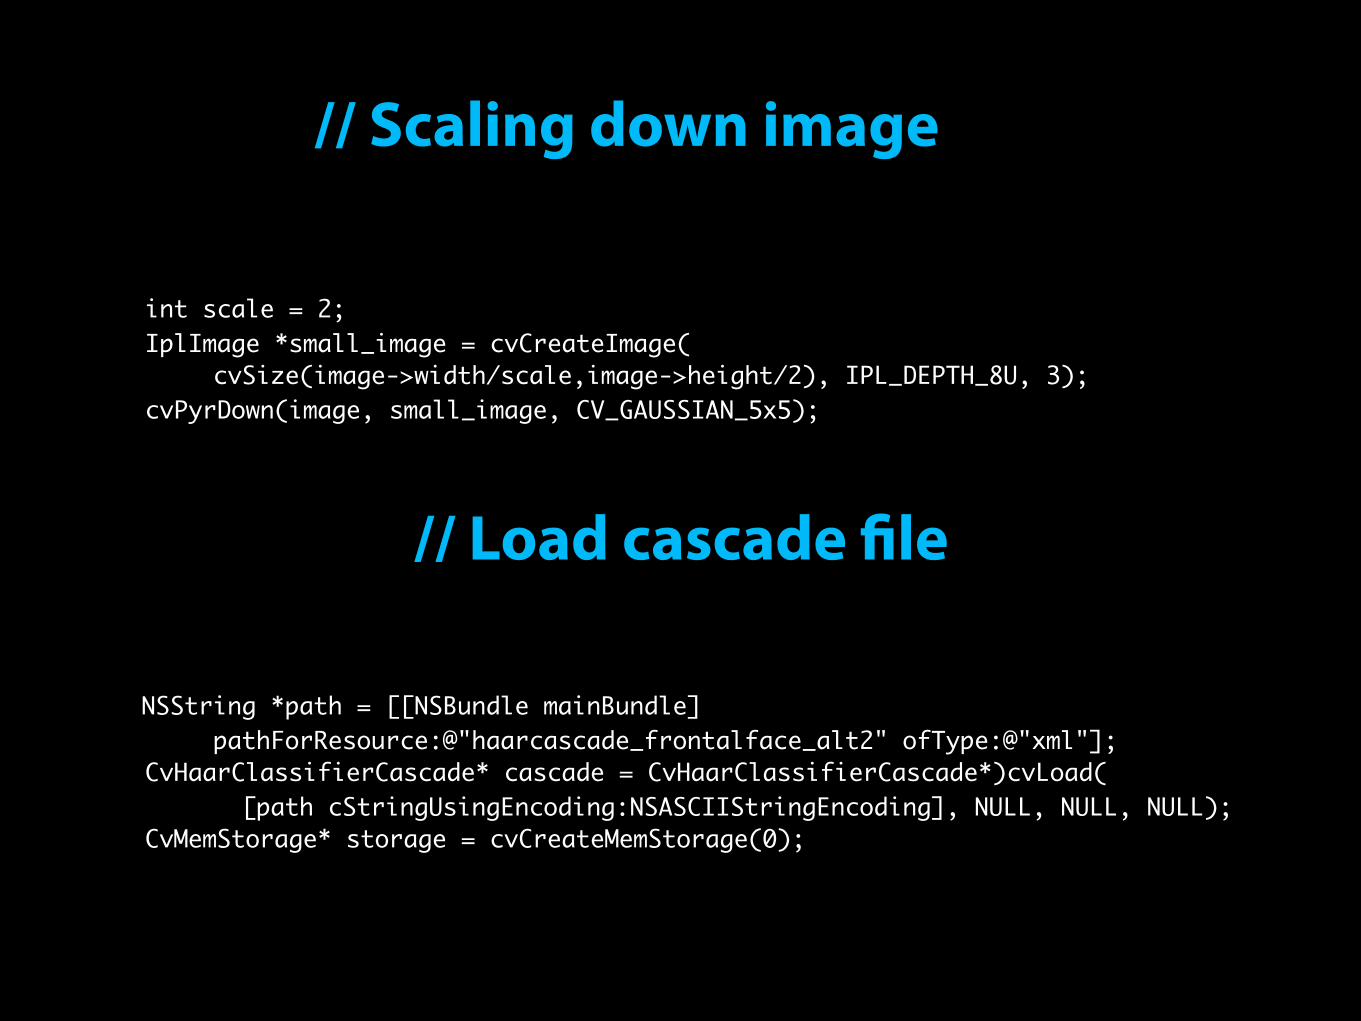
// Scaling down image
int scale = 2; IplImage *small_image = cvCreateImage( cvSize(image->width/scale,image->height/2), IPL_DEPTH_8U, 3); cvPyrDown(image, small_image, CV_GAUSSIAN_5x5);
// Load cascade !le
NSString *path = [[NSBundle mainBundle] pathForResource:@"haarcascade_frontalface_alt2" ofType:@"xml"]; CvHaarClassifierCascade* cascade = CvHaarClassifierCascade*)cvLoad( [path cStringUsingEncoding:NSASCIIStringEncoding], NULL, NULL, NULL); CvMemStorage* storage = cvCreateMemStorage(0);

// Detect faces and draw rectangle
CvSeq* faces = cvHaarDetectObjects( small_image, cascade, storage, 1.2f, 2, CV_HAAR_DO_CANNY_PRUNING, cvSize(20, 20)); cvReleaseImage(&small_image);
// Create canvas to show results CGImageRef imageRef = originalImage.CGImage; CGColorSpaceRef colorSpace = CGColorSpaceCreateDeviceRGB(); CGContextRef contextRef = CGBitmapContextCreate(NULL, originalImage.size.width, originalImage.size.height, 8, originalImage.size.width * 4, colorSpace, kCGImageAlphaPremultipliedLast|kCGBitmapByteOrderDefault); CGContextDrawImage(contextRef, CGRectMake(0, 0, originalImage.size.width, originalImage.size.height), imageRef); CGContextSetLineWidth(contextRef, 4); CGContextSetRGBStrokeColor(contextRef, 0.0, 0.0, 1.0, 0.5);

// Draw results on canvas for(int i = 0; i < faces->total; i++) { NSAutoreleasePool * pool = [[NSAutoreleasePool alloc] init]; CvRect cvrect = *(CvRect*)cvGetSeqElem(faces, i); CGRect face_rect = CGContextConvertRectToDeviceSpace(contextRef, CGRectMake(cvrect.x * scale, cvrect.y * scale, vrect.width * scale, cvrect.height * scale)); CGContextStrokeRect(contextRef, face_rect); [pool release]; }
// Build return image UIImage *returnImage = [UIImage imageWithCGImage:CGBitmapContextCreateImage(contextRef)]; CGContextRelease(contextRef); CGColorSpaceRelease(colorSpace); cvReleaseMemStorage(&storage); cvReleaseHaarClassifierCascade(&cascade);
That’s us done!

opencvFaceDetect:
+ (UIImage *) opencvFaceDetect:(UIImage *)originalImage { cvSetErrMode(CV_ErrModeParent); IplImage *image = [self CreateIplImageFromUIImage:originalImage]; // Scaling down image
// Load cascade file // Detect faces and draw rectangle
// Create canvas to show the results
// Draw results on the canvas
// Build return image
... return returnImage;}

FaceDetectViewController.h
- (IBAction)faceDetect:(id) sender;
FaceDetectViewController.m
- (IBAction)faceDetect:(id) sender { UIImage *processedImage = [Utilities opencvFaceDetect:imageView.image]; imageView.image = processedImage;}
#import "Utilities.h"


Deploying to Device

When we take our UIImage and make it a CGImageRef so we can convert it to an IplImage we loose the UIOrientation information.

scaleAndRotateImage:
+ (UIImage *)scaleAndRotateImage:(UIImage *)image {...
} I’m not going to go through this in detail. Basically this routine is a huge case statement that appropriately scales and rotates the image using CGAffineTransform* calls.

FaceDetectViewController.m
- (void)imagePickerController:(UIImagePickerController *)picker didFinishPickingMediaWithInfo:(NSDictionary *)info {
[self dismissModalViewControllerAnimated:YES]; UIImage *image = [info objectForKey:@"UIImagePickerControllerOriginalImage"]; image = [Utilities scaleAndRotateImage:image]; imageView.image = image;}


Demo

More...

Chapter 7
http://programmingiphonesensors.com/
I’m going to upload these slides, the sample code, build script, patch files and a PDF of Chapter 7 of my upcoming book onto the book’s website.

Questions?