embedded programming and robotics lesson 4 sensors 1
TRANSCRIPT
Sensors 1
Embedded Programming and
RoboticsLesson 4Sensors
Sensors 2
Digital Sensors
• As we discussed before, many sensors are digital: on or off• This includes things like switches, motion sensors, etc.• Passive sensors, ones that don’t take power, or usually wired up the
way you were shown in Lesson 3• Active sensors, such as motion detection, are wired as shown on the
next slide. It’s called passive IR because it doesn’t emit anything, just detects it.

Sensors 3
Motion Sensor
• Connect jumpers to the three pins of the PIR (Passive Infrared) motion sensor• Connect the vcc pin to the +5 on the prototype board• Connect gnd to ground on the prototype board• Connect out to pin 3 of your Arduino

Sensors 4
Motion Sensor
• Back of the IR motion sensor• The middle
pin, Digital Out, connect to an Arduino digital input pin
Sensors 5
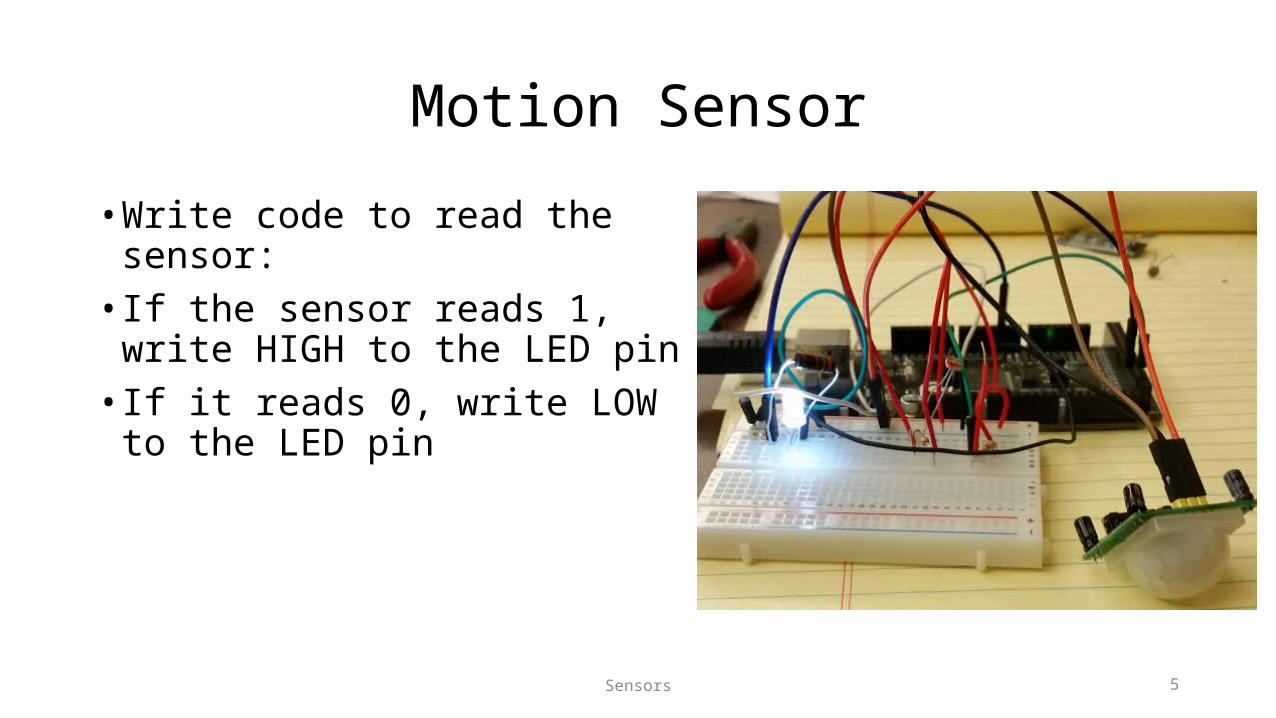
Motion Sensor
• Write code to read the sensor:• If the sensor reads 1, write HIGH to
the LED pin• If it reads 0, write LOW to the LED pin
Sensors 6
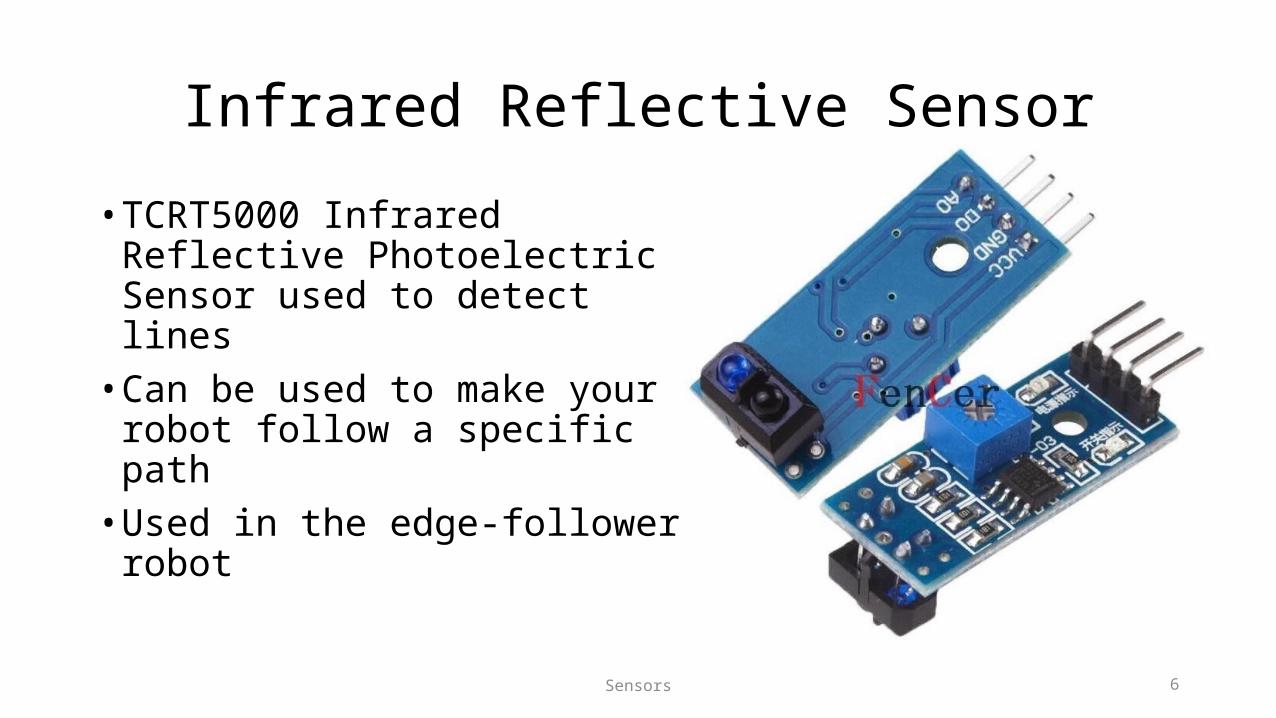
Infrared Reflective Sensor
• TCRT5000 Infrared Reflective Photoelectric Sensor used to detect lines• Can be used to make your robot
follow a specific path• Used in the edge-follower robot

Sensors 7
Infrared Reflective Sensor
• Connect vcc and gnd to +5 and ground, respectively• Connect A0 on the TCRT5000 to an analog input pin on the Arduino• Use analogRead to read from the sensor. • The larger the number, the further away

Sensors 8
Edge-Follower Program