ece department: university of massachusetts, amherst lab 1: introduction to nios ii hardware...
TRANSCRIPT
ECE Department: University of Massachusetts, Amherst
Lab 1: Introduction to NIOS II Hardware Development

2ECE 354
Objectives
Introduction to Altera tools
Walk through from project creation to chip configuration (Lab1-Part I)
Instructions to get started with Part II
3ECE 354
Tools
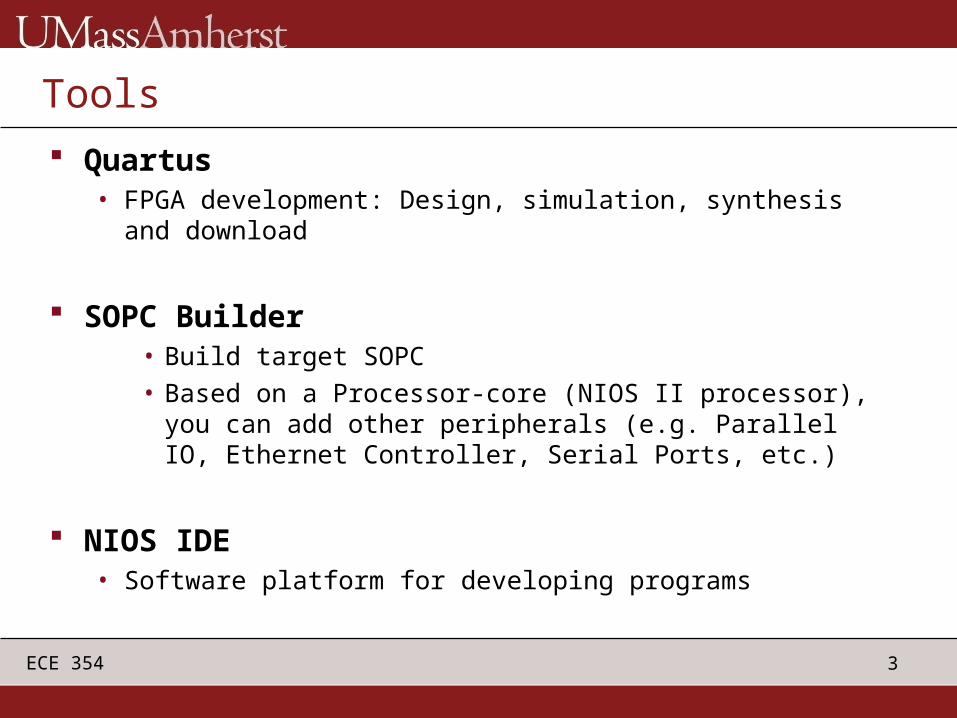
Quartus• FPGA development: Design, simulation, synthesis and
download
SOPC Builder• Build target SOPC• Based on a Processor-core (NIOS II processor), you
can add other peripherals (e.g. Parallel IO, Ethernet Controller, Serial Ports, etc.)
NIOS IDE• Software platform for developing programs
4ECE 354
Lab1 Objectives
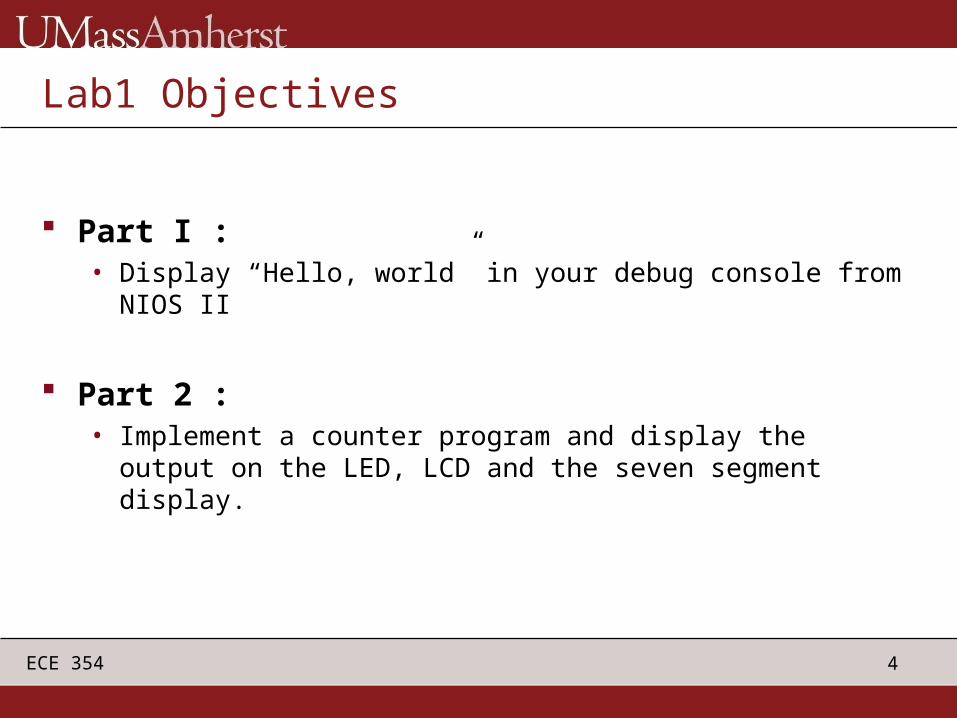
Part I :• Display “Hello, world” in your debug console from NIOS II
Part 2 :• Implement a counter program and display the output on
the LED, LCD and the seven segment display.

5ECE 354
New Project Creation
Open Quartus II, and select file -> New Project Wizard…
Specify a working directory and name your project
NOTE: Make sure your working directory contains no white-space. (This will cause problems later when trying to compile your project from the SOPC Builder)
6ECE 354
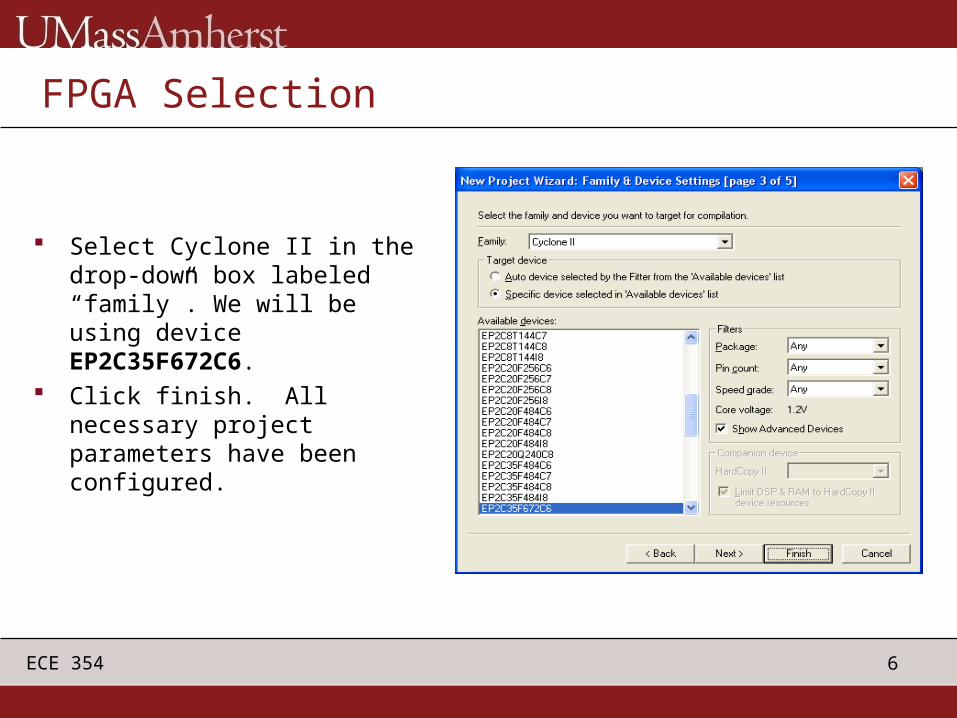
Select Cyclone II in the drop-down box labeled “family”. We will be using device EP2C35F672C6.
Click finish. All necessary project parameters have been configured.
FPGA Selection
7ECE 354
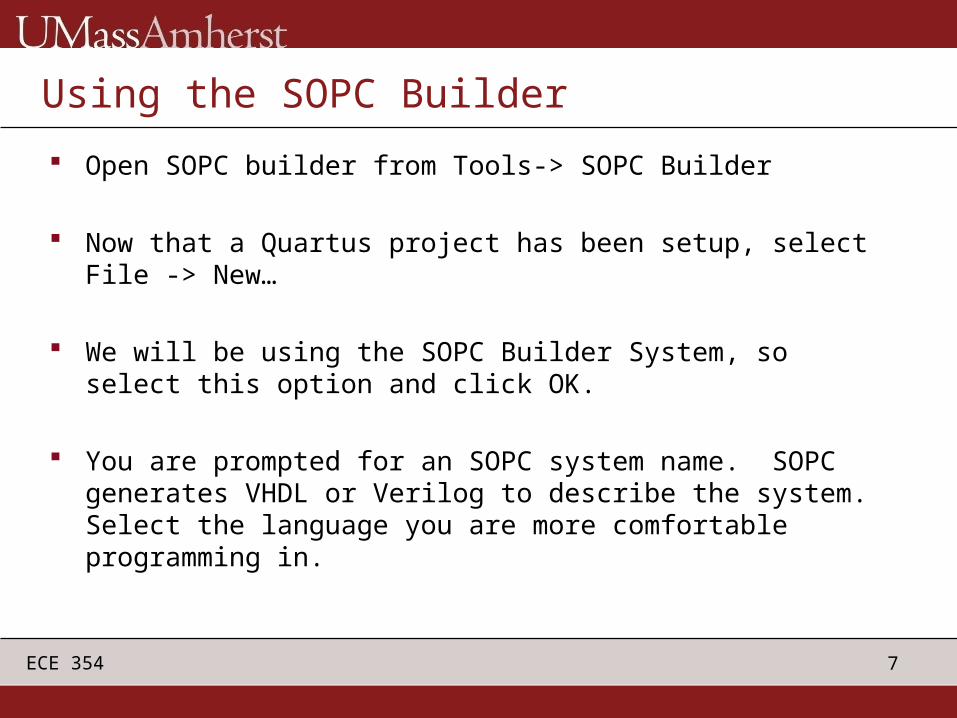
Using the SOPC Builder
Open SOPC builder from Tools-> SOPC Builder
Now that a Quartus project has been setup, select File -> New…
We will be using the SOPC Builder System, so select this option and click OK.
You are prompted for an SOPC system name. SOPC generates VHDL or Verilog to describe the system. Select the language you are more comfortable programming in.
8ECE 354
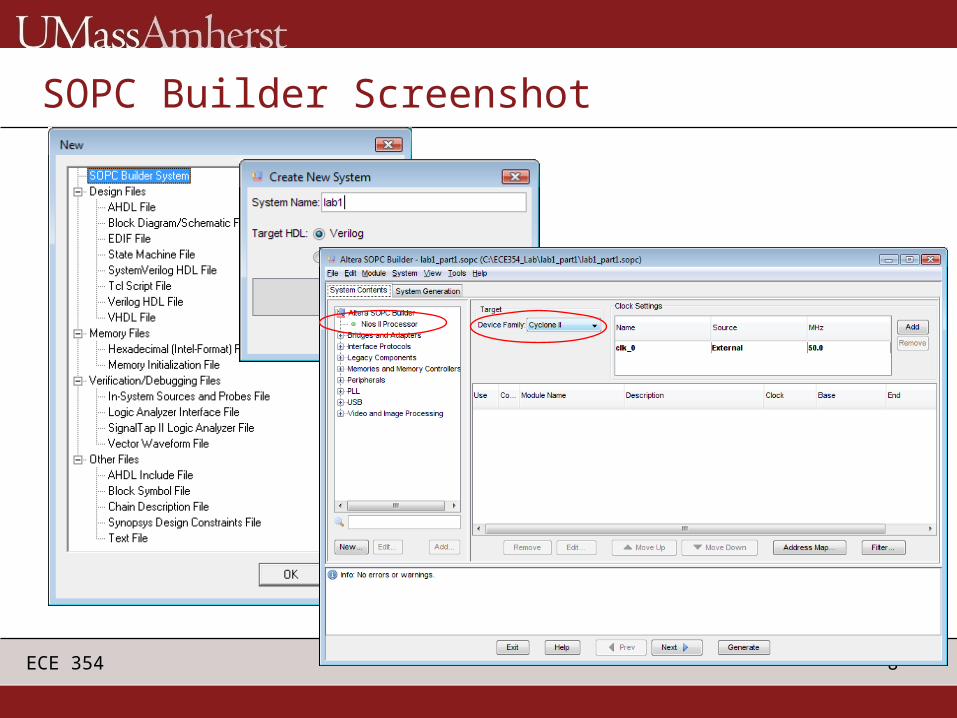
SOPC Builder Screenshot

9ECE 354
Adding NIOS II Processor
10ECE 354
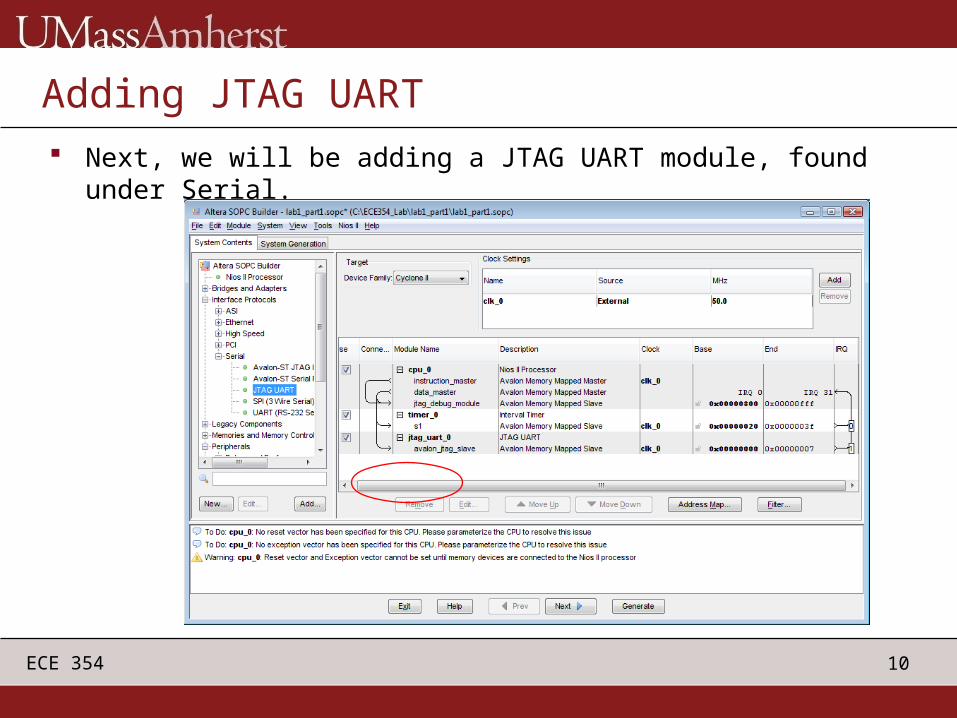
Adding JTAG UART Next, we will be adding a JTAG UART module, found under
Serial.
11ECE 354
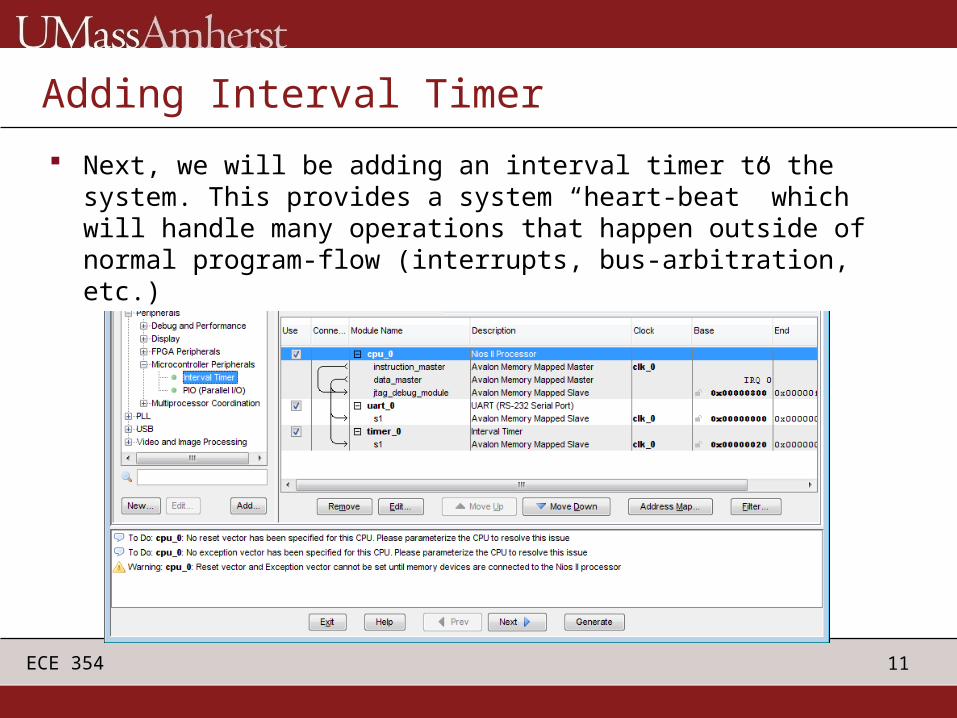
Adding Interval Timer
Next, we will be adding an interval timer to the system. This provides a system “heart-beat” which will handle many operations that happen outside of normal program-flow (interrupts, bus-arbitration, etc.)
12ECE 354
Setting IRQ Priority
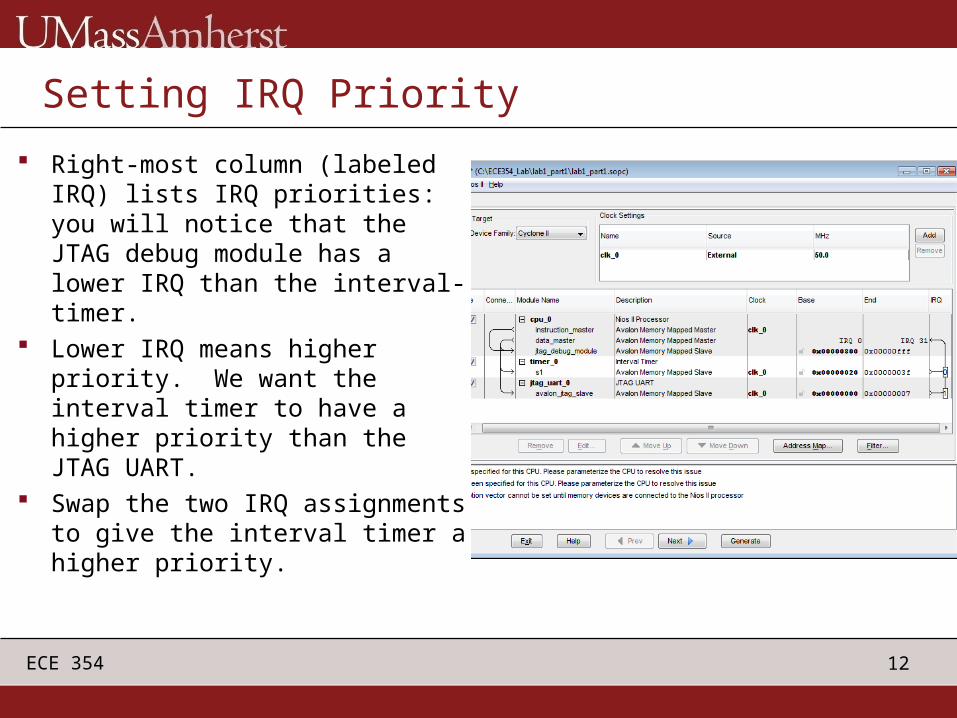
Right-most column (labeled IRQ) lists IRQ priorities: you will notice that the JTAG debug module has a lower IRQ than the interval-timer.
Lower IRQ means higher priority. We want the interval timer to have a higher priority than the JTAG UART.
Swap the two IRQ assignments to give the interval timer a higher priority.

13ECE 354
Adding On-Chip Memory
Change the memory offset: Double click cpu instance (cpu_0) and provide Reset Vector and Exception Vector
14ECE 354
Tutorial: Programming the FPGA
Back to Quartus• Now select Processing -> start -> Start Analysis &
Synthesis.• A number of warnings will appear during the check.
This is normal.

15ECE 354
Quartus: Analysis & Synthesis
16ECE 354
Pin Assignments
The DE2 comes with a .csv (comma separated value) file that can be used to automatically provide more intuitive names to the generic names pins have by default.
The .csv file can be found on the DE2 CD in the DE2_tutorials/design_files directory• select Assignments -> Import Assignments… -> Browse
the .csv file.
We will change two assignments from default : reset and the 50 MHz clock.• Now select Assignments -> Pins.
17ECE 354
Pin Assignment Screenshot
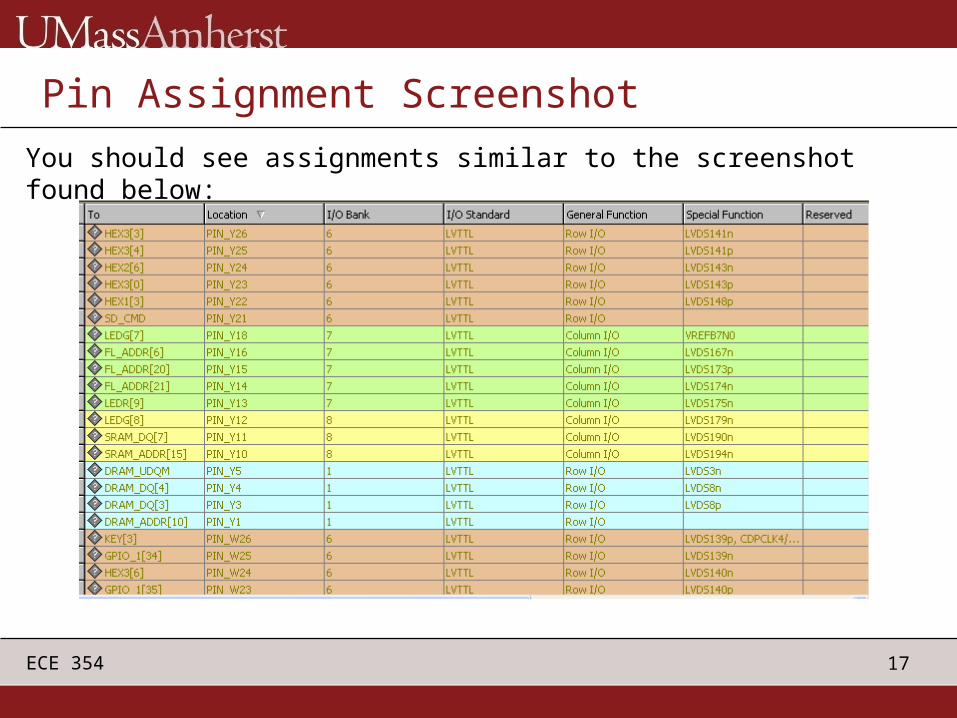
You should see assignments similar to the screenshot found below:
18ECE 354
Assigning CLK and Reset Pins
Find the entry “CLOCK_50”, and replace it with our unassigned pin “clk_0”. Doing so will connect the clock found in our design to the 50 MHz oscillator on the DE2 board.
Now assign the reset_n input signal to any of the SW[x] pins. This will connect the reset signal to one of the switches found on the DE2 board.
Now select Processing -> Start Compilation. If compilation is successful, a programming file to be written to the FPGA will be generated.
19ECE 354
Programming the FPGA
Select Tools -> Programmer. The generated programming file should automatically be selected. Be sure the DE2 is connected to the computer via the provided USB cable. Check the Program/Configure box to configure the Cyclone II FPGA as the NIOS system defined in the SOPC Builder.
A dialogue box will open, mentioning we are using a time-limited version of the NIOS processor. Leave this box open. The FPGA has now been successfully configured!

20ECE 354
Programming the FPGA
21ECE 354
Tutorial: Using the NIOS II IDE
Now that you have successfully developed an SOPC system, we will write a very simple program to run on our new processor.
Open the NIOS IDE. create a new workspace.
22ECE 354
Tutorial: Using the NIOS II IDE
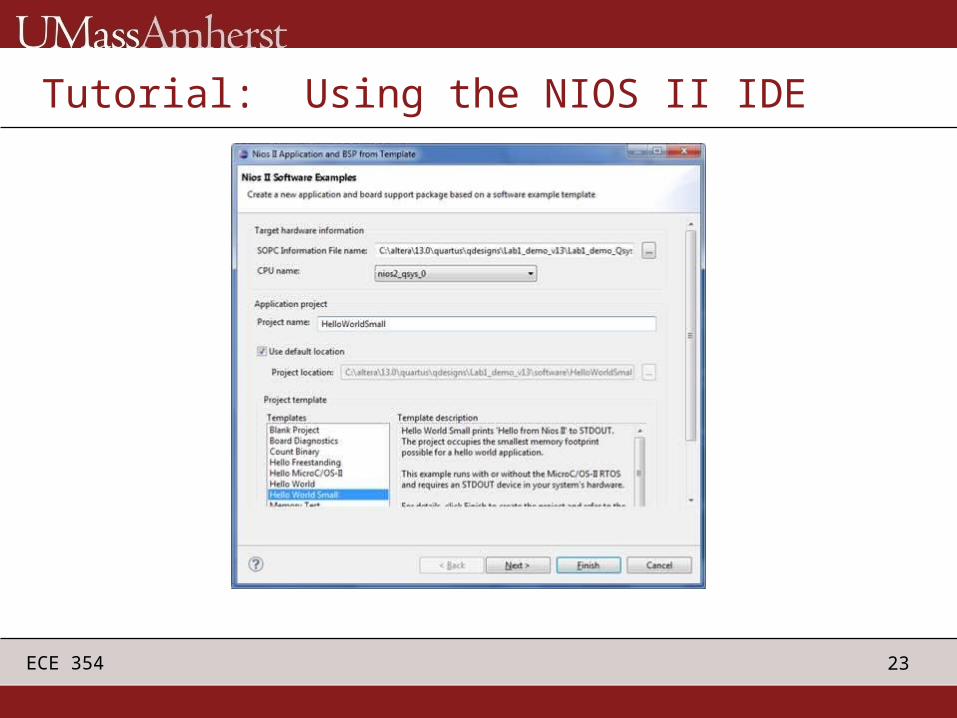
Select File -> New -> Project. A new dialogue box should open.
Select C/C++ Application. Click next.
A variety of project templates are provided as a starting point. We will be using the “Hello World Small” template.
In order to develop a NIOS project, the IDE needs a .ptf (plain text file) file that indicates various peripherals unique to our design.
23ECE 354
Tutorial: Using the NIOS II IDE
24ECE 354
Tutorial: Using the NIOS II IDE
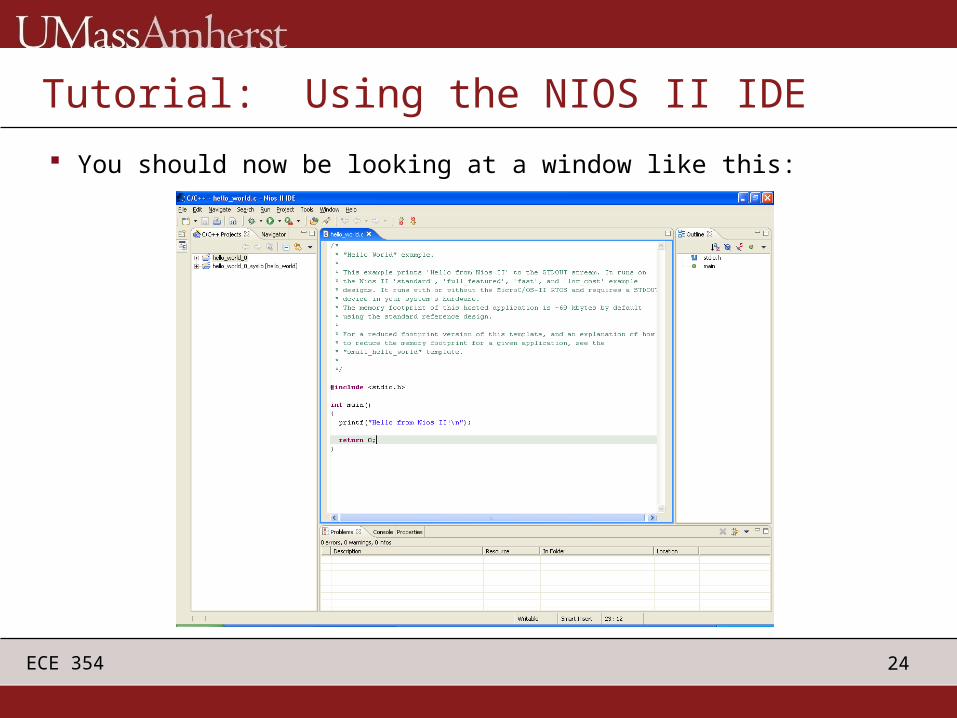
You should now be looking at a window like this:
25ECE 354
Tutorial: Using the NIOS II IDE
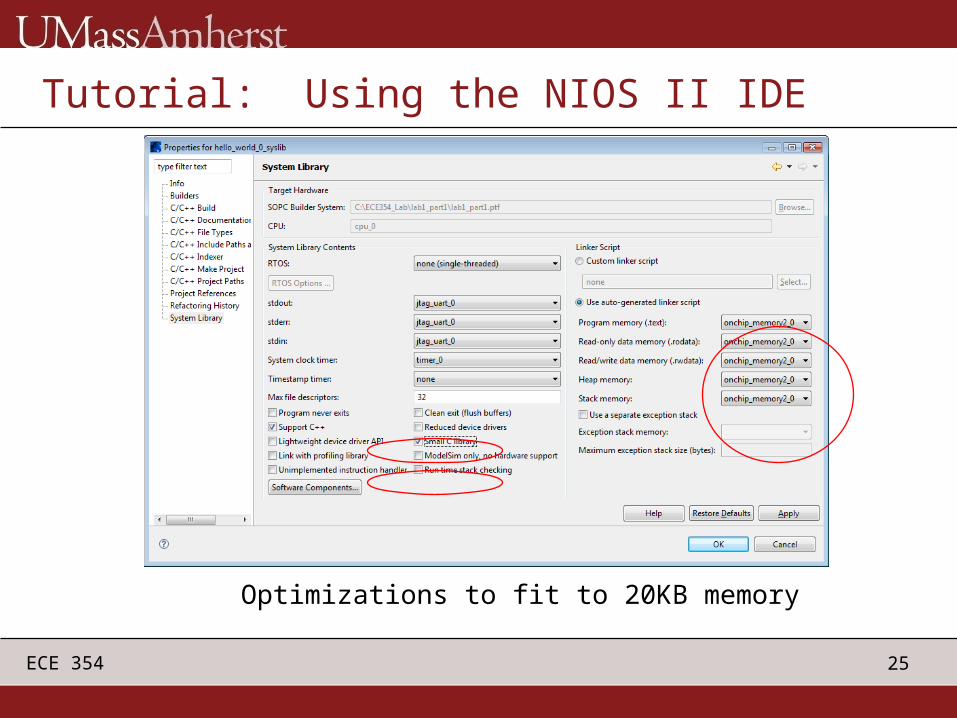
Optimizations to fit to 20KB memory
26ECE 354
Tutorial: Using the NIOS II IDE
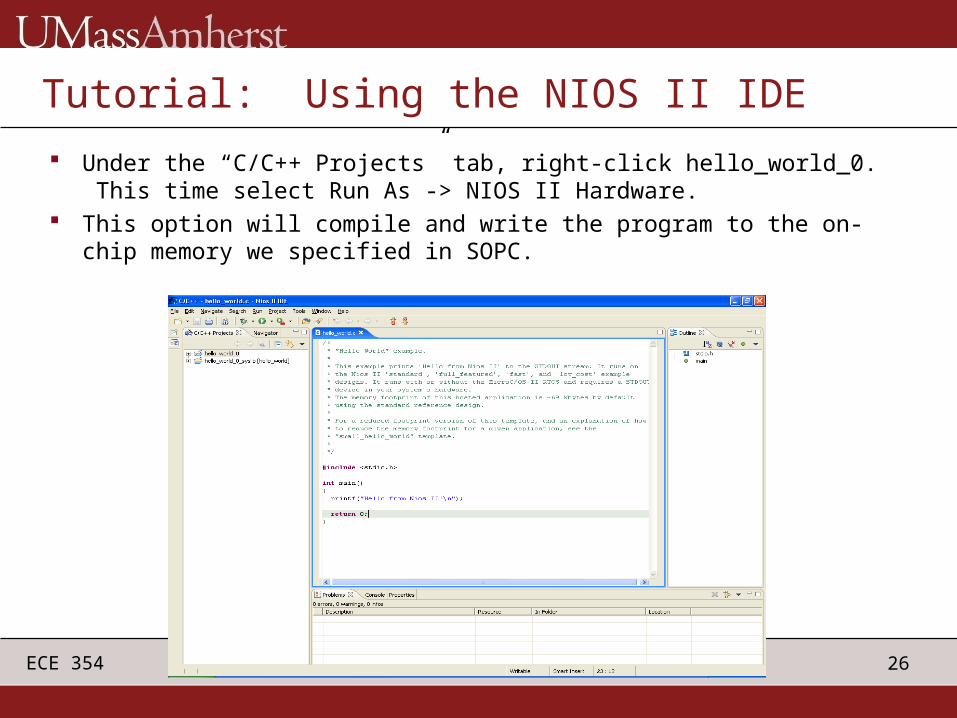
Under the “C/C++ Projects” tab, right-click hello_world_0. This time select Run As -> NIOS II Hardware.
This option will compile and write the program to the on-chip memory we specified in SOPC.

27ECE 354
Hello World!

28ECE 354
Checkpoint: Lab1 (Part I)
A NIOS system in the Quartus II SOPC Builder
Use the NIOS II IDE to run a very simple C program on the system defined in SOPC.
29ECE 354
Part II
You will use external memory You will use other devices (LED, seven segment,
and hex display.) Please read lab instruction on class website

30ECE 354
Getting Started with Part II
Use schematic editor, and draw components (Details are in Lab1 PDF)

31ECE 354
Final Configuration
32ECE 354
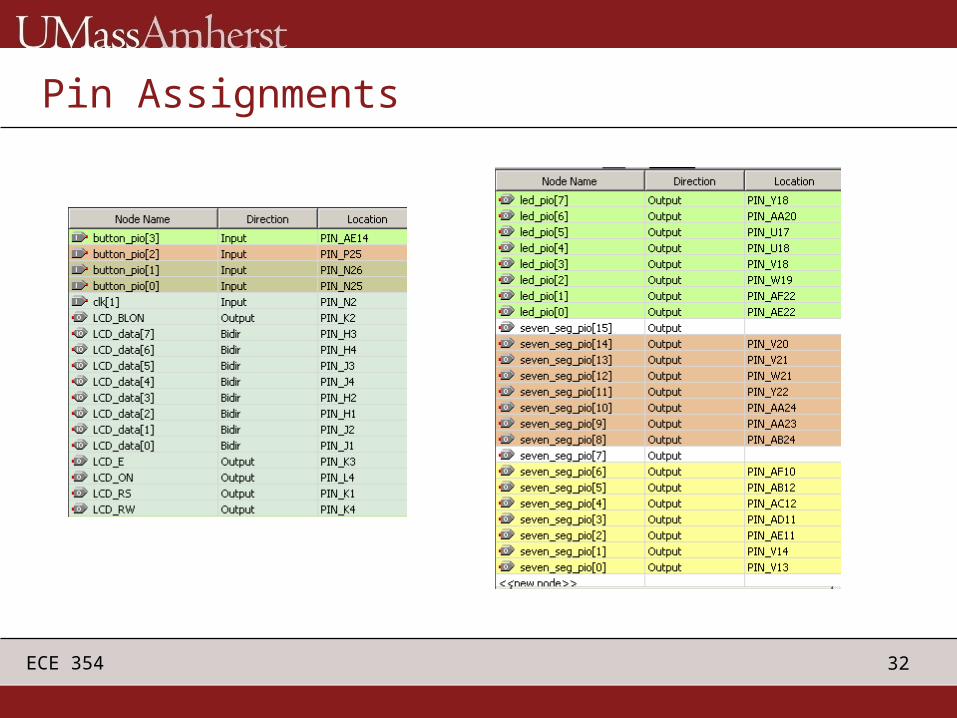
Pin Assignments

33ECE 354
Pin Assignments

34ECE 354
Pin Assignments