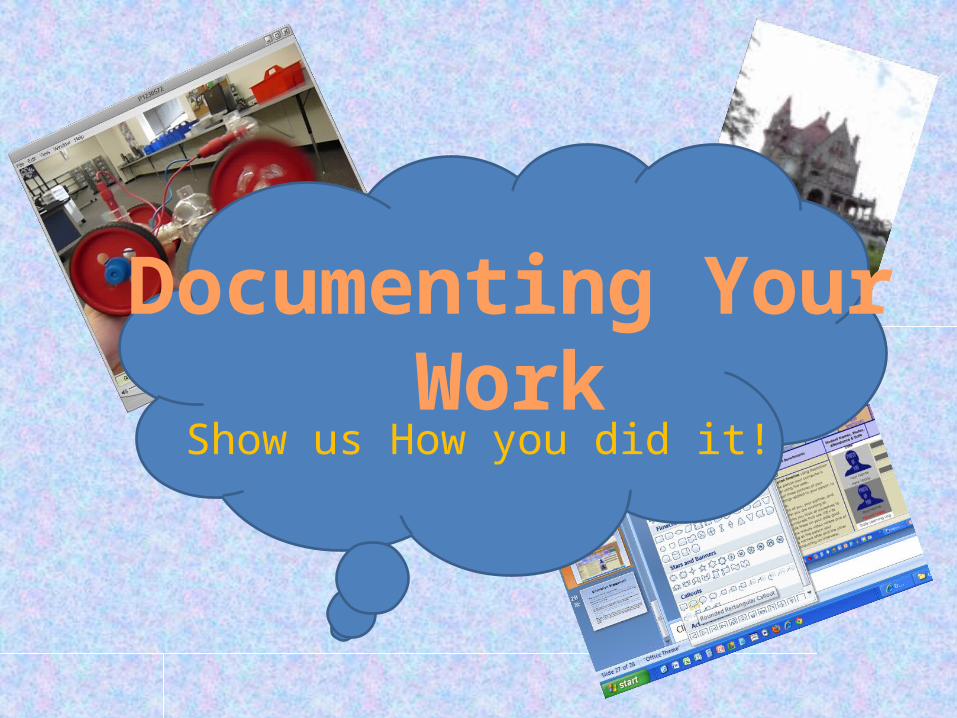
Documenting Your Work
Show us How you did it!

What is documenting your work?
• Documenting your work means recording the process so others can see how you did it.
• Sometimes you use digital photos to document the process
• Sometimes you use video clips to document the process
• Sometimes you use screen captures to document the process.
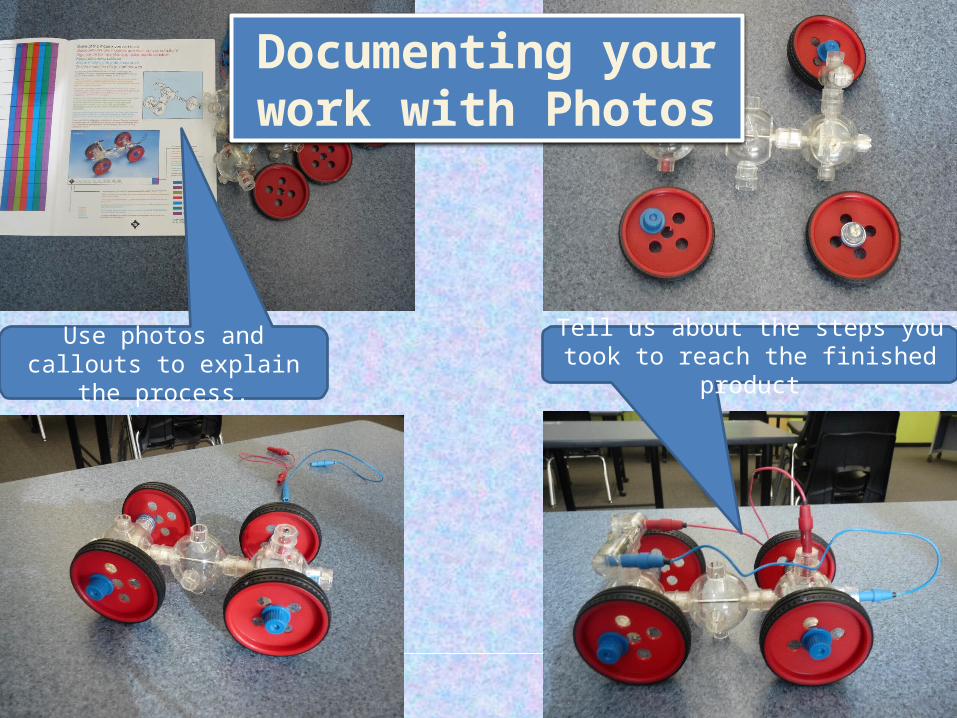
Use photos and callouts to explain the process.
Tell us about the steps you took to reach the finished product
Documenting your work with Photos
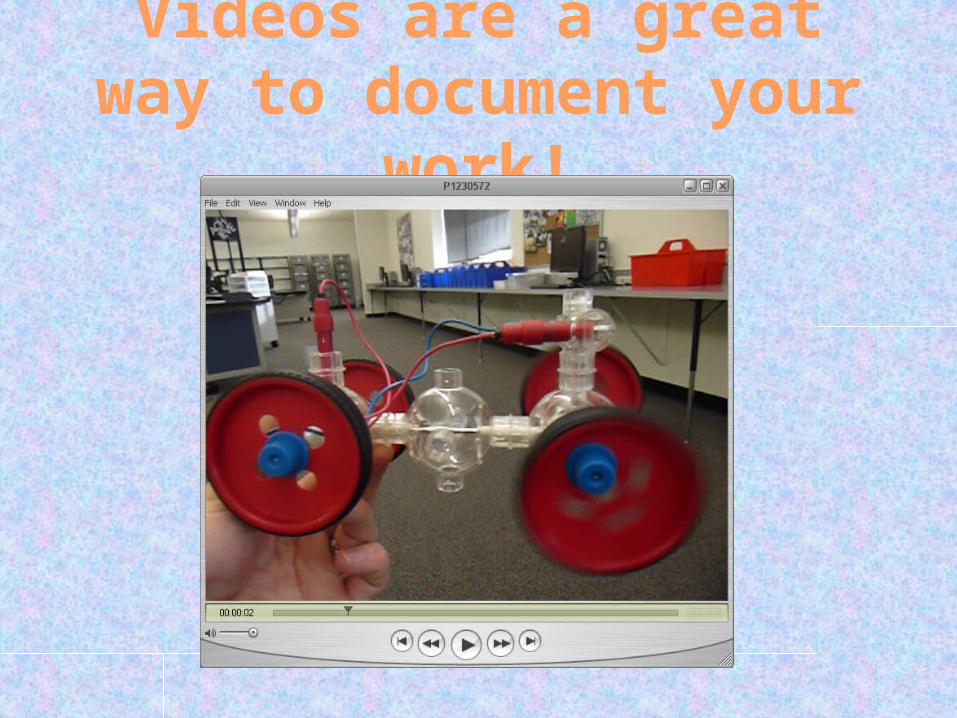
Videos are a great way to document your work!

Using Video Clips
Open your video by double clicking on the .MOV file.
Use “Alt + PrtScn” to take a screen capture of the video player.
Paste the Screen Capture into your PowerPoint slide.

Adjust the size and position of the screen capture
Right click on the screen capture and select hyperlink
Hyperlink the video to the .MOV file in your LEARNERS DRIVE!!!

Learners Drive
Learners Drive

Here you can resize your
photo. A good size for most
PowerPoints is a width of 600 pixels or so.
Documenting your work with screen
captures
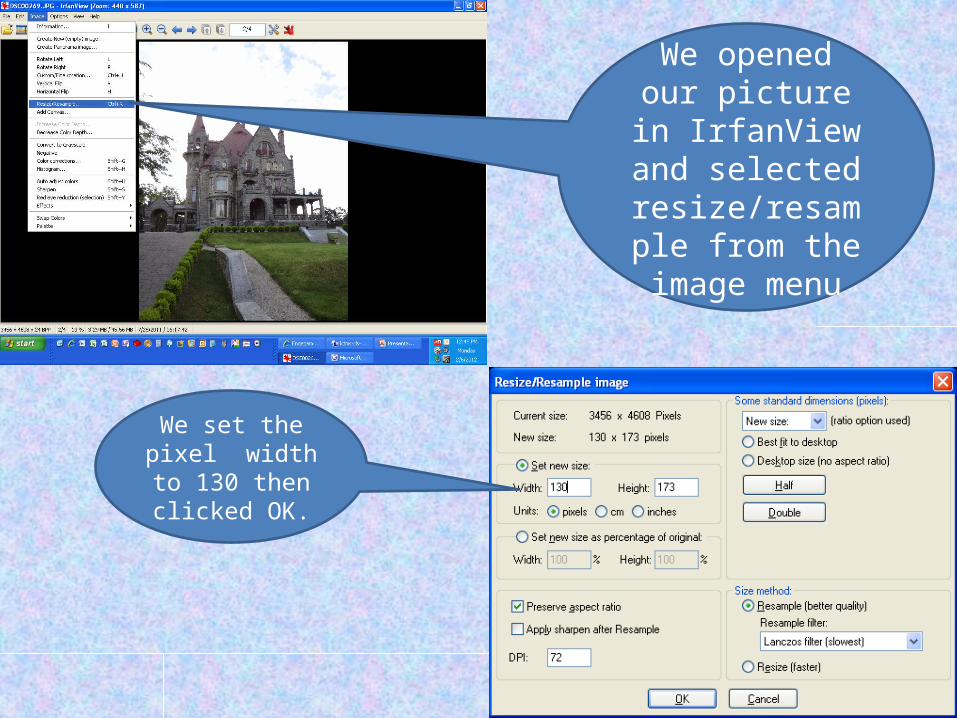
We opened our picture in
IrfanView and selected
resize/resample from the image
menu
We set the pixel width to 130
then clicked OK.

Now our picture is a thumbnail

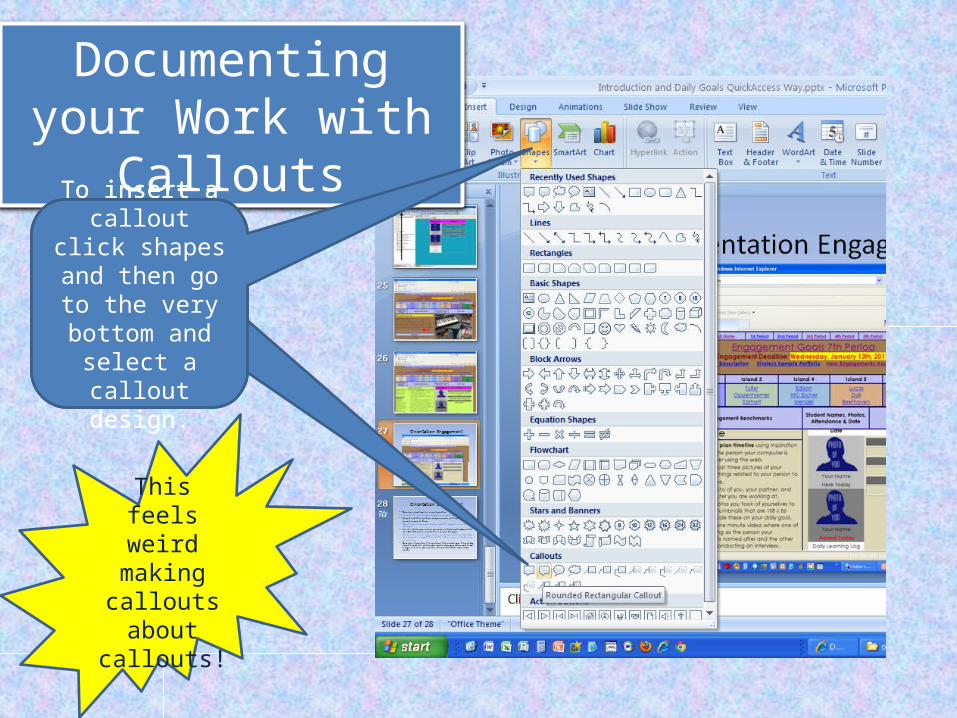
Documenting your Work with Callouts
•A callout is a bubble with an arrow that points to an item on your slide. •Callouts are great ways to highlight specific photos/screen captures or sections of photos and screen captures.
I’m a callout! So am I! Woo-hoo! Yeah callouts!
Yee-haw callouts!
Documenting your Work with Callouts
To insert a callout click shapes and then go to the
very bottom and select a callout
design.
To insert a callout click shapes and then go to the
very bottom and select a callout
design.
This feels weird making
callouts about
callouts!

Documenting your Work with Callouts
To change the size of a callout, drag the boxes on the edges.
To change where the pointer
goes, click and drag the yellow box at the end of the callout
To type in the callout, just click in it and start typing!
To change the color, or other
properties, right-click and select format shape.


