Getting Started with Digital Photography
Instructor- Christine Vucinich
Assistant- Denise Wagner
ITS Training Services
http://its.psu.edu/training/

Objectives
Learn basic digital photography concepts
Explore some of the tools available
Practice taking digital photographs
Upload digital photos to the computer
Obtaining Digital Images
Scan Images Have images scanned
to a CD when you are getting your film processed
Web Cams Use a Digital Camera!
How Digital Cameras Work
A photograph enters a digital camera the same way it enters a film camera - through a series of lenses called the lens element.
The lenses refract and focus light so that it converges at a specific point.
The difference is that instead of refracting light onto film, digital camera lenses refract light onto specialized computer chips. The chip that makes it all happen is the image sensor. It is the "film" of the film-less camera.
The quality of your photographs is determined on the performance of this chip.

Going Digital- Pros Availability and flexibility
Unlimited number of images can be shot (if sufficient storage is available).
The results are instant. Many cameras have a liquid crystal display (LCD screen).
You can experiment by re-shooting an image if necessary.
Speed and convenience No need to have film on hand. No need to develop digital
images-no film to process. Can have an image ready for
the Web or e-mail immediately.

Going Digital- Pros Surviving the destructive
forces of time Film deteriorates and fades,
digital images don’t) You can make multiple
copies that are identical to the original.
Color and focus modification- You can edit your pictures electronically with photo editing software (e.g. Photoshop)

Going Digital- Cons Storage Concerns
Longevity- How long will the file format/files be recognizable? (consider printouts for archiving)
Cost (camera and printing) can be expensive.
Must always be aware of batteries and storage. (especially if traveling)
You don’t have a negative so you need to make sure you keep the original of your image.
Color distortion. Quality can be inferior to
traditionally photographed images because of camera resolution.

Types of Digital CamerasType Description Price
Gadget Toy cameras, and cameras that are built into computers.
Price $60-200.00
Entry-level (point-and-shoot) Basic digital cameras with few features, automatic focus and limited image quality. Printing limited to 4x6 inches.
$100.00-400.00
Deluxe point-and-shoot These cameras offer more controls and produce better images than entry-level ones do. Print up to 8 X 10.
Price $400.00-800.00
Semi-professional Features, quality, and ease-of-use, make these cameras ideal for many different jobs, ranging from graphic and Web design to insurance and real estate. Print up to 11 x 14.
Price $800-2000
Professional The best of digital cameras, producing images that meet or exceed the quality of film.
Price $2000+

Tips for Selecting a Digital Camera
Do your homework! Determine your needs Set a budget- Think about which
“extras” are worth it. Figure out how many megapixels you
will need. Go for optical zoom—enlarged image
that is still good quality. Consider how many pictures you want
to be able to take at a given time. Make sure the camera is compatible
with your computer. Get a feel for the camera—Try before
you buy!

Questions to Help Determine Your Needs
What do you want to do with the photographs? (Share with family/friends, use professionally in magazine or Web)
What image quality do you need? What is the largest size do you plan to print?
What are you going to photograph? (close-ups, action, long-distance. What kind of zoom do you need?)
How experienced of a photographer are you? (Do you want automatic or control over your camera’s functions?)
What modes do you need (play back-display on LCD screen, panoramas, movie mode?)

Things to consider Design of model Viewfinder and Display Ease of Use Price Resolution Picture Storage Compression and File
format Batteries (life and type) Choice of lenses Other features (i.e. video
and burst exposure)Choosing your digital camera:http://www.shortcourses.com/choosing/contents.htm

Considering your Storage/Archiving Options
Internal Memory (typically 8 to 16 MB).
Additional Memory: CompactFlash and Smart Media
Flash RAM cards Hard drive, Zip or Floppy disks Memory Stick and CD-R PC Cards and IBM Microdrive

Tips for taking good photographs Hold your camera steady to
avoid blurry pictures
Stand close enough to your subject so it fills your viewfinder (but not closer than 4 ft.)
Take pictures at the subject’s level (Kneel down to take pictures of children and pets).
Hold your camera vertically to capture tall, narrow subjects (such as a waterfall, skyscraper, or single person)

Tips continued… Add interest to your picture by
framing it with a tree branch, a window, or rail fence.
Keep the sun behind you to provide the best subject illumination.
Keep your hand, fingers, or objects away from the flash and picture-taking lens.
Stand at an angle to shiny surfaces like windows or mirrors to avoid flash reflection and bright spots in your pictures.

Digital Photography Composition Tips
The Rule of Thirds (divide your screen into 3 X 3 squares. Your eye gravitates to the 2/3 area.)
Choose a vantage point to suit your subject. Add perspective
Pay attention to how your frame a subject. Think “Graphic Design”
Use natural light if possible.
Have an eye for detail- get in CLOSE.
Remove any clutter.Keep it!
* Simple * Focused * Uncluttered *
Keep it!
* Simple * Focused * Uncluttered *

Process for downloading your Images to a Computer
1. Install the software that came with your camera.
2. Attached the camera to your computer. Many cameras connect through a Universal Serial Bus (USB)- Plug the camera in and out of the USB port.
3. Set camera mode to “transfer”, “playback” or “on” (depending on your camera type).
4. Software will launch automatically (if not, go to Start > All Programs)
5. Select the location (drive and folder) to download your images.
6. Select the images you want to download.
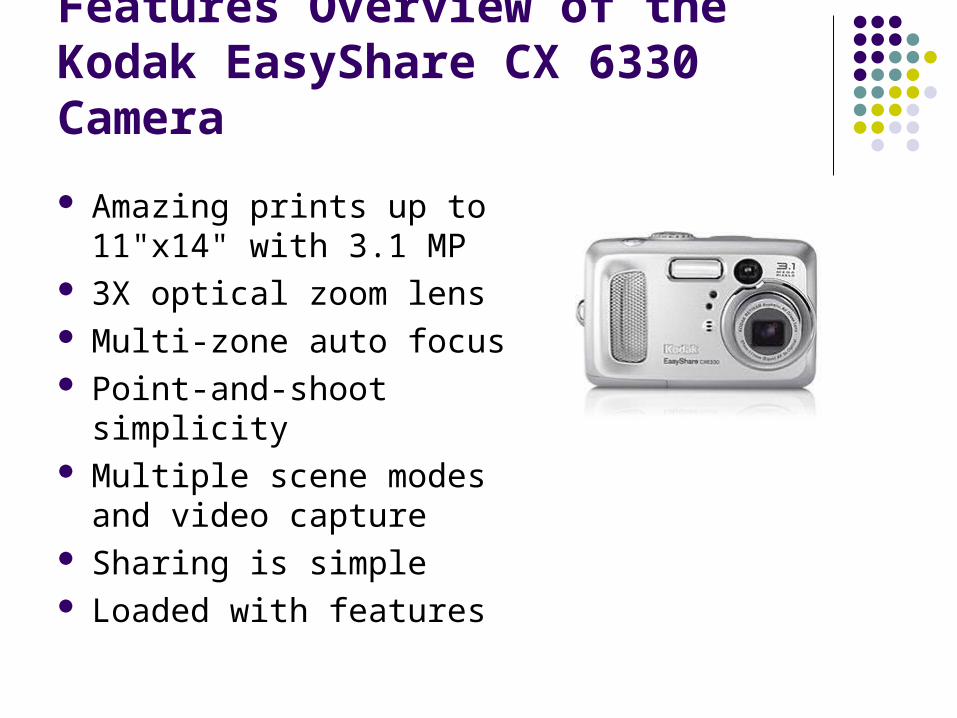
Features Overview of the Kodak EasyShare CX 6330 Camera
Amazing prints up to 11"x14" with 3.1 MP
3X optical zoom lens Multi-zone auto focus Point-and-shoot simplicity Multiple scene modes and
video capture Sharing is simple Loaded with features

Features Overview of the Kodak EasyShare CX 6330 Camera
Exceptional Viewing Quality with 1/6” color display- indoors and outdoors
Built-in flash- auto, red-eye, fill, off- for the correct light
2X or 4X magnify for a closer look Multi-up images to compare shots Protect picture from accidental
erasure 10-second self timer 16 MB internal memory plus
MMC/SD expansion slots

Features Overview of the Kodak EasyShare CX 6330 Camera
3 Color Modes (Color, Sepia and Black and White)
320 X 240 pixels resolution
Video cables for easy hook-up to your TV
QuickTime video format for universal sharing

Multiple Scene Modes Automatic Mode
Optimal setting for most standard situations
Night Mode Ideal for night scenes or low light
situations Landscape Mode
ensure maximum sharpness for distant scenes
Close-up Mode Captures sharp, full frame pictures at
close range Burst Mode
Lets you take up to 3 pictures in quick succession
© Kodak.com

Kodak EasyShare Software
CX6330 is part of the KODAK EASYSHARE System, so sharing your pictures is easy.
This software allows you to view, edit, organize, index print or view a slideshow from your desktop. (Many cameras come with specialized photo gallery software).

Kodak Optional Accessories
EASYSHARE Camera Dock 6000 Transfer button instantly uploads pictures to your computer
for viewing, printing and emailing Also changes your camera battery in three hours or less USB connection
EASYSHARE Printer DOCK 6000 Transfers pictures and charges battery just like the Camera
Dock Prints borderless 4” X 6” prints in less than 2 minutes Print with or without a computer

Additional Resources Book: Digital Photography All-In-One
Desk Reference for Dummies
Kodakhttp://www.kodak.com/
Penn State Computer Storehttp://computerstore.psu.edu/
Media & Technology Support Services http://www.libraries.psu.edu/mtss/
ITS Training Services Resources*http://its.psu.edu/training/resources/
* note: Go to the “Getting Started with Digital Photography” link for a listing a resources compiled to prepare materials/information for this presentation.

Photo Shoot…
Indoor photos inside of our computer lab
Outdoor photos. Let’s go to Old Main & the area by the Hintz Family Alumni Center

Thank you !
Q & A
ITS Training Services
http://its.psu.edu/training/


