
2.00 Working with Special Fabrics
Plaids, Stripes, Border Prints
Napped Fabrics
Formal fabrics
Knits
Leather & Vinyl
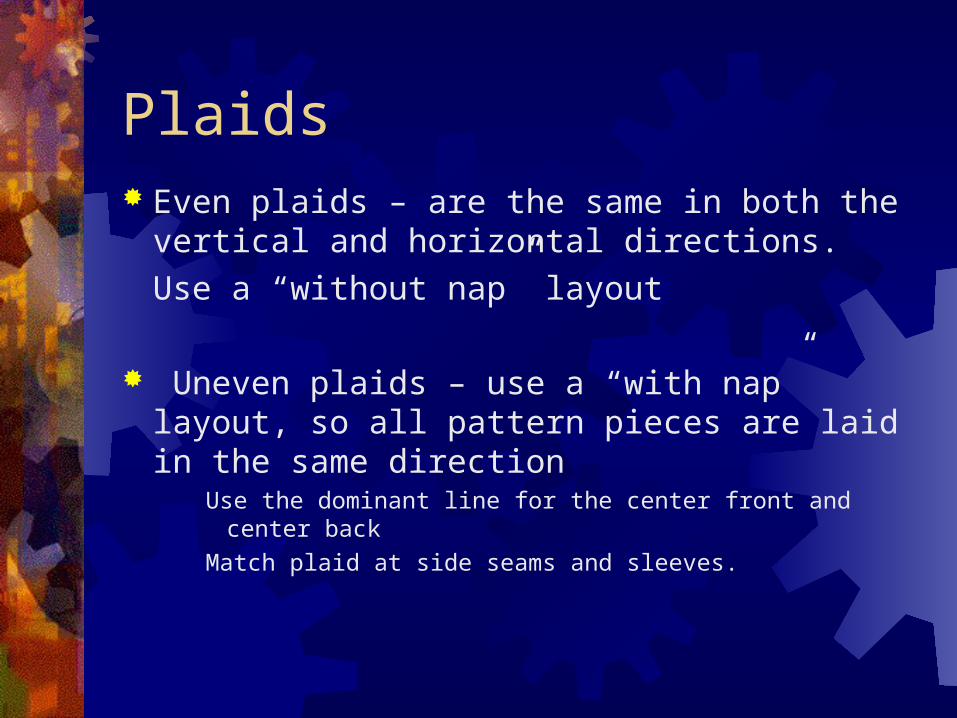
Plaids Even plaids – are the same in both the
vertical and horizontal directions.
Use a “without nap” layout
Uneven plaids – use a “with nap” layout, so all pattern pieces are laid in the same direction
Use the dominant line for the center front and center back
Match plaid at side seams and sleeves.

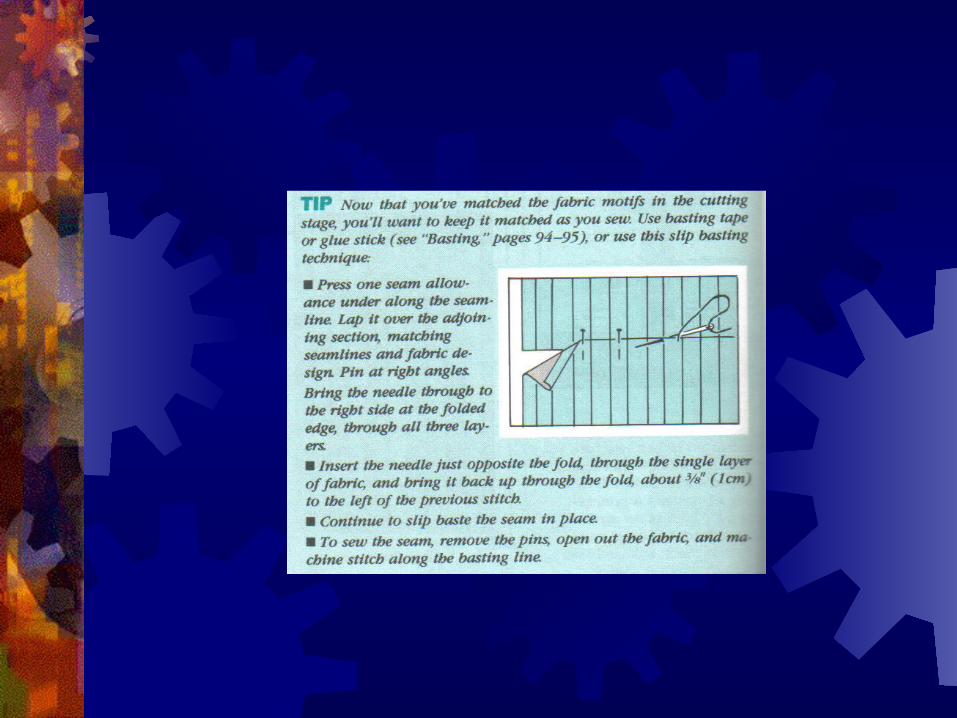
Pin layers together key areas in both directions so the design matches perfectly and will not shift in cutting
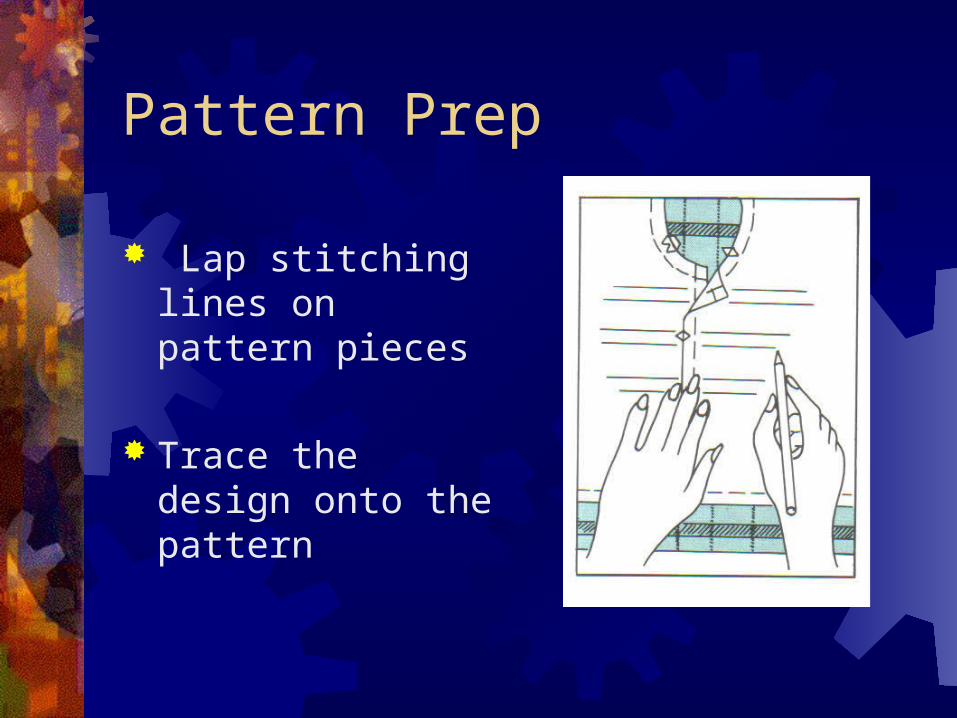
Pattern Prep
Lap stitching lines on pattern pieces
Trace the design onto the pattern

Pattern Placement
Place the pattern pieces on the fabric so that the traced design matches the fabric.

Add interest
Eliminate some of the matching and add visual interest by cutting small details on the bias.
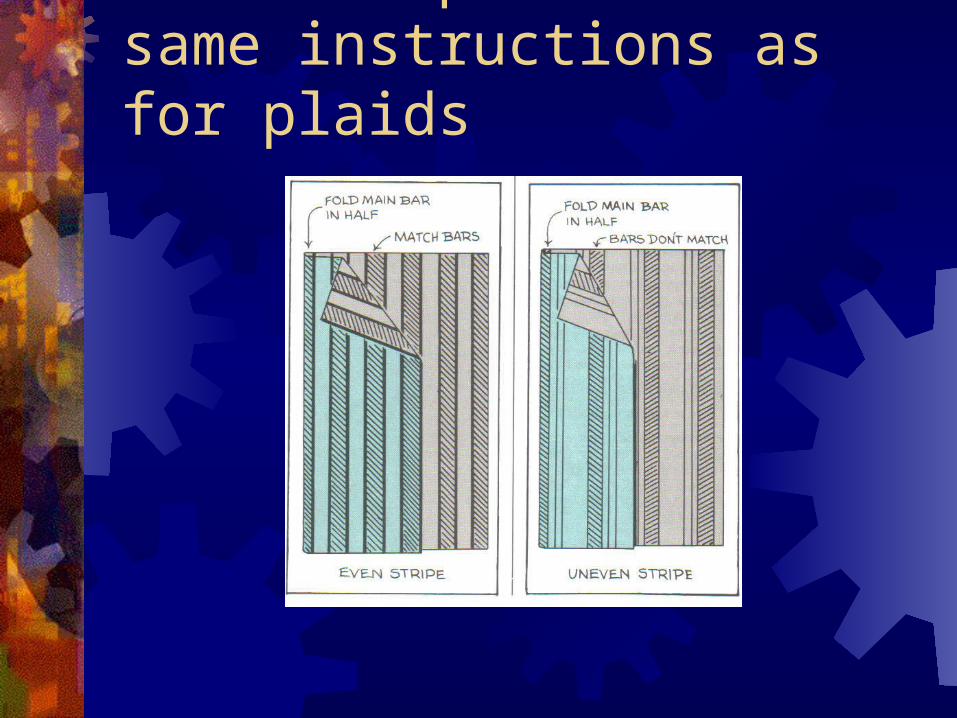
With stripes follow same instructions as for plaids
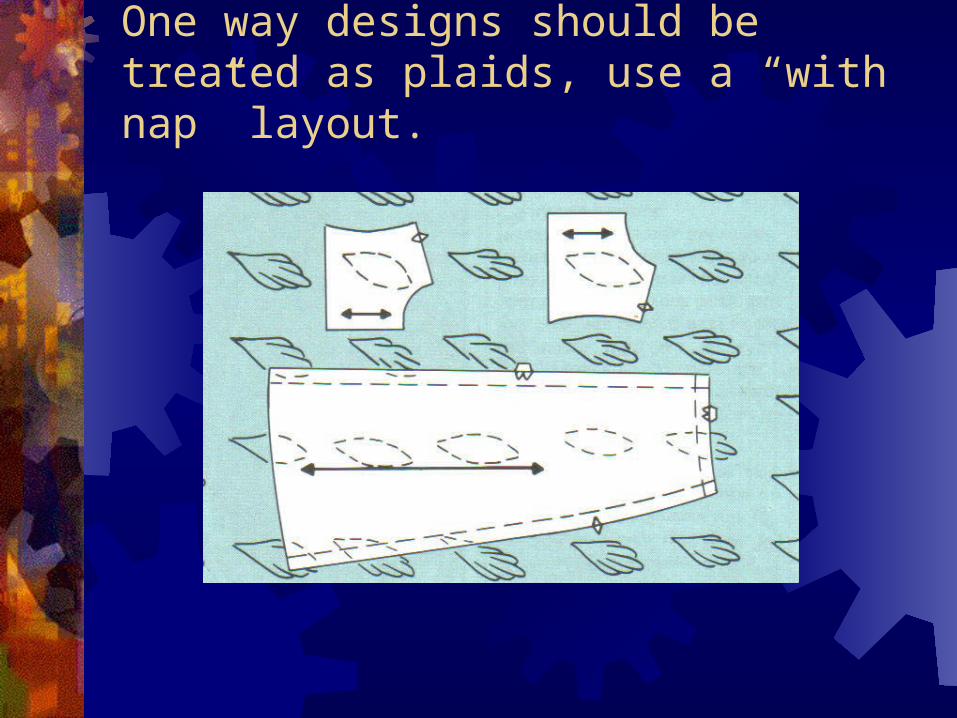
One way designs should be treated as plaids, use a “with nap” layout.

Border Prints use the crosswise grain. Match the design at the side seams.
Napped Fabrics Pile fabric has ends or loops of yarn extending above
the surface of the fabric.Terry clothCorduroyVelvetVelourSuede & Synthetic suede
Nap lies in one direction. The texture affects the color of the fabric.
Cut all pattern pieces in the same direction or there will be a noticeable color difference.
Guidelines for Pile Fabrics Choose a simple design Follow the “with nap” layout Mark with tailor’s tacks Hand basting may be necessary to prevent slippage. When pressing use a needle board or thick pile
fabric to prevent flattening the pile. Hold iron above the fabric and steam. Finger press to
set the fabric. Fleece cannot be pressed, the iron might leave an
impression.
Formal Fabrics – silk, damask, satin
Reflect light differently, depending on the way you hold them.
Use a “with nap” layout.May require a special needle.When pressing seams, use steam and
finger press. Silk will water spot, use only a dry iron.
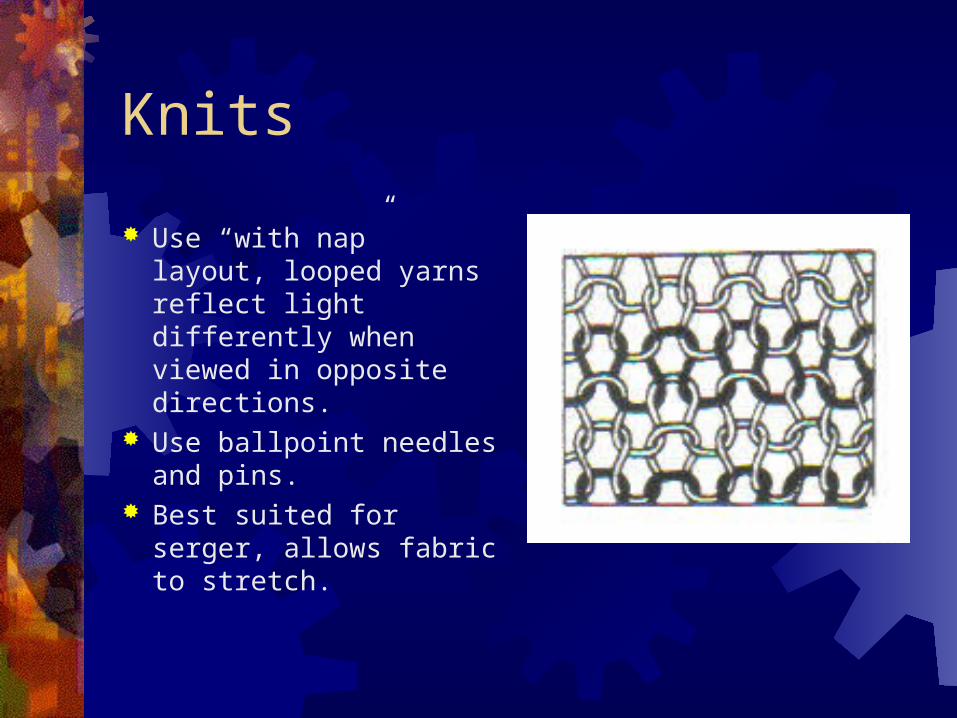
Knits
Use “with nap” layout, looped yarns reflect light differently when viewed in opposite directions.
Use ballpoint needles and pins.
Best suited for serger, allows fabric to stretch.

Leather & Vinyl Require special tools
Teflon Presser footLeather needle – wedge-shaped
pointsRubber cementmasking taperotary cutter and matWax chalk for markingrubber mallet for “pressing” areas

Leather & Vinyl - prep Patterns with multi seams will make better
use of the skins Drop-shoulder sleeves require less easing Double check fit, alterations are difficult Layout pattern with finished side up Use masking tape to attach pattern to “fabric”.
DO NOT USE PINS! Use wax chalk for marking
Leather & Vinyl - construction Lengthen stitch to 3 Use wedge shaped needle Hand tie seam ends Interface as indicated on pattern, use interfacing
specifically for leather Use rubber mallet or clapper for flattening seams. Lapped seams are suitable Use rubber cement to “hem” garment Most leather garments are lined Use bound buttonholes & button backs to support
buttons.

Portfolio Samples Special fabrics. Matching Plaids Examples of uneven plaids, stripes (even & uneven),
one-way design, and picture of border print. Pile or napped fabric; one example of right method,
one of wrong method Formal Fabrics: french seam with lace fabric, fabric
swatches with picture, & information on working with silky textured, silk, satin, sheer fabrics summarized.
Samples of seams for knits with information about sewing knits.


