download and install virtualbox and oracle database ... · pdf filedownload and install...
TRANSCRIPT

Download and Install VirtualBox and Oracle Database Virtual Machine
Oracle has freely available, preconfigured VMs (virtual machines) with enterprise versions of database products already installed and configured. Here are links to the download area for the tools. Once you have these items downloaded and running on your Mac you can follow this document to configure your host Mac and the client virtual machine to allow you to set up a database user and tables, then connect from your Mac to the virtual machine to run SQL queries.
VirtualBox (this runs the the VM - get VirtualBox AND get the VirtualBox Extension Pack with matching version numbers) Install VirtualBox on your Mac. Pages 16 & 17 of the VirtualBox User Manual explain how to install VirtualBox and then VirtualBox extension package. Do that now.

OTM_Developer_Day_VM.ova (this is Oracle Database 12c Release 1 Enterprise Edition on a virtual machine)
Follow steps one through three from the Setup section of the download page (shown above). Don’t start the VM (step four above) until you look over and configure the VM settings. After installing VirtualBox, double click the recently downloaded VirtualBox Extension Pack which will begin the install process for the extension pack.

Select “File” --> “Import Appliance...”
Select the recently downloaded VM. Make sure to select “Reinitialize the MAC address of all network cards.”
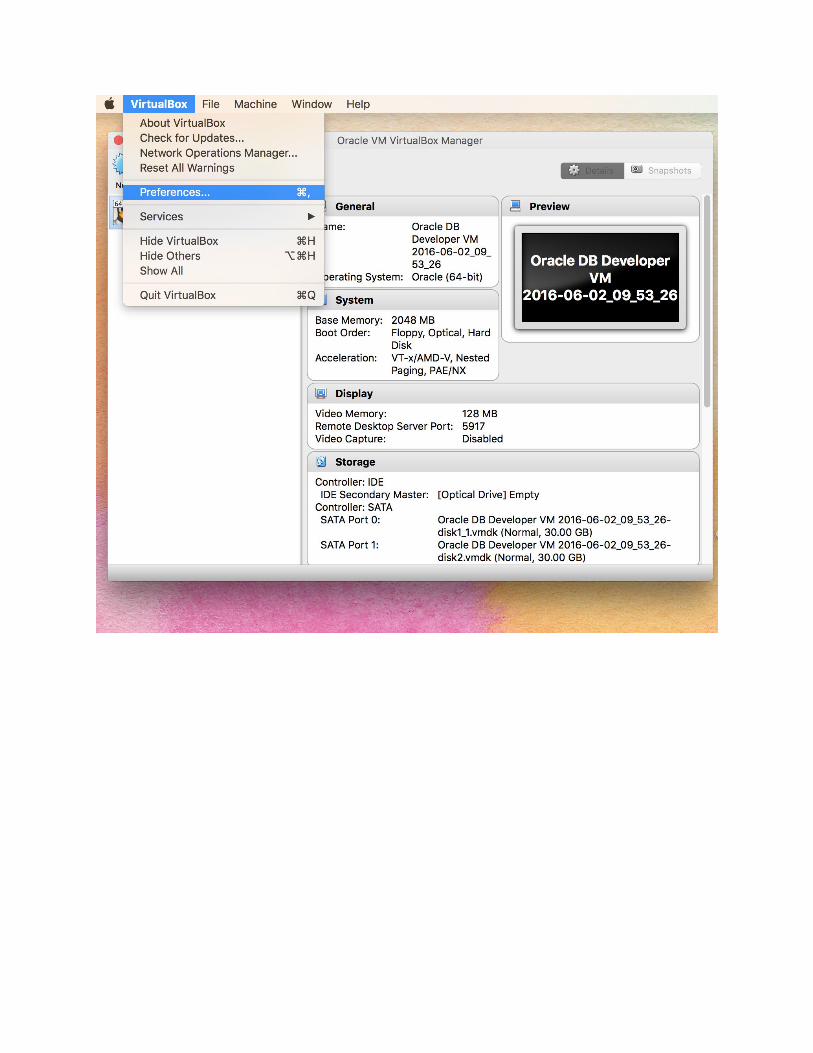
Select Virtual Box Preferences

Click on Network, then Host-only Networks, then click on the green plus sign to add a new host-only network. Leave the default name as is (vboxnet0).
Click on the screwdriver icon to edit this adapter.
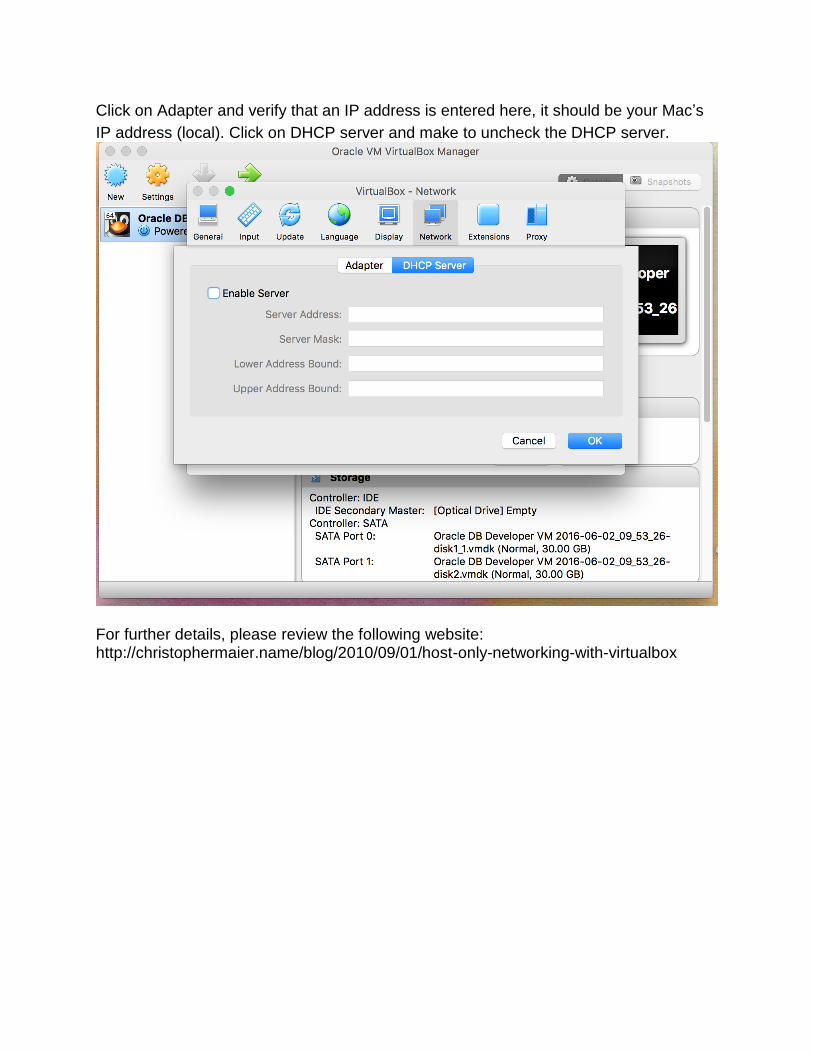
Click on Adapter and verify that an IP address is entered here, it should be your Mac’s
IP address (local). Click on DHCP server and make to uncheck the DHCP server.
For further details, please review the following website: http://christophermaier.name/blog/2010/09/01/host-only-networking-with-virtualbox

Select the newly imported VM. Click “Settings” --> “General” --> “Description” and add any notes here about this instance of the VM.
“Settings” --> “General” --> “Advanced” Shared Clipboard: Bidirectional Drag’n’Drop: Host to Guest

The default memory allocation is 1 GB. The VM runs noticeably faster if you can allocate 2 GB in “System” —> “Motherboard” —> “Base Memory”. Configure “Network” —> “Adapter 1” for NAT. This should cause the running VM to link the IP address 10.0.2.15 to a functioning connection to the outside world. Move to the “Network” --> “Adapter 2” tab and change the settings to match this screenshot. This should cause the running VM to acquire the IP address 192.168.56.101 for communicating between the Mac host and the VM client. Start up the 12c VM. Log into the VM as the user: oracle, password: oracle.

In the VirtualBox Menu, select “Devices” --> “Insert Guest Additions CD Image...” The Guest Additions CD will mount. Run the installer. You should get a message about updating the Guest Additions. This can only work correctly if you previously downloaded and installed the VirtualBox Extension Pack with version number that matches VirtualBox (current version is 4.3.16). After the Guest Additions finishes installing, eject the CD image from the Desktop (right-mouse click) and then restart the VM and login as the user “oracle” again. Open the Firewall configuration area. Move to the ”Other Ports” area and add accessible rules for ports 1158 tcp and 1521 tcp, then “Apply” the change.

Move to the “Trusted Services” area and confirm ssh over tcp is on.
You might also need to teach the firewall on your Mac host system to allow connections to VirtualBox.

Connect to the VM Database for the first time Download a sql file that sets up a database for use with your class to the Virtual Machine; for example the student.txt file to the oracle user’s Desktop. Open student.txt with a text editor like vi or gedit. Add the following lines: ALTER USER student DEFAULT TABLESPACE USERS TEMPORARY TABLESPACE
TEMP ACCOUNT UNLOCK
/
ALTER USER student QUOTA UNLIMITED ON USERS
/
It matters where you add the lines. The beginning of the final file should look like this:
Open a Terminal connection by clicking on the Terminal icon at the top of the screen.

Inside the Terminal type, pwd and hit return. This shows the path which is probably
/u01/oracle/Desktop. If the student.txt file is on the Desktop then the full path to
the file is: /u01/oracle/Desktop/student.txt.
Inside the Terminal type, sqlplus system@pdb1 and hit return.
Enter the password oracle at the prompt.
Type @/u01/oracle/Desktop/student.txt
Type quit. You should now have your database user and tables set up.
Log in as the student user: sqlplus student@pdb1 and hit return.
Enter the password hr at the prompt.

Select a new Terminal, type ifconfig and hit return.
In the screenshot we see that eth1 is using the IP address 10.0.2.15. The eth2 interface is using the IP address 192.168.56.101. This is the address you will use from your host Mac to your client VM. The lo interface is using 127.0.0.1. You can use the localhost URL to access this interface on the client VM.

Connect in a Mac Terminal to VM over ssh Open a Terminal on your Mac.
Type ssh [email protected].
Enter the oracle user password: oracle.
Log into the database as the student user: sqlplus student@pdb1 and hit return.
Enter the password hr at the prompt.

Resetting Expiring System Passwords in the VM What to do if you get a message about the system user’s password expiring soon: Connect to the database as the ORCL container system user.
Inside the Terminal type, sqlplus system@orcl and hit return.
Enter the password oracle at the prompt.
Type ALTER user system identified by oracle; and hit return.

What to do if you get a message about the system user’s password has already expired: Connect to the database as the ORCL container sys user.
Inside the Terminal type, sqlplus sys/oracle@orcl as sysdba and hit return.
Type ALTER user system identified by oracle; and hit return.