kitchen chemistry
TRANSCRIPT
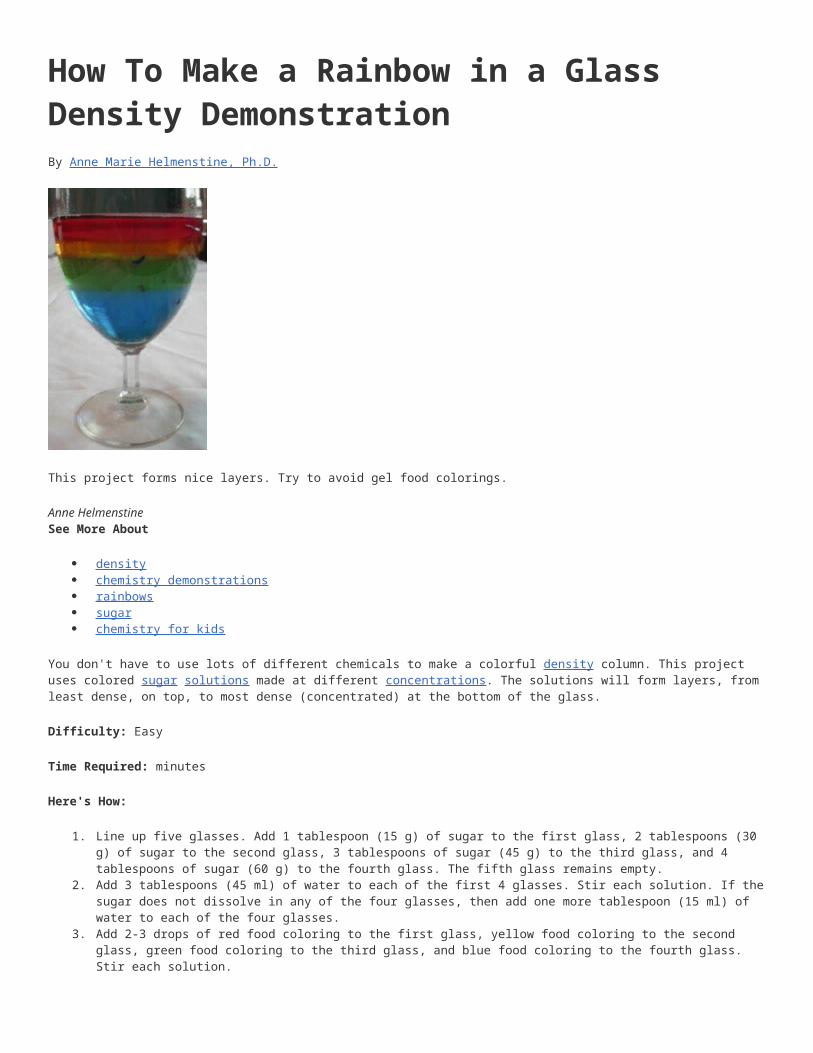
How To Make a Rainbow in a Glass Density DemonstrationBy Anne Marie Helmenstine, Ph.D.
This project forms nice layers. Try to avoid gel food colorings.
Anne Helmenstine See More About
density chemistry demonstrations rainbows sugar chemistry for kids
You don't have to use lots of different chemicals to make a colorful density column. This project uses colored sugar solutions made at different concentrations. The solutions will form layers, from least dense, on top, to most dense (concentrated) at the bottom of the glass.
Difficulty: Easy
Time Required: minutes
Here's How:
1. Line up five glasses. Add 1 tablespoon (15 g) of sugar to the first glass, 2 tablespoons (30 g) of sugar to the second glass, 3 tablespoons of sugar (45 g) to the third glass, and 4 tablespoons of sugar (60 g) to the fourth glass. The fifth glass remains empty.
2. Add 3 tablespoons (45 ml) of water to each of the first 4 glasses. Stir each solution. If thesugar does not dissolve in any of the four glasses, then add one more tablespoon (15 ml) of water to each of the four glasses.
3. Add 2-3 drops of red food coloring to the first glass, yellow food coloring to the second glass, green food coloring to the third glass, and blue food coloring to the fourth glass. Stir each solution.
4. Now let's make a rainbow using the different density solutions. Fill the last glass about one-fourth full of the blue sugar solution.
5. Carefully layer some green sugar solution above the blue liquid. Do this by putting a spoon in the glass, just above the blue layer, and pouring the green solution slowly over the back of the spoon. If you do this right, you won't disturb the blue solution much at all. Add green solution until the glass is about half full.
6. Now layer the yellow solution above the green liquid, using the back of the spoon. Fill the glass to three-quarters full.
7. Finally, layer the red solution above the yellow liquid. Fill the glass the rest of the way.
Tips:
1. The sugar solutions are miscible, or mixable, so the colors will bleed into each other and eventually mix.
2. If you stir the rainbow, what will happen? Because this density column is made with differentconcentrations of the same chemical (sugar or sucrose), stirring would mix the solution. It would not un-mix, like you would see with oil and water.
3. Try to avoid using gel food colorings. As you can see in my photo, it is difficult for young children to mix them into the solution.
4. If your sugar won't dissolve, an alternative to adding more water is to nuke the solutions for about 30 seconds in the microwave or to use warm water in the first place. If you heat the water, use care to avoid burns.
5. If you want to make layers you can drink, try substituting unsweetened soft drink mix for thefood coloring, or four flavors of sweetened mix for the sugar plus coloring.
What You Need:
sugar water food coloring tablespoon 5 glasses or clear plastic cups
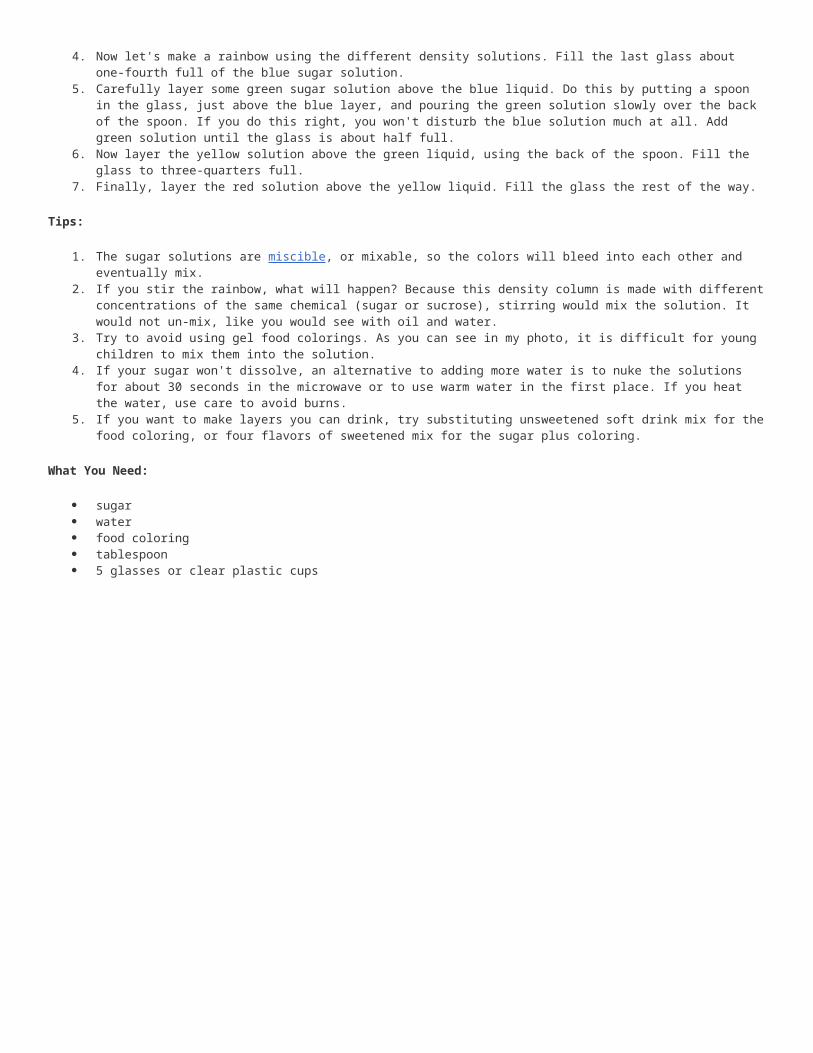
How To Build a Baking Soda VolcanoBy Anne Marie Helmenstine, Ph.D.
A baking soda and vinegar volcano is a classic chemistry project.
Anne Helmenstine See More About
science projects science fair ideas chemistry demonstrations volcanoes
The baking soda and vinegar volcano is the kitchen equivalent of a volcano. Obviously it's not a realvolcano. It's cool all the same! The baking soda volcano is also non-toxic, which adds to its appeal.
Difficulty: Average
Time Required: 30 minutes
Here's How:
1. First make the 'cone' of the baking soda volcano. Mix 6 cups flour, 2 cups salt, 4 tablespoons cooking oil, and 2 cups of water. The resulting mixture should be smooth and firm(more water may be added if needed).
2. Stand the soda bottle in the baking pan and mold the dough around it into a volcano shape. Don't cover the hole or drop dough into it.
3. Fill the bottle most of the way full with warm water and a bit of red food color (can be donebefore sculpting if you don't take so long that the water gets cold).
4. Add 6 drops of detergent to the bottle contents. The detergent helps trap the bubbles produced by the reaction so you get better lava.
5. Add 2 tablespoons baking soda to the liquid.6. Slowly pour vinegar into the bottle. Watch out - eruption time!
Tips:
1. The cool red lava is the result of a chemical reaction between the baking soda and vinegar.2. In this reaction, carbon dioxide gas is produced, which is also present in real volcanoes.

3. As the carbon dioxide gas is produced, pressure builds up inside the plastic bottle, until the gas bubbles (thanks to the detergent) out of the 'volcano'.
4. Adding a bit of food coloring will result in red-orange lava! Orange seems to work the best. Add some red, yellow, and even purple, for a bright display.
5. If you need more detailed instructions or information about the chemical reactions involved in the volcano, I also have a step-by-step tutorial and a video tutorial.
What You Need:
6 cups flour 2 cups salt 4 tablespoons cooking oil warm water plastic soda bottle dishwashing detergent food coloring vinegar baking dish or other pan 2 T baking soda
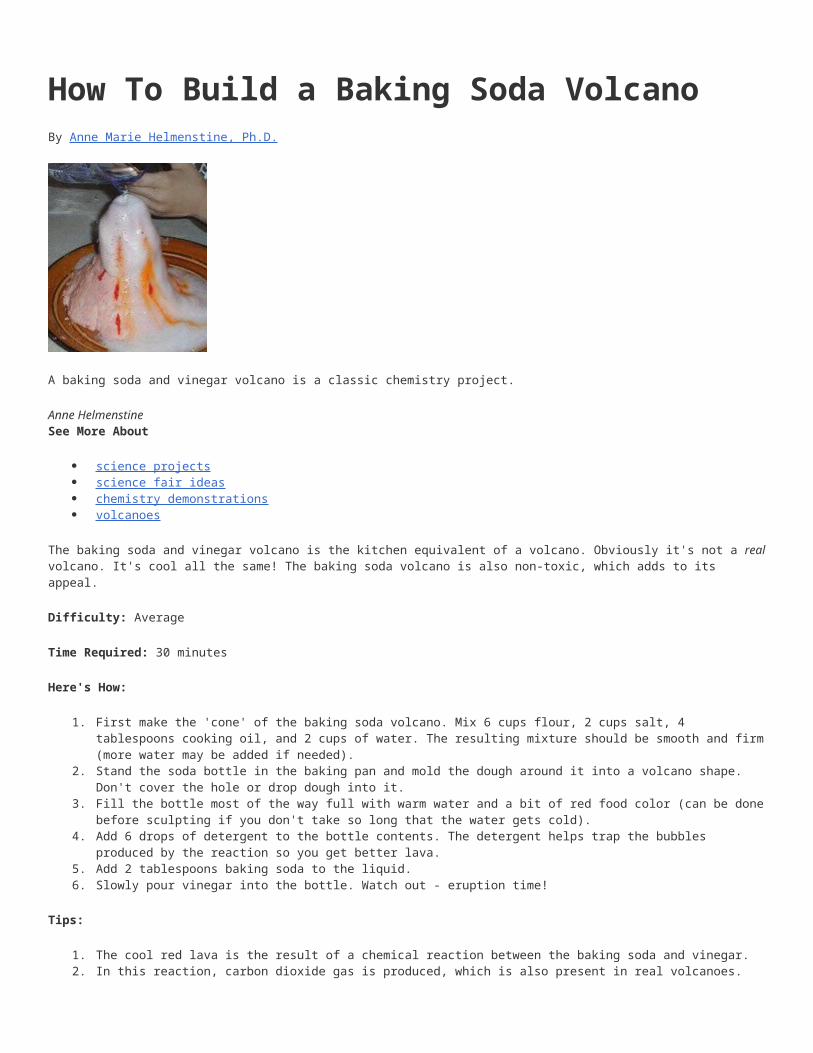
Invisible InksWrite & Reveal Secret Messages
By Anne Marie Helmenstine, Ph.D.
This smiley face was made with invisible ink. The face became visible when the paper was heated.
Anne Helmenstine
See More About
invisible ink inks pigment chemistry forensic science secret messages
Sometimes people tell me they can't do any science projects because they don't have any chemicals. There are some activities that don't require any chemicals you don't already have. A great example is invisible ink.
Invisible ink is any substance that you can use to write a message that is invisible until the ink is revealed. You use the ink by writing your message with it using a cotton swab, dampened finger, fountain pen, or toothpick. Let the message dry. You may want to write a normal message on the paperso that it doesn't appear to be blank and meaningless. If you write a cover message, use a ballpointpen, pencil, or crayon, since fountain pen ink could run into your invisible ink. Avoid using lined paper to write your invisible message, for the same reason.
How you reveal the message depends on the ink you used. Most invisible inks are made visible by heating the paper. Ironing the paper or holding it over a 100-watt bulb are easy ways to reveal these types of messages. Some messages are developed by spraying or wiping the paper with a second chemical. Other messages are revealed by shining an ultraviolet light on the paper.
Make Invisible Ink
Anyone can write an invisible message, assuming you have paper, because body fluids can be used as invisible ink. If you don't feel like collecting urine, here are some alternatives:
Heat-Activated Invisible InksIron the paper, set it on a radiator, place it in an oven (set lower than 450° F), hold it up to a hot light bulb.
any acidic fruit juice (e.g., lemon, apple, or orange juice) onion juice baking soda (sodium bicarbonate) vinegar white wine dilute cola diluted honey milk soapy water sucrose (table sugar) solution urine
Inks Developed by Chemical ReactionsThese inks are sneakier, because you have to know how to reveal them. Most of them work using pH indicators, so when it doubt, paint or spray a suspected message with a base (like sodium carbonate solution) or an acid (like lemon juice). Some of these inks will reveal their message when heated (e.g., vinegar).
phenolphthalein (pH indicator), developed by ammonia fumes or sodium carbonate (or another base)
thymolphthalein, developed by ammonia fumes or sodium carbonate (or another base) vinegar or dilute acetic acid, developed by red cabbage water ammonia, developed by red cabbage water sodium bicarbonate (baking soda), developed by grape juice sodium chloride (table salt), developed by silver nitrate copper sulfate, developed by sodium iodide, sodium carbonate, potassium ferricyanide, or
ammonium hydroxide lead(II) nitrate, developed by sodium iodide iron sulfate, developed by sodium carbonate, sodium sulfide, or potassium ferricyanide cobalt chloride, developed by potassium ferricyanide starch (e.g., corn starch or potato starch), developed by iodine solution lemon juice, developed by iodine solution
Inks Developed by Ultraviolet Light (Black Light)Most of the inks that become visible when you shine a black light on them also would become visible if you heated the paper. Glow-in-the-dark stuff is still cool. Here are some chemicals to try:
dilute laundry detergent (the bluing agent glows) body fluids tonic water (quinine glows) vitamin B-12 dissolved in vinegar
Any chemical that weakens the structure of paper can be used as an invisible ink, so you might find it fun to discover other inks around your home or lab.
Rubber Egg & Chicken BonesMad Scientist Lab
By Anne Marie Helmenstine, Ph.D.
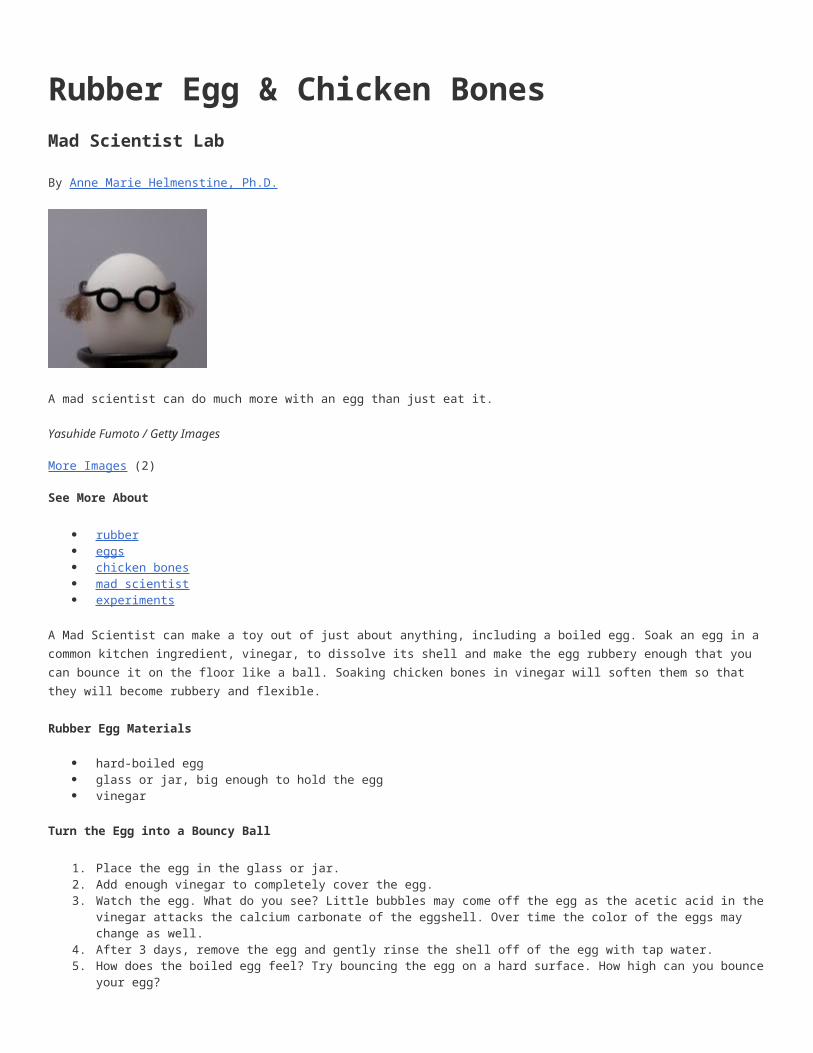
A mad scientist can do much more with an egg than just eat it.
Yasuhide Fumoto / Getty Images
More Images (2)
See More About
rubber eggs chicken bones mad scientist experiments
A Mad Scientist can make a toy out of just about anything, including a boiled egg. Soak an egg in a common kitchen ingredient, vinegar, to dissolve its shell and make the egg rubbery enough that you can bounce it on the floor like a ball. Soaking chicken bones in vinegar will soften them so that they will become rubbery and flexible.
Rubber Egg Materials
hard-boiled egg glass or jar, big enough to hold the egg vinegar
Turn the Egg into a Bouncy Ball
1. Place the egg in the glass or jar. 2. Add enough vinegar to completely cover the egg. 3. Watch the egg. What do you see? Little bubbles may come off the egg as the acetic acid in the
vinegar attacks the calcium carbonate of the eggshell. Over time the color of the eggs may change as well.
4. After 3 days, remove the egg and gently rinse the shell off of the egg with tap water. 5. How does the boiled egg feel? Try bouncing the egg on a hard surface. How high can you bounce
your egg?
6. You can soak raw eggs in vinegar for 3-4 days, with a slightly different result. The eggs shell will become soft and flexible. You can gently squeeze these eggs, but it's not a great plan to try to bounce them on the floor.
Make Rubbery Chicken Bones
If you soak chicken bones in vinegar (the thinner bones work best), the vinegar will react with the calcium in the bones and weaken them so that they will become soft and rubbery, as if they had come from a rubber chicken. It is the calcium in your bones that makes them hard and strong. As you age, you may deplete the calcium faster than you replace it. If too much calcium is lost from your bones,they may become brittle and susceptible to breaking. Exercizing and eating a diet that includes calcium-rich foods can help prevent this from happening.
Magic Colored Milk Science ProjectMake a Color Wheel from Milk
By Anne Marie Helmenstine, Ph.D.
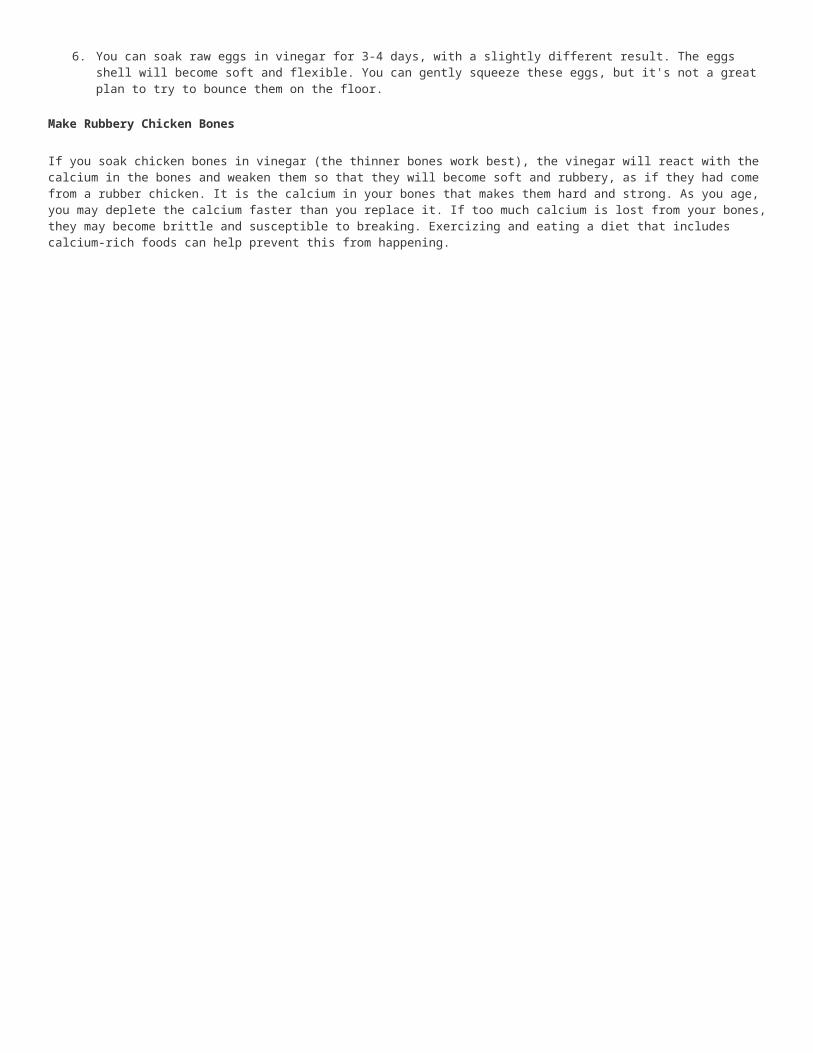
Milk and Food Coloring Project
Anne Helmenstine
More Images (2)
See More About
magic tricks milk color chemistry detergents food coloring
If you add food coloring to milk, not a whole lot happens, but it only takes one simple ingredient to turn the milk into a swirling color wheel. Here is what you do.
Magic Milk Materials
2% or whole milk food coloring dishwashing liquid cotton swab plate
Magic Milk Instructions
1. Pour enough milk onto a plate to cover the bottom. 2. Drop food coloring onto the milk. I made a video so you can see what to expect. 3. Dip a cotton swab in dishwashing detergent liquid. 4. Touch the coated swab to the milk in the center of the plate. 5. Don't stir the milk; it isn't necessary. The colors will swirl on their own as soon as the
detergent contacts the liquid.
How It Works

Milk consists of a lot of different types of molecules, including fat, protein, sugars, vitamins, and minerals. If you had just touched a clean cotton swab to the milk (try it!), not much would havehappened. The cotton is absorbent, so you would have created a current in the milk, but you wouldn'thave seen anything especially dramatic happen.
When you introduce detergent to the milk, several things happen at once. The detergent lowers the surface tension of the liquid so that the food coloring is free to flow throughout the milk. The detergent reacts with the protein in the milk, altering the shape of those molecules and setting them in motion. The reaction between the detergent and the fat forms micelles, which is how detergent helps to lift grease off of dirty dishes. As the micelles form, the pigments in the food coloring get pushed around. Eventually equilibrium is reached, but the swirling of the colors continues for quite a while before stopping.
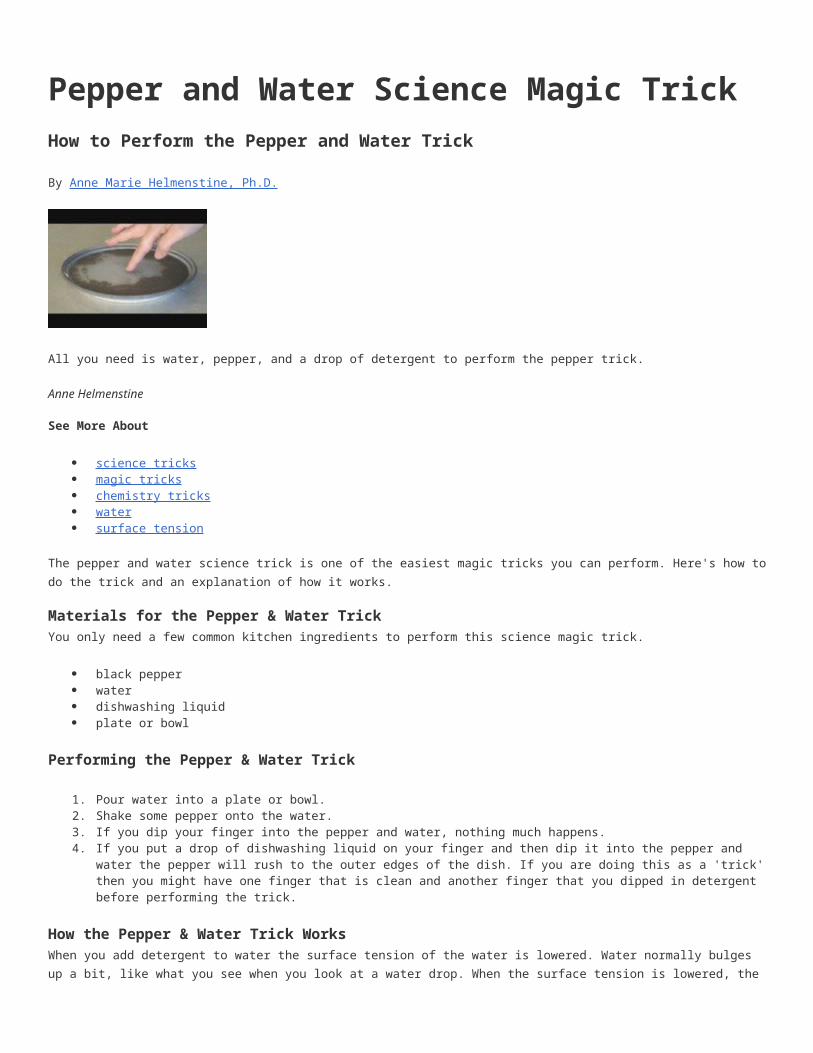
Pepper and Water Science Magic TrickHow to Perform the Pepper and Water Trick
By Anne Marie Helmenstine, Ph.D.
All you need is water, pepper, and a drop of detergent to perform the pepper trick.
Anne Helmenstine
See More About
science tricks magic tricks chemistry tricks water surface tension
The pepper and water science trick is one of the easiest magic tricks you can perform. Here's how todo the trick and an explanation of how it works.
Materials for the Pepper & Water TrickYou only need a few common kitchen ingredients to perform this science magic trick.
black pepper water dishwashing liquid plate or bowl
Performing the Pepper & Water Trick
1. Pour water into a plate or bowl. 2. Shake some pepper onto the water. 3. If you dip your finger into the pepper and water, nothing much happens. 4. If you put a drop of dishwashing liquid on your finger and then dip it into the pepper and
water the pepper will rush to the outer edges of the dish. If you are doing this as a 'trick'then you might have one finger that is clean and another finger that you dipped in detergent before performing the trick.
How the Pepper & Water Trick WorksWhen you add detergent to water the surface tension of the water is lowered. Water normally bulges up a bit, like what you see when you look at a water drop. When the surface tension is lowered, the

water wants to spread out. As the water flattens on the dish, the pepper that is floating on top of the water is carried to the outer edge of the plate as if by magic.
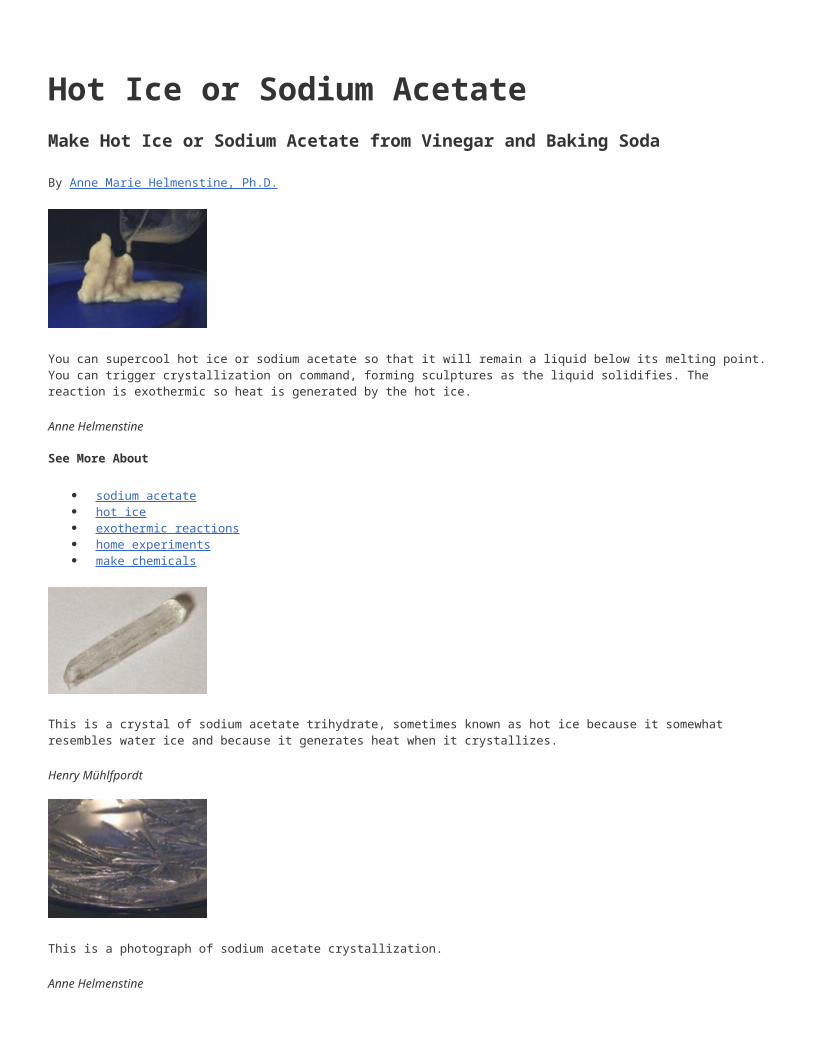
Hot Ice or Sodium AcetateMake Hot Ice or Sodium Acetate from Vinegar and Baking Soda
By Anne Marie Helmenstine, Ph.D.
You can supercool hot ice or sodium acetate so that it will remain a liquid below its melting point.You can trigger crystallization on command, forming sculptures as the liquid solidifies. The reaction is exothermic so heat is generated by the hot ice.
Anne Helmenstine
See More About
sodium acetate hot ice exothermic reactions home experiments make chemicals
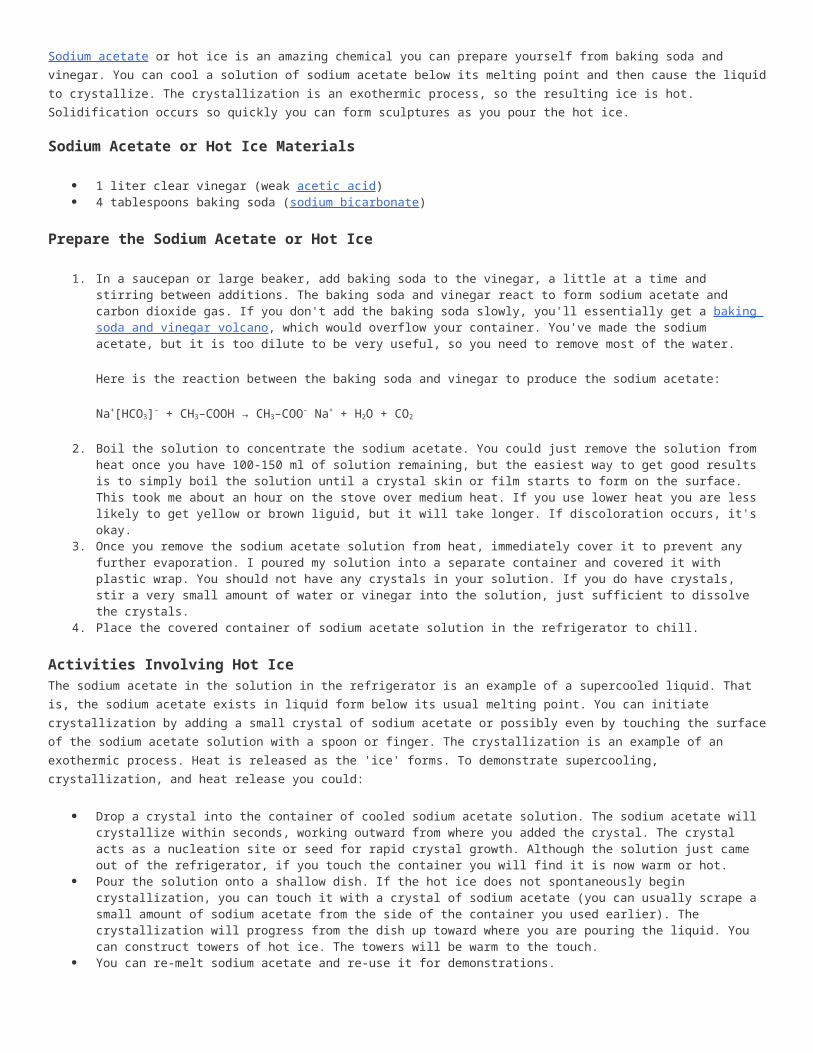
This is a crystal of sodium acetate trihydrate, sometimes known as hot ice because it somewhat resembles water ice and because it generates heat when it crystallizes.
Henry Mühlfpordt
This is a photograph of sodium acetate crystallization.
Anne Helmenstine
Sodium acetate or hot ice is an amazing chemical you can prepare yourself from baking soda and vinegar. You can cool a solution of sodium acetate below its melting point and then cause the liquidto crystallize. The crystallization is an exothermic process, so the resulting ice is hot. Solidification occurs so quickly you can form sculptures as you pour the hot ice.
Sodium Acetate or Hot Ice Materials
1 liter clear vinegar (weak acetic acid) 4 tablespoons baking soda (sodium bicarbonate)
Prepare the Sodium Acetate or Hot Ice
1. In a saucepan or large beaker, add baking soda to the vinegar, a little at a time and stirring between additions. The baking soda and vinegar react to form sodium acetate and carbon dioxide gas. If you don't add the baking soda slowly, you'll essentially get a baking soda and vinegar volcano, which would overflow your container. You've made the sodium acetate, but it is too dilute to be very useful, so you need to remove most of the water.
Here is the reaction between the baking soda and vinegar to produce the sodium acetate:
Na+[HCO3]– + CH3–COOH → CH3–COO– Na+ + H2O + CO2
2. Boil the solution to concentrate the sodium acetate. You could just remove the solution from heat once you have 100-150 ml of solution remaining, but the easiest way to get good results is to simply boil the solution until a crystal skin or film starts to form on the surface. This took me about an hour on the stove over medium heat. If you use lower heat you are less likely to get yellow or brown liguid, but it will take longer. If discoloration occurs, it's okay.
3. Once you remove the sodium acetate solution from heat, immediately cover it to prevent any further evaporation. I poured my solution into a separate container and covered it with plastic wrap. You should not have any crystals in your solution. If you do have crystals, stir a very small amount of water or vinegar into the solution, just sufficient to dissolve the crystals.
4. Place the covered container of sodium acetate solution in the refrigerator to chill.
Activities Involving Hot IceThe sodium acetate in the solution in the refrigerator is an example of a supercooled liquid. That is, the sodium acetate exists in liquid form below its usual melting point. You can initiate crystallization by adding a small crystal of sodium acetate or possibly even by touching the surfaceof the sodium acetate solution with a spoon or finger. The crystallization is an example of an exothermic process. Heat is released as the 'ice' forms. To demonstrate supercooling, crystallization, and heat release you could:
Drop a crystal into the container of cooled sodium acetate solution. The sodium acetate will crystallize within seconds, working outward from where you added the crystal. The crystal acts as a nucleation site or seed for rapid crystal growth. Although the solution just came out of the refrigerator, if you touch the container you will find it is now warm or hot.
Pour the solution onto a shallow dish. If the hot ice does not spontaneously begin crystallization, you can touch it with a crystal of sodium acetate (you can usually scrape a small amount of sodium acetate from the side of the container you used earlier). The crystallization will progress from the dish up toward where you are pouring the liquid. You can construct towers of hot ice. The towers will be warm to the touch.
You can re-melt sodium acetate and re-use it for demonstrations.

Hot Ice SafetyAs you would expect, sodium acetate is a safe chemical for use in demonstrations. It is used as a food additive to enhance flavor and is the active chemical in many hot packs. The heat generated by the crystallization of a refrigerated sodium acetate solution should not present a burn hazard.
Hot Ice HelpAnswers to common questions about hot ice are available that should help solve any problems you may encounter with this project. There is also a video tutorial showing how to make hot ice.
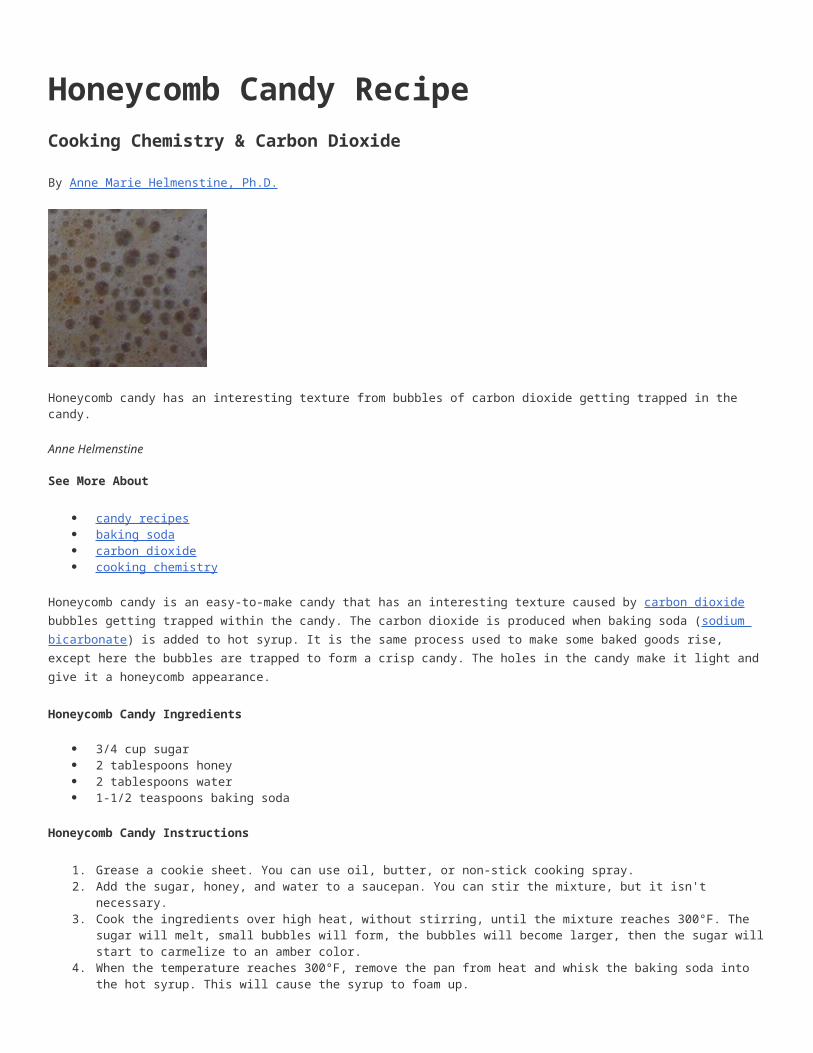
Honeycomb Candy RecipeCooking Chemistry & Carbon Dioxide
By Anne Marie Helmenstine, Ph.D.
Honeycomb candy has an interesting texture from bubbles of carbon dioxide getting trapped in the candy.
Anne Helmenstine
See More About
candy recipes baking soda carbon dioxide cooking chemistry
Honeycomb candy is an easy-to-make candy that has an interesting texture caused by carbon dioxide bubbles getting trapped within the candy. The carbon dioxide is produced when baking soda (sodium bicarbonate) is added to hot syrup. It is the same process used to make some baked goods rise, except here the bubbles are trapped to form a crisp candy. The holes in the candy make it light and give it a honeycomb appearance.
Honeycomb Candy Ingredients
3/4 cup sugar 2 tablespoons honey 2 tablespoons water 1-1/2 teaspoons baking soda
Honeycomb Candy Instructions
1. Grease a cookie sheet. You can use oil, butter, or non-stick cooking spray. 2. Add the sugar, honey, and water to a saucepan. You can stir the mixture, but it isn't
necessary. 3. Cook the ingredients over high heat, without stirring, until the mixture reaches 300°F. The
sugar will melt, small bubbles will form, the bubbles will become larger, then the sugar willstart to carmelize to an amber color.
4. When the temperature reaches 300°F, remove the pan from heat and whisk the baking soda into the hot syrup. This will cause the syrup to foam up.

5. Stir just enough to mix the ingredients, then dump the mixture onto the greased baking sheet.Don't spread out the candy, as this would pop your bubbles.
6. Allow the candy to cool, then break or cut it into pieces. 7. Store the honeycomb candy in an airtight container.
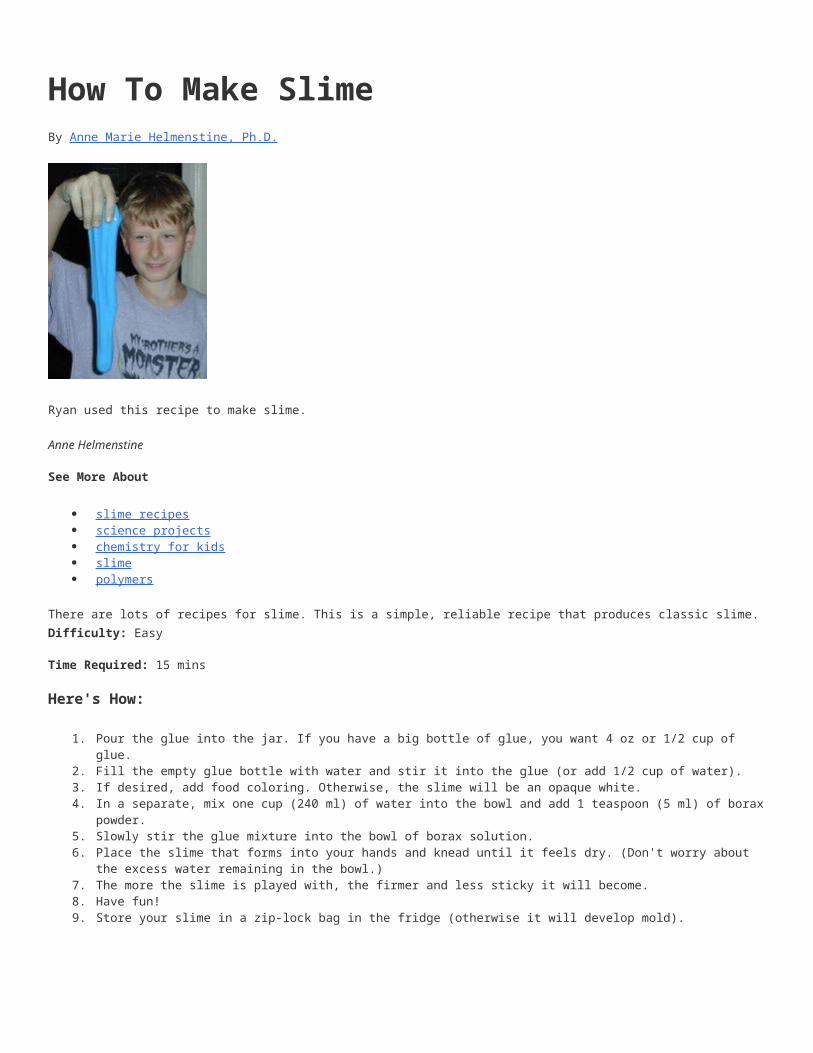
How To Make SlimeBy Anne Marie Helmenstine, Ph.D.
Ryan used this recipe to make slime.
Anne Helmenstine
See More About
slime recipes science projects chemistry for kids slime polymers
There are lots of recipes for slime. This is a simple, reliable recipe that produces classic slime.Difficulty: Easy
Time Required: 15 mins
Here's How:
1. Pour the glue into the jar. If you have a big bottle of glue, you want 4 oz or 1/2 cup of glue.
2. Fill the empty glue bottle with water and stir it into the glue (or add 1/2 cup of water).3. If desired, add food coloring. Otherwise, the slime will be an opaque white.4. In a separate, mix one cup (240 ml) of water into the bowl and add 1 teaspoon (5 ml) of borax
powder. 5. Slowly stir the glue mixture into the bowl of borax solution.6. Place the slime that forms into your hands and knead until it feels dry. (Don't worry about
the excess water remaining in the bowl.) 7. The more the slime is played with, the firmer and less sticky it will become.8. Have fun!9. Store your slime in a zip-lock bag in the fridge (otherwise it will develop mold).
Tips:
1. Use white glue, such as Elmer's brand. Most 'school glues' do not have the correct composition.
2. Don't eat the slime. Although it isn't especially toxic, it is not good for you either!3. Slime cleans up easily. Remove dried slime after soaking with water. If you used food
coloring, you may need bleach to remove the color.4. I've got step-by-step video instructions if you would like to see this project in action plus
I made a YouTube video of the slime showing what you will get if you use glue gel rather thanwhite glue. Either type of glue works well.
What You Need
borax powder water 4 ounce (120 ml) glue (e.g., Elmer's white glue) teaspoon bowl jar or measuring cup food coloring (optional) measuring cup
How To Grow Crystal Spikes in the SunBy Anne Marie Helmenstine, Ph.D.
See More About
crystal growing epsom salts chemistry for kids crystal recipes
Most crystals take days or weeks to form. Use this technique if you have a sunny day and want crystals FAST!Difficulty: Easy
Time Required: 1-3 hours
Here's How:
1. First, a sunny day isn't required, but it will help! You want rapid evaporation of the water to form the crystals, so select a warm, dry place to grow crystals (sunny porch or window is great).
2. Use the scissors to cut black (or other dark color) construction paper so that it will fit inthe bottom of the pan.
3. Add 1 tablespoon of Epsom salt to 1/4 cup warm water. Stir until the salt is dissolved.4. Put the construction paper in the pan and pour the salt solution over the paper.5. Put the pan in the place you have selected for crystal-growing. As the water evaporates,
you'll see lots of spiky crystals.6. Have fun! Use a magnifying glass to see your creations up-close.
Tips:
1. This is one of the fastest, least toxic methods of growing crystals. You can substitute regular salt for Epsom, but the resulting crystals won't be as exciting.
2. Wash your hands after handling Epsom salts. Don't drink the solution and avoid spilling it onyourself.
3. Experiment with adding water colors or food color to the salt solution.
What You Need
black construction paper pie or cake pan warm water Epsom salt scissors
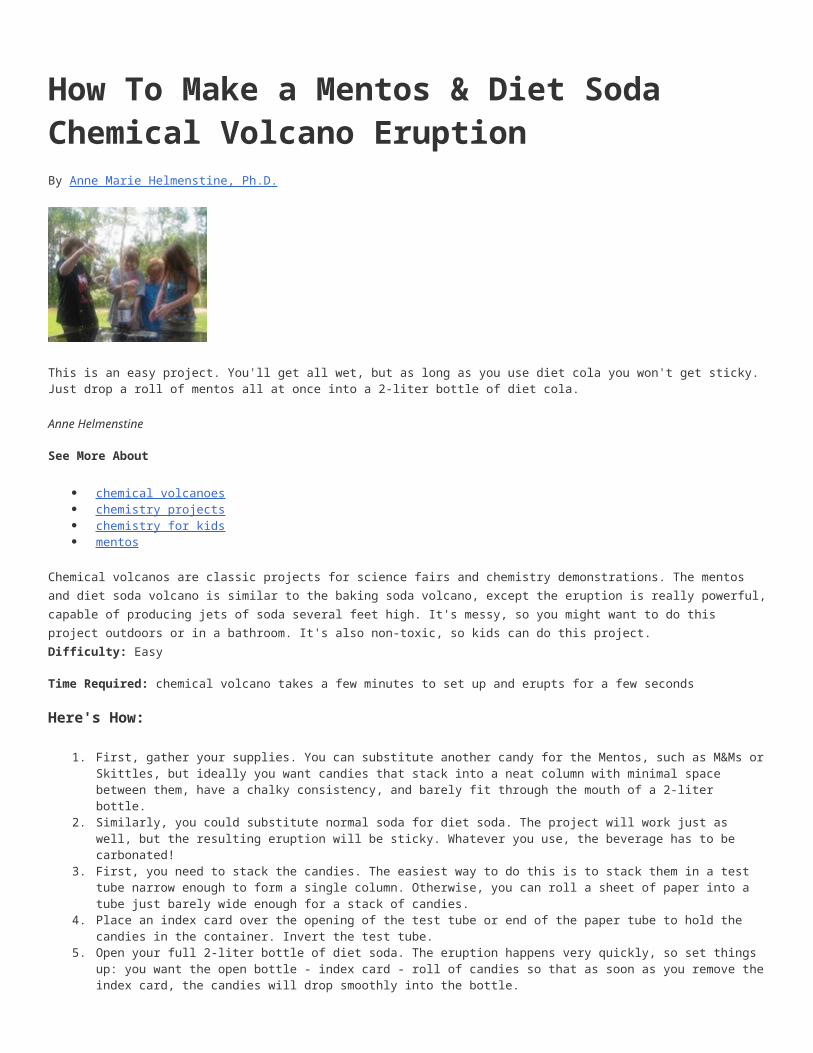
How To Make a Mentos & Diet Soda Chemical Volcano EruptionBy Anne Marie Helmenstine, Ph.D.
This is an easy project. You'll get all wet, but as long as you use diet cola you won't get sticky. Just drop a roll of mentos all at once into a 2-liter bottle of diet cola.
Anne Helmenstine
See More About
chemical volcanoes chemistry projects chemistry for kids mentos
Chemical volcanos are classic projects for science fairs and chemistry demonstrations. The mentos and diet soda volcano is similar to the baking soda volcano, except the eruption is really powerful,capable of producing jets of soda several feet high. It's messy, so you might want to do this project outdoors or in a bathroom. It's also non-toxic, so kids can do this project.Difficulty: Easy
Time Required: chemical volcano takes a few minutes to set up and erupts for a few seconds
Here's How:
1. First, gather your supplies. You can substitute another candy for the Mentos, such as M&Ms orSkittles, but ideally you want candies that stack into a neat column with minimal space between them, have a chalky consistency, and barely fit through the mouth of a 2-liter bottle.
2. Similarly, you could substitute normal soda for diet soda. The project will work just as well, but the resulting eruption will be sticky. Whatever you use, the beverage has to be carbonated!
3. First, you need to stack the candies. The easiest way to do this is to stack them in a test tube narrow enough to form a single column. Otherwise, you can roll a sheet of paper into a tube just barely wide enough for a stack of candies.
4. Place an index card over the opening of the test tube or end of the paper tube to hold the candies in the container. Invert the test tube.
5. Open your full 2-liter bottle of diet soda. The eruption happens very quickly, so set things up: you want the open bottle - index card - roll of candies so that as soon as you remove theindex card, the candies will drop smoothly into the bottle.

6. When you're ready, do it! You can repeat the eruption with the same bottle and another stack of candies. Have fun!
What You Need
roll of mentos candies 2-liter bottle of diet soda index card test tube or sheet of paper a mop for cleanup
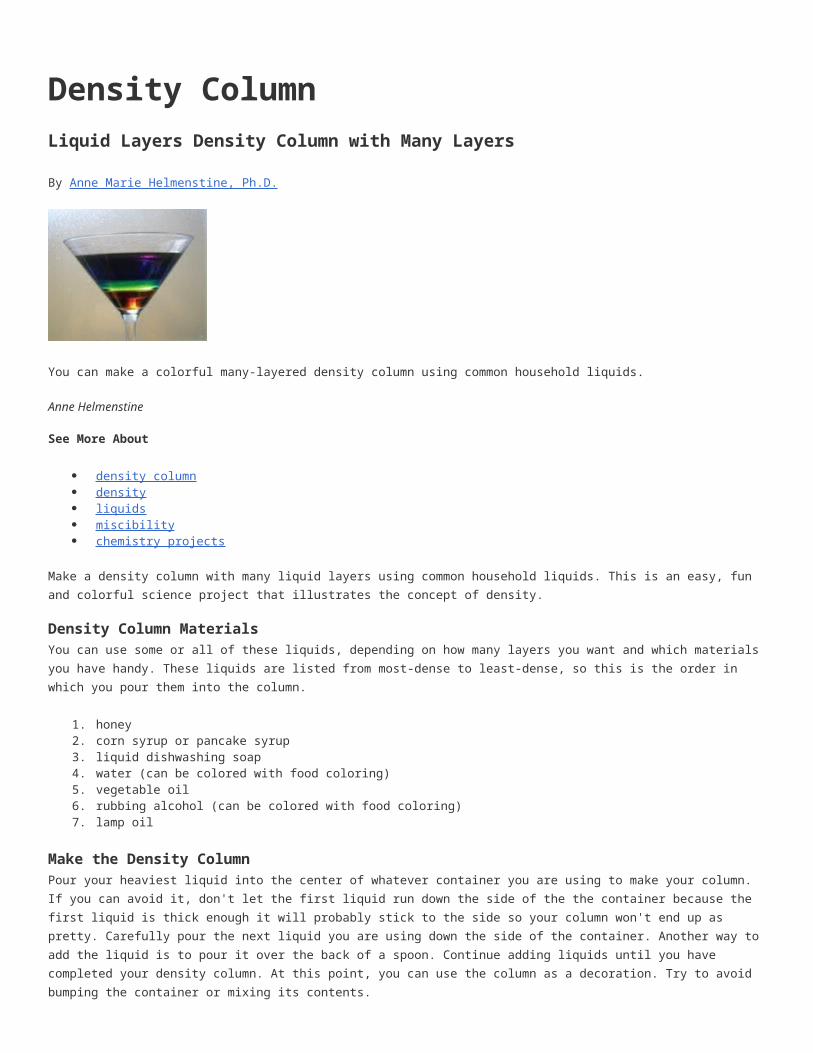
Density ColumnLiquid Layers Density Column with Many Layers
By Anne Marie Helmenstine, Ph.D.
You can make a colorful many-layered density column using common household liquids.
Anne Helmenstine
See More About
density column density liquids miscibility chemistry projects
Make a density column with many liquid layers using common household liquids. This is an easy, fun and colorful science project that illustrates the concept of density.
Density Column MaterialsYou can use some or all of these liquids, depending on how many layers you want and which materials you have handy. These liquids are listed from most-dense to least-dense, so this is the order in which you pour them into the column.
1. honey 2. corn syrup or pancake syrup 3. liquid dishwashing soap 4. water (can be colored with food coloring) 5. vegetable oil 6. rubbing alcohol (can be colored with food coloring) 7. lamp oil
Make the Density ColumnPour your heaviest liquid into the center of whatever container you are using to make your column. If you can avoid it, don't let the first liquid run down the side of the the container because the first liquid is thick enough it will probably stick to the side so your column won't end up as pretty. Carefully pour the next liquid you are using down the side of the container. Another way to add the liquid is to pour it over the back of a spoon. Continue adding liquids until you have completed your density column. At this point, you can use the column as a decoration. Try to avoid bumping the container or mixing its contents.

The hardest liquids to deal with are the water, vegetable oil, and rubbing alcohol. Make sure that there is an even layer of oil before you add the alcohol because if there is a break in that surfaceor if you pour the alcohol so that it dips below the oil layer into the water then the two liquids will mix. If you take your time, this problem can be avoided.
How the Density Column WorksYou made your column by pouring the heaviest liquid into the glass first, followed by the next-heaviest liquid, etc. The heaviest liquid has the most mass per unit volume or the highest density. Some of the liquids don't mix because they repel each other (oil and water). Other liquids resist mixing because they are thick or viscous. Eventually some of the liquids of your column will mix together.
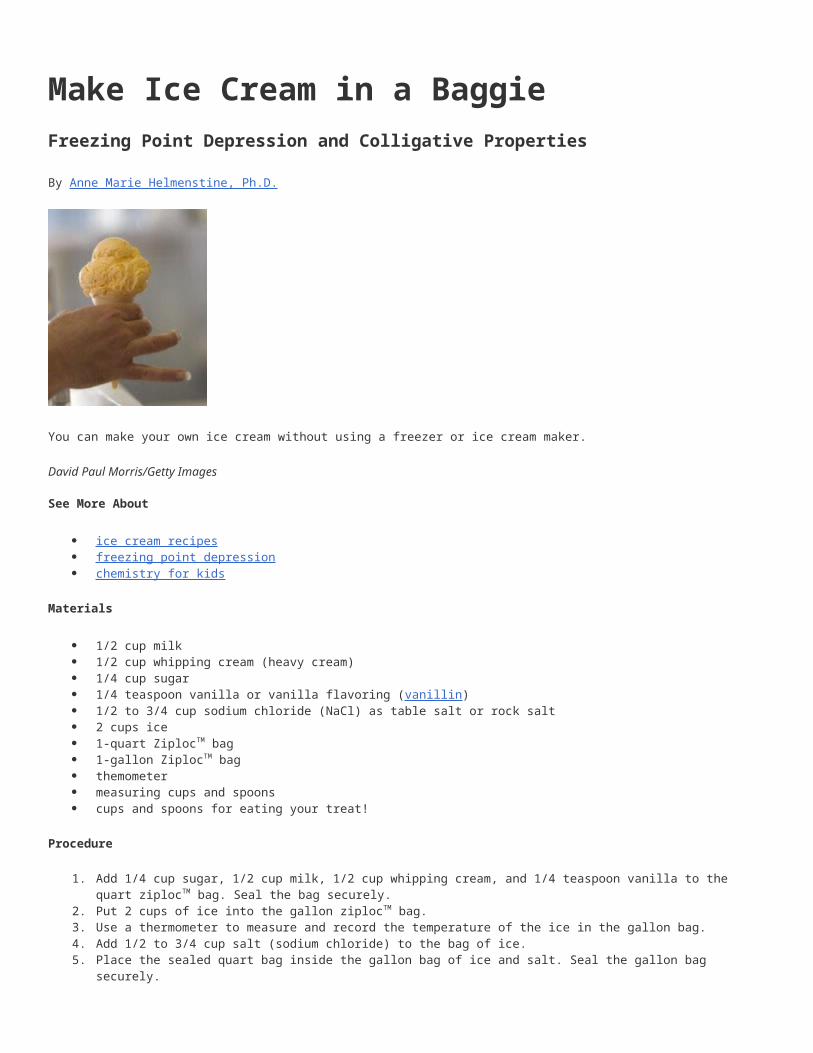
Make Ice Cream in a BaggieFreezing Point Depression and Colligative Properties
By Anne Marie Helmenstine, Ph.D.
You can make your own ice cream without using a freezer or ice cream maker.
David Paul Morris/Getty Images
See More About
ice cream recipes freezing point depression chemistry for kids
Materials
1/2 cup milk 1/2 cup whipping cream (heavy cream) 1/4 cup sugar 1/4 teaspoon vanilla or vanilla flavoring (vanillin) 1/2 to 3/4 cup sodium chloride (NaCl) as table salt or rock salt 2 cups ice 1-quart ZiplocTM bag 1-gallon ZiplocTM bag themometer measuring cups and spoons cups and spoons for eating your treat!
Procedure
1. Add 1/4 cup sugar, 1/2 cup milk, 1/2 cup whipping cream, and 1/4 teaspoon vanilla to the quart ziplocTM bag. Seal the bag securely.
2. Put 2 cups of ice into the gallon ziplocTM bag. 3. Use a thermometer to measure and record the temperature of the ice in the gallon bag. 4. Add 1/2 to 3/4 cup salt (sodium chloride) to the bag of ice. 5. Place the sealed quart bag inside the gallon bag of ice and salt. Seal the gallon bag
securely.
6. Gently rock the gallon bag from side to side. It's best to hold it by the top seal or to havegloves or a cloth between the bag and your hands because the bag will be cold enough to damage your skin.
7. Continue to rock the bag for 10-15 minutes or until the contents of the quart bag have solidified into ice cream.
8. Open the gallon bag and use the thermometer to measure and record the temperature of the ice/salt mixture.
9. Remove the quart bag, open it, serve the contents into cups with spoons and ENJOY!
Explanation
Ice has to absorb energy in order to melt, changing the phase of water from a solid to a liquid. When you use ice to cool the ingredients for ice cream, the energy is absorbed from the ingredients and from the outside environment (like your hands, if you are holding the baggie of ice!). When you add salt to the ice, it lowers the freezing point of the ice, so even more energy has to be absorbedfrom the environment in order for the ice to melt. This makes the ice colder than it was before, which is how your ice cream freezes. Ideally, you would make your ice cream using 'ice cream salt', which is just salt sold as large crystals instead of the small crystals you see in table salt. The larger crystals take more time to dissolve in the water around the ice, which allows for even cooling of the ice cream.
You could use other types of salt instead of sodium chloride, but you couldn't substitute sugar for the salt because (a) sugar doesn't dissolve well in cold water and (b) sugar doesn't dissolve into multiple particles, like an ionic material such as salt. Compounds that break into two pieces upon dissolving, like NaCl breaks into Na+ and Cl-, are better at lowering the freezing point than substances that don't separate into particles because the added particles disrupt the ability of thewater to form crystalline ice. The more particles there are, the greater the disruption and the greater the impact on particle-dependent properties (colligative properties) like freezing point depresssion, boiling point elevation, and osmotic pressure. The salt causes the ice to absorb more energy from the environment (becoming colder), so although it lowers the point at which water will re-freeze into ice, you can't add salt to very cold ice and expect it to freeze your ice cream or de-ice a snowy sidewalk (water has to be present!). This is why NaCl isn't used to de-ice sidewalks in areas that are very cold.
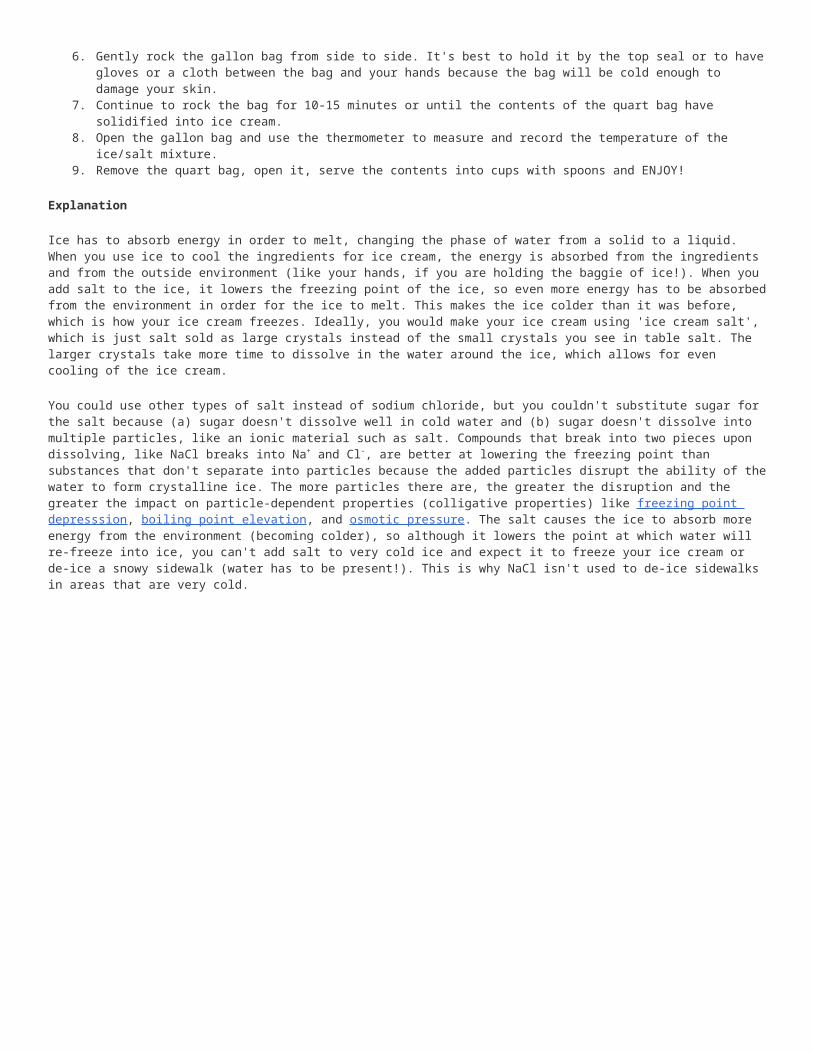
How To Make Metamucil FlubberBy Anne Marie Helmenstine, Ph.D.
Flubber is a non-sticky and non-toxic type of slime.
Anne Helmenstine
This recipe makes the non-sticky sort of 'rubber' or gelatinous slime that is known as flubber.
Difficulty: Average
Time Required: 15 minutes
Here's How:
1. Mix 1 teaspoon of Metamucil with 1 cup (8 ounces) of water in a microwaveable bowl. You can add a drop or two of food coloring if you wish. Alternatively, you could add a little powdered drink mix or flavored gelatin to get color/flavor.
2. Place bowl in the microwave and nuke on high for 4-5 minutes (actual time depends on microwave power) or until the goo is about to bubble out of the bowl. Turn off the microwave.
3. Let the mixture cool slightly, then repeat step 3 (microwave until about to overflow). The more times this step is repeated the more rubbery the substance will become.
4. After 5-6 microwave runs, (carefully - hot hot HOT) pour the flubber onto a plate or cookie sheet. A spoon can be used to spread it out.
5. Allow to cool. There you have it! Non-stick flubber. A knife or cookie cutters may be used tocut the flubber into interesting shapes.
6. Flubber can be stored at room temperature in a sealed baggie for several months. It will lastindefinitely in a sealed bag in the refrigerator.
Tips:
1. If the flubber is sticky then the amount of water needs to be reduced. It should be clammy, but not sticky. Use less water next time.
2. Please use adult supervision. Molten fluids and microwaves are involved!
What You Need
1 tsp Metamucil or similar soluble fiber 8 oz water

microwave-safe bowl microwave oven food coloring (optional)
Candy Chromatography
References:"Candy Chromatography", Fun With Chemistry, Vol. 2, pp. 13-22."Analyzing Colors", ChemMatters, Dec. 1994, Classroom Guide."Chromatography of m&m Candies", M. Kandel, J. Chem. Ed., 69 (12), 988-989. (Dec. 1992 issue.)
Equipment and Materials:
samples of candy such as m&m's, Skittles, Reese's Pieces set food colors for comparison filter paper--or coffee filters cut into 8 cm x 8 cm squares 0.1% salt solution (1/8 tsp salt in 3 cups water) clear plastic 9 oz cups blow dryer toothpicks small (1 oz) plastic cups
Procedure:Put 4 candies (m&m's, Skittles, or Reese's Pieces) of the same color in a small cup.Add 5 or 6 drops of water.When the white color of the candy comes through, remove and discard the candy.Add 4 more candies of the same color. Do not add more water!Again, remove the candies when the white coating is visible.Repeat with 3 more colors.Spot on coffee filter paper; use a hair dryer to dry the paper.Develop in 0.1 M salt solution.
Repeat using food colorings available in the grocery store.
We did not get quantitative, although this is certainly possible--especially with older students
Frozen Colloid (Ice Cream)
Reference:"Making Ice Cream: Cool Chemistry", Robert Baxter, ChemMatters, Dec. 1995, pp. 4-7.
This recipe is modified from a Southern Living recipe (1978?).
Vanilla Ice Cream
2 qts milk 4 eggs 1 1/2 cups sugar 1 Tbsp corn starch pinch salt 1 can sweetened condensed milk ("Eagle Brand") 1 cup whipping cream 2 Tbsp vanilla extract
Put milk in a large pot and start heating over medium heat.In a blender, blend eggs with sugar, corn starch, and salt.Add about 1 cup of the warm milk to the egg mixture. Blend.Add egg-milk mixture to rest of milk.Cook over medium heat with constant stirring until mixture has thickened slightly.Remove from heat and stir in sweetened condensed milk, whipping cream, and vanilla.For best results, cool overnight in refrigerator.
Freeze in ice cream maker.
Makes 1 gallon.
To make this a science experiment, use thermometers to answer these questions:
What is the temperature of ice? What did you find was the temperature of ice and salt? What is the temperature of your freezer at home?
Iron in Cereal
References:"Iron for Breakfast", Fun With Chemistry, Vol. 1, pp. 49-52."Iron for Breakfast", Karen Schmidt, ChemMatters, October 1994, pp. 13-15.
Even though your body requires "ferrous" iron (Fe2+) for nutrition, most "enriched" breakfast cereals add metallic iron (also known as "elemental iron" or "reduced iron") as a nutritional supplement.
Equipment and Materials:
several different breakfast cereals small aluminum loaf pans pencils magnets Ziploc sandwich bags cellophane tape water lots of white paper towels
Procedure:For each cereal you wish to test:Measure one cup of cereal into a Ziploc bag.Crush the cereal, then pour it into a bowl.Add one cup of water and stir to make a slurry. Add more water if necessary.Tape a magnet to the eraser end of a pencil, and seal it inside a plastic bag.Stir the cereal mixture with the magnet.After ten minutes, examine the metal filings attracted to the magnet. (Thisis best done by wiping the magnet on a white paper towel.)Stir for another five minutes and examine again.

Wintergreen Lifesavers (Triboluminescence)
Reference:"Light Your Candy", Linda M. Sweeting, ChemMatters, October 1990, pp. 10-12.
Equipment and Materials:
Wintergreen Lifesaversmust be wintergreen and must have sugar
a very dark rooman windowless bathroom is great--the mirror is handy if you do not have a partner
Procedure:Carry the Lifesavers into the dark room and let your eyes adjust to the dark.With your mouth open, crunch a Lifesaver with your teeth. Look for the green sparks!
The light is caused when the sugar crystal fractures. See the article for more information.
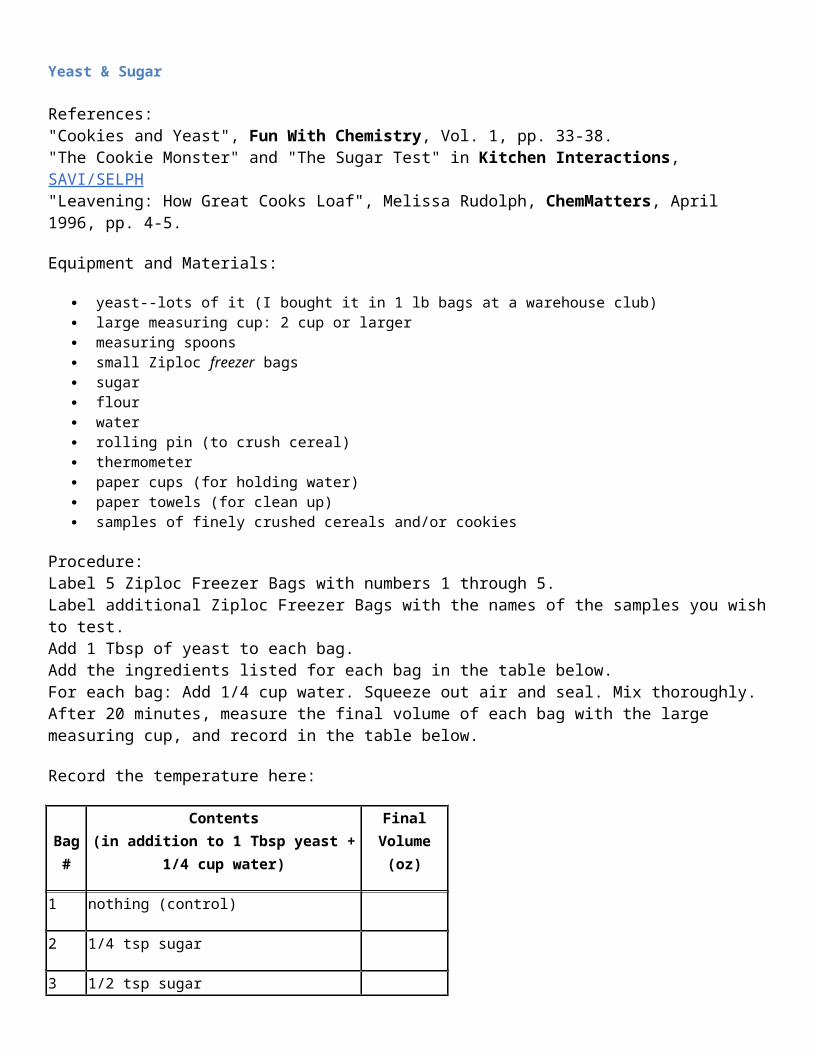
Yeast & Sugar
References:"Cookies and Yeast", Fun With Chemistry, Vol. 1, pp. 33-38."The Cookie Monster" and "The Sugar Test" in Kitchen Interactions, SAVI/SELPH"Leavening: How Great Cooks Loaf", Melissa Rudolph, ChemMatters, April 1996, pp. 4-5.
Equipment and Materials:
yeast--lots of it (I bought it in 1 lb bags at a warehouse club) large measuring cup: 2 cup or larger measuring spoons small Ziploc freezer bags sugar flour water rolling pin (to crush cereal) thermometer paper cups (for holding water) paper towels (for clean up) samples of finely crushed cereals and/or cookies
Procedure:Label 5 Ziploc Freezer Bags with numbers 1 through 5.Label additional Ziploc Freezer Bags with the names of the samples you wishto test.Add 1 Tbsp of yeast to each bag.Add the ingredients listed for each bag in the table below.For each bag: Add 1/4 cup water. Squeeze out air and seal. Mix thoroughly.After 20 minutes, measure the final volume of each bag with the large measuring cup, and record in the table below.
Record the temperature here:
Bag#
Contents(in addition to 1 Tbsp yeast +
1/4 cup water)
FinalVolume(oz)
1 nothing (control)
2 1/4 tsp sugar
3 1/2 tsp sugar
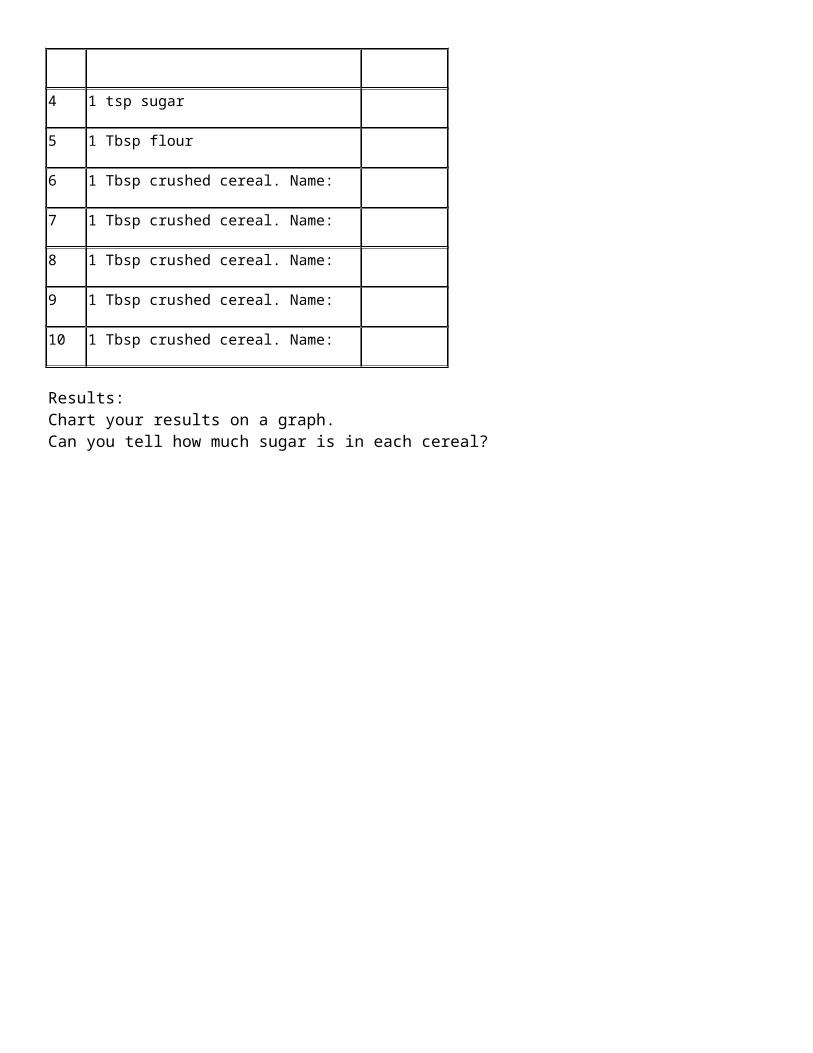
4 1 tsp sugar
5 1 Tbsp flour
6 1 Tbsp crushed cereal. Name:
7 1 Tbsp crushed cereal. Name:
8 1 Tbsp crushed cereal. Name:
9 1 Tbsp crushed cereal. Name:
10 1 Tbsp crushed cereal. Name:
Results:Chart your results on a graph.Can you tell how much sugar is in each cereal?
