disk cloning parte01
TRANSCRIPT
8/11/2019 Disk Cloning Parte01
http://slidepdf.com/reader/full/disk-cloning-parte01 1/7
8/16/14 Disk cloning - ArchWiki
https://wiki.archlinux.org/index.php/disk_cloning
Disk cloning
From ArchWiki
Disk cloning is the process of making an image of a partition or an entire hard drive. This can be useful both for
copying the drive to other computers and for backup/recovery purposes. There is also a dedicated page FileRecovery.
Contents
1 Using dd
1.1 Cloning a partition
1.2 Cloning an entire hard disk
1.3 Backing up the MBR
1.4 Create disk image
1.5 Restore system
1.6 Examples with compression
1.6.1 7zip
1.6.2 Zip
1.6.3 Rar
1.6.4 Bzip2
2 Using cp
3 Disk cloning software
3.1 Disk cloning in Arch
3.2 Disk cloning outside of Arch
4 External Links
Using dd
The dd command is a simple, yet versatile and powerful tool. It can be used to copy from source to destination,
block-by-block, regardless of their filesystem types or operating systems. A convenient method is to use dd from
live environment, as in a livecd.
Warning: As with any command of this type, you should be very cautious when using it; it can destroy data.
Remember the order of input file (if=) and output file (of=) and do not reverse them! Always ensure that the
destination drive or partition (of=) is of equal or greater size than the source (if=).
Cloning a partition
From physical disk /dev/sda, partition 1, to physical disk /dev/sdb, partition 1.

8/11/2019 Disk Cloning Parte01
http://slidepdf.com/reader/full/disk-cloning-parte01 2/7
8/16/14 Disk cloning - ArchWiki
https://wiki.archlinux.org/index.php/disk_cloning
dd if=/dev/sda1 of=/dev/sdb1 bs=4096 conv=notrunc,noerror,sync
If output file of (sdb1 in the example) does not exist, dd will start at the beginning of the disk and create it.
Cloning an entire hard disk
From physical disk /dev/sda to physical disk /dev/sdb
dd if=/dev/sda of=/dev/sdb bs=4096 conv=notrunc,noerror,sync
This will clone the entire drive, including MBR (and therefore bootloader), all partitions, UUIDs, and data.
notrunc or 'do not truncate' maintains data integrity by instructing dd not to truncate any data.
noerror instructs dd to continue operation, ignoring all read errors. Default behavior for dd is to halt at any
error.
sync writes zeroes for read errors, so data offsets stay in sync.
bs=4096 sets the block size to 4k, an optimal size for hard disk read/write efficiency and therefore, cloningspeed.
Note: To regain unique UUIDs, use "tune2fs /dev/sdbX -U random" on every partitions. (works for ext* file
systems only)
Note: Partition table changes from dd are not be registered by the kernel. To notify of changes without
rebooting, use a utility like partprobe (part of GNU parted).
Backing up the MBR
The MBR is stored in the the first 512 bytes of the disk. It consist of 3 parts:
1. The first 446 bytes contain the boot loader.
2. The next 64 bytes contain the partition table (4 entries of 16 bytes each, one entry for each primary
partition).
3. The last 2 bytes contain an identifier
To save the MBR into the file "mbr.img":
# dd if=/dev/hda of=/mnt/sda1/mbr.img bs=512 count=1
To restore (be careful : this could destroy your existing partition table and with it access to all data on the disk):
# dd if=/mnt/sda1/mbr.img of=/dev/hda
8/11/2019 Disk Cloning Parte01
http://slidepdf.com/reader/full/disk-cloning-parte01 3/7
8/16/14 Disk cloning - ArchWiki
https://wiki.archlinux.org/index.php/disk_cloning
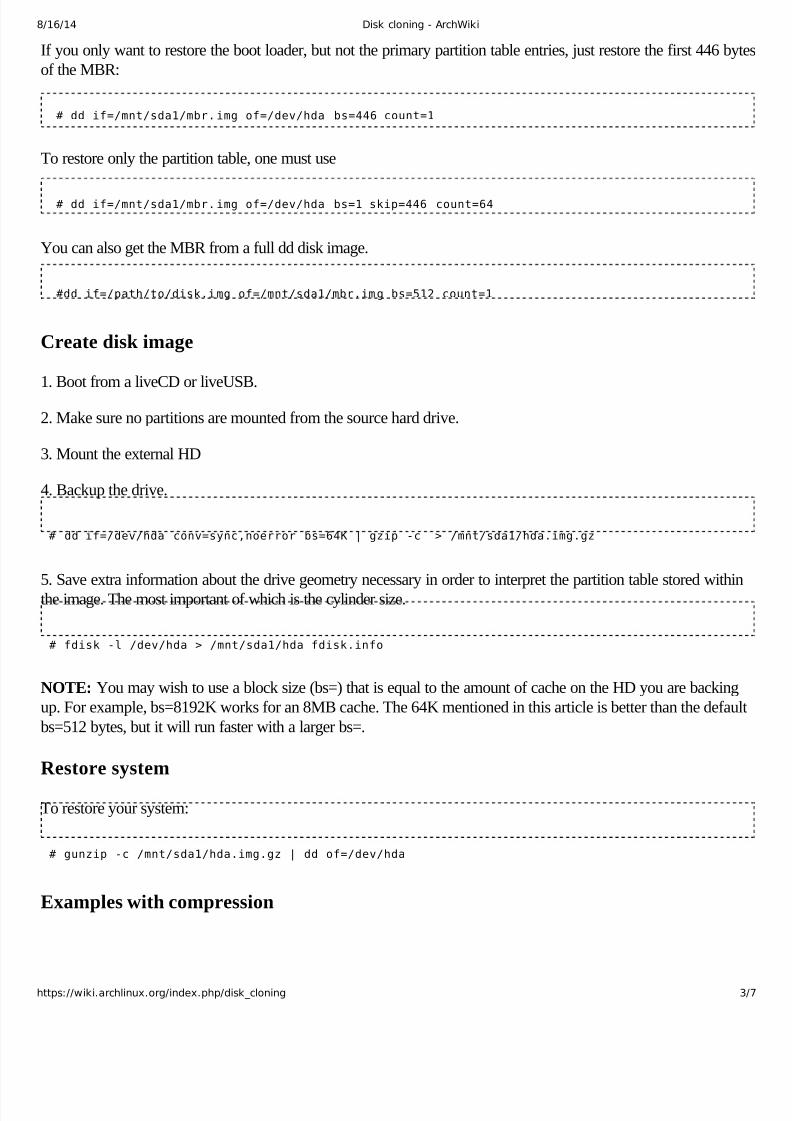
If you only want to restore the boot loader, but not the primary partition table entries, just restore the first 446 byte
of the MBR:
# dd if=/mnt/sda1/mbr.img of=/dev/hda bs=446 count=1
To restore only the partition table, one must use
# dd if=/mnt/sda1/mbr.img of=/dev/hda bs=1 skip=446 count=64
You can also get the MBR from a full dd disk image.
#dd if=/path/to/disk.img of=/mnt/sda1/mbr.img bs=512 count=1
Create disk image
1. Boot from a liveCD or liveUSB.
2. Make sure no partitions are mounted from the source hard drive.
3. Mount the external HD
4. Backup the drive.
# dd if=/dev/hda conv=sync,noerror bs=64K | gzip -c > /mnt/sda1/hda.img.gz
5. Save extra information about the drive geometry necessary in order to interpret the partition table stored within
the image. The most important of which is the cylinder size.
# fdisk -l /dev/hda > /mnt/sda1/hda_fdisk.info
NOTE: You may wish to use a block size (bs=) that is equal to the amount of cache on the HD you are backing
up. For example, bs=8192K works for an 8MB cache. The 64K mentioned in this article is better than the default
bs=512 bytes, but it will run faster with a larger bs=.
Restore system
To restore your system:
# gunzip -c /mnt/sda1/hda.img.gz | dd of=/dev/hda
Examples with compression
8/11/2019 Disk Cloning Parte01
http://slidepdf.com/reader/full/disk-cloning-parte01 4/7
8/16/14 Disk cloning - ArchWiki
https://wiki.archlinux.org/index.php/disk_cloning
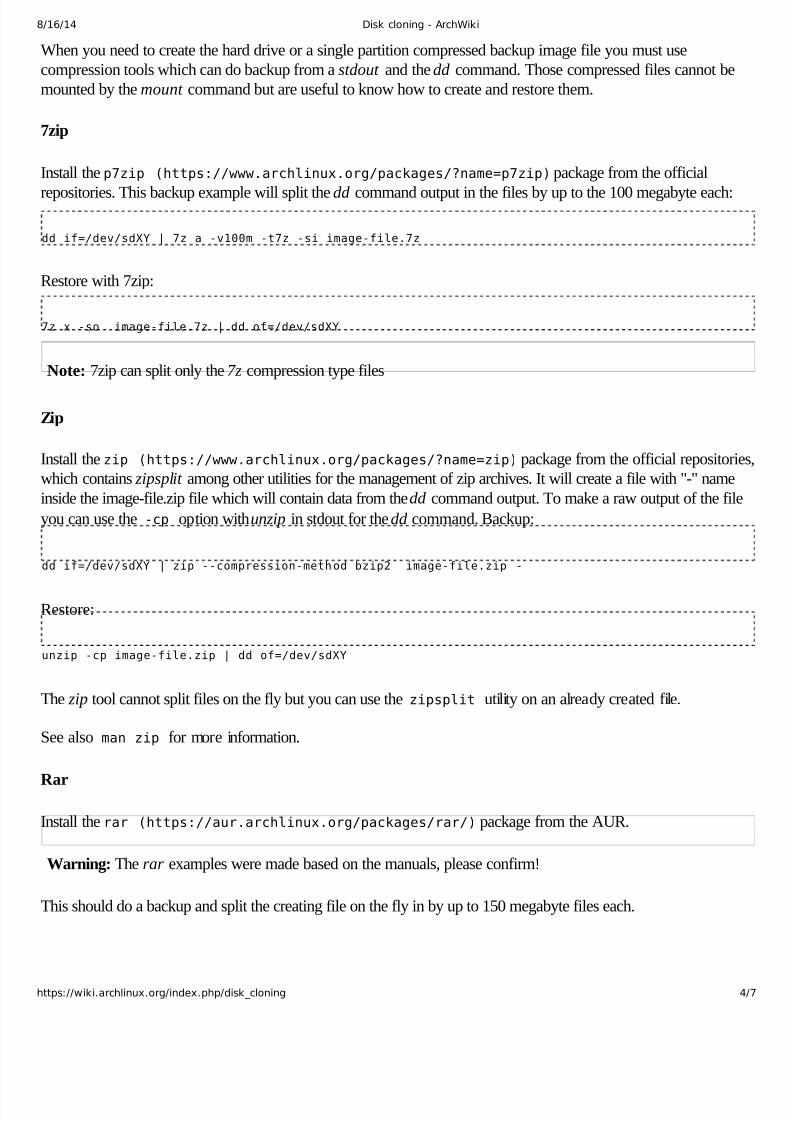
When you need to create the hard drive or a single partition compressed backup image file you must use
compression tools which can do backup from a stdout and thedd command. Those compressed files cannot be
mounted by the mount command but are useful to know how to create and restore them.
7zip
Install the p7zip (https://www.archlinux.org/packages/?name=p7zip) package from the official
repositories. This backup example will split the dd command output in the files by up to the 100 megabyte each:
dd if=/dev/sdXY | 7z a -v100m -t7z -si image-file.7z
Restore with 7zip:
7z x -so image-file.7z | dd of=/dev/sdXY
Note: 7zip can split only the 7z compression type files
Zip
Install the zip (https://www.archlinux.org/packages/?name=zip) package from the official repositorie
which contains zipsplit among other utilities for the management of zip archives. It will create a file with "-" name
inside the image-file.zip file which will contain data from the dd command output. To make a raw output of the file
you can use the -cp option withunzip in stdout for the dd command. Backup:
dd if=/dev/sdXY | zip --compression-method bzip2 image-file.zip -
Restore:
unzip -cp image-file.zip | dd of=/dev/sdXY
The zip tool cannot split files on the fly but you can use the zipsplit utility on an already created file.
See also man zip for more information.
Rar
Install the rar (https://aur.archlinux.org/packages/rar/) package from the AUR.
Warning: The rar examples were made based on the manuals, please confirm!
This should do a backup and split the creating file on the fly in by up to 150 megabyte files each.
8/11/2019 Disk Cloning Parte01
http://slidepdf.com/reader/full/disk-cloning-parte01 5/7
8/16/14 Disk cloning - ArchWiki
https://wiki.archlinux.org/index.php/disk_cloning
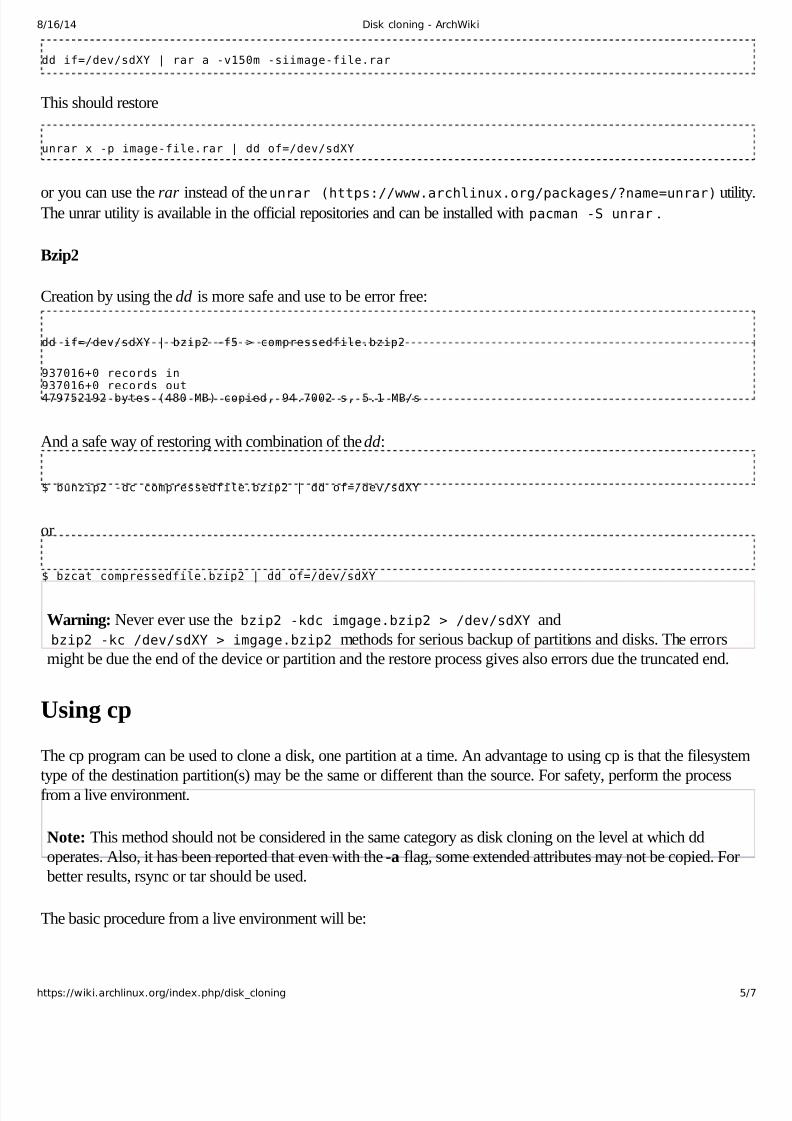
dd if=/dev/sdXY | rar a -v150m -siimage-file.rar
This should restore
unrar x -p image-file.rar | dd of=/dev/sdXY
or you can use the rar instead of theunrar (https://www.archlinux.org/packages/?name=unrar) utiliThe unrar utility is available in the official repositories and can be installed with pacman -S unrar .
Bzip2
Creation by using the dd is more safe and use to be error free:
dd if=/dev/sdXY | bzip2 -f5 > compressedfile.bzip2
937016+0 records in937016+0 records out479752192 bytes (480 MB) copied, 94.7002 s, 5.1 MB/s
And a safe way of restoring with combination of the dd:
$ bunzip2 -dc compressedfile.bzip2 | dd of=/dev/sdXY
or
$ bzcat compressedfile.bzip2 | dd of=/dev/sdXY
Warning: Never ever use the bzip2 -kdc imgage.bzip2 > /dev/sdXY and
bzip2 -kc /dev/sdXY > imgage.bzip2 methods for serious backup of partitions and disks. The errors
might be due the end of the device or partition and the restore process gives also errors due the truncated end.
Using cp
The cp program can be used to clone a disk, one partition at a time. An advantage to using cp is that the filesystem
type of the destination partition(s) may be the same or different than the source. For safety, perform the process
from a live environment.
Note: This method should not be considered in the same category as disk cloning on the level at which dd
operates. Also, it has been reported that even with the -a flag, some extended attributes may not be copied. For
better results, rsync or tar should be used.
The basic procedure from a live environment will be:
8/11/2019 Disk Cloning Parte01
http://slidepdf.com/reader/full/disk-cloning-parte01 6/7
8/16/14 Disk cloning - ArchWiki
https://wiki.archlinux.org/index.php/disk_cloning
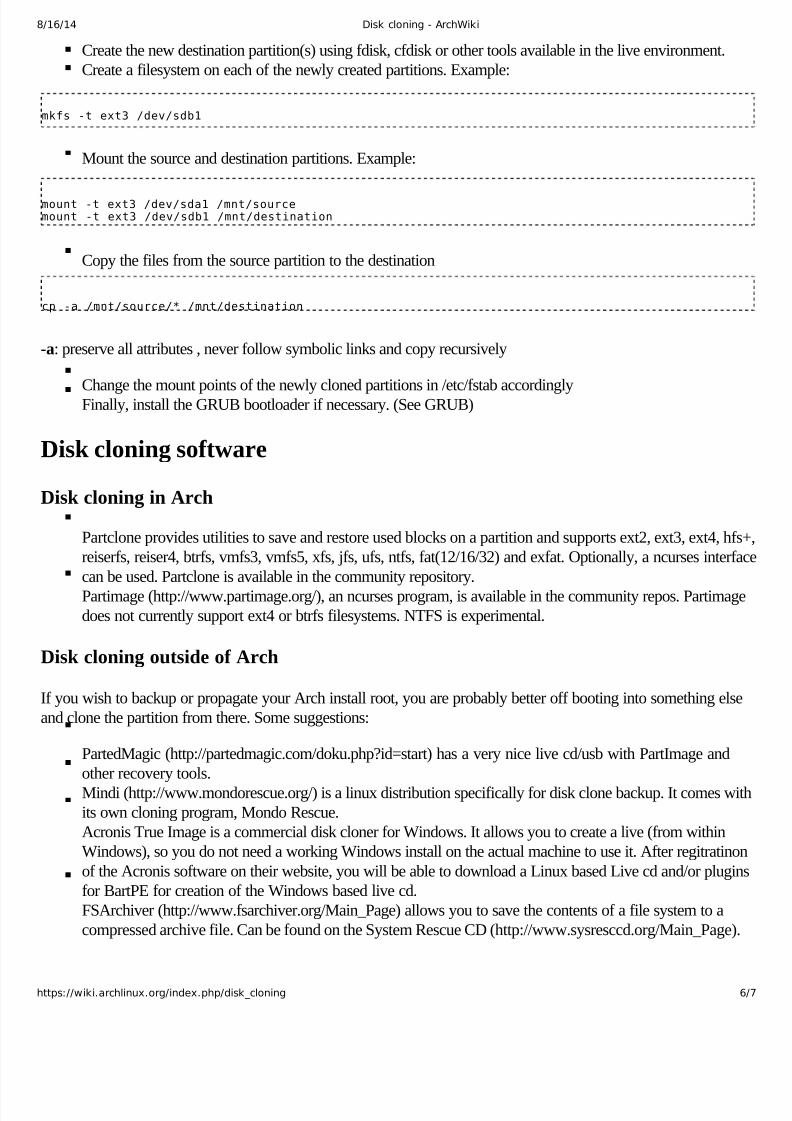
Create the new destination partition(s) using fdisk, cfdisk or other tools available in the live environment.
Create a filesystem on each of the newly created partitions. Example:
mkfs -t ext3 /dev/sdb1
Mount the source and destination partitions. Example:
mount -t ext3 /dev/sda1 /mnt/sourcemount -t ext3 /dev/sdb1 /mnt/destination
Copy the files from the source partition to the destination
cp -a /mnt/source/* /mnt/destination
-a: preserve all attributes , never follow symbolic links and copy recursively
Change the mount points of the newly cloned partitions in /etc/fstab accordinglyFinally, install the GRUB bootloader if necessary. (See GRUB)
Disk cloning software
Disk cloning in Arch
Partclone provides utilities to save and restore used blocks on a partition and supports ext2, ext3, ext4, hfs+
reiserfs, reiser4, btrfs, vmfs3, vmfs5, xfs, jfs, ufs, ntfs, fat(12/16/32) and exfat. Optionally, a ncurses interfa
can be used. Partclone is available in the community repository.
Partimage (http://www.partimage.org/), an ncurses program, is available in the community repos. Partimage
does not currently support ext4 or btrfs filesystems. NTFS is experimental.
Disk cloning outside of Arch
If you wish to backup or propagate your Arch install root, you are probably better off booting into something else
and clone the partition from there. Some suggestions:
PartedMagic (http://partedmagic.com/doku.php?id=start) has a very nice live cd/usb with PartImage and
other recovery tools.
Mindi (http://www.mondorescue.org/) is a linux distribution specifically for disk clone backup. It comes with
its own cloning program, Mondo Rescue.
Acronis True Image is a commercial disk cloner for Windows. It allows you to create a live (from within
Windows), so you do not need a working Windows install on the actual machine to use it. After regitratinon
of the Acronis software on their website, you will be able to download a Linux based Live cd and/or plugin
for BartPE for creation of the Windows based live cd.
FSArchiver (http://www.fsarchiver.org/Main_Page) allows you to save the contents of a file system to a
compressed archive file. Can be found on the System Rescue CD (http://www.sysresccd.org/Main_Page).
8/11/2019 Disk Cloning Parte01
http://slidepdf.com/reader/full/disk-cloning-parte01 7/7
8/16/14 Disk cloning - ArchWiki
https://wiki.archlinux.org/index.php/disk_cloning
Clonezilla (http://clonezilla.org/) is an enhanced partition imager which can also restore entire disks as well a
partitions.
Redo Backup and Recovery (http://redobackup.org/) is a Live CD featuring a graphical front-end to
partclone.
External Links
Wikipedia:List of disk cloning softwareArch Linux forum thread (https://bbs.archlinux.org/viewtopic.php?id=4329)
Retrieved from "https://wiki.archlinux.org/index.php?title=Disk_cloning&oldid=330364"
Categories: Data compression and archiving System recovery
This page was last modified on 15 August 2014, at 12:08.
Content is available under GNU Free Documentation License 1.3 or later unless otherwise noted.