cts130 spreadsheet lesson 20 data consolidation. consolidation is a process in which data from...
TRANSCRIPT

CTS130 Spreadsheet
Lesson 20
Data Consolidation

Data Consolidation
Consolidation is a process in which data from multiple worksheets or workbooks is combined and summarized.
Worksheets and workbooks can be consolidated when:
Common data appears in the same position on each worksheet (known as “by position”).
Worksheets have the same row or column labels (known as “by category” – must include labels in the consolidation ranges).
You can use any of the statistical functions, including SUM, AVERAGE, MIN, MAX, and COUNT, and others.

STATIC Consolidation Summarizes values and enters results. The resulting value does NOT change if a value in one
of the worksheets or workbooks changes. DATA Menu > Consolidate

STATIC Consolidation (cont’d)
1. Click the correct worksheet tab (Note that the reference shows the name of the worksheet with an exclamation point.)
2. Select the range. The cell addresses are added to the entry box with absolute references. (Note: The dialog box will collapse when you select a range on the worksheet.)
3. Click ADD. The selected range appears under the “All references” section.
4. You can add multiple references in the consolidation.
DYNAMIC Data Consolidation
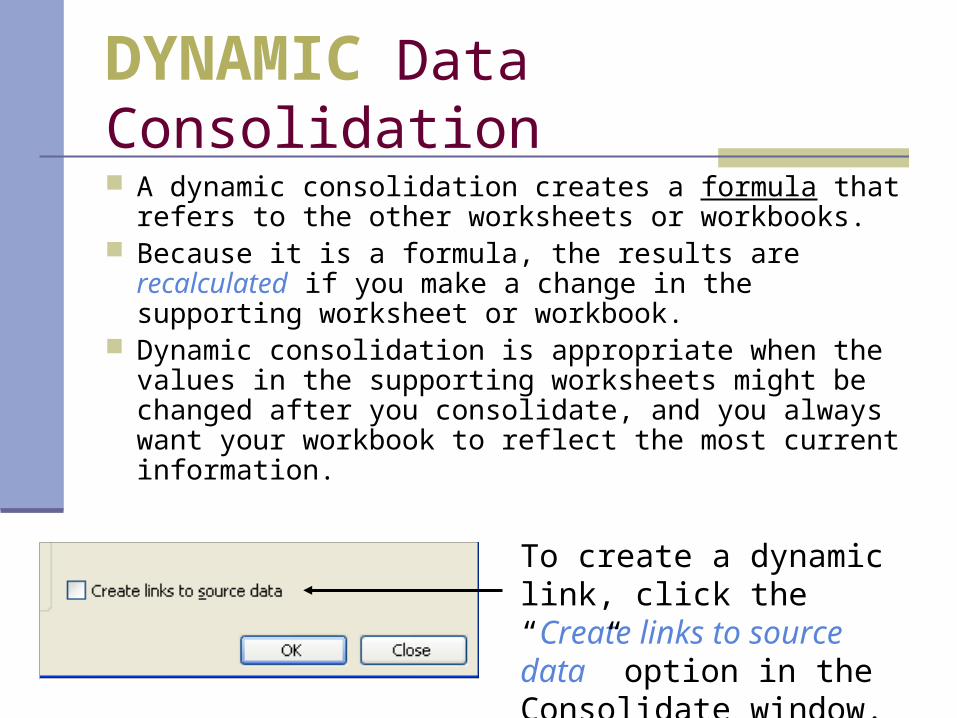
A dynamic consolidation creates a formula that refers to the other worksheets or workbooks.
Because it is a formula, the results are recalculated if you make a change in the supporting worksheet or workbook.
Dynamic consolidation is appropriate when the values in the supporting worksheets might be changed after you consolidate, and you always want your workbook to reflect the most current information.
To create a dynamic link, click the “Create links to source data” option in the Consolidate window.

The worksheet displays in an outline. Outline symbols appear to the left of the row numbers and column
letters. The numbers to the left of column A indicate how many levels of
detail are in the outline. The plus and minus symbols are used to display and hide the levels
of detail.
DYNAMIC Consolidation (cont’d)
Row 8 sums row 5 from each of the source sheets.

Displaying Formulas in Outline View
To see the name of each worksheet used in a formula,
press [CTRL] + [ ~ ]

Linking Workbooks
Linking combines data from several workbooks into a summary workbook.
When any workbook is changed, the summary workbook will reflect those changes.
Linked workbooks depend on one another. The dependent workbook is the file that obtains
data from other workbooks. Dependent workbooks use external reference formulas, which are formulas that refer to cells I another workbook.
The source workbook is the file with data used by a dependent workbook in an external reference formula.

Syntax For an External Reference
=[WorkbookName]WorksheetName!CellAddress
=B5*[Sol20-9OR.xls]Oregon!$B$5
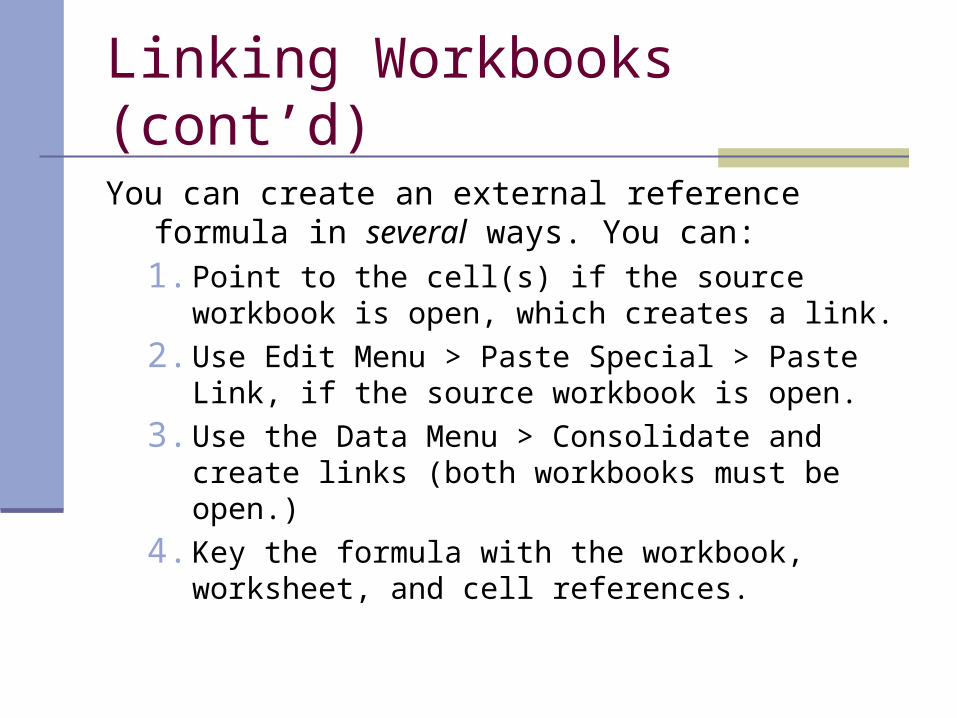
You can create an external reference formula in several ways. You can:1. Point to the cell(s) if the source workbook is
open, which creates a link.
2. Use Edit Menu > Paste Special > Paste Link, if the source workbook is open.
3. Use the Data Menu > Consolidate and create links (both workbooks must be open.)
4. Key the formula with the workbook, worksheet, and cell references.
Linking Workbooks (cont’d)
Examining Links
While a source workbook is open, the external reference in the dependent workbook does not show a path in the filename.
A path is an identified preceding a filename that includes the name of the disk drive and the series of folders specifying the location on the drive.
If you close the source workbook, the dependent workbook shows the full filename and path.
When you open a workbook with linked formulas, Excel updates the values and recalculates the formulas. Excel also alerts you to the existence of links.
Editing Links
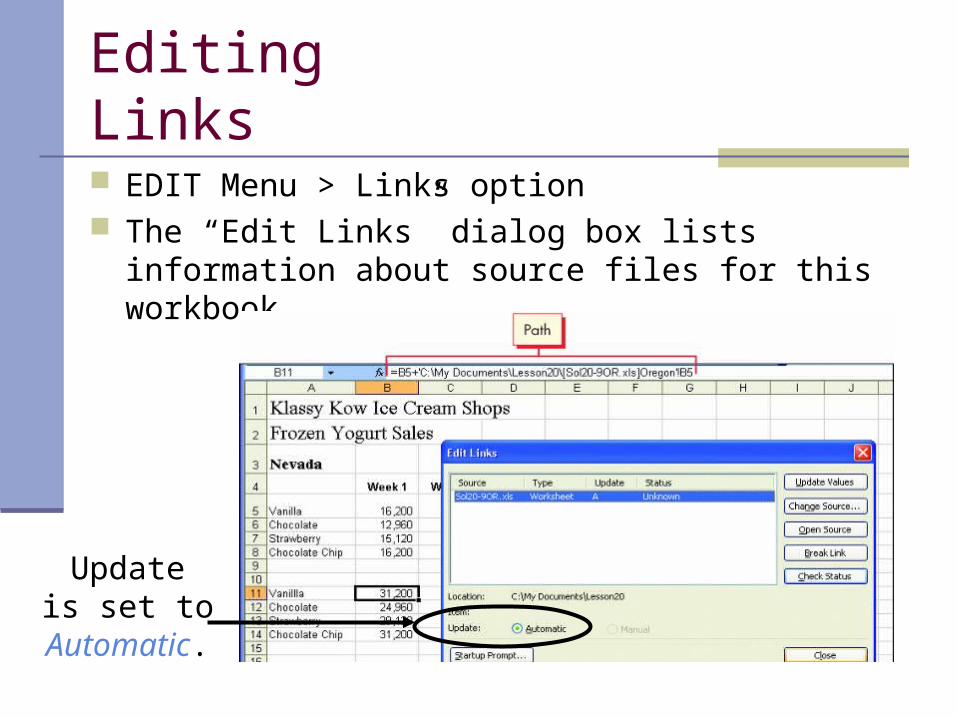
EDIT Menu > Links option The “Edit Links” dialog box lists information about
source files for this workbook.
Updateis set to
Automatic.
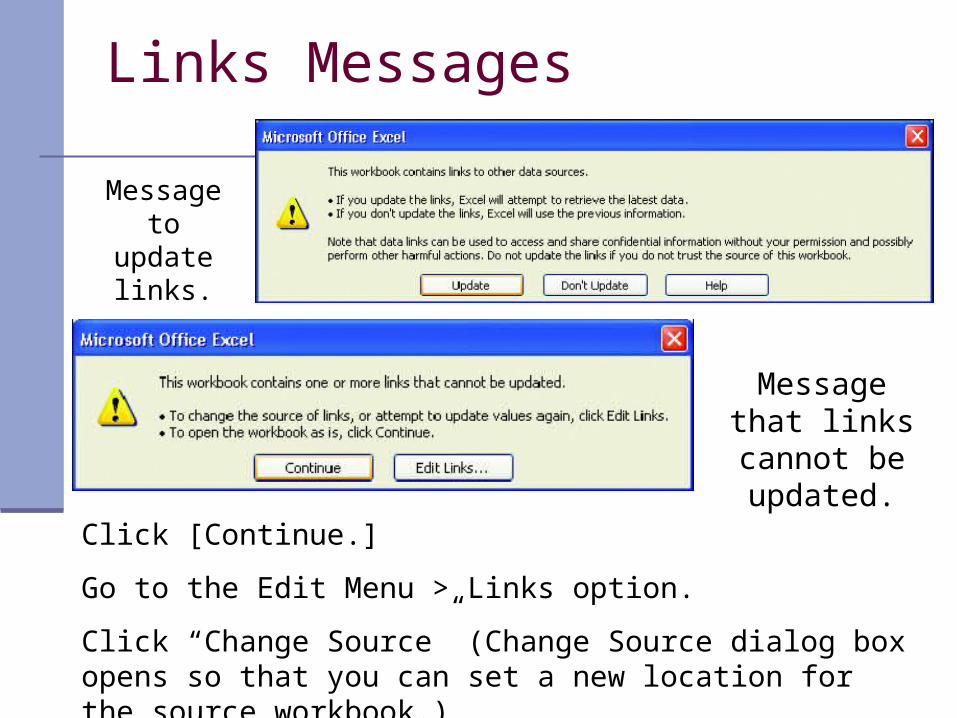
Links Messages
Message to update
links.
Message that links cannot be updated.
Click [Continue.]
Go to the Edit Menu > Links option.
Click “Change Source” (Change Source dialog box opens so that you can set a new location for the source workbook.)

Break Links
If you no longer need external references in a workbook, you can delete the contents of those cells.
As long as you delete the contents of all cells with links, the external reference is removed.
You can also keep the results in the dependent workbook but break the link to the source workbook.
1. EDIT Menu > Links option
2. Click [Break Link.]
Excel displays a message warning you that when you break a link, the linked formulas are converted to values.
Using a Workspace
A workspace is a file that saves display information about open workbooks, including workbook names, screen positions, and window sizes.
When you open the workspace, the workbooks are arranged the way you prefer them to be.
A workspace file does not include the actual workbook files, just a reference to them.
You still need to save the workbooks separately after making changes.
Creating a Workspace
You create a workspace by first rearranging your workbooks as you would like them to appear each time you open them. Then you save them as a workspace.
FILE Menu > Save Workspace Note:
The filename box shows a default filename. The file type is workspaces.
Workspaces use the .xlw filename extension.
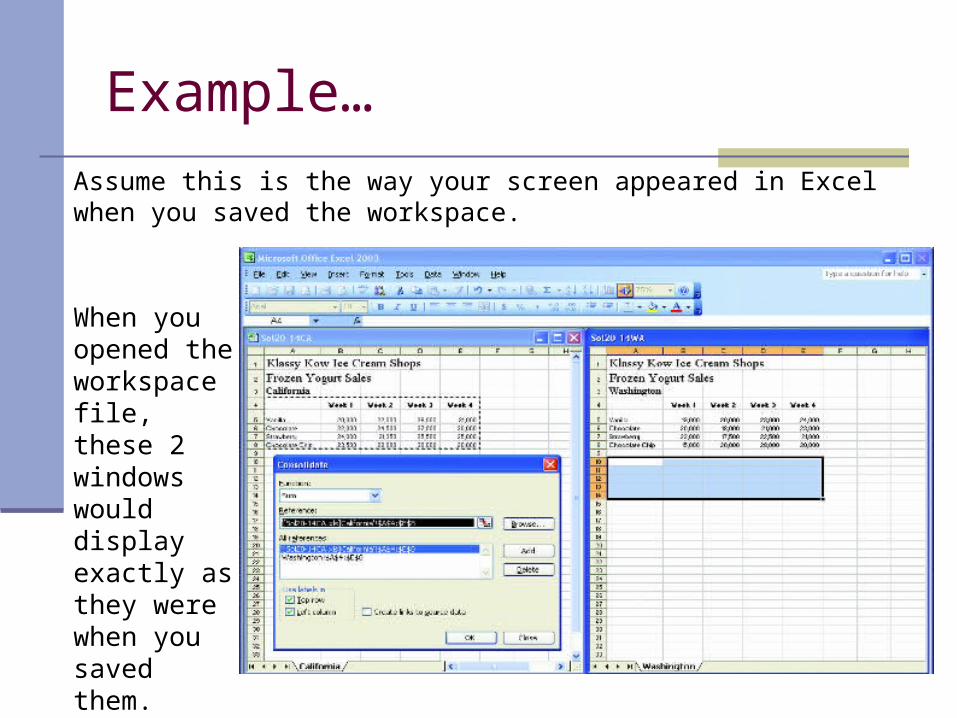
Example…
Assume this is the way your screen appeared in Excel when you saved the workspace.
When you opened the workspace file, these 2 windows would display exactly as they were when you saved them.