css216 mobile programming android, chapter 8 book: “professional android™ 2 application...
TRANSCRIPT
CSS216 MOBILE PROGRAMMING
Android, Chapter 8
Book: “Professional Android™ 2 Application Development” by Reto Meier, 2010
by: Andrey Bogdanchikov ( [email protected] )

Outline (Maps, Geocoding, and Location-Based Services)
• Forward and reverse geocoding• Creating interactive maps with Map Views and Map Activities
• Creating and adding Overlays to maps• Finding your location with location-based services
• Using proximity alerts
Introduction• One of the defining features of mobile phones is their
portability, so it’s not surprising that some of the most enticing Android features are the services that let you find, contextualize, and map physical locations.
• You can create map-based Activities using Google Maps as a user interface element. You have full access to the map, which enables you to control display settings, alter the zoom level, and pan the display.
• Using Overlays you can annotate maps and handle user input to provide map-contextualized information and functionality.
• Also covered in this chapter are the location-based services (LBS), the services that let you find the device’s current location. They include technologies like GPS and Google’s cell-based location technology.

Using location-based services• Location-based services is an umbrella term used to describe
the different technologies used to find a device’s current location.
• The two main LBS elements are:• ➤ Location Manager Provides hooks to the location-based
services• ➤ Location Providers Each of these represents a different
location-finding technology used to determine the device’s current location

• Using the Location Manager, you can: Obtain your current location Track movement Set proximity alerts for detecting movement into and out of a specified area
Find available Location Providers

Configuring the emulator to test location-based services• Location-based services are dependent on device hardware to find the current location.
• When you are developing and testing with the emulator your hardware is virtualized, and you’re likely to stay in pretty much the same location.
• To compensate, Android includes hooks that let you emulate Location Providers for testing location-based applications.

Updating locations in emulator location providers
• Use the Location Controls available from the DDMS perspective in Eclipse (shown in Figure 8-1) to push location changes directly into the emulator’s GPS Location Provider.
• Figure 8-1 shows the Manual and KML tabs. Using the Manual tab you can specify particular latitude/longitude pairs. Alternatively, the KML and GPX tabs let you load KML (Keyhole Markup Language) and GPX (GPS Exchange Format) files, respectively.
• Once these are loaded you can jump to particular waypoints (locations) or play back each location sequentially.

FIGURE 8-1

Selecting a location provider• Depending on the device, there may be several technologies
that Android can use to determine the current location. Each technology, or Location Provider, will offer different capabilities, including differences in power consumption, monetary cost, accuracy, and the ability to determine altitude, speed, or heading information.
• To get an instance of a specific provider, call getProvider, passing in the name:
String providerName = LocationManager.GPS_PROVIDER;
LocationProvider gpsProvider;gpsProvider = locationManager.getProvider(providerName);

Finding the Available Providers
• The LocationManager class includes static string constants that return the provider name for the two most common Location Providers:• ➤ LocationManager.GPS_PROVIDER• ➤ LocationManager.NETWORK_PROVIDER
• To get a list of names for all the providers available on the device, call getProviders, using a Boolean to indicate if you want all, or only the enabled, providers to be returned:
boolean enabledOnly = true;List<String> providers = locationManager.getProviders(enabledOnly);

Finding your location• The purpose of location-based services is to find the physical
location of the device.• Access to the location-based services is handled by the
Location Manager system Service. To access the Location Manager, request an instance of the LOCATION_SERVICE using the getSystemService method, as shown in the following snippet:
String serviceString = Context.LOCATION_SERVICE;LocationManager locationManager;locationManager = (LocationManager)getSystemService(serviceString);
• Before you can use the Location Manager you need to add one or more uses-permission tags to your manifest to support access to the LBS hardware.

Permission• The following snippet shows the fine and coarse permissions.
An application that has been granted fine permission will have coarse permission granted implicitly.
<uses-permission android:name="android.permission.ACCESS_FINE_LOCATION"/>
<uses-permission android:name="android.permission.ACCESS_COARSE_LOCATION"/>

Location
• You can find the last location fix determined by a particular Location Provider using the getLastKnownLocation method, passing in the name of the Location Provider. The following example finds the last location fix taken by the GPS provider:
String provider = LocationManager.GPS_PROVIDER;
Location location = locationManager.getLastKnownLocation(provider);

Result• The Location object returned includes all the position information available from the provider that supplied it.
• This can include latitude, longitude, bearing, altitude, speed, and the time the location fix was taken.
• All these properties are available via get methods on the Location object. In some instance additional details will be included in the extras Bundle.

Tracking Movement• Most location-sensitive applications will need to be reactive to
user movement. Simply polling the Location Manager will not force it to get new updates from the Location Providers.
• Use the requestLocationUpdates method to get updates whenever the current location changes, using a LocationListener. Location Listeners also contain hooks for changes in a provider’s status and availability.
• The requestLocationUpdates method accepts either a specific Location Provider name or a set of Criteria to determine the provider to use.
• To optimize efficiency and minimize cost and power use, you can also specify the minimum time and the minimum distance between location change updates.

Requesting location updatesString provider = LocationManager.GPS_PROVIDER;
int t = 5000; // milliseconds
int distance = 5; // meters
LocationListener myLocationListener = new LocationListener() {
public void onLocationChanged(Location location) {
// Update application based on new location.
}
public void onProviderDisabled(String provider){
// Update application if provider disabled.
}
public void onProviderEnabled(String provider){
// Update application if provider enabled.
}
public void onStatusChanged(String provider, int status,
Bundle extras){
// Update application if provider hardware status changed.
}
};
locationManager.requestLocationUpdates(provider, t, distance, myLocationListener);
• You can request multiple location updates pointing to different Location Listeners and using different minimum thresholds.
• A common design pattern is to create a single listener for your application that broadcasts Intents to notify other components of location changes.
• This centralizes your listeners and ensures that the Location Provider hardware is used as efficiently as possible.
• To stop location updates, call removeUpdates, as shown in the following code. Pass in the Location Listener instance you no longer want to have triggered.
locationManager.removeUpdates(myLocationListener);• Most GPS hardware incurs significant power cost. To
minimize this you should disable updates whenever possible in your application, especially when your application isn’t visible and location changes are being used to update an Activity’s user interface.
• You can improve performance further by making the minimum time between updates as long as possible.

Privacy• Privacy is also a factor when your application tracks the user location.
• Ensure that your application is using the device location data in a way that respects the user’s privacy by:• ➤ Only tracking location when necessary for your application
• ➤ Notifying users of when you are tracking their locations, and how that location information is being used and stored
• ➤ Allowing users to disable location updates, and respecting the system settings for LBS preferences.

Using proximity alerts• It’s often useful to have your applications react when a user
moves toward, or away from, a specific location. Proximity alerts let your applications set triggers that are fired when a user moves within or beyond a set distance from a geographic location.
• To set a proximity alert for a given coverage area, select the center point (using longitude and latitude values), a radius around that point, and an expiry time-out for the alert.
• The alert will fire if the device crosses over that boundary, both when it moves from outside to within the radius, and when it moves from inside to beyond it.

Set Alert• When triggered, proximity alerts fire Intents, most commonly broadcast Intents. To specify the Intent to fire, you use a PendingIntent, a class that wraps an Intent in a kind of method pointer, as shown in the following code snippet:
Intent intent = new Intent(MY_ACTION);PendingIntent pendingIntent = PendingIntent.getBroadcast(this, -1, intent, 0);

Exampleprivate static String TREASURE_PROXIMITY_ALERT =
"com.paad.treasurealert";private void setProximityAlert() {
String locService = Context.LOCATION_SERVICE;
LocationManager locationManager;
locationManager = (LocationManager)getSystemService(locService);
double lat = 73.147536;
double lng = 0.510638;
float radius = 100f; // meters
long expiration = -1; // do not expire
Intent intent = new Intent(TREASURE_PROXIMITY_ALERT);
PendingIntent proximityIntent = PendingIntent.getBroadcast(this, -1, Intent, 0);
locationManager.addProximityAlert(lat, lng, radius, expiration, proximityIntent);
}

Creating a proximity alert Broadcast Receiver
public class ProximityIntentReceiver extends BroadcastReceiver {@Overridepublic void onReceive (Context context, Intent intent) {String key = LocationManager.KEY_PROXIMITY_ENTERING;Boolean entering = intent.getBooleanExtra(key, false);[ . . . perform proximity alert actions . . . ]}
}To start listening for proximity alerts, register your receiver:
IntentFilter filter = new IntentFilter(TREASURE_PROXIMITY_ALERT);
registerReceiver(new ProximityIntentReceiver(), filter);

Using the geocoder• Geocoding lets you translate between street addresses and
longitude/latitude map coordinates. This can give you a recognizable context for the locations and coordinates used in location-based services and map-based Activities.
• The geocoding lookups are done on the server, so your applications will require you to include an Internet uses-permission in your manifest, as shown here:
<uses-permission android:name="android.permission.INTERNET"/>
Geocoder• The Geocoder class provides access to two geocoding functions:
• ➤ Forward geocoding Finds the latitude and longitude of an address• ➤ Reverse geocoding Finds the street address for a given latitude and
longitude
• The results from these calls are contextualized by means of a locale (used to define your usual location and language). The following snippet shows how you set the locale when creating your Geocoder. If you don’t specify a locale, it will assume your device’s default.
Geocoder geocoder = new Geocoder(getApplicationContext(),
Locale.getDefault());• Both geocoding functions return a list of Address objects. Each
list can contain several possible results, up to a limit you specify when making the call.

• Geocoder lookups are performed synchronously, so they will block the calling thread. For slow data connections, this can lead to a Force Close dialog.
• In most cases it’s good form to move these lookups into a Service or background thread, as demonstrated in Chapter 9.
• For clarity and brevity, the calls made in the code samples within this chapter are made on the main application thread.
Reverse Geocoding• Reverse geocoding returns street addresses for physical locations, specified by latitude/longitude pairs. It provides a recognizable context for the locations returned by location-based services.
• To perform a reverse lookup, you pass the target latitude and longitude to a Geocoder’s getFromLocation method.
• It will return a list of possible matching addresses. If the Geocoder could not resolve any addresses for the specified coordinate, it will return null.

Reverse-geocoding your last known location
location = locationManager.getLastKnownLocation(LocationManager.GPS_PROVIDER);
double latitude = location.getLatitude();
double longitude = location.getLongitude();
List<Address> addresses = null;
Geocoder gc = new Geocoder(this, Locale.getDefault());
try {
addresses = gc.getFromLocation(latitude, longitude, 10);
} catch (IOException e) {}

Forward Geocoding• Forward geocoding (or just geocoding) determines map
coordinates for a given location. • To do a forward-geocoding lookup, call getFromLocationName
on a Geocoder instance. Pass in the location you want the coordinates for and the maximum number of results to return:
List<Address> result = geocoder.getFromLocationName(aStreetAddress, maxResults);
• The returned list of Addresses can include multiple possible matches for the named location. Each address result will include latitude and longitude and any additional address information available for those coordinates.
• This is useful to confirm that the correct location was resolved, as well as for providing location specifics in searches for landmarks.

• When you’re doing forward lookups, the Locale object specified during the creation of the Geocoder object is particularly important.
• The Locale provides the geographical context for interpreting your search requests, as the same location names can exist in multiple areas.
• Where possible, consider selecting a regional Locale to help avoid place-name ambiguity.
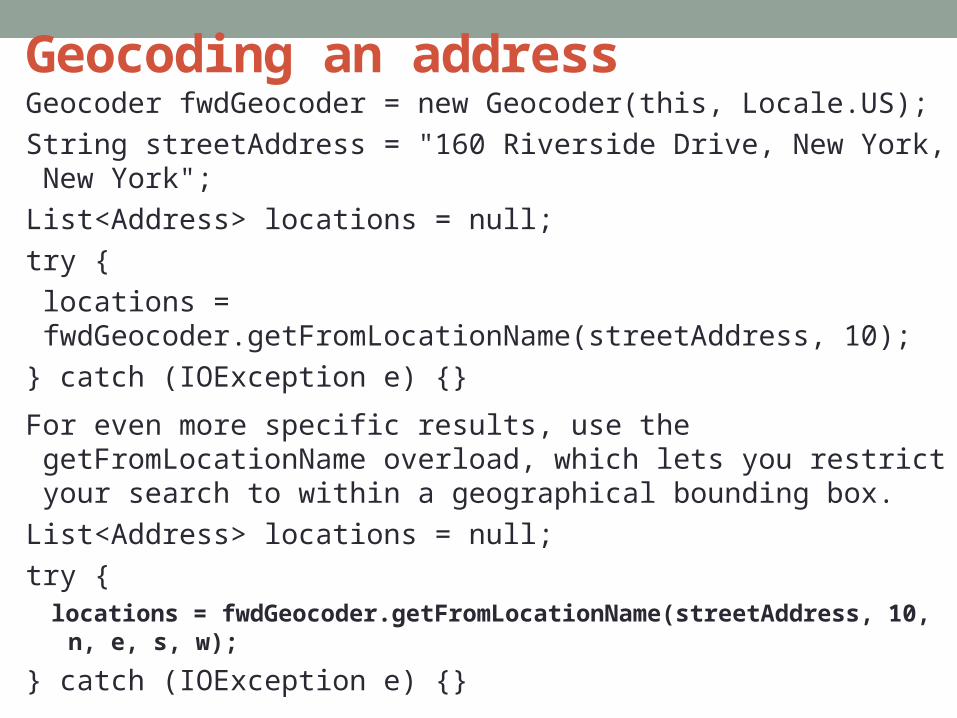
Geocoding an addressGeocoder fwdGeocoder = new Geocoder(this, Locale.US);String streetAddress = "160 Riverside Drive, New York, New York";
List<Address> locations = null;try {locations = fwdGeocoder.getFromLocationName(streetAddress, 10);
} catch (IOException e) {}
For even more specific results, use the getFromLocationName overload, which lets you restrict your search to within a geographical bounding box.
List<Address> locations = null;try {
locations = fwdGeocoder.getFromLocationName(streetAddress, 10, n, e, s, w);
} catch (IOException e) {}

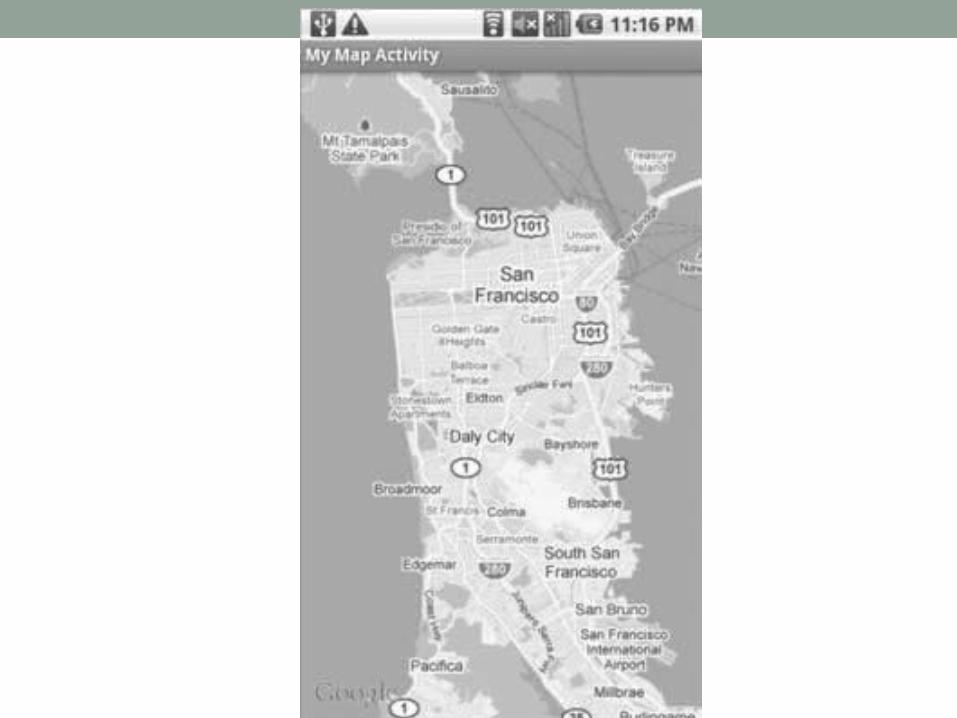
CREATING MAP-BASED ACTIVITIES• The MapView provides an ideal user interface option for
presenting geographical data.• One of the most intuitive ways of providing context for a
physical location or address is to display it on a map. Using a MapView, you can create Activities that feature an interactive map.
• Map Views support annotation using Overlays and by pinning Views to geographical locations. Map Views offer full programmatic control of the map display, letting you control the zoom, location, and display modes — including the option to display satellite, street, and traffic views.

Introducing Map View and Map Activity• This section introduces several classes used to support Android
maps:• ➤ MapView is the Map View control.• ➤ MapActivity is the base class you extend to create a new Activity that
can include a Map View. The MapActivity class handles the application life cycle and background service management required for displaying maps. As a result you can use Map Views only within MapActivity-derived Activities.
• ➤ Overlay is the class used to annotate your maps. Using Overlays, you can use a Canvas to draw onto any number of layers that are displayed on top of a Map View.
• ➤ MapController is used to control the map, enabling you to set the center location and zoom levels.
• ➤ MyLocationOverlay is a special Overlay that can be used to display the current position and orientation of the device.
• ➤ ItemizedOverlays and OverlayItems are used together to let you create a layer of map markers, displayed using Drawables and associated text.
Getting Your Maps API Key
• In order to use a Map View in your application you must first obtain an API key from the Android developer web site at
http://code.google.com/android/maps-api-signup.html.• Without an API key the Map View will not download the tiles
used to display the map.• To obtain a key you need to specify theMD5 fingerprint of the
certificate used to sign your application. Generally, you will sign your application using two certificates — a default debug certificate and a production certificate.
• All these are for your self-study.
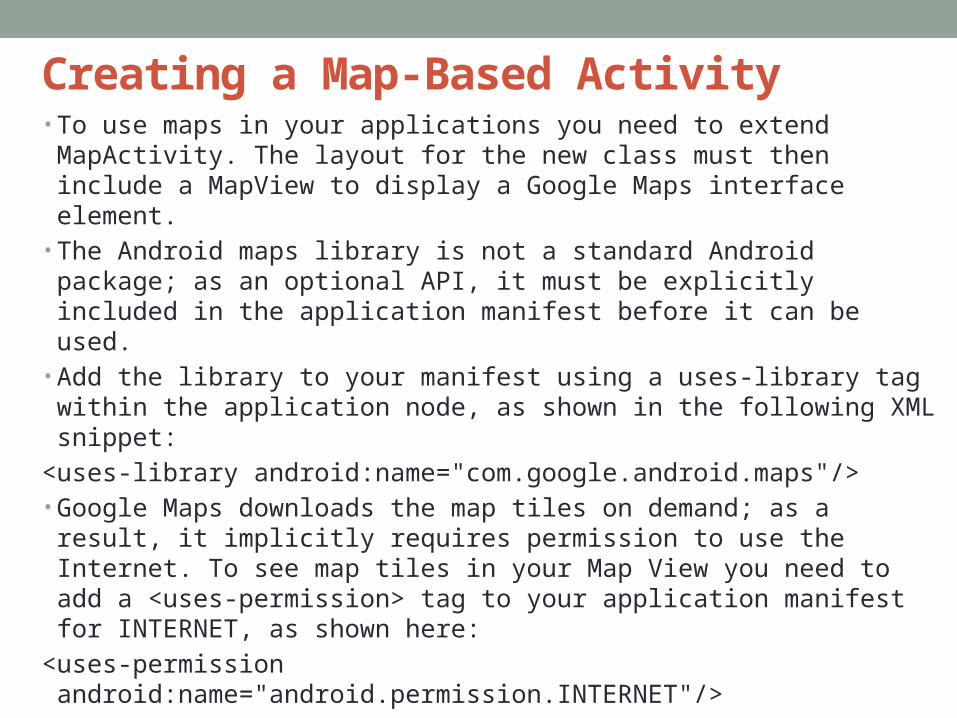
Creating a Map-Based Activity• To use maps in your applications you need to extend
MapActivity. The layout for the new class must then include a MapView to display a Google Maps interface element.
• The Android maps library is not a standard Android package; as an optional API, it must be explicitly included in the application manifest before it can be used.
• Add the library to your manifest using a uses-library tag within the application node, as shown in the following XML snippet:
<uses-library android:name="com.google.android.maps"/>• Google Maps downloads the map tiles on demand; as a result,
it implicitly requires permission to use the Internet. To see map tiles in your Map View you need to add a <uses-permission> tag to your application manifest for INTERNET, as shown here:
<uses-permission android:name="android.permission.INTERNET"/>

A skeleton Map Activitypublic class MyMapActivity extends MapActivity {
private MapView mapView;
private MapController mapController;
@Override
public void onCreate(Bundle savedInstanceState) {super.onCreate(savedInstanceState);
setContentView(R.layout.map_layout);
mapView = (MapView)findViewById(R.id.map_view);
}
@Override
protected boolean isRouteDisplayed() {// IMPORTANT: This method must return true if your Activity
// is displaying driving directions. Otherwise return false.
return false;
}
}

Map View• By default the Map View will show the standard street map. In addition, you
can choose to display a satellite view, StreetView, and expected traffic, as shown in the following code snippet:
mapView.setSatellite(true);
mapView.setStreetView(true);
mapView.setTraffic(true);• You can also query the Map View to find the current and maximum
available zoom levels, as well as the center point and currently visible longitude and latitude span (in decimal degrees):
int maxZoom = mapView.getMaxZoomLevel();
GeoPoint center = mapView.getMapCenter();
int latSpan = mapView.getLatitudeSpan();
int longSpan = mapView.getLongitudeSpan();• You can also optionally display the standard map zoom controls using the
setBuiltInZoomControls method.
mapView.setBuiltInZoomControls(true);
Using the Map Controller• Use the Map Controller to pan and zoom a MapView. You can get a
reference to a MapView’s controller usinggetController.
MapController mapController = myMapView.getController();• Map locations in the Android mapping classes are represented by
GeoPoint objects, which contain latitude and longitude measured in microdegrees. To convert degrees to microdegrees, multiply by 1E6 (1,000,000).
• Before you can use the latitude and longitude values stored in the Location objects returned by locationbased services, you’ll need to convert them to microdegrees and store them as GeoPoints.
Double lat = 37.422006*1E6;Double lng = -122.084095*1E6;GeoPoint point = new GeoPoint(lat.intValue(), lng.intValue());• Re-center and zoom the Map View using the setCenter and setZoom
methods available on the Map View’sMapController.
mapController.setCenter(point);mapController.setZoom(1);

Creating and Using Overlays• Overlays enable you to add annotations and click handling to
MapViews. Each Overlay lets you draw 2D primitives, including text, lines, images, and shapes, directly onto a canvas, which is then overlaid onto a Map View.
• You can add several Overlays onto a single map. All the Overlays assigned to a Map View are added as layers, with newer layers potentially obscuring older ones.
• User clicks are passed through the stack until they are either handled by an Overlay or registered as clicks on the Map View itself.
• The implementation how to create and use Overlays are for your self-study.

THE ENDThank you