crash course: use the validation tool to reproduce results
TRANSCRIPT

Crash Course: Use the Validation Tool to Reproduce Results from the Paper
Step 1: Installation Download the validation tool installer, a data set and the example reconstructions zip file
(Stereo_SD_example_results.zip). As data set we take “D-All” (Stereo_SD_d_all.zip) in this
crash course, so we can reproduce the results from Figure 9 of the paper.
Install the validation tool.
Extract both zip archives (Stereo_SD_example_results.zip and Stereo_SD_d_all.zip) to a
folder of your choice. Best create a new folder, e.g., “C:/temp/SurfaceValidation”. Your
folder should now look like this:
Then start the validation tool
You should see an application looking like the screenshot on the top of the next page. The application
includes the main window containing the user interface as well as a console window which shows
output messages.

Step 2: Initialize the Validation Tool Activate the “Reconstruction Validation” plugin by clicking the icon in the upper main
window.
First click “Choose Folder” for the folder containing
the reference data sets and browse to directory of
the D-All data set, e.g.
“C:\temp\SurfaceValidation\Stereo_SD_d_all”
Then activate the checkbox “Image coordinates are
rectified”, because we will validate rectified data in
this case.
Last, click “Choose Folder” for the folder containing
the reconstruction results and browse to the
subdirectory “rectified_KIT\Stereo_SD_d_all” of the
example rectifications. E.g.,
“C:\temp\SurfaceValidation\Stereo_SD_example_results\rectified_KIT\Stereo_SD_d_all”.
Make sure, that the validation criterion (all, angle, blood, etc.) of reference and
reconstruction data is the same (in this example all).
Step 3: Run the validation Click “Run Validation” and wait until the progress bar and the hourglass mouse pointer
disappear.
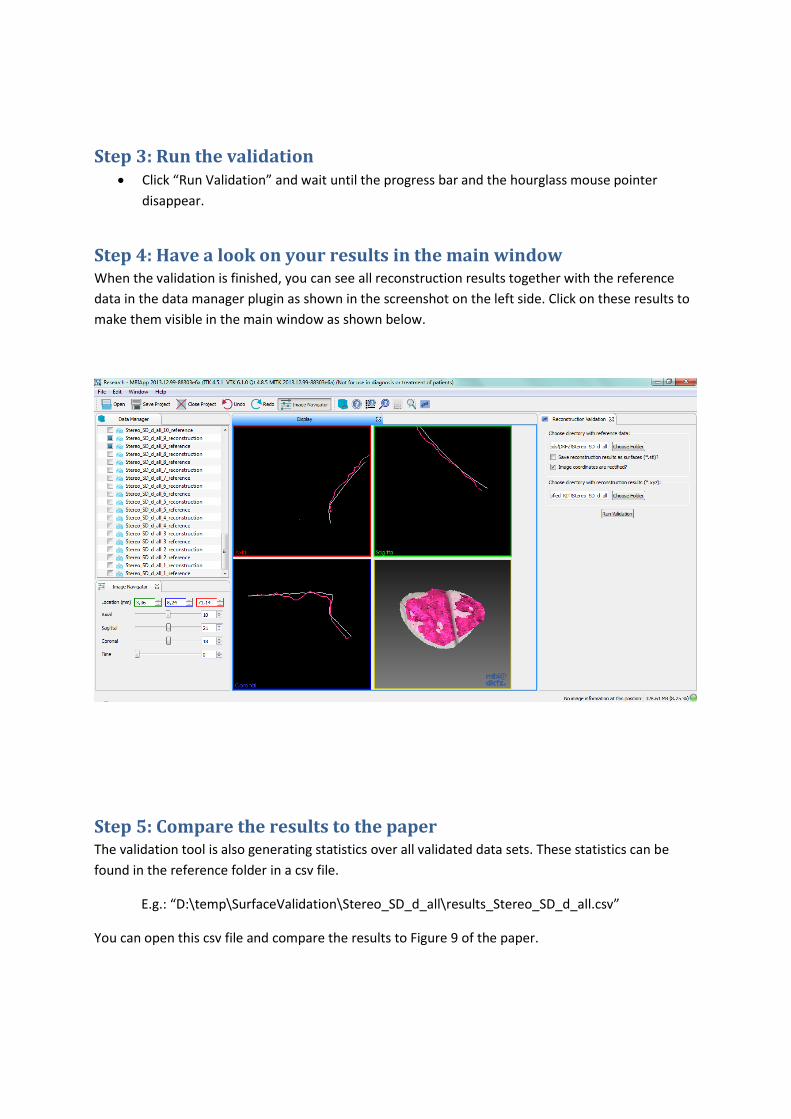
Step 4: Have a look on your results in the main window When the validation is finished, you can see all reconstruction results together with the reference
data in the data manager plugin as shown in the screenshot on the left side. Click on these results to
make them visible in the main window as shown below.
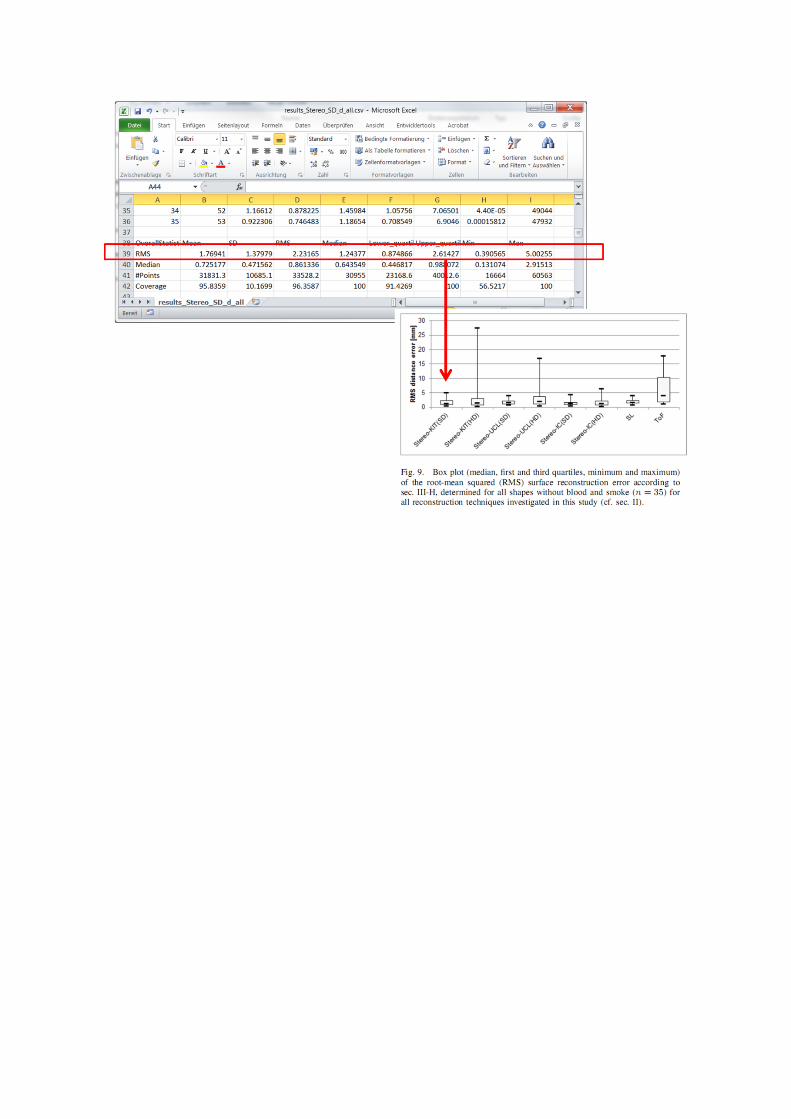
Step 5: Compare the results to the paper The validation tool is also generating statistics over all validated data sets. These statistics can be
found in the reference folder in a csv file.
E.g.: “D:\temp\SurfaceValidation\Stereo_SD_d_all\results_Stereo_SD_d_all.csv”
You can open this csv file and compare the results to Figure 9 of the paper.