clay wind chimes slab pottery with incised fossil designs
TRANSCRIPT

Clay Wind Chimes
Slab Pottery with Incised Fossil
Designs
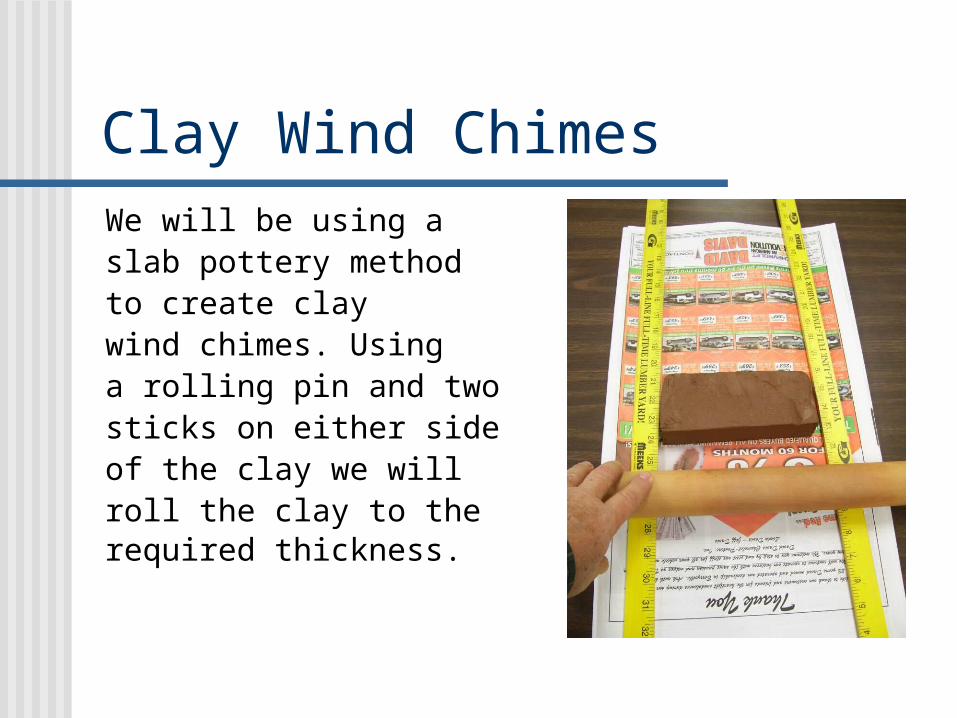
Clay Wind ChimesWe will be using a slab pottery method to create clay wind chimes. Usinga rolling pin and two sticks on either side of the clay we will roll the clay to the required thickness.

Clay Wind Chimes
Each time we roll across the clay it needs to be flipped to keep it expanding without cracking. The final thickness will be about 5/8 of an inch.

Clay Wind Chimes
When the thickness has been achieved the rolling pin will be resting on the sticks.

Clay Wind Chimes
Divide the clay in half with a wood clay tool or plastic knife. The top half will be used for the wind chime base and the bottom for the clappers.

Clay Wind Chimes
Alter the shape of the base to make it more interesting by trimming off the sides all the way around. Don’t trim off anymore than you need.

Clay Wind Chimes
Don’t trim off anymore than you need or the base will be to small.

Clay Wind Chimes
Your clappers needs to be at least the width of a ruler. The clappers can be straight or a curved design.

Clay Wind Chimes
To make your clappers chime different sounds, make each one a different length.

Clay Wind ChimesIncise an interesting design into the surface of the clappers. Only scratch deep enough to make the design, to deep and the clay will crack in half.
Clay Wind Chimes
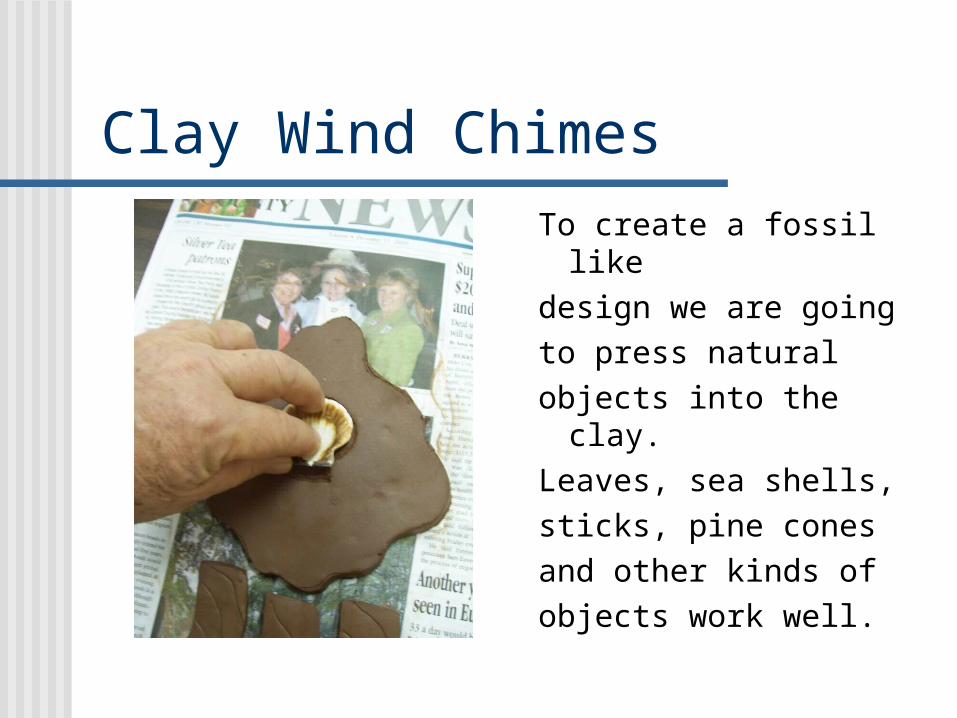
To create a fossil like design we are going to press natural objects into the clay. Leaves, sea shells, sticks, pine cones and other kinds of objects work well.

Clay Wind Chimes
To get some shapes to make an impression in the clay it may be necessary to rock them back and forth in the clay to transfer the image.

Clay Wind Chimes
This is an example of the use of a leaf.Make sure you press a design into both sides since this is a 3 dimensional object that can be viewed from all sides.

Clay Wind Chimes
After the image is transferred to the clay you may need to use a pencil to outline and make the lines sharper.

Clay Wind Chimes
Place your base and clappers on the newspaper in the arrangement that they will hang when finished. We will use a plastic straw to punch the holes.

Clay Wind ChimesThe hole must be aligned directly across from each other and don’t forget to make one or two holes in the top of the base to hang The wind chime from a tree or porch.

Clay Wind ChimesScratch your initials or potters mark into all your clay pieces.There will behundreds of pieces fired at the same time. Make sure your marks are easy find and read.

Clay Wind Chimes
The edges of your clay will be rough, so smooth and round them with your fingers.

Clay Wind Chimes
The wind chimes will be bisque fired and then painted with acrylic paint. Then tied together with garden twine.