chapter 1 : fcc radiation normstatic.highspeedbackbone.net/pdf/night owl 4gb executive... ·...
TRANSCRIPT

2
Chapter 1 : FCC Radiation Norm ..............................................3
Chapter 2 : Package Contents ..................................................4
Chapter 3 : System Requirements ............................................5
Chapter 4 : Hardware Description ............................................6
Chapter 5 : Charging Your Camera Pen ...................................7
Chapter 6 : Changing the Time and Date .................................8
Chapter 7 : Recording a Video ................................................ 10
Chapter 8 : Download Your Videos ........................................ 11
Chapter 9 : Reset Your Camera Pen ....................................... 13
Chapter 10 : Warranty .............................................................. 14
Interactive How-To videos are available for
the chapters indicated with this icon.
You can also visit Night Owl’s website at
http://www.nightowlsp.com/Videos
Table of Contents

3
FCC
This equipment has been tested and found to comply with limits for
Class B digital device pursuant to Part 15 of Federal Communications
Commission (FCC) rules.
FCC Compliance Statement
These limits are designed to provide reasonable protection against
frequency interference in residential installation. This equipment
generates, uses, and can radiate radio frequency energy, and if not
installed or used in accordance with the instructions, may cause harmful
interference to radio communication. However, there is no guarantee
that interference will not occur in television reception, which can be
determined by turning the equipment off and on. The user is encouraged
to try and correct the interference by one or more of the following
measures:
Reorient or relocate the receiving antenna
Increase the separation between the equipment and the receiver
Connect the equipment into an outlet on a circuit different from that
to which the receiver is connected to.
CAUTION!
The Federal Communications Commission warns the user that changes
or modifications to the unit not expressly approved by the party
responsible for compliance could void the user’s authority to operate the
equipment.
Chapter 1: FCC Radiation Norm

4
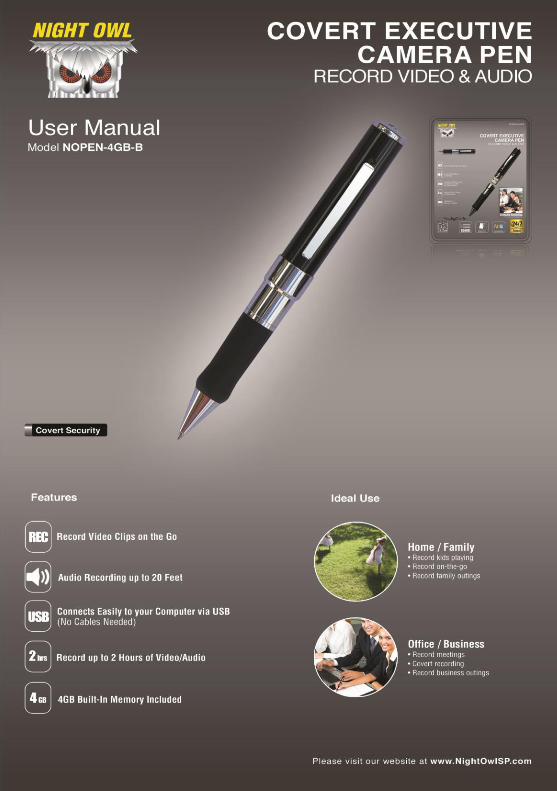
Your new Executive Camera Pen will have the following items:
- Executive Pen Camera with 4GB Built-in Memory
- User Manual
- 3 Foot USB Cable
- BONUS 3 Black Ink Refills
Chapter 2: Package Contents

5
Please be sure that the computer that you will be using the
Executive Camera Pen with complies with the following
specifications:
- IBM PCs or 100% Compatibles
- Windows® 2000, XP, Vista, 7
- Mac® OS 10.3 and above
- Available USB Port
Chapter 3: System Requirements

6
Chapter 4: Hardware Description

7
1. To charge your camera pen, locate the USB cable that
was provided in the packaging. Plug the USB connector
end of the cable into your computer.
2. Connect the other end of the USB cable to your camera
pen. The LED indicator will flash yellow while the
camera pen is charging.
3. Once the camera pen is completely charged, the LED
indicator will turn to a solid yellow color.
Prior to use, please charge your new
camera pen using the included USB
cable for 4 hours for optimal
performance
Chapter 5: Charging Your Camera Pen
Most USB hubs will not charge the camera pen.
Also, please be sure that the laptop or PC you are
using is plugged in and not running off battery because
the USB port may not charge.

8
To change the time and date on your camera pen, connect it to
your computer by inserting it directly into a USB port.
1. A window will pop-up once you have inserted the USB
into the computer. Click “Open folder to view files”.
2. Create a new text document, right click in the folder, click
“New” and then click “Text Document”. Name the
document “Time”.
Chapter 6: Changing the Time and Date

9
3. Type in the date and time. The format of the time must be
set in “YYYY.MM.DD HH:MM:SS” using Military Time.
4. Go to “File”, “Save” the document and safely remove the
camera pen from your computer.
5. Turn on the camera pen, start recording for just a few
seconds, and then turn the camera pen back off to initiate
the reset.
When your camera pen’s battery is too low, the time may
reset to factory default. You will need to reset the time
again if you want your recorded files to have the correct
recording time.

10
1. To turn on the camera pen, press and hold the power
button for 3 seconds, the yellow LED indicator will come
on to indicate the camera pen is on. After about 3
seconds, the LED indicator automatically turns solid blue
to indicate your camera pen is recording
2. To stop recording, press the power button once. The LED
indicator will turn solid yellow to indicate that your camera
pen is in standby mode. Standby mode means that the
camera pen is on but NOT recording. It will allow you to
quickly begin recording by pressing the power button
once.
3. To power off the camera pen while in standby mode,
press and hold the power button for about 3 seconds, the
solid yellow LED indicator will turn off to indicate that it is
completely shut off.
Chapter 7: Recording a Video
You should get about 90 minutes of recording time from
start to finish, but that will depend on how much data that
you already have saved on the camera pen. The camera
pen will automatically shut down when memory card is full.

11
For All Operating Systems
1. Turn on your computer.
2. Make sure your camera pen is turned off.
3. Locate the USB cable that was provided in the packaging.
Plug the USB connector end of the cable into your
computer.
4. Connect the other end of the USB cable to your camera
pen. You can also connect your camera pen by inserting
the pen directly into the computer using the USB connector.
Your computer will install the necessary drivers
automatically.
Chapter 8: Download Your Videos

12
5. A window will pop-up once you have inserted the USB into
the computer. Click “Open folder to view files”. If you did
not receive this pop-up proceed to step 6.
6. If you did not receive a pop-up window. Your camera pen
can be found as “Removable Disk” under “My computer”.
Double click the icon to open the folder.
7. All of the recorded files can be found within the drive that
indicates your camera pen. Recorded files will be listed in
the “Video” folder.

13
If your camera pen has stopped working you will need to reset
your device.
1. Locate the Reset button on the back of the camera pen.
2. Using a pin, press and hold down the reset button for two
seconds
3. Your camera pen will reset and you will be able to record
videos.
This will not erase any data on your camera pen. When
your device is locked that is when it should be reset.
Chapter 9: Reset Your Camera Pen

14
NIGHT OWL, LLC (“Night Owl”) provides the following warranty to
the original retail purchaser only (the “Purchaser”) with respect to
this product (the “Product”):
For a period of one (1) year after the date of sale, the Product shall
be free from manufacturing defects in material and workmanship.
In the event that the Product is defective, the Purchaser must
return the Product at Purchaser’s cost (no CODs) to the address
below, with the original proof of purchase receipt. In its sole
discretion, Night Owl will either repair or replace the Product at no
additional cost to the Purchaser. Any replacement Product (or
parts) will be covered by the same warranty as the original Product
through the expiration date of the original warranty period.
Exclusions:
This warranty does not apply to the following parts or upon the
following events:
Bulbs, LEDs and batteries;
The Product was not used or installed in the manner described in the installation instructions;
Negligent use of the Product, or misuse or abuse of the Product;
Electrical short circuits or power surges;
Use of replacement parts not supplied by Night Owl;
Product is either tampered with, modified, or repaired by another service provider;
Product has not been maintained in accordance with the instructions;
Accident, fire, flood or other acts of God;
Chapter 10: Warranty

15
Failure to use Night Owl approved accessories;
Defects or damages arising by use of the Product in other than normal conditions (including normal atmospheric, moisture and humidity conditions).
Except as otherwise prohibited by law, this warranty is in lieu of
other warranties, express or implied, and Night Owl neither
assumes nor authorizes any person to assume for it any other
obligation or liability in connection with the sale or service of the
Product.
In no event shall Night Owl be liable for any special or
consequential damages arising from the use of the Product or
arising from the malfunctioning or non-functioning of the Product,
or for any delay in the performance of this warranty due to any
cause beyond its control. This warranty shall not apply to
installation or the removal and reinstallation of products after
repair.
Night Owl does not make any claims or warranties of any kind
whatsoever regarding the Product’s potential, ability or
effectiveness to prevent, minimize, or in any way affect personal or
property damage or injury. Night Owl is not responsible for any
personal damage, loss or theft related to the Product or to its use
for any harm, whether physical or mental related thereto. Any and
all claims or statements, whether written or verbal, by salespeople,

16
retailers, dealers or distributors to the contrary are not authorized
by Night Owl, and do not affect this provision of this warranty.
Returns under this Warranty
In order to obtain service, please make sure that you have
registered your product on-line no later than thirty (30) days after
purchase at www.NightOwlSP.com in the warranty registration
section or in any other matter described in the instructions.
TOLL FREE CUSTOMER SERVICE
North America: 1-866-390-1303
Email: [email protected]
Website: www.NightOwlSP.com Email: [email protected]
Rev 04-2010

17