camtasia recording settings - neon toolkit
TRANSCRIPT

NeOn Showcase DVD
Production Brief
Navigation aids for this ppt:• Use hyperlinks on contents page
• Home button returns you to contents page
• Arrow button in bottom right corner indicates more slides in that section
• Note: Exemplars link to web URL’s and may take time to load
• The Production schedule on Slide 5 links to an Excel file
ACTION: “The DVD content Matrix” hyperlink on Slide 6 opens an Excel file.
Plugin champions and case study partners – please fill this in sheet and return by
end of Monday 9th November to [email protected]

Contents
1. DVD Editorial Board
2. Production schedule
3. DVD content
4. DVD storyboard
5. DVD output
6. Screen capture software
7. Recording settings
8. Screen capture tutorials
9. Movie storyboard
10. Movie script
11. Exemplars
12. Example Storyboard – KC Viz

1. DVD Editorial Board
Board membership: Enrico, Asun, Diana, Mathieu, Jane and Case Study partners
The Board will:
• produce the DVD Storyboard and script
• review the movie scripts
• decide if movies need to be re-recorded

2.1 Production Schedule– Immediately partners need to purchase Techsmith Camtasia (for
PC or Mac) if you haven’t got it already
– By 17:00 CET, 13th Nov … each product/case study champion to record a 1 minute demo movie and send to OU – for a production check
– End Nov … videos, storyboards and scripts must be recorded and sent to OU
– End Dec … Editorial Board will review movies & scripts (they may ask for movies to be re-recorded)
– By Mid Feb… Editorial Board will arrange for movies to be edited, professional narration added, and DVD compiled

2.2 Production Schedule
Go To Excel Gant Chart
3. DVD Content
Go To Excel File – “DVD Content Matrix”
and enter your details into the matrix

4. DVD Storyboard
• Introductory trailer (3-5 mins)
• What is NeOn? What is it about, what makes it unique, novel,… why
is this worth watching?
• Content exploration menu (e.g.)
- by product names / families
• Alphabetical list of delivered technologies
- by functional capabilities / problems addressed
• Conceptual phase; Data reuse and integration; Knowledge
maintenance; Visualization and navigation; Collaborative modelling;
Case Studies;
• Installers section
• Basic toolkit installer(s), manual(s),…
Content (to be determined by Editorial Board):

5. DVD Output
• DVD-ROM (data disc) Format (i.e. not PAL or NTSC)
• Playback CODEC will be MPEG4/H.264
• Front-end interface will use Adobe Flash
• Two DVD-ROM discs will be produced - 1 for plugins and 1 for
Toolkit & case studies
• Finished movies will be output at a resolution of either 800x600 or
640 x 480 pixels (to be decided by the Editorial Board at a later
stage)
Key elements:

6. Screen capture software
For consistency of standards and also for ease of post-
production, please use only the recommended software –
Techsmith Camtasia.
Each institution should acquire copies as necessary. 30-day
trials may be downloaded from http://www.techsmith.com
The Operating System options are:
• Camtasia Studio 6 for Windows PC (XP, Vista, 7) Price:
US$299. Version 5 may be used if desired.
• Camtasia:Mac (Apple Mac OS10.5 and above) US$99
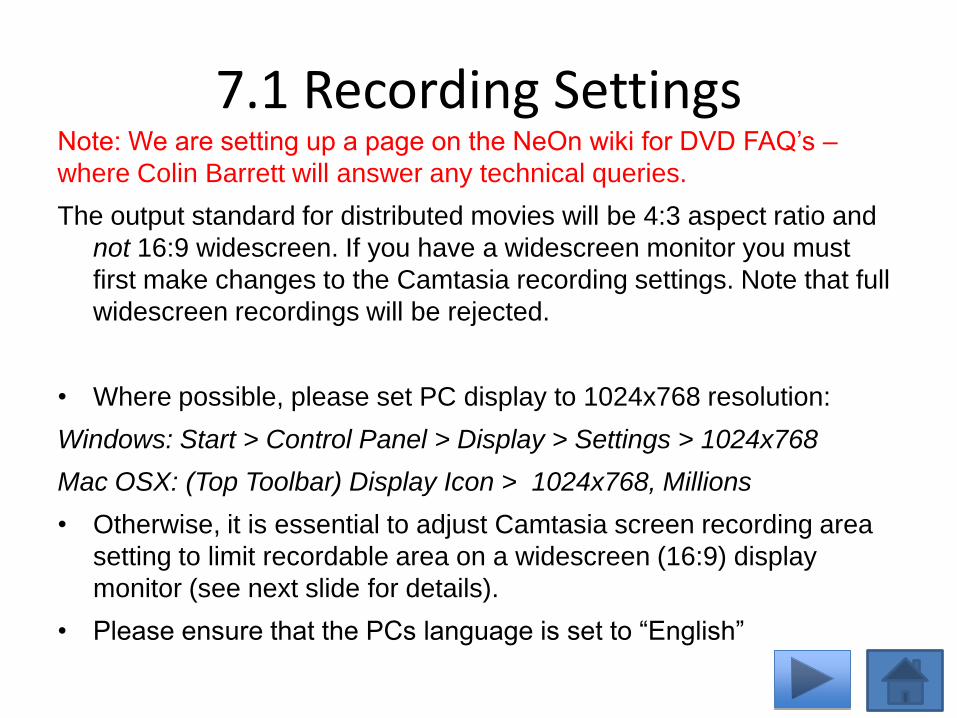
7.1 Recording SettingsNote: We are setting up a page on the NeOn wiki for DVD FAQ’s –
where Colin Barrett will answer any technical queries.
The output standard for distributed movies will be 4:3 aspect ratio and
not 16:9 widescreen. If you have a widescreen monitor you must
first make changes to the Camtasia recording settings. Note that full
widescreen recordings will be rejected.
• Where possible, please set PC display to 1024x768 resolution:
Windows: Start > Control Panel > Display > Settings > 1024x768
Mac OSX: (Top Toolbar) Display Icon > 1024x768, Millions
• Otherwise, it is essential to adjust Camtasia screen recording area
setting to limit recordable area on a widescreen (16:9) display
monitor (see next slide for details).
• Please ensure that the PCs language is set to “English”

7.1.1 Recording Settings
Camtasia Recording Settings - Video
On starting Camtasia, splash screen display box will ask for your input:
• Click “Select Area”. If standard 4:3 display (not widescreen) then
select “Full Screen”.
• If widescreen display then select “Custom”. Enter dimensions as
1024x736 (to eliminate Windows toolbar on bottom). Ensure that all
screen action takes place within the Camtasia rectangular screen
guide. Resize and arrange your windows, etc., to accommodate this
as anything outside the limits will not be captured.

7.1.2 Recording Settings
Camtasia Recording Settings - Video (continued)
To determine recording settings (video):
• Select “Settings” (drop-down arrow beside Audio button)
• Choose “Options” > “Capture”
• Select “File: Save as .camrec”
• “File Name Options” (button): Please set to “Automatic File Name” to
determine prefix using the following name convention:
neon-pluginname-sequencenumber
Example file name: “neon-pluginX-seq01.camrec”
(Please note that this standardised approach to file-naming will aid asset
management during the editorial and post-production phases later)
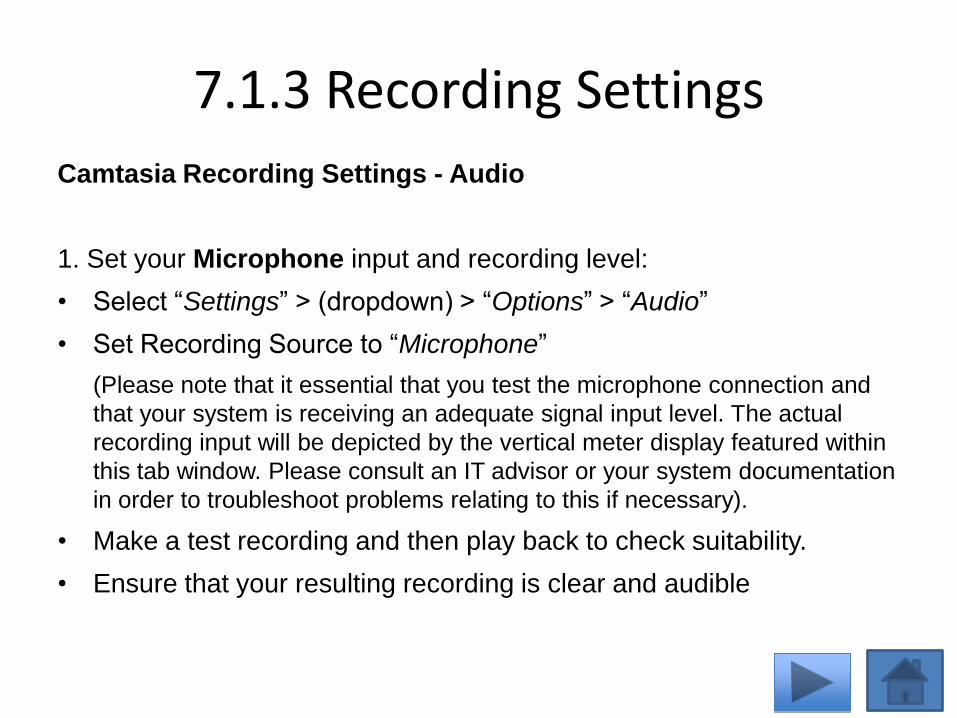
7.1.3 Recording Settings
Camtasia Recording Settings - Audio
1. Set your Microphone input and recording level:
• Select “Settings” > (dropdown) > “Options” > “Audio”
• Set Recording Source to “Microphone”
(Please note that it essential that you test the microphone connection and
that your system is receiving an adequate signal input level. The actual
recording input will be depicted by the vertical meter display featured within
this tab window. Please consult an IT advisor or your system documentation
in order to troubleshoot problems relating to this if necessary).
• Make a test recording and then play back to check suitability.
• Ensure that your resulting recording is clear and audible
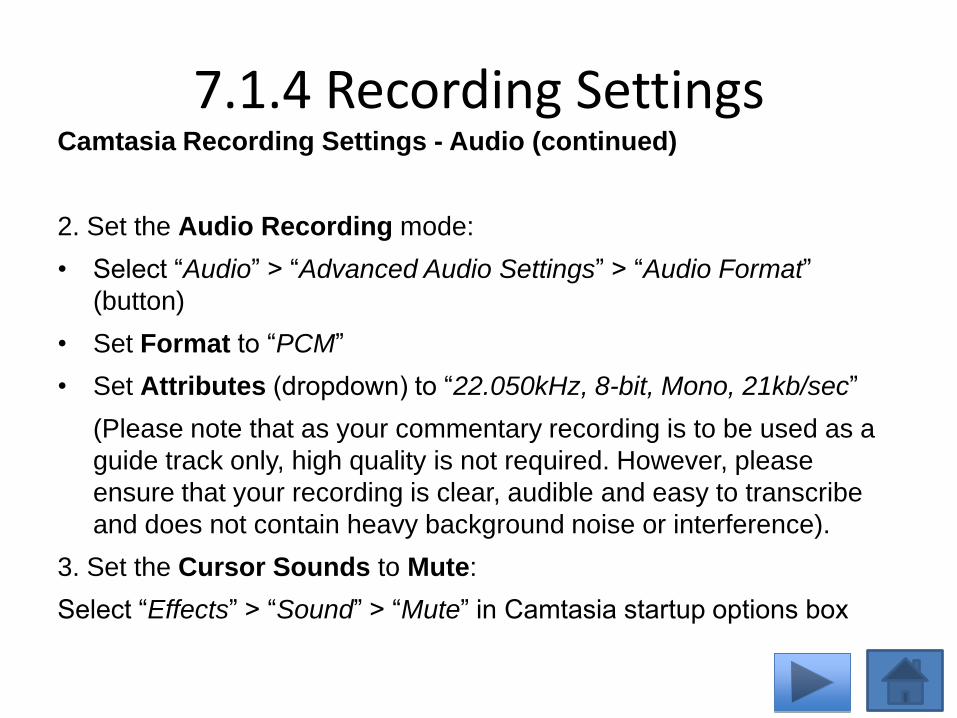
7.1.4 Recording SettingsCamtasia Recording Settings - Audio (continued)
2. Set the Audio Recording mode:
• Select “Audio” > “Advanced Audio Settings” > “Audio Format”
(button)
• Set Format to “PCM”
• Set Attributes (dropdown) to “22.050kHz, 8-bit, Mono, 21kb/sec”
(Please note that as your commentary recording is to be used as a
guide track only, high quality is not required. However, please
ensure that your recording is clear, audible and easy to transcribe
and does not contain heavy background noise or interference).
3. Set the Cursor Sounds to Mute:
Select “Effects” > “Sound” > “Mute” in Camtasia startup options box

7.1.5 Recording Settings
Camtasia Recording Settings – Other
To determine your prefered Hot Key settings:
• Select “Settings” (dropdown)
• Choose “Options” > “Hot Key”
• Select Hot Key combinations as required
It is very useful to use a Hot Key (eg: F9 and F10) to start and stop your
recording. F9 can be used to Pause the recording whilst you prepare your
steps within a single recording.

7.1.6 Recording Settings
Camtasia Recording Settings – Other
Set Camtasia Capture File Format:
• Select “Settings”
• Choose “Options” > “Capture”
• Select “File: Save as .camrec”
• “File Name Options” (button): Please set to “Automatic File Name” to
determine prefix using the following name convention:
neon-pluginname-sequencenumber
Example file name: “neon-pluginX-seq01.camrec”
(Please note that this standardised approach to file-naming will aid asset
management during the editorial and post-production phases later)

7.1.7 Recording Settings
Camtasia Recording Settings – Other (continued)
To determine specific Program settings:
Check ONLY:
• “Display recording preview after recording has stopped”
• “Show warning when toolbar overlaps recording area”
Set Temporary File Folder:
• Accept default or choose a new location as desired
(Please note: consider file management carefully. Keep all assets together
and submit to editorial board in a single package)
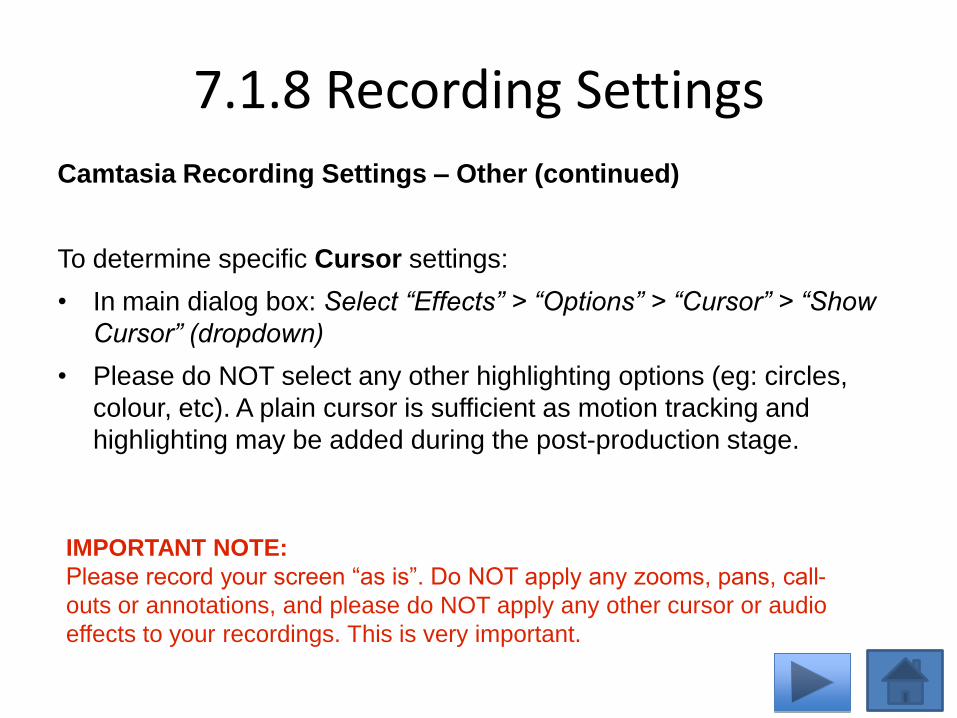
7.1.8 Recording Settings
Camtasia Recording Settings – Other (continued)
To determine specific Cursor settings:
• In main dialog box: Select “Effects” > “Options” > “Cursor” > “Show
Cursor” (dropdown)
• Please do NOT select any other highlighting options (eg: circles,
colour, etc). A plain cursor is sufficient as motion tracking and
highlighting may be added during the post-production stage.
IMPORTANT NOTE:
Please record your screen “as is”. Do NOT apply any zooms, pans, call-
outs or annotations, and please do NOT apply any other cursor or audio
effects to your recordings. This is very important.

7.2 Recording settings
– Please refer to these ESSENTIAL Camtasia Recording Tips
– Also ensure PC language is English

8. Screen capture tutorials
You may find these useful:
Camtasia Studio - Recording
Camtasia for Mac Recording

9.1 Movie storyboard• Expected duration of each movie
– 5-10 minutes
• A movie is a combination of: – Lightweight ppt ‘slides’
(these could be accompanied by webcam video captured in Camtasia explaining key points)
• Key points, context of the work, sketch the walkthrough
– Screen capture interaction with the plugin/etc. • Indicate on your storyboard if you want to zoom into areas of the
screen (this will be done at the editing stage, not the recording stage)• Don’t forget to set Camtasia up so that left and right mouse clicks are
obvious
– Ongoing narration of what is happening on screen and why • Must be in a catching and accessible language
NOTE: You will record the ppt slides and screen capture sessions in separate segments – there is no need for you to edit the segments together – Colin will do that. Ensure you use the recommended filenaming convention for easy identification of segment files and where they fit your storyboard.

9.2 Movie storyboard
• You should prepare your storyboard in a ppt and submit it with your movie
• Annotate your slides to indicate where you want to e.g.:– Add Captions - no need for you to record these in your movie – you
merely indicate on your storyboard – a standard design of caption will be used across all movies.
– Zooming into areas of the screen
• There is no need to format your storyboard slides – just use a plain slide and text.

9.3 Movie storyboard
• Ensure there are these distinct sections to your storyboard:– Who is targeted by my plugin?
• Who should benefit from the outcomes?
– What is my plugin about?• Why is it around?• Key features?
– How to get the plugin/technology, install it, set it up, register with it,…?
– Walkthrough • Describing and showing 2-3 key features• Explicitly illustrating benefits

10.1 Movie scriptYou should prepare a script and submit it with your movie
• You can either:– A) (Preferred option) Prepare a verbatim script (MS
Word file) annotated with screen actions & referenced to the sections of your storyboard and timings in your movie.
OR– B) Prepare an outline script for your storyboard, but
you improvise the words during recording – Note: if you choose this method, the audio soundtrack of your movie will be transcribed so that the Editorial Board may review/edit it.
Note: narration scripts will be polished by the Editorial board & a professional voice artist will re-record the narration. This will be added by Colin at the editing stage.

10.2 Movie script– Narration techniques:
• Voice over Powerpoint slides – You should record any ppt narration in a separate file using
Camtasia Powerpoint capture. You don’t need to edit this file – it will be combined at the editing stage.
– No need to format slides – a standard template will be added in at the editing stage.
– Ideally, no more than 4 points on a slide.
• Webcam capture– A single narrator can be captured in Camtasia Camera capture.– You could use an interview style - i.e. interviewer is off
camera, and interviewee answers questions (you should pause inbetween speakers, and ensure no talking over each other)
10.3 Movie Script
• ‘Intellectual accessibility’– You should avoid Jargon, use consistent terminology,
references to established terms
• Some issues:– What about repetitive content (installation, definition
of networked ontologies,…)
– If there is repetition, this could be addressed at the script/movie editing stage – i.e. repetitive sections could be removed from movies and shown separately.

11. Movie Exemplars
– Simply DV (a movie by Colin Barrett – note use of zoom – (such effects can be added to your movie during the editing process – you must indicate this on your storyboard.)
– Isoco – WP8 e-invoicing (note: visual only – no audio, note use of captions)
– Buddyspace – (note style of language used in narration)

12. Example storyboard for KC Navigator
by Martin Dzbor

12.1 Who is targeted
• KC Navigator is for ordinary users of ontology tools, subject specialists, analysts,…– For these users it is difficult to make sense of and explore
large and complex ontologies
– Visual metaphors of lengthy tree and list views are not effective
• Domain experts expect support for – Summarizing their knowledge models
– Quickly narrowing onto a specific theme in their knowledge models
– Comparing the thematic content of knowledge models

12.2 Users’ Expectations
This article talks about Climate Change, Sub-Saharan, Water, Hunger, Farming,
Drought,…
Sub-Saharan
Africa
Drought
Farming
Activity
Erosion
in
type of affects
type of

12.3 What is it about
• KC Navigator is a plugin of NeOn Toolkit that allows– Producing smart summaries of knowledge models by
identifying key descriptive concepts
– Using summaries for ‘middle-out’ navigation in knowledge models
– Exploring knowledge models with conceptual zooming in
• At the level of complete knowledge models
• At the level of specific entities and regions forming the knowledge model

12.4 Metaphor of summarization
• Knowledge models are typically complex, large and containing many themes

12.5 How to get started
• KC Navigator needs the following to run– NeOn Toolkit v1.3.0– …
• KC Navigator can be set up automatically using NeOn Toolkit’s Feature Update menu– …

12.6 Walkthrough
• In this short overview we will show you Nmain features of the KC Navigator
– Summarizing a large knowledge model and using conceptual zoom to refine the summary
– Filtering shown entities to simplify the view
– Interacting with specific thematic regions of the knowledge model
– …

12.7 Summary and Conceptual Zooming
Slide 35
Traditional tree view
Conceptual zoomcontrols
Ontology summary with ‘level 1’ key concepts

12.8 Thematic Model Exploration
Slide 36