baywork video sop fieldguide final bleeds bcj...
TRANSCRIPT

baywork
MAY 2012
baywork
HOW TO PRODUCE VIDEO STANDARD OPERATING
PROCEDURES

Contents Introduction.............................................................................. 2
How to use this guide.............................................................................. 3
Phase 1: Pre-Production........................................................ 4 Step 1: Pre-production Meeting............................................................... 4 Step 2: Create an Audio/Video (A/V) Script (or Storyboard)...................... 5 Step 3: Determine the Logistics of the Shoot............................................ 7 Step 4: Perform Site Surveys.................................................................. 8 Step 5: Create a Shot Selection Sheet (or Shot List)................................. 9
Phase 2: Acquisition............................................................ 10Lighting................................................................................................... 10 Shooting In Mixed Lighting...................................................................... 13 Neutral Density........................................................................................ 14Audio.......................................................................................................... 15 Audio Equipment..................................................................................... 15 Setting the Audio Levels.......................................................................... 16The Camera................................................................................................ 17 Which Camera should be Purchased?..................................................... 17 White Balancing...................................................................................... 19 Setting the Iris and Turning on Zebras...................................................... 20Shooting..................................................................................................... 22 Close-ups............................................................................................... 24
Phase 3: Post-Production...................................................... 25Editing........................................................................................................ 25 Step 1. The Edit Decision List.................................................................. 25 Step 2. Logging, Log & Capture, Log and Transfer.................................... 26 Step 3. The Rough Cut............................................................................ 26 Step 4. Assembly.................................................................................... 26Delivery = Compression............................................................................. 27Other considerations when developing video SOPs...................................... 28
baywork
baywork.orgWith the support of Gey-Newkirk Productions (GNP), Laney College, Knowledge Capture Services Inc., the San Francisco Public Utilities Commission, Zone 7 Water Agency, the City of San Jose, and Union Sanitary District
How To Produce Video Standard Operating Procedures 3 4How To Produce Video Standard Operating Procedures 29 30
6. Voiceover or Field Sound? – Video based SOPs can be produced with or without scripted voiceovers, each of which have advantages and disadvantages. A voiceover gives the product a more professional feel with studio recorded sound. A voiceover will require an additional eff ort to record the audio in a studio and then edit it together with the footage recorded in the fi eld. Not using a voiceover and recording sound in the fi eld will have the added advantage of the user hearing equipment sounds as they happen, thereby making the SOP or training tool more realistic.
7. Turn off Phones and Radios – Participants should be reminded to turn off all phones and/or radios during the shoot, as this is oft en an unexpected interruption or can cause electrical interference.
Baywork Introduction Baywork, a collaborative of water and wastewater agencies working together to ensure workforce reliability, relies on four major strategies:
1. Develop qualifi ed candidates for mission critical jobs2. Provide staff with the information they need to do quality work3. Modify work processes to optimize use of available staff 4. Maximize eff ectiveness of workforce reliability investments through collaboration
In all of these areas, BAYWORK has looked for ways to become more eff ective through increased use of technology. Because of the importance of documentation, technical training, and knowledge management, one of BAYWORK’s objectives has been to help staff in water and wastewater utilities learn to use video technology to create video Standard Operating Procedures.
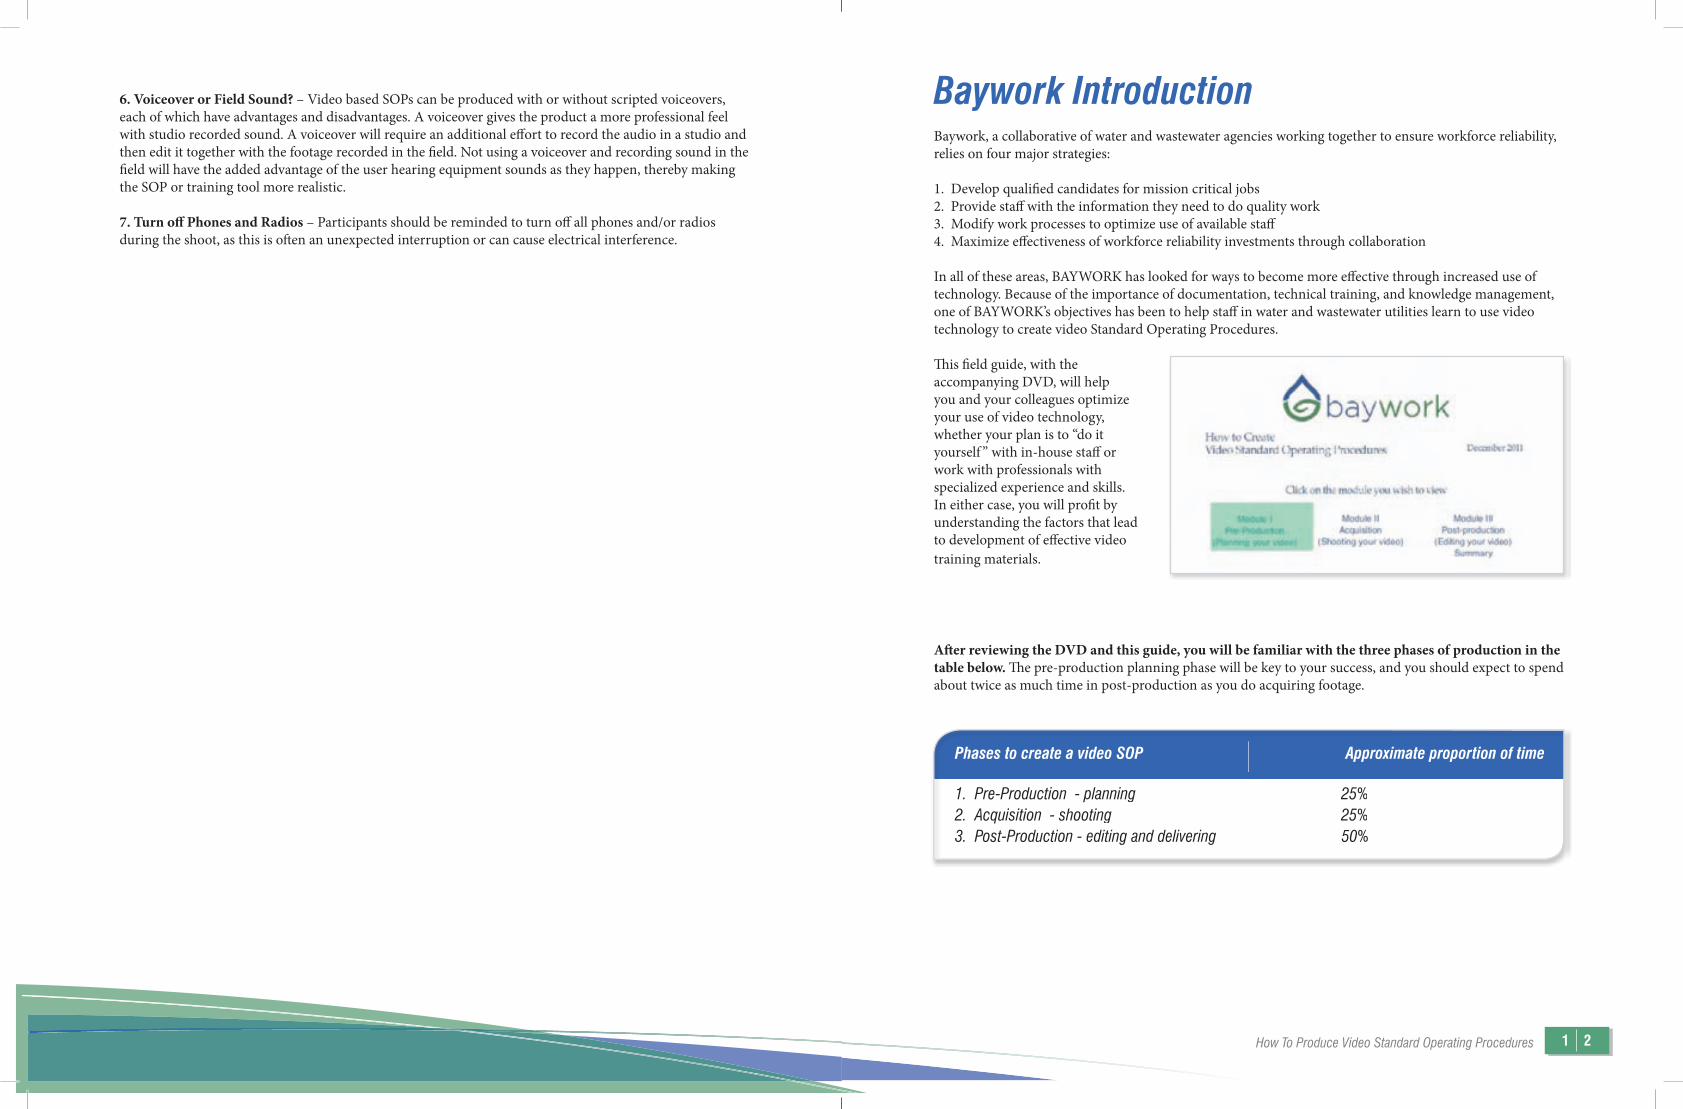
Th is fi eld guide, with the accompanying DVD, will help you and your colleagues optimize your use of video technology, whether your plan is to “do it yourself ” with in-house staff or work with professionals with specialized experience and skills. In either case, you will profi t by understanding the factors that lead to development of eff ective video training materials.
Aft er reviewing the DVD and this guide, you will be familiar with the three phases of production in the table below. Th e pre-production planning phase will be key to your success, and you should expect to spend about twice as much time in post-production as you do acquiring footage.
Phases to create a video SOP Approximate proportion of time
1. Pre-Production - planning 25%2. Acquisition - shooting 25%3. Post-Production - editing and delivering 50%
Phases to create a video SOP Approximate proportion of time
1. Pre-Production - planning 25%2. Acquisition - shooting 25%3. Post-Production - editing and delivering 50%
How To Produce Video Standard Operating Procedures 1 2
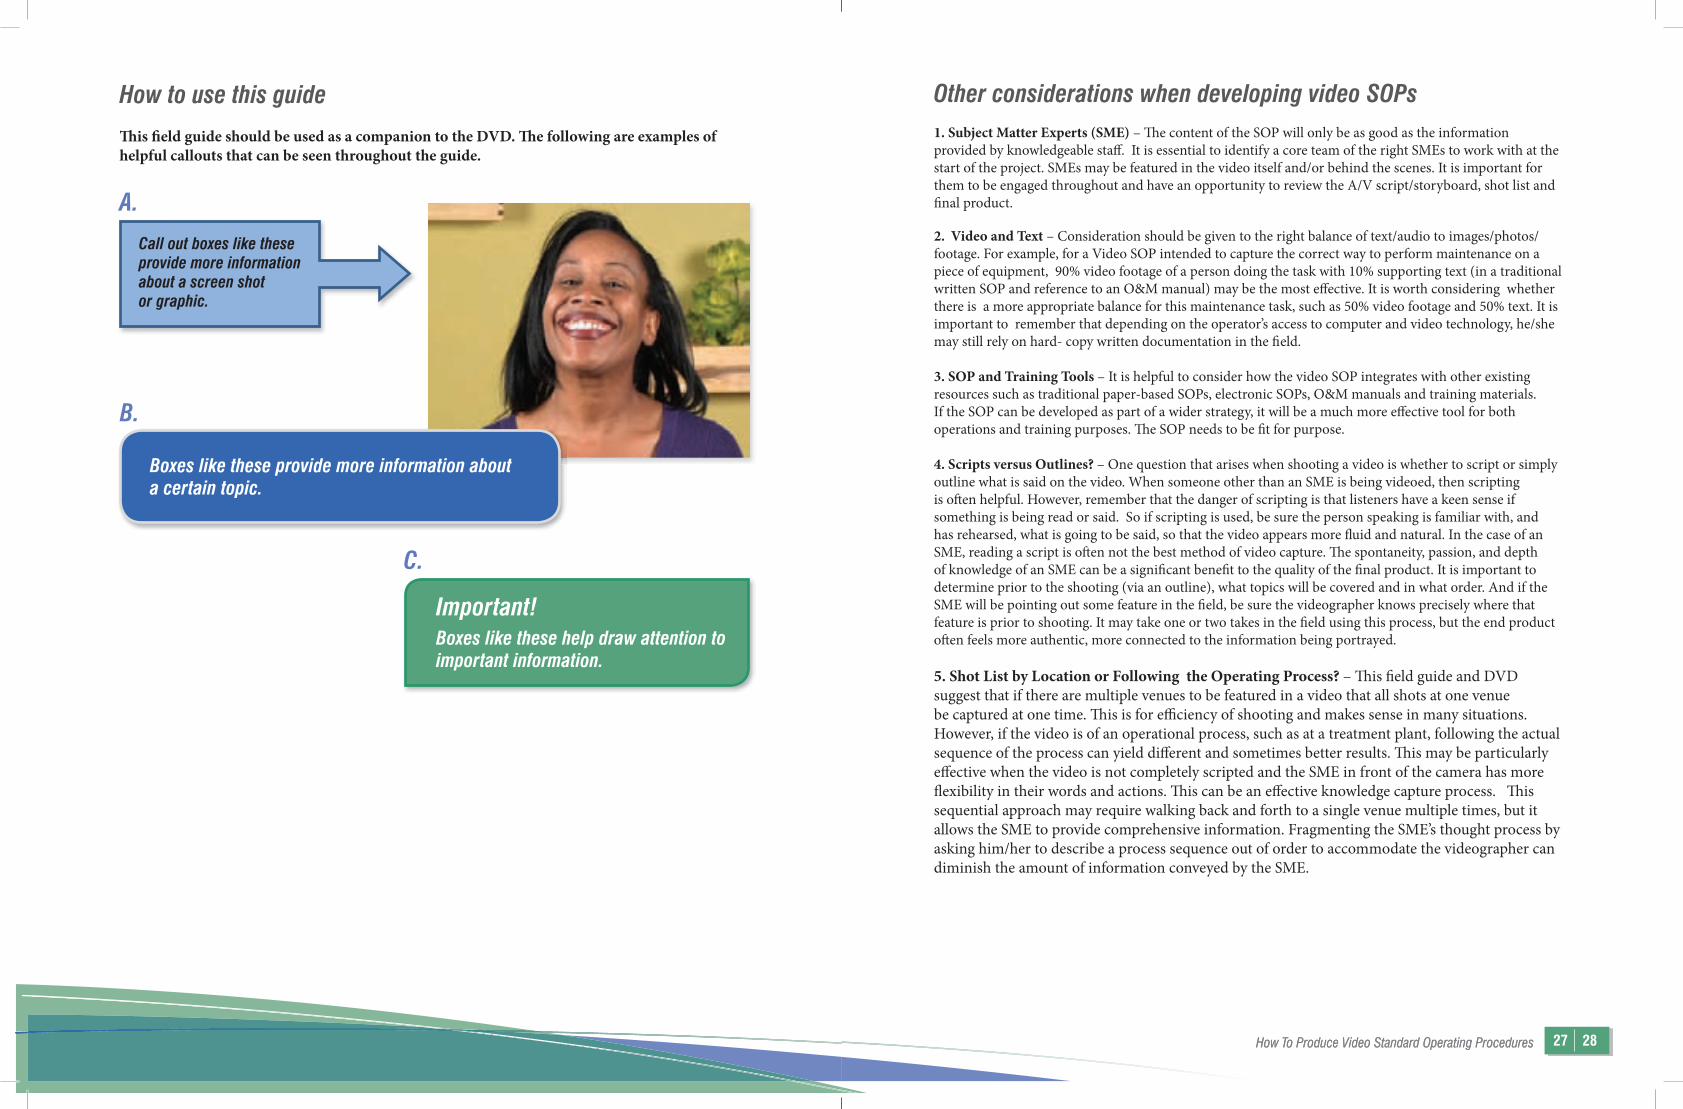
How to use this guide Th is fi eld guide should be used as a companion to the DVD. Th e following are examples of helpful callouts that can be seen throughout the guide.
Call out boxes like these provide more information about a screen shot or graphic.
Important!Boxes like these help draw attention to important information.
A.
B.
C.
Boxes like these provide more information about a certain topic.
Other considerations when developing video SOPs1. Subject Matter Experts (SME) – Th e content of the SOP will only be as good as the information provided by knowledgeable staff . It is essential to identify a core team of the right SMEs to work with at the start of the project. SMEs may be featured in the video itself and/or behind the scenes. It is important for them to be engaged throughout and have an opportunity to review the A/V script/storyboard, shot list and fi nal product.
2. Video and Text – Consideration should be given to the right balance of text/audio to images/photos/footage. For example, for a Video SOP intended to capture the correct way to perform maintenance on a piece of equipment, 90% video footage of a person doing the task with 10% supporting text (in a traditional written SOP and reference to an O&M manual) may be the most eff ective. It is worth considering whether there is a more appropriate balance for this maintenance task, such as 50% video footage and 50% text. It is important to remember that depending on the operator’s access to computer and video technology, he/she may still rely on hard- copy written documentation in the fi eld.
3. SOP and Training Tools – It is helpful to consider how the video SOP integrates with other existing resources such as traditional paper-based SOPs, electronic SOPs, O&M manuals and training materials. If the SOP can be developed as part of a wider strategy, it will be a much more eff ective tool for both operations and training purposes. Th e SOP needs to be fi t for purpose.
4. Scripts versus Outlines? – One question that arises when shooting a video is whether to script or simply outline what is said on the video. When someone other than an SME is being videoed, then scripting is oft en helpful. However, remember that the danger of scripting is that listeners have a keen sense if something is being read or said. So if scripting is used, be sure the person speaking is familiar with, and has rehearsed, what is going to be said, so that the video appears more fl uid and natural. In the case of an SME, reading a script is oft en not the best method of video capture. Th e spontaneity, passion, and depth of knowledge of an SME can be a signifi cant benefi t to the quality of the fi nal product. It is important to determine prior to the shooting (via an outline), what topics will be covered and in what order. And if the SME will be pointing out some feature in the fi eld, be sure the videographer knows precisely where that feature is prior to shooting. It may take one or two takes in the fi eld using this process, but the end product oft en feels more authentic, more connected to the information being portrayed.
5. Shot List by Location or Following the Operating Process? – Th is fi eld guide and DVD suggest that if there are multiple venues to be featured in a video that all shots at one venue be captured at one time. Th is is for effi ciency of shooting and makes sense in many situations. However, if the video is of an operational process, such as at a treatment plant, following the actual sequence of the process can yield diff erent and sometimes better results. Th is may be particularly eff ective when the video is not completely scripted and the SME in front of the camera has more fl exibility in their words and actions. Th is can be an eff ective knowledge capture process. Th is sequential approach may require walking back and forth to a single venue multiple times, but it allows the SME to provide comprehensive information. Fragmenting the SME’s thought process by asking him/her to describe a process sequence out of order to accommodate the videographer can diminish the amount of information conveyed by the SME.
How To Produce Video Standard Operating Procedures 3 4How To Produce Video Standard Operating Procedures 27 28

Delivery = Compression In the world of video, delivery equals compression. Th ere are thousands of mobile devices on the market today all of which require their own special codec. Th is is where the IT department comes in. It is up to them to determine which compressions are necessary for delivery. Export or deliver the video in whatever compression or compressions are required.
Th ings to remember…
Follow these important procedures to see the project through to completion:
Compression is useful because it helps reduce the consumption of resources such as data space or transmission capacity.
Video compression uses modern coding techniques to reduce redundancy in video data.
A video codec is a device or software that enables video compression and/or decompression for digital video.
ScriptShot Selection Sheet
StoryboardSite Survey
Edit Decision List
Phase 1: Pre-Production Pre-production is the initial planning phase for the video and is key to determining the success of later stages.
Step 1: Pre-production Meeting
Th e fi rst step is a pre-production meeting with everyone involved in the project. Th e following people should attend:
- the person requesting the video - the person that is going to shoot the video - the supervisor of the process that the video SOP relates to - the subject matter experts who are familiar with the subject operation (or any other person whose knowledge is to be preserved) - the safety offi cer of the water/wastewater utility (if you will be fi lming a process where applicable OSHA standards need to be observed) - the employees with the most experience producing, shooting, directing, and editing (staff should be assigned and available for these roles from inception to fi nish) What is accomplished during the pre-production meeting?
- Brainstorming ideas are collected. - An outline is created that lists the facts that should be presented in the video and the order in which they should be discussed. - Based on the outline, a clear and concise narrative is written.
How To Produce Video Standard Operating Procedures 3 4How To Produce Video Standard Operating Procedures 3 4

Step 2: Create an Audio/Video (A/V) Script (or Storyboard) Th e A/V script is a 2-sided template, also called a storyboard.
Storyboards do not need to be polished. Th e point is to be clear on both sides of the page.
Agency: Garry Newkirk Production Writer: Garry Newkirk Client: BAYWORKS Producer: Gey, Davis Project: VSOP Director: Newkirk Title: bayworks demo
(working title) Art Director:
Don Grant
Subject: Medium: Job #: Contact: Douglas Gey
510.282.3570 Code #: Draft: Ruff outline
VIDEO AUDIO
LONG SHOT OF SPEAKER, GARRY NEWKIRK
: HI, I'M GARRY NEWKIRK. MY COMPANY ALONG WITH BAYWORKS AND LANEY COLLEGE HAVE BEEN ASKED TO DEMONSTRATE WHAT IT TAKES TO MAKE AN EFFECTIVE TRAINING VIDEO
: :
The left side is for a description or drawing of what the camera is to see during the narration.
The right side is where the narrative or audio is placed.
The two sides should coincide and be numbered as each scene changes.
Step 2. Logging, Log and Capture, Log and TransferWhen video is imported into the non-linear editing system, each scene should be numbered and labeled according to what the script calls for. Th is will save valuable time and allow the assembly to go smoothly.
When footage is captured in the editing soft ware, be sure to label each and every clip with a custom name, the scene number, and take number.
Step 3. The Rough CutOnce all material is imported, make a rough cut. Th e editing interface may look something like this:
Step 4. AssemblyTo assemble the video:
- Take the numbered scenes and lay them onto the timeline - Record the dialogue - Lay in the B-roll - Add transitions, but only if they are meaningful - Add music and sound eff ects
1. Lay Rough-Cut2. Add B-Roll3. Add Transitions4. Add Graphics5. Add Music
How To Produce Video Standard Operating Procedures 3 4How To Produce Video Standard Operating Procedures 25 26

Phase 3: Post-Production
EditingAs mentioned in the introduction, expect to spend 50 percent of the video production time on this phase.Th ere are a number of non-linear editing systems available. Th e most common platforms are Apple and PC. Make sure to purchase editing soft ware and a computer platform that are compatible. Th ere are video standard operating procedures for whichever platform is chosen.
Step 1. The Edit Decision ListBefore using editing soft ware, log the footage and determine which takes will be used for which scenes. Th is is called an Edit Decision List (EDL).
Th e EDL should include:
- A custom name - Th e scene number - Th e take number
Th e following storyboard works just as well as the previous example.
Storyboarding should be done before going out on location, so it is clear what is to be shot ahead of time. Th ese are not decisions to be made in the fi eld.
By reviewing the scene descriptions on the storyboard, site selection for each scene can be completed easily and logically. Develop a list showing the location and address of each site.
The scene number
What the camera should show
The narrative that accompanies the shot
How To Produce Video Standard Operating Procedures 3 4How To Produce Video Standard Operating Procedures 5 6

Step 3: Determine the logistics of the shoot Th e producer and site supervisor must determine the following, aft er which the producer can arrange a schedule: - Th e actual location - Best time of day to shoot - Personnel needed to shoot (both behind the scenes and in front of the camera)
Don’t Forget: The producer must obtain media/photo release forms from all personnel who will appear on camera. This is a very important step in avoiding future litigation.
Close-ups Close-ups are a useful and essential tool in educational videos, and are called “B-roll” or cutaways. B-roll is used to bring the viewer closer to the action as the narrator explains the procedure. It is important that the close- up shows the exact action that is being shown in the wide or medium shots. Th e video will fi t much better during editing if this rule is followed, otherwise it may look awkward.
Zooming can be used. However, it should not be done too slowly, too quickly, or too frequently.
It is good practice to take still photos in any given location to augment what is captured via video. Many video cameras can take high resolution photos.
Medium Shot
Close-up
Always use close-ups to show the action.
How To Produce Video Standard Operating Procedures 3 4How To Produce Video Standard Operating Procedures 23 24

9. Th e director then calls for the slate. Th e slate is an important part of the acquisition process. It later allows the editor to fi nd the scenes and the takes that the director decides to use in post-production. A slate can be purchased at any professional video outlet or the internet. Alternatively, a tablet, small whiteboard, or pre-printed sheets could be used.
Th e slate should contain: - the title - the date - the location - the director’s name - the scene - the take number
10. Th e director can now call the all- important phrase: “Action!”
11. Aft er the scene has been recorded, the director (and only the director) calls, “Cut!”
Only the director gives commands while on set. Period!
Step 4: Perform site surveysFollowing site selection and logistics, the producer and site manager should survey the site prior to the day of the shoot. Th is is essential for every shooting location in order to determine the following:
- Th e light quality of each site - Th e acoustics of each site - Th e power availability
As part of the acoustics check, it is important to verify that there is no electrical interference with wireless microphones at each site. If there is interference (e.g., from other equipment at the site), you may need to switch the wireless set to a diff erent channel.
Always know the power capacities of the siteMake sure equipment doesn’t draw more power than is available
How To Produce Video Standard Operating Procedures 3 4How To Produce Video Standard Operating Procedures 7 8

Step 5: Create a Shot Selection Sheet (or Shot List)All the scenes shot on a given site, and the dialogue associated with these scenes, should be grouped together on the shot list.
A shot list helps organize the shots by location so that all the scenes to be shot at a single location are done so while there.
Scenes in the fi nished video may jump from location to location in the middle of a sentence but it is most effi cient if all scenes at a single site can be completed at one time (i.e., the video is not necessarily shot in the sequence that is refl ected in the fi nal video).
Tip: Prepare the script on a computer, then cut and paste from the script to the shot sheet. Th is streamlines the process and saves valuable time.
Start with the scriptSite selection and the shot sheet are both extrapolated from the script.
List all scenes that will take place in the boardroom
ShootingNow, fi nally, it is time to shoot! Keep to the following sequence before recording to ensure clarity and consistency.
7. When everything is set and everyone involved is ready, the director should state in a loud voice: “Quiet on the set!” Aft er there is quiet on the set, the director says “Roll camera!”
8. When the recording indicator on the viewfi nder stops blinking and holds steady, the camera operator says, “Speed.”
Wait for the ‘REC’ to stop blinking and hold the camera steady.
1. Director 2. Actor 3. Director
4. Audio operator 5. Director 6. Camera Operator
“Ready.”“Actor ready?” “Audio ready?”
“Ready.” “Camera ready?” “Ready.”
How To Produce Video Standard Operating Procedures 3 4How To Produce Video Standard Operating Procedures 21 22

In optics, the f-number (sometimes called focal ratio, f-ratio, f-stop, or relative aperture) of an optical system expresses the diameter of the entrance pupil in terms of the focal length of the lens; in simpler terms, the f-number is the focal length divided by the “effective” aperture diameter.
Composition When composing a shot, videographers divide the screen up into nine segments and apply the “Rule of Th irds.” Th is is an imaginary graphic applied to the screen by the camera operator. Th e Rule of Th irds prevents poorly framed shots from being recorded.
The top horizontal line is at the level of the subject’s eyes.
Lower third graphics, such as the subject’s name, should be placed at the lower horizontal line.
If the subject is focusing his or her attention to the left of the screen, then the right vertical line should be placed at the back of the subject’s head while the subject looks “off camera”, to the left. This opposite is true if the subject is looking off camera to the right.
Phase 2: Acquisition
LightingTh ere are several diff erent types of lighting instruments. Th e cost of lighting instruments and kits can range from hundreds to thousands of dollars. Regardless of which lighting kit is chosen, it is important to be able to obtain the standard 3-point lighting scheme necessary to make a good video.
Key light – Th is is the primary light used to illuminate the subject and is the most powerful light in the kit.
Fill light – Th is is a little weaker than the key light, which is accomplished either by using a neutral density gel or using a less powerful instrument.
How To Produce Video Standard Operating Procedures 3 4How To Produce Video Standard Operating Procedures 9 10

Back light – Th is light, also a little weaker than the key light, is used to make the subject more dynamic and to pull the subject away from the background.
Th e net result of 3-point lighting.
Using equally powerful lighting for key light and fi ll light creates a fl at, unrealistic eff ect on the subject.
Learn more about lighting kits and gels by doing an internet search for “lighting for video.”
back light
key light fill lightSetting the Iris and Turning on ZebrasTh e iris is inside the lens; it acts to set the aperture of the camera. Th e aperture is the size of the opening that the light travels in through the lens to the CCD.
Th e amount of light that the aperture controls is measured in f-stops. Th e f-stop range is from f-1.5 to f-22. Th e maximum aperture or opening is f-1.5 and the minimum aperture (smallest opening) is f-22. Th e higher the f-stop number the less light is allowed through the lens and vice versa.
Th is is where the zebras come in. When setting the iris it is essential to turn on the zebras. Th e zebras represent either 80% or 100% of the maximum amount of light that should be seen in the video. Th e value of the zebras can be set in the menu. When setting the iris, make sure that the zebras are where one would expect to see bright light.
In photography and image processing, color balance is the global adjustment of the intensities of the colors (typically red, green, and blue primary colors). An important goal of this adjustment is to render specific colors – particularly neutral colors – correctly; hence, the general method is sometimes called gray balance, neutral balance, or white balance.
Search online to purchase a “broadcast white” card.
If zebras fl ood a scene, the video will be unusable.
Normal zebra levels should look much more like this.
How To Produce Video Standard Operating Procedures 3 4How To Produce Video Standard Operating Procedures 19 20

White BalancingAlways white balance the camera with each change of light using the manual white balance button.
Th is is necessary every time a shoot is started AND every time the lighting changes because diff erent lighting has diff erent color temperatures. It is particularly important in mixed lighting.
Unlike the human brain, the camera cannot adjust to multiple color temperatures simultaneously. So it is necessary to show the camera exactly what we consider to be the color white.
Beware! All white is not equal. A white shirt, or even a plain piece of white paper, will not do; their use for white balancing may result in a slight blue shift .
Th e only way to be certain that the camera is seeing true white is to purchase a broadcast white card. Broadcast white cards can be purchased at any professional video store or on-line. Simply search the internet for “broadcast white cards”. Always use broadcast white cards!
White Balancing in Four Easy StepsStep 1: Set lighting on target.Step 2: Place white card in front of subject’s face.Step 3: Zoom into the white card and defocus slightlyStep 4: Press the WB button until the “OK” graphic appears in the viewfi nder.
Not yet... Ready to go!
Color temperature is the characteristic of visible light that is measured in degrees of KelvinNote that the lower temperatures are referred to as warm colors and the higher temperatures are referred to as cool colors. The chart shows that the color changes from warm reds to cool blues until they reach a state of blue white as the Kelvin temperature increases.
Warm reds
Cool blues
Increasing Temperartures
How To Produce Video Standard Operating Procedures 3 4How To Produce Video Standard Operating Procedures 11 12

Shooting In Mixed LightingUnder mixed lighting conditions, many color temperatures will be encountered in one space. Th ere may be one dark corner lit by artifi cial fl uorescent lights and one bright corner lit by sunlight coming through a window.
Th e ambient lighting is between 3200 and 3800 degrees Kelvin. Sunlight is 5600 Kelvin and is the most powerful light found on earth, it is essential to adapt to it.
Th e most effi cient way to shoot in mixed lighting is to: - Light the scene with several lighting instruments rated at a minimum of 500 watts - Place a blue 5600 Kelvin converter gel in front of it. Th is will eff ectively change the overall light temperature to 5600 Kelvin - Set the iris to accommodate the brightness of the light and white balance the subject
Following these procedures will prevent the video from having a blue or orange cast (a problem that is diffi cult if not impossible to correct in the post-production stage).
Shooting in Mixed Lighting - White balancing must be repeated every 15 minutes because the sun continues to move throughout the day, changing the light temperature. See the section on “White Balancing.”
Avoid shooting shaky video. Handheld video made with a small camera will produce shaky video that distracts from the message. Many cameras now have image stabilization soft ware to smooth out any movement. Th is is helpful for shooting areas that require walking. Monopods are also available to help provide stability, yet allow more dynamic shooting. Alternatively, use a tripod. A good tripod system utilizes:
A fl uid head A bubble level indicator Multi-level spreaders
Do’s and Don’ts with a Camera• No dirty lenses!
• Always white balance the camera on each change of light (see side bar)
• Turn on zebras when setting the iris
Secure Digital (SD) is a non-volatile memory card format developed by the SD Card Association (SDA) for use in portable devices.
SD comprises several families of cards: the original, Standard-Capacity (SDSC) card, a High-Capacity (SDHC) card family, an extended-Capacity (SDXC) card family, and the SDIO family with input/output functions rather than just data storage.
The Secure Digital High Capacity (SDHC) format, defined in Version 2.0 of the SD specification, supports cards with capacities up to 32 GB. The SDHC trademark is licensed to ensure compatibility.
Choose a camera that…• Can be operated manually• Displays ZEBRA• Accepts external audio
Cameras with these features are available to suit a wide range of budgets, from hundreds to thousands of dollars.
How To Produce Video Standard Operating Procedures 3 4How To Produce Video Standard Operating Procedures 17 18

The CameraWhich camera should be purchased?Today’s state of the art cameras use AVCHD compression (Advanced Video Coding High Defi nition), which work well for non-linear acquisition and editing. Th ere are many cameras to choose from, but regardless of the brand, those with 3 CCD sensors (charge-coupled device) produce a higher- quality product.
For the purposes of demonstration, the accompanying DVD features the Panasonic AG-HMC 150 AVCHD camcorder.
Th ese cameras record on a small high capacity postage stamp sized chip called an SDHC media card (Secure Digital High Capacity), which can be inserted into the camera and computer.
Advanced Video Coding High Definition (AVCHD) is a file-based format for the digital recording and playback of high-definition video. AVCHD and its logo are trademarks of Panasonic and Sony.
Non-linear editing is a video editing method which enables direct access to any video frame in a digital video clip, without needing to play or scrub/shuttle through adjacent footage to reach it, as was necessary with older versions of video tape linear editing systems.
An image sensor is a device that converts an optical image into an electronic signal. It is used mostly in digital cameras and other imaging devices. Early analog sensors were video camera tubes. The image sensors most often used today are digital charge-coupled device (CCD) or complementary metal–oxide–semiconductor (CMOS) active pixel sensors.
A charge-coupled device (CCD) is a device for the movement of electrical charge, usually from within the device to an area where the charge can be manipulated, for example conversion into a digital value.
Neutral DensityNeutral density (ND) is the amount of light that is allowed through the lens into the camera’s chip. By using neutral density, it is possible to protect a video from the impact of the glare and refl ections that are normally experienced on a sunny day.
If a shooting location has water, it can be very refl ective and distract from the video. Th is is where neutral density is useful. When neutral density (ND) lights are displayed on the camera, it’s very important to apply the neutral density fi lter. With neutral density, the glare and refl ection of the sun are eliminated.
When shooting in bright sunshine with no cloud cover you should...pay attention to the ND filter light. When the ND filter light comes on, it is imperative to implement the neutral density filter.
How To Produce Video Standard Operating Procedures 3 4How To Produce Video Standard Operating Procedures 13 14

AudioSound levels are measured in decibels. Practical aspects of audio and how they apply to fi lming are addressed here.
Audio EquipmentLavaliere microphones with XLR connections are recommended.
If the connections do not match (quite likely if a moderately priced camera is being used), an adapter, such as the Beachtek DXA-2T universal compact camcorder audio adapter, can be used to match connections. Th is universal compact camcorder works with most camcorders.
Some cameras use proprietary adapters. Always check the camera’s owner’s manual for reference before ordering any adapter system.
This guide covers the practical side of acquiring audio to ensure you will have clear sound. To learn more about the science of sound, do an internet search for “audio for video.”
Setting the Audio LevelsFor analog equipment, levels are set to zero decibels (dB) to ensure that the signal will not be clipped and rendered useless.
For digital equipment the equivalent is a negative value. On a digital camera, the levels should be set to -12dB.
Never redline audioBoth analog and digital audio equipment have a “red zone” to indicate when settings are incorrect.
How To Produce Video Standard Operating Procedures 3 4How To Produce Video Standard Operating Procedures 15 16