basic stamp oem module by wilmer arellano. 2 the basic stamp 2 oem is a discreet component version...
TRANSCRIPT

Basic StampOEM module
By Wilmer Arellano
2
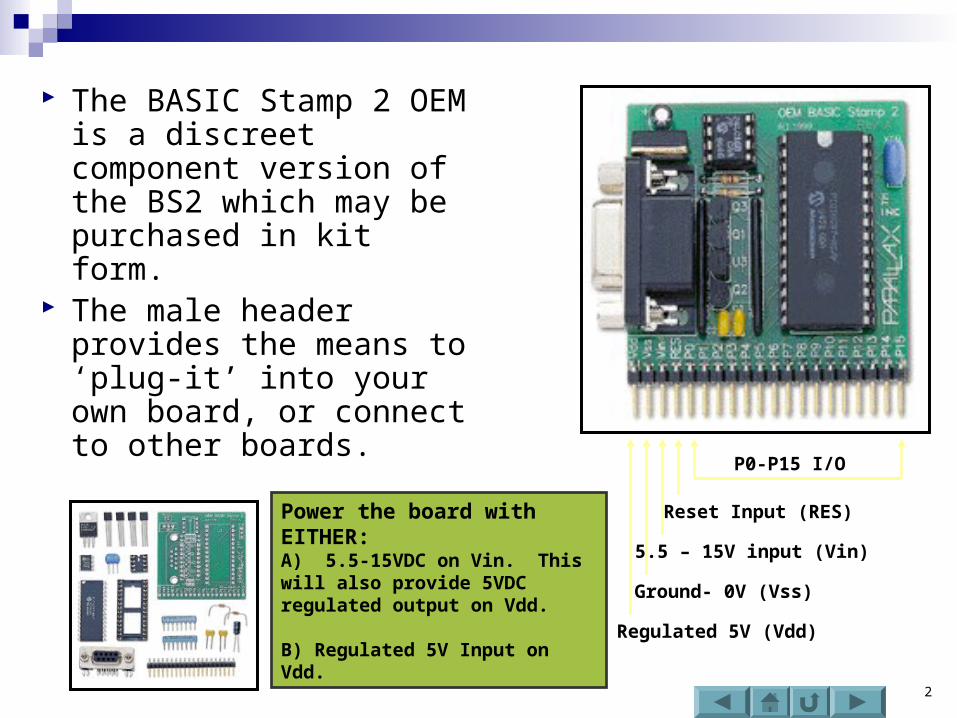
The BASIC Stamp 2 OEM is a discreet component version of the BS2 which may be purchased in kit form.
The male header provides the means to ‘plug-it’ into your own board, or connect to other boards.
Regulated 5V (Vdd)
Ground- 0V (Vss)
5.5 – 15V input (Vin)
Reset Input (RES)
P0-P15 I/O
Power the board with EITHER:A) 5.5-15VDC on Vin. This will also provide 5VDC regulated output on Vdd.
B) Regulated 5V Input on Vdd.

Using the breadboard (Socket board)
The bread board has many strips of metal (copper usually) which run underneath the board.
The metal strips are laid out as shown in orange. The long top and bottom row of holes are usually used for power supply connections.
To use the bread board, the legs of components are placed in the holes (the sockets). The holes are made so that they will hold the component in place. The circuit is built by placing components and connecting them together with jumper wires.
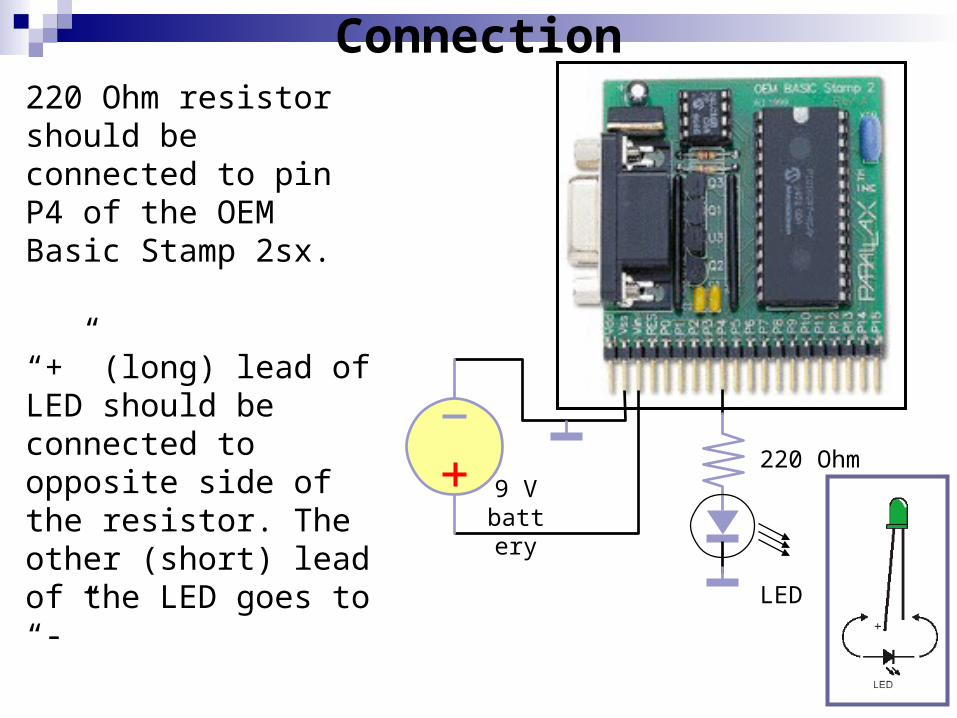
Connection220 Ohm resistor should be connected to pin P4 of the OEM Basic Stamp 2sx.
“+” (long) lead of LED should be connected to opposite side of the resistor. The other (short) lead of the LED goes to “-” 220 Ohm
LED
9 V battery

' {$STAMP BS2sx}' {$PBASIC 2.5}
Green: 'Label Or point were you can RETURNLOW 4 'Set pin 4 an output pin and low voltage "0"PAUSE 1000 'Pause 1000 msHIGH 4 'Set pin 4 an output pin and high voltage "1"PAUSE 1000 'Pause 1000 msGOTO Green
Flashing LED
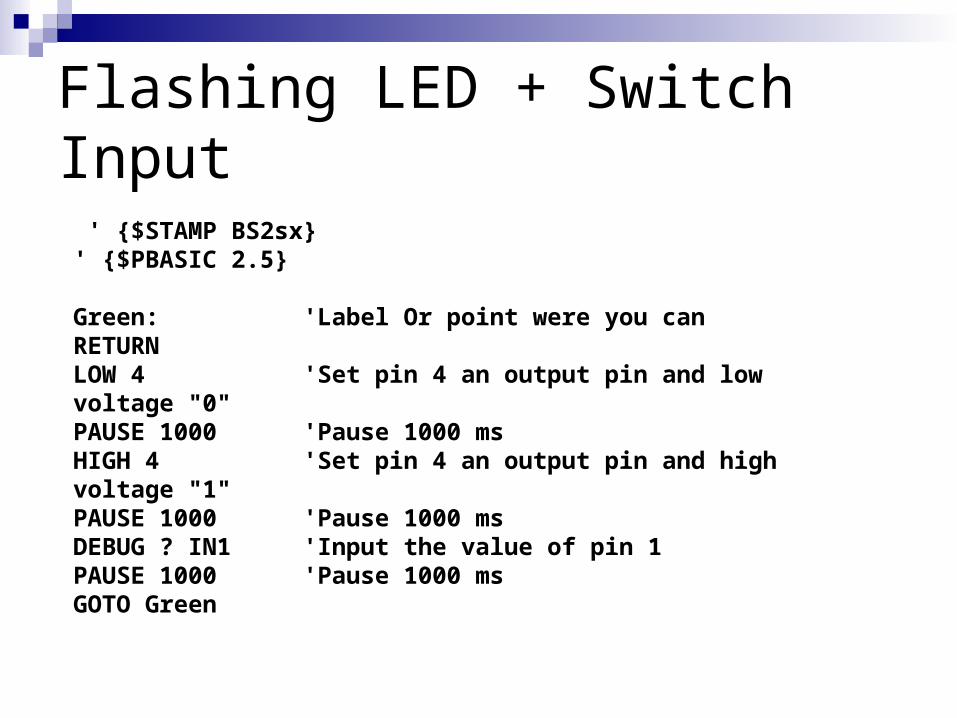
' {$STAMP BS2sx}' {$PBASIC 2.5}
Green: 'Label Or point were you can RETURNLOW 4 'Set pin 4 an output pin and low voltage "0"PAUSE 1000 'Pause 1000 msHIGH 4 'Set pin 4 an output pin and high voltage "1"PAUSE 1000 'Pause 1000 msDEBUG ? IN1 'Input the value of pin 1PAUSE 1000 'Pause 1000 msGOTO Green
Flashing LED + Switch Input
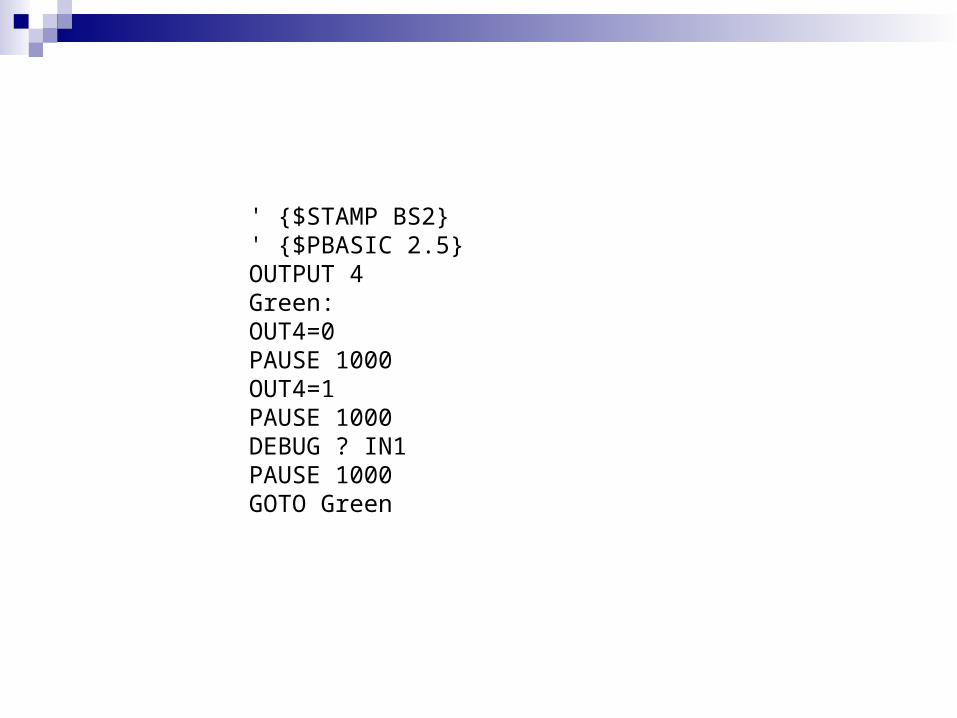
' {$STAMP BS2}' {$PBASIC 2.5}OUTPUT 4Green:OUT4=0PAUSE 1000OUT4=1PAUSE 1000DEBUG ? IN1PAUSE 1000GOTO Green

' {$STAMP BS2}' {$PBASIC 2.5}OUTPUT 4INPUT 1Green:OUT4=IN1PAUSE 1000GOTO Green
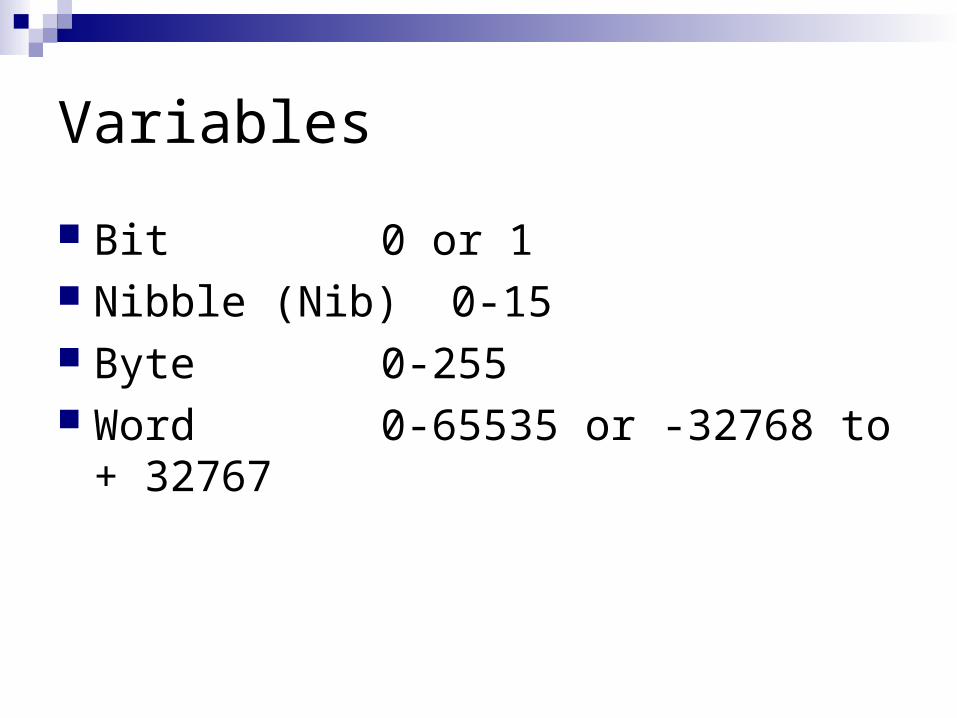
Variables
Bit 0 or 1 Nibble (Nib) 0-15 Byte 0-255 Word 0-65535 or -32768 to +
32767

' {$STAMP BS2}' {$PBASIC 2.5}NS VAR BitEW VAR BitTOTAL VAR ByteNOC CON 20TOTAL = 0OUTPUT 4INPUT 1TOTAL = TOTAL +100DEBUG ? TOTALTOTAL= TOTAL/3DEBUG ? TOTALDEBUG ? NOCGreen:OUT4=IN1PAUSE 1000GOTO Green

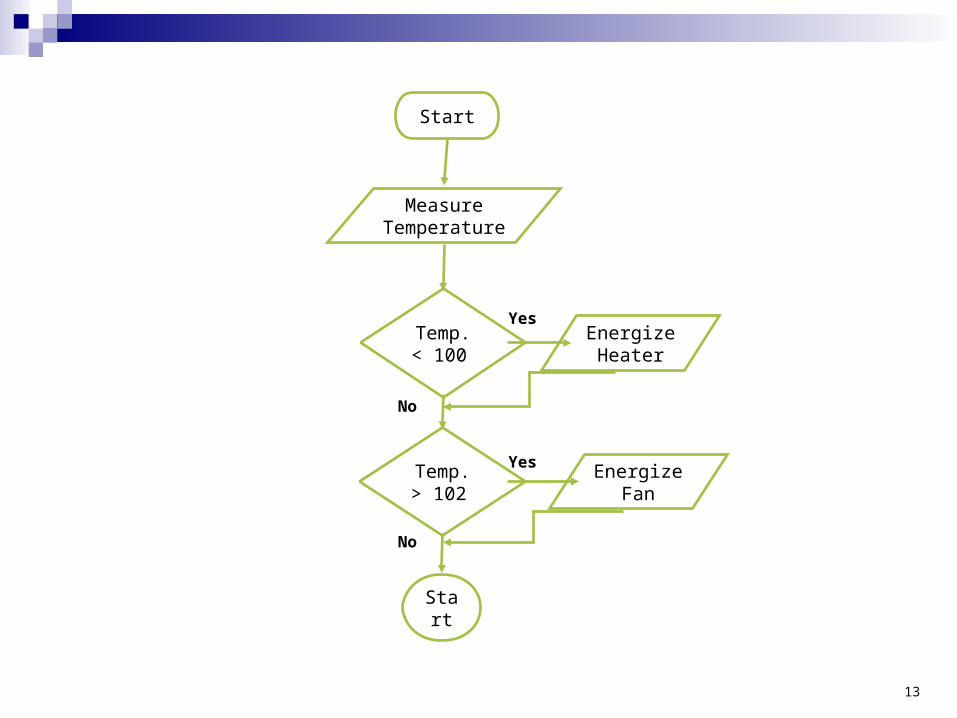
Pseudo Code
Start of program Measure temperature
Temperature < 100 F? Yes, Turn on heat
Temperature > 102 F? Yes, Turn on cooling fan Go back to start.
13
Start
MeasureTemperature
Temp.< 100
EnergizeHeater
Temp.> 102
EnergizeFan
Start
Yes
No
Yes
No

14
Sequential Flow ExamplePseudo-Code:
Start of program Turn off LED 1 Turn off LED 2 Pause for 2 seconds Light LED 1 Pause for 2 seconds Light LED 2
End of program
Flowchart:Flowchart:
' <<<< INSERT COMMON ' CIRCUIT DECLARATIONS >>>> 'Prog 6A: Example of sequential flow ' ****** Main program ************ LED1 = LED_Off 'Turn off LED 1 LED2 = LED_Off 'Turn off LED 2 PAUSE 2000 'Pause for 2 sec. LED1 = LED_On 'Light LED 1 PAUSE 2000 'Pause for 2 sec. LED2 = LED_On 'Light LED 2 END
Code:Code:
Start
Turn OFF LED1
Turn OFF LED2
2 Second Pause
Turn ON LED1
Turn ON LED2
2 Second Pause
End
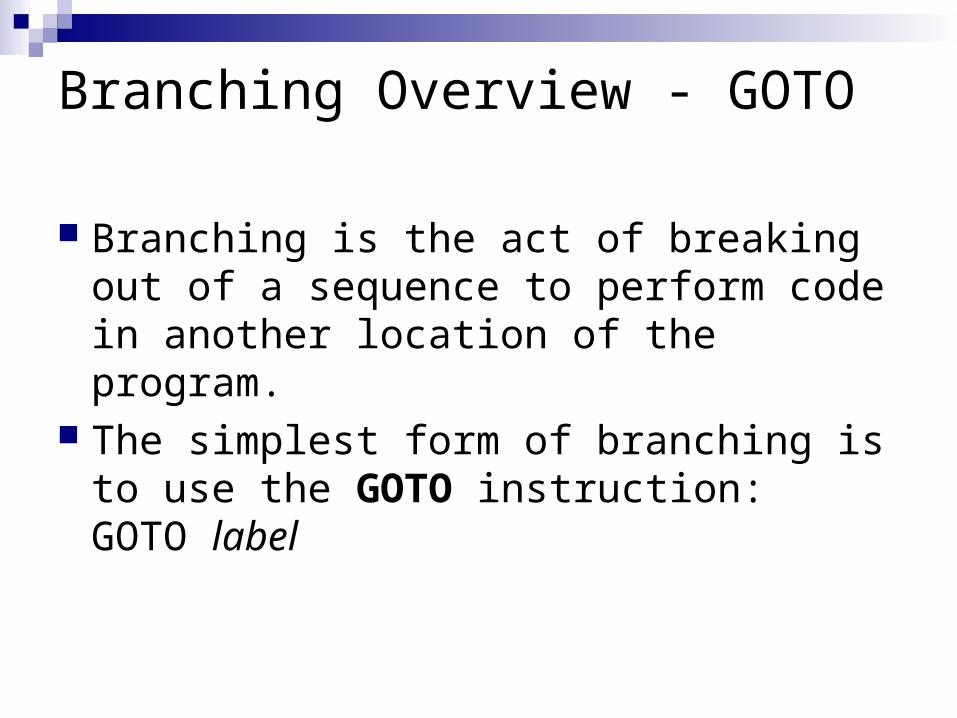
Branching Overview - GOTO
Branching is the act of breaking out of a sequence to perform code in another location of the program.
The simplest form of branching is to use the GOTO instruction: GOTO label

16
Looping Flow Example
Pseudo-Code:
Start of program Turn off LED 1 Turn off LED 2 Pause for 2 seconds Light LED 1 Pause for 2 seconds Light LED 2
Go back to start
' <<<< INSERT COMMON ' CIRCUIT DECLARATIONS >>>> 'Prog 6B: Example of sequential flow ' with looping ' ****** Main program ************ Main: LED1 = LED_Off 'Turn off LED 1 LED2 = LED_Off 'Turn off LED 2 PAUSE 2000 'Pause for 2 sec. LED1 = LED_On 'Light LED 1 PAUSE 2000 'Pause for 2 sec. LED2 = LED_On 'Light LED 2 GOTO Main 'Repeat sequence
Code:Code:
Flowchart:Flowchart:
Start
Turn OFF LED1
Turn OFF LED2
2 Second Pause
Turn ON LED1
Turn ON LED2
2 Second Pause
Conditionals Overview
The previous example is an unconditional branch; the program will branch back to Main regardless of any code parameters.
In a conditional branch a decision is made based on a current condition to branch or not to branch.
As humans, we constantly make decisions based on input as to what to perform. Shower too cold? Turn up the hot. Shower too hot? Turn down the hot water.
Microcontrollers can be programmed to act based on
IF…THEN The IF-THEN is the primary means of conditional branching.
IF condition THEN addressLabel
If the condition is evaluated to be true, execution will branch to the named address label.
If the condition is not true, execution will continue to the next step in the program sequence.
A condition is typically an equality:value1 = value2value1 > value2value1 < value2IN8 = 1
Compared to many versions of BASIC and other languages, the PBASIC 2.0 implementation of the IF-THEN is fairly limited. See the PBASIC 2.5 appendix for new implementations of IF-THEN.

19
IF-THEN Example: Alarm This program will sound the alarm as long as pushbutton 1
is pressed.
Start: Start: • Is button 1 pressed? Is button 1 pressed? • Yes, Go sound Alarm Yes, Go sound Alarm • No, Go back to start No, Go back to start Alarm Alarm • Sound speaker Sound speaker • Go back to start of programGo back to start of program
' <<<< INSERT SECTION 5 COMMON ' CIRCUIT DECLARATIONS >>>> 'Prog 6C: Conditional Branching Alarm Main: ' If pushbutton 1 is pressed, ' then go sound alarm IF PB1 = PB_On THEN Alarm GOTO Main Alarm: 'Sound the alarm FREQOUT Speaker, 1000, 2000 GOTO Main
Pseudo-Code
Flowchart Program Code
Button 1Pressed
Main
Speaker2000Hz for1 second
Main
TrueFalse
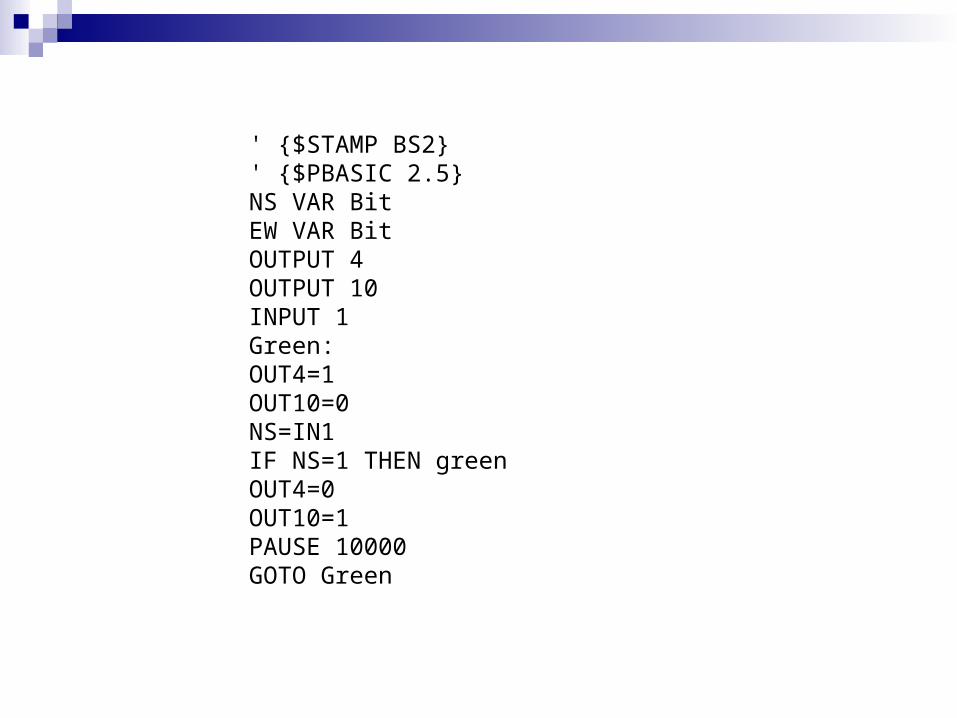
' {$STAMP BS2}' {$PBASIC 2.5}NS VAR BitEW VAR BitOUTPUT 4OUTPUT 10INPUT 1Green:OUT4=1OUT10=0NS=IN1IF NS=1 THEN greenOUT4=0OUT10=1PAUSE 10000GOTO Green
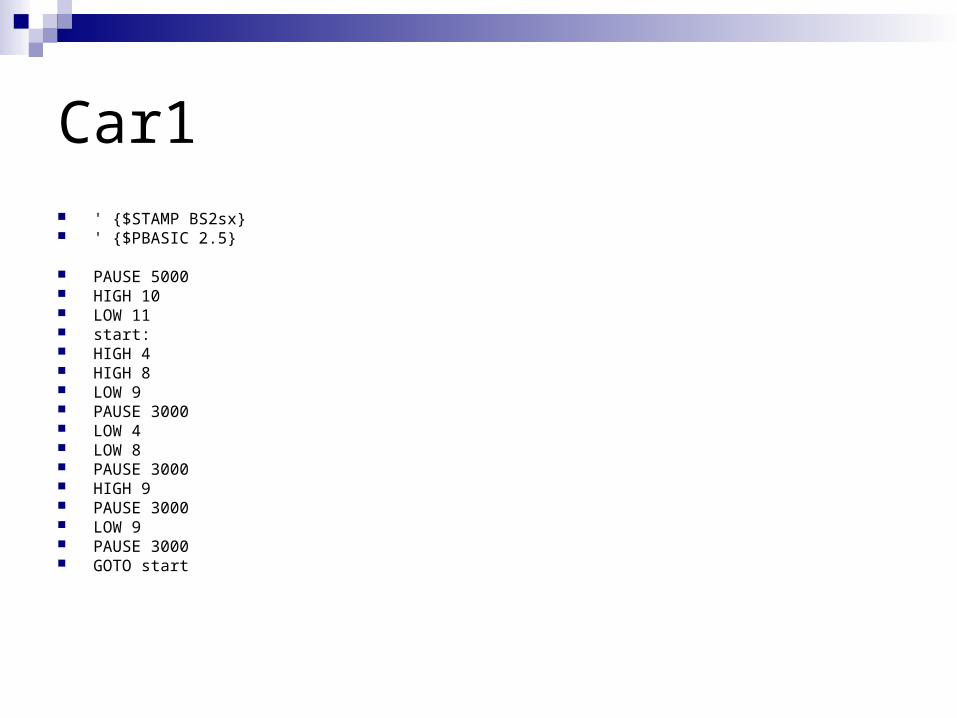
Car1 ' {$STAMP BS2sx} ' {$PBASIC 2.5}
PAUSE 5000 HIGH 10 LOW 11 start: HIGH 4 HIGH 8 LOW 9 PAUSE 3000 LOW 4 LOW 8 PAUSE 3000 HIGH 9 PAUSE 3000 LOW 9 PAUSE 3000 GOTO start

PWM

Car 2
' {$STAMP BS2sx} ' {$PBASIC 2.5} PWM 8, 200, 255
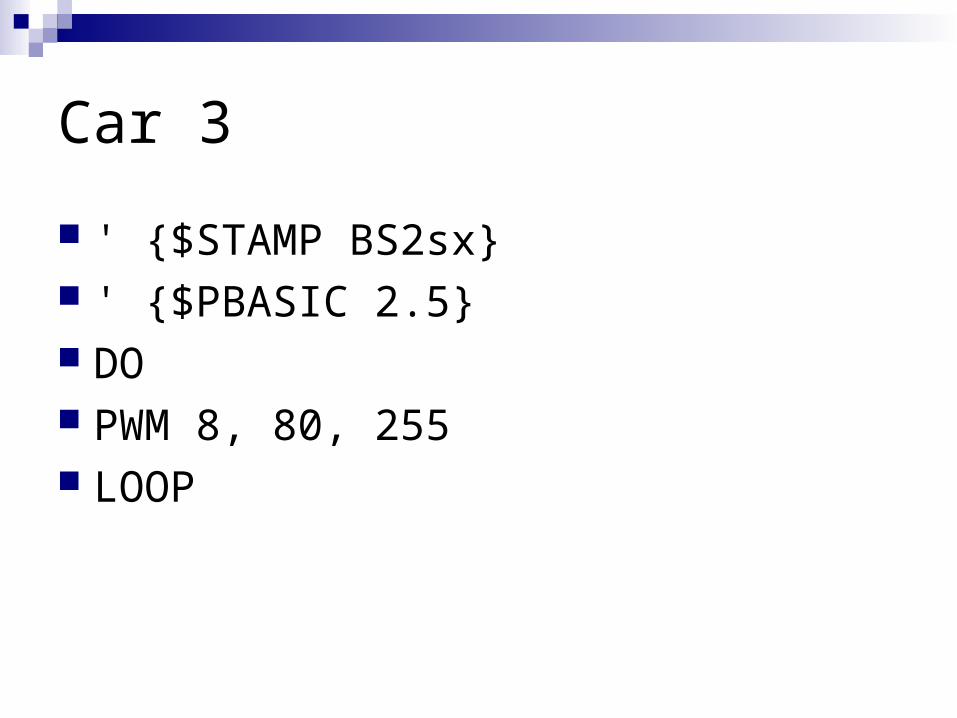
Car 3
' {$STAMP BS2sx} ' {$PBASIC 2.5} DO PWM 8, 80, 255 LOOP

Car 4
' {$STAMP BS2sx} ' {$PBASIC 2.5} INPUT 1 DO WHILE (IN1 = 0) PWM 8, 80, 255 LOOP

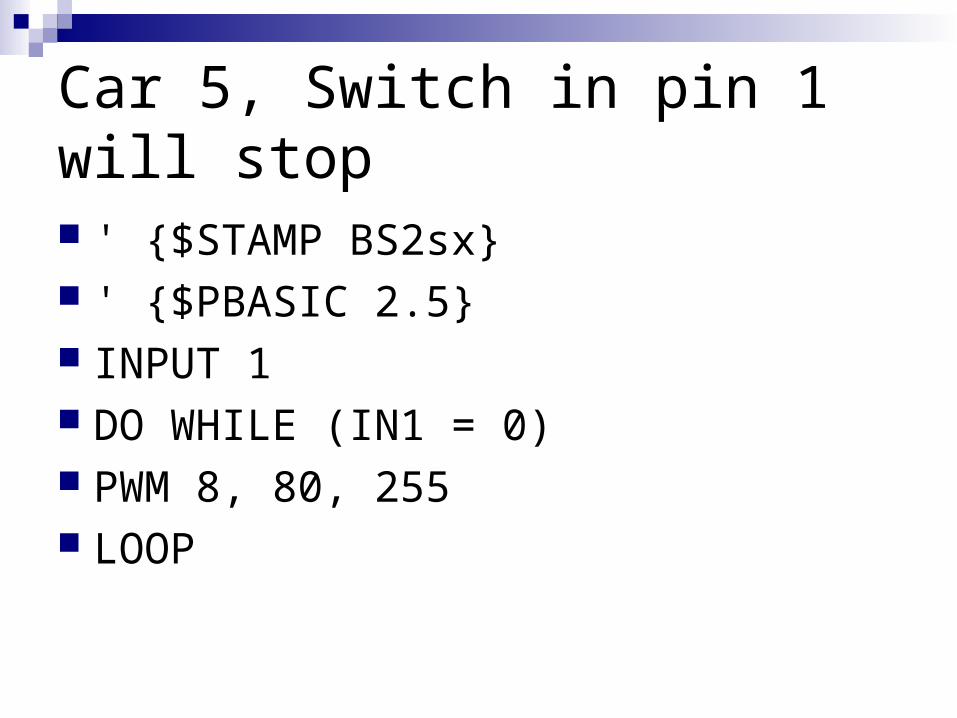
Car 5, Switch in pin 1 will stop
' {$STAMP BS2sx} ' {$PBASIC 2.5} INPUT 1 DO WHILE (IN1 = 0) PWM 8, 80, 255 LOOP
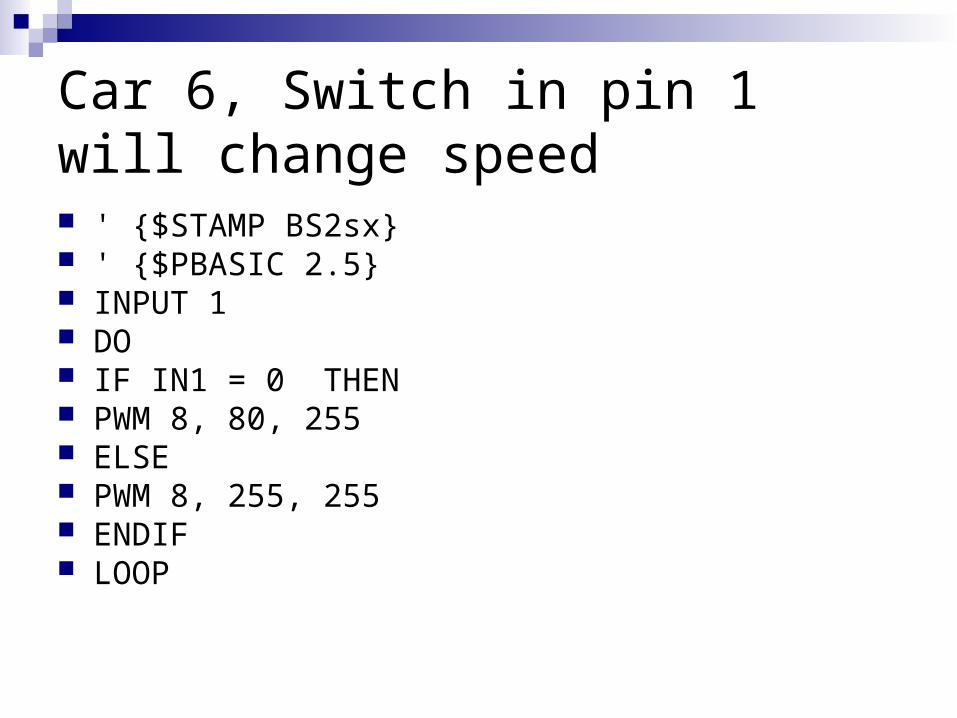
Car 6, Switch in pin 1 will change speed ' {$STAMP BS2sx} ' {$PBASIC 2.5} INPUT 1 DO IF IN1 = 0 THEN PWM 8, 80, 255 ELSE PWM 8, 255, 255 ENDIF LOOP

IR SENSOR
' {$STAMP BS2sx} ' {$PBASIC 2.5} INPUT 6 DO FREQOUT 5, 10, 15400 IF IN6 = 0 THEN HIGH 4 ELSE LOW 4 ENDIF LOOP
LED at pin 4 will turn on if an object is present

Car 7
' {$STAMP BS2sx} ' {$PBASIC 2.5} INPUT 6 PWM 8, 120, 255 DO FREQOUT 5, 10, 15400 IF IN6 = 0 THEN LOW 8 ELSE PWM 8, 120, 255 ENDIF LOOP
IR emitter pin 5
Sensor pin 6
There is no need for the pause
The car will stop completely

Car 8 ' {$STAMP BS2sx} ' {$PBASIC 2.5} INPUT 6 PWM 8, 150, 255 LOW 11 DO FREQOUT 5, 10, 15400 IF IN6 = 0 THEN HIGH 9 HIGH 11 PAUSE 1000 ELSE LOW 11 LOW 9 PWM 8, 150, 255 ENDIF LOOP
If obstacle detected, the car will move backwards while turning
Try to use left and right sensors
You are not required to use the PING sensor this time. If you are interested please let me know