bacterial transformation lab - central bucks school district · bacterial transformation lab just...
TRANSCRIPT

Bacterial Transformation Lab
Just don’t transform them into sharks. That would be scary.

Introduction
• So here’s the idea:
– Bacteria are really good at collecting DNA.
– So good, in fact, that if you put them near some bits of DNA, they’ll pick it up and incorporate that DNA into their cells.
– They have a single circular chromosome that is usually not involved here, but they also keep a lot of DNA separate from it.
– That DNA, kept separate from the chromosome but still used, is in the form of plasmids.
• Plasmids are small loops of DNA used like any other DNA.

Introduction
• In this lab, we’re going to see if we can transform a sample of bacteria – that is, get them to take up some DNA of our choosing and express those genes.– That’s right, you are actually genetically altering a living
organism. Enjoy.
• Which organism?
• E. coli. Yep.– Most E. coli is harmless, as is this one.
– This E. coli is strain HB101 K-12, which can only grow on enriched growth media.
– The one that sometimes causes illness is O157 H7.

The Overall Experiment
• How will we know they’re genetically altered?
• In this case, they’re going to glow under a UV light, since we’re going to try transforming them with a gene on a plasmid called pGLO.
– The “p” is for plasmid, by the way.
About pGLO
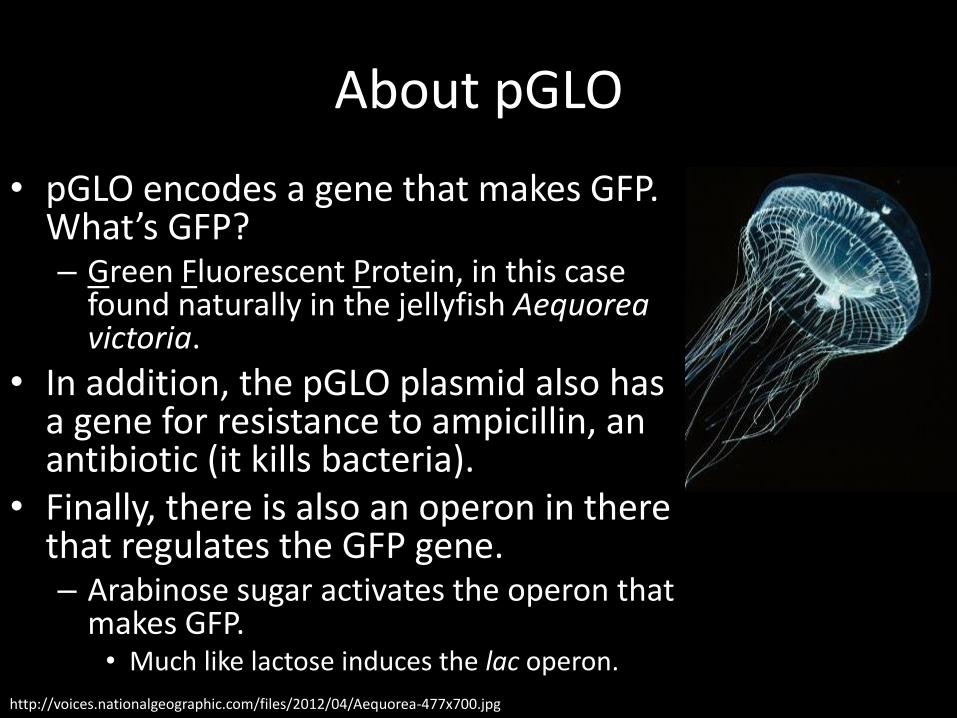
• pGLO encodes a gene that makes GFP. What’s GFP?– Green Fluorescent Protein, in this case
found naturally in the jellyfish Aequoreavictoria.
• In addition, the pGLO plasmid also has a gene for resistance to ampicillin, an antibiotic (it kills bacteria).
• Finally, there is also an operon in there that regulates the GFP gene.– Arabinose sugar activates the operon that
makes GFP.• Much like lactose induces the lac operon.
http://voices.nationalgeographic.com/files/2012/04/Aequorea-477x700.jpg

The pGLO Plasmid
Origin of Replication[that’s where it starts
copying]
GFP Gene
Ampicillin Resistance Gene
Arabinose Operon

Plasmids and Bacteria

The Overall Experiment• To be clear, we’re going to transform bacteria with a
plasmid that makes them:– Resist ampicillin antibiotic if they have pGLO.– Glow if they have pGLO and arabinose sugar.
• We’ll grow them in the following environments:1. Just nutrient agar (no pGLO plasmid).2. Nutrient agar with ampicillin (no pGLO plasmid).3. Nutrient agar with ampicillin (with pGLO plasmid).4. Nutrient agar with ampicillin and arabinose (with pGLO
plasmid).
• Which one(s) would you expect to glow and resist ampicillin?– The answers are good candidates for your hypothesis…

The Expected Results
• Obviously, we’d only expect bacterial growth on antibiotic-laced plates if they’ve taken up the plasmid that allows them to be resistant.
• This should closely mimic what happens “in the real world,” when bacteria mutate to develop resistance to antibiotics and then spread across antibiotic-treated regions.
• Here’s a related experiment:
– The Evolution of Bacteria on a Mega-Plate Petri Dish

How we’re going to do this…
• Start by labeling two microtubes:
• +pGLO and –pGLO [and your group names]
• Use a sterile pipet to move 250 μL of transformation solution (CaCl2) into each microtube.
– This is not a micropipet – these are the disposable kind and should be discarded once used.
– Why CaCl2? The thinking is that the calcium cations (Ca2+) help to neutralize the negatively-charged DNA molecule.
– Remember, polar molecules don’t enter cells well. Neutralize the polarity and DNA can enter more easily.
• Put the tubes on ice in a foam tube holder.

A Note on Pipets
• Though they’re not as adjustable and fancy as the reusable micropipettes, they do have important marks:

How we’re going to do this…
• Get an inoculating loop – you may have seen these in earlier labs – and scoop out one colony of bacteria from the starter plate.– The colonies are like little circular pepperoni on your
starter plate pizza.– One colony represents millions of cells. Getting more
than one colony is actually worse.
• Move the colony into the transformation solution currently on ice inside your microtubes.
• Spin the loop in your fingers to “blend” the solution – no chunks!– Do this procedure twice – once for each microtube –
using a sterile inoculating loop each time.
IMPORTANT NOTE
• We need to avoid contamination at all costs.
• Since other bacteria are everywhere (especially on you), make sure you never touch the end of the inoculating loop, the tip of the pipet, or the agar gel plate.
– That includes not putting any of the tools on your lab table or on any other surfaces.
• For the record, E. coli makes small circular colonies.
– Other bacteria grow in different patterns. Keep that in mind.

How we’re going to do this…
• Next, check to see if your bacteria glow using the UV light.– They shouldn’t, obviously, but do it anyway.
– UV light is damaging to skin/eyes. Use it sparingly.
• Get another sterile inoculating loop and transfer plasmid solution into just the +pGLO microtube.– It should look like soap film across a bubble wand.
• You know, from your childhood.
– So now you’ve given your bacteria an extracellular gene. Will they take it up? We’ll see.• DO NOT FORGET TO PUT THE CAP BACK ON THE pGLO VIAL.

How we’re going to do this…
• Tubes go back on ice now for 10 minutes. While they’re in there…
• …get four nutrient agar plates (mini petri dishes).• Label these on the bottom as the following:
• LB/amp: +pGLO• LB/amp/ara: +pGLO• LB/amp: –pGLO• LB: –pGLO
• So you need an LB plate, two LB/amp plates, and one LB/amp/ara plate.
• LB = agar; amp = ampicillin; ara = arabinose.

About LB
• FYI: LB is a mix of liquid/solid nutrients called Lysogeny Broth. It was also created by Giuseppe Bertani and used notably by Salvador Luria for a fun coincidence in lettering.
• Also interesting: Salvador Luria’s first graduate student was James Watson.
– Heard that name before?

Back to How we’re going to do this…
• Next, heat shock your samples.– What?
• I said “heat shock your samples.”– Why?
• Because I said so.– No, really. Why?
• Because…I don’t know.• Seriously, the mechanism of heat shock isn’t
understood, but the duration of heat shock is essential to this experiment working.
• Either way, it is thought to make the membrane more permeable.

How we’re going to do this…
• So, heat shock your samples by QUICKLY putting them in the water bath (42°C or 107.6°F) for exactly 50 seconds.
• Immediately afterward, move them back to ice QUICKLY for two minutes.
• Take out the tubes, then use a sterile pipet to transfer 250 μL of LB broth to the tubes.
– This is bacteria food.
– It’s like taking a shower in a smoothie or something.
– Use sterile pipets for each transfer as usual.

How we’re going to do this…
• Let your samples sit at room temperature for another 10 minutes.
– During this time, the bacteria have time to grow and express their genes.

How we’re going to do this…
• Now that we’ve given the bacteria time to take up the plasma and grow a little bit, it’s time to transfer them to their new homes.
– The nutrient agar plates.
• Tap the tubes with your finger to mix them up and resuspend everything.
• Transfer 100 μL of each tube to their own agar plates for growth.
• 100 μL to each of the four plates – keep in mind that you need to distinguish between +pGLO and –pGLO.

How we’re going to do this…
• Using a sterile inoculating loop for each plate, spread the solutions you just transferred around each plate.– Be gentle!
– Agar is soft. If you push too hard it’ll puncture the agar and that’s bad.
• Once you’re done, stack all the plates, tape them together, and label the bottom of the stack with your names.– They’ll go in the incubator overnight.
– The incubator is set at 37°C (98.6°F) for optimal bacteria growth.

Cleanup
• Day 1 is now done.
• Dispose of all non-sterile materials.
– That includes all microtubes – once you’ve plated the bacteria you’re done.
• Keep the foam blocks…

Data Analysis [Day 2]
• With the lights off and while using the UV light, view your samples.
• Draw your results (observations or results section).
– I know, it’s hard to draw “glowing.”
– Draw the colonies instead, showing which plates had how much growth…
• Cool, huh?

Other Media
• Franklin and Marshall Evolution Lab Photos
• Bioluminescent Bacteria Christmas Card
Questions to Answer
• The most important questions to answer are those in the instructions after the procedure:
– Lesson 2: Review Questions
• 1-3
– Lesson 3: Data Collection and Analysis
• 1-3
– B: Analysis of Results
• 1-4
– Lesson 3: Review Questions
• 1-3
• In other words, all the questions on pages 7 and 8.