at-hd-v12 users guide - atlona · introduction 1 congratulations on your purchase of the at-hd-v12...
TRANSCRIPT
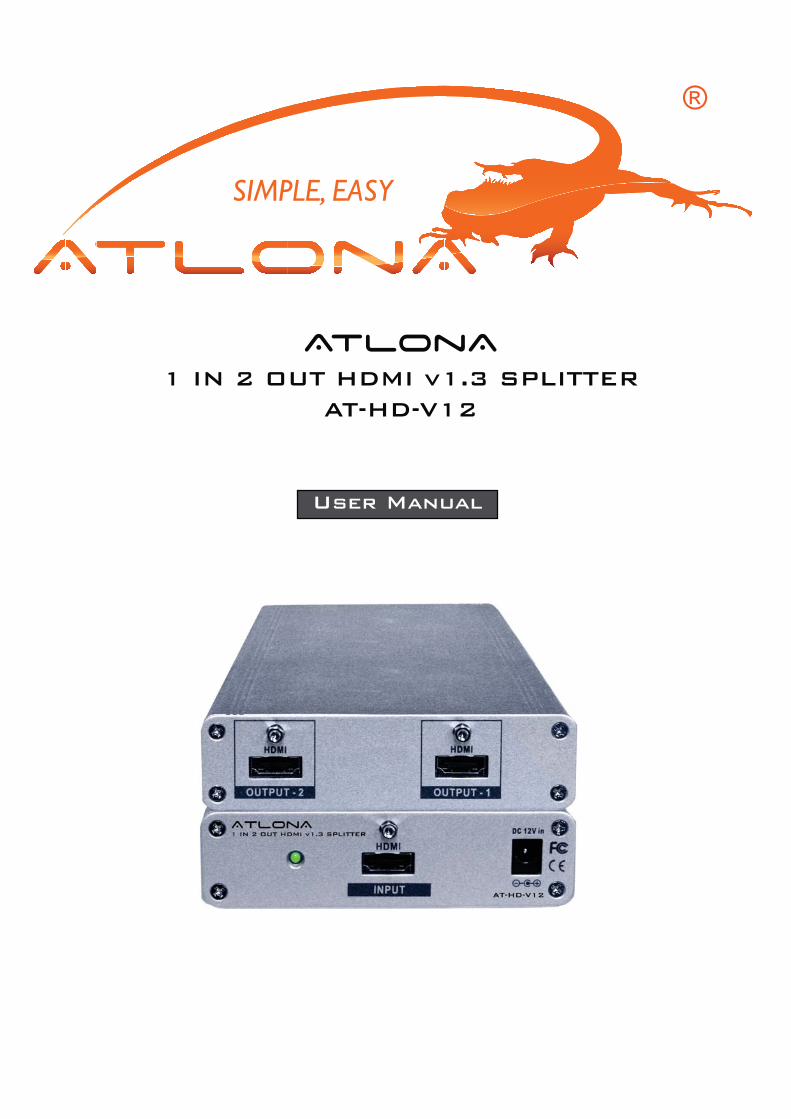
AtlonA
1 IN 2 OUT HDMI v1.3 SPLITTER AT-HD-V12
User Manual
TABLE OF CONTENTS
1. Introduction .................................................. 1
2. Features .................................................. 1
���������� ��� � � � � � ��������������������������������������������������� �
4. Package Contents .................................................. 2
5. Panel Descriptions .................................................. 2
5.1 Front Panel .................................................. 2
5.2 Rear Panel .................................................. 2
6. Applications .................................................. 3
7. Connecting and Operation .................................................. 4
8. Attentions .................................................. 4
9. Safety Information .................................................. 5
10. Warranty .................................................. 6
11. Atlona Product Registration .................................................. 7
INTRODUCTION
1
Congratulations on your purchase of the AT-HD-V12 Splitter. Your satisfaction is very important to us. Our series of HDMI Switchers and Splitters are designed to make the use of your HDTV equipment more comfortable, productive and affordable. With 1 x HDMI Input and 2 x HDMI Out, the AT-HD-V12 allows one HD source device to support up to two HDTV displays. Both HDTV displays will have the same quality image as the source. Along with being HDCP Compliant, re-clocking function is built-in to extend HDMI or DVI signal for long distance at resolutions up to 1080p ����������������������������� ��� ������ ��� ���� ��� ����������������������� ����������������� �-mation distribution, conference room presentation, school and corporate training environments.
��S��� ������ ��� ���HDTV: !"#$!"#���%&'$%&'���&(#����#"#���#"#���PC resolutionsup to �)(#*�(##� ��+���/����� ����:;<�=��� ������ ������ ����:>?�� ���������=��� ��<$@��E�����G��:;<�J����:>?�:E������� � ������ ���J������E�� ��?>���� ��� ����� ��VG��� �WKLN��1920*�(##� �������������Q������������� ������U���� �E����:;<�>�U��� ��Q*�����to (��:;<� ������� ��/ ����E�X���� ��� ����� ��+��� ��U���������� ���E����E�� ������ ����video bandwidth����� �6�7%�NU�� ������ ����:E������� ��;:��� ��������:����> � ��12U���� ������ ����� � �������� ������ ��'�U��� ��ZX����� ��� � ��������� �=��� �[�>�\�U��J����]NZ�����^>Z>]� ��N ����������� ����� ���
��<�����G��*��:;< ��@������G�(�*��:;<� ���E�������� ����G�:;<�����������:�<������:>?�> ������ ������ �����:;<�� ����������#"#�� ���)(#*�(## ������ ����:�<�WKLN���920*�(##��:���� ��� �� ������ �������� G�:��X�:�;��������� ��: �U/������X�:�_�: �U/�:E����?��� ���;:��:E������� �?>;�:E������� ���:;<������:>?�> ������ ��:����]����G�(%#;U���� �6�7%�NU�����?*����� �`�G�(%;���� �((%�;��� ���:;<�>�U���:������G�40ft����6�7%NU��� ������ �����E����=�� ������������������G� � ]NZ$^>Z>]G�(!$�#$�'XU��j� ^>Z>]G�"$�#$�($�'$(#$(!XU��j�� : �U����������������������� ��]NZ$^>Z>]G��($�%$�"XU�� �������/����� =���G�>Q��+>>��] ��[(##($)%$Q>\ ��? J��������/G��(��:�
FEATURES
SPECIFICATIONS

PANEL DESCRIPTIONS
2
��:>��(��? J�������� �� ����X�:X��(����������������� ��K���z��������
1. Front Panel
����������:>�?@{Q]�<|}Q���? J��������X��(��:>
(��� ����������<|?K��X���*��:;<���:;<�[+�����\��E����=�� $��� �� ����� �G
Note: With the proper Atlona adapters, the AT-HD-V12 can be used with DVI digital video signals
2. Rear Panel
�����������:;<�[+�����\��E����=�� $��� �� ����� ���@��������X(G
Note: With the proper adapters, the AT-HD-V12 can be used with DVI digital video signals
PACKAGE CONTENTS:
2. RRRRRRRRRRRRRRRRRRRRRRRRRRRRRRRRRRRRRRRRRRRRRRRRRReaeaeaeeeaeaeaeaeeeeaeeaeaeaeeaeaeeaeaeeaeaaeaeeeeaaeeeaeaaaeeeeaar rrr PPPPPaneneneeneneneeeneneeeeneneneneneneneeneeeneneenenenennennennnneenenenenneeeeeneneneeeeneeeeeeenneenennenenellllllllllllllllllllllllllll
3
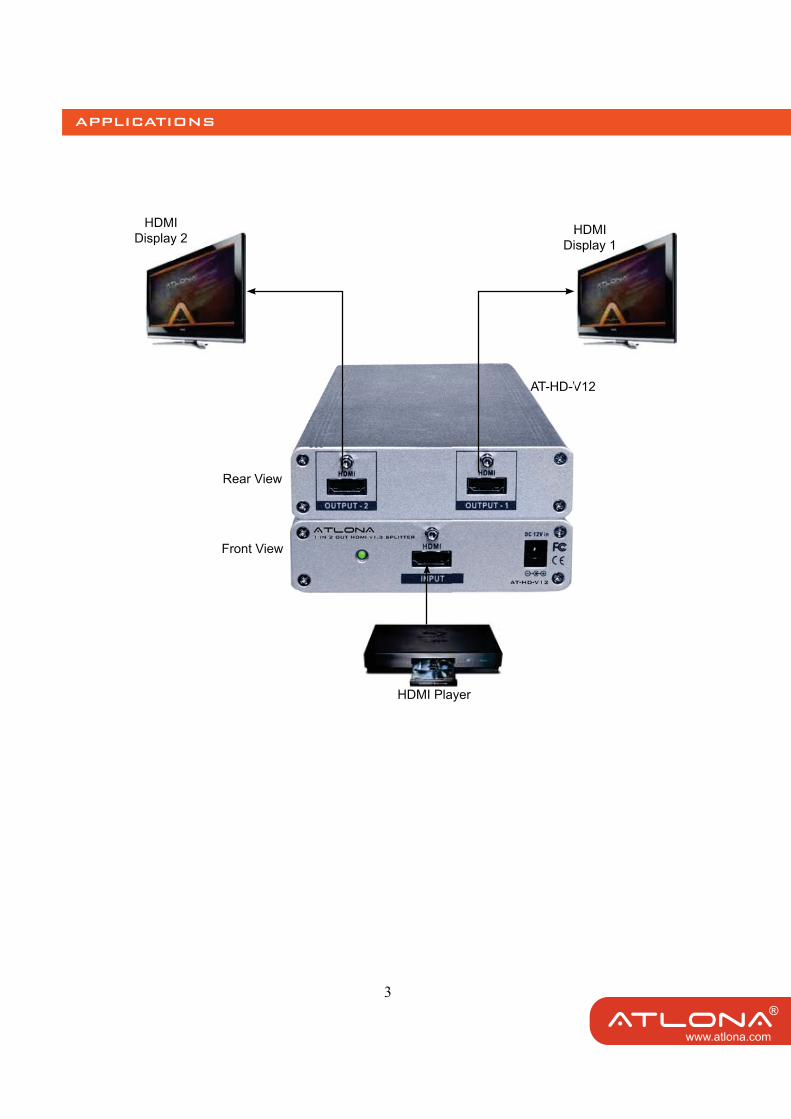
APPLICATIONS
AT-HD-V12
Front View
Rear View
HDMI Display 2 HDMI
Display 1
HDMI Player
ATAA -HD-VTT
isplay 2 HDMI splay 1
4
Connect the AT-HD-V12 Splitter to your devices
1. Connect the HDMI cable from the HD source to the input port of AT-HD-V12 Splitter.
(��> �����������:;<���U������ ��/ ��������/��[� �� �� ���� ~��� �\�� ����� ������� ��������XHD-V12 Splitter.
��������������� ��� �� �� �������������G� ?�������������� ��������� ��� �� ������� �������=��������������`�������������� ��� ������U��displayed on all connected display devices. For example, if you set the output resolution of the source device to 1080p, please make sure all the display devices can display 1080p resolution. If any connected display device cannot support 1080p resolution, the display device will show no pictures. 4. Plug the 12VDC power supply into the AT-HD-V12 Splitter.
5. When connections are completed, the HDTV signal will be distributed to each HDTV display.
6. For the best performance, you should re-start the AT-HD-V12 splitter power to make sure the AT-HD-V12 is working well in HDCP between HD player and Display devices, when the HDMI cable was disconnected after your last use.
����X�:X��2�J�������U���� ������ ��� �� ��/���� ��������?�������������� ��������� ��� �� ������� �������=��������������`�������������� ��� ������U�������/��� ������� �������������/�devices.
��������� ��� ��� ���J���������� �������������EX�� ������ �������������������/���=���������can successfully communicate with the source devise. Make sure your display devices can support the highest resolution as the source device can support, and your display devices are HDCP compliant and fully support HDCP.
��<��������X�:X��(���� ��������� ����������:����J�������� �������������E�������� ��� ��[&(#����#"#���#"#���)(#*�(##\��������� ��������� ���~�������� ��������� ��� �� ��� �����device to match the resolution of HDTV that has lower resolution.
For example, the AT-HD-V12 is connected to 2 HDTVs, and one of them only supports 720p HD resolution, but another can support up to 1080p. If you want them to show the same HD con-tent, please set the output resolution of source device to 720p or use AT-HD560 at the lower
resolution display to scale the resolution down from 1080p to 720p.
��� ������������:;<����������������������E������ J�������� ��� �������E������ J���� ����� ��:>�~��`j�������������E���U��`�
ATTENTIONS
CONNECTING and OPERATION
5
SAFETY INFORMATION
Safeguards
To reduce the risk of electric shock, do notexpose this product to rain or moisture.
<������J�������E�� ���� ������ �/ ���� ���power socket, hire an electrician to replaceyour obsolete socket.
Do not modify the wall plug.Doing so will void the warranty and safetyfeatures.
This equipment should be installed nearthe socket outlet and the device shouldbe easily accessible in case it requiresdisconnection.
Precautions
FCC Regulations state that any������ ���������E��� ��� ���� ���� this equipment not expressly approved bythe manufacturer could void the����z������ ��/�� � ����������equipment.
Operate this product using only the���������*�������� J��������/��K��� �other power supplies could impairperformance, damage the product or cause����
In the event of an electrostatic discharge,this device may automatically turn off. If thisoccurs, unplug the device, and plug it backin.
Protect and route power cords so they willnot be stepped on or pinched by anythingplaced on or against them. Be especiallycareful of plug-ins, or cord exit points fromthis product.
Avoid excessive humidity, suddentemperature changes or temperatureextremes.
Keep this product away from wet locationssuch as bathtubs, sinks, laundries, wetbasements and swimming pools.
K��� ��/������� ������� ��������U/��}@|��� ��= �������� �`� �� ������������
K����E������� �����U�� ���������E��K��a damp cloth for cleaning. Do not use������E����� ����� � ����J����� �������������������������������E������ �electrical shock. Some substances may��� ������������� �������� �����
|�=��� ���� ����� =������������� ����`���/���~���������� �������U��������manual. Attempting to do so could exposeyou to dangerous electrical shock or other���������<����/���� �����������E��� �/ ��AT-HD-V12. Opening the product will void the warranty.
Do not attempt to service the unit. Instead��� ������������� ������/ ������� ������}@|����������� ��� ��������}@|�directly.
WARRANTY
6
1. LIMITED WARRANTY
free from defects in materials and workmanship under normal use and service for a period of 3 years. In the event applicable law imposes any implied warranties, the implied warranty period is limited to 3 years from the date of
may not apply to Customer.
2. CUSTOMER REMEDIES
Warranty is void if failure of the Product has resulted from accident, abuse, or misapplication. Any replacement Prod-uct will be warranted for the remainder of the original warranty period or 3 year, whichever is longer.
3. NO OTHER WARRANTIES
4. NO LIABILITY FOR DAMAGES
1293 Mountain View Alviso Rd. Suite ASunnyvale, CA 94089
7
ATLONA PRODUCT REGISTRATION
Thank you for purchasing this Atlona product — we hope you’ll enjoy it.
{����� �� ��������/ �z�����`������J�� ������� ���E�����/ �����J�����������]�E����� ������������� J������� ��� �����/ ����� �������� ��� ���� ���������������������/ �z�������=��� ���� �� ������ �������������������-ware updates.At Atlona, we respect and protect your privacy and assure you that your registration information is completely secure. Of course, Atlona product registration is totally voluntary and failure to register will not diminish your limited warranty rights.
To register go to www.atlona.com/registration