arduino boot camp pitch slides
TRANSCRIPT

Arduino Boot Camp!Not your usual basic Arduino workshop!

Hello! I am Mithi!

I graduated from BS Electronics and Communication Engineering in UP Diliman sometime ago
I am also one of the co-founders of Nanica.io, a young and small robotics education start-up.
Hello! I am Mithi!

Here are a few thingswe do at Nanica.io(it’s video time, guys!)

Our most recentproject isArduino Boot Camp: A Different Approach!
I designed it with <3 (love) for beginners and intermediate Arduino users

You can find it at:http://ArduinoBootCamp.xyz
It’s NOT your usual Basic Arduino Workshop >_<

How?

Well, let me give you an example.
Usually, in beginner workshops, you are taught the following:
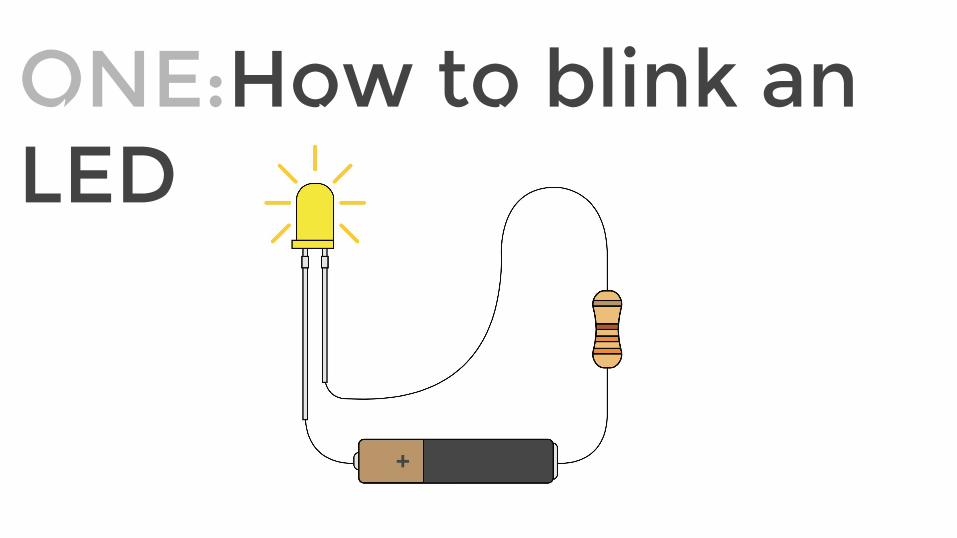
ONE:How to blink an LED
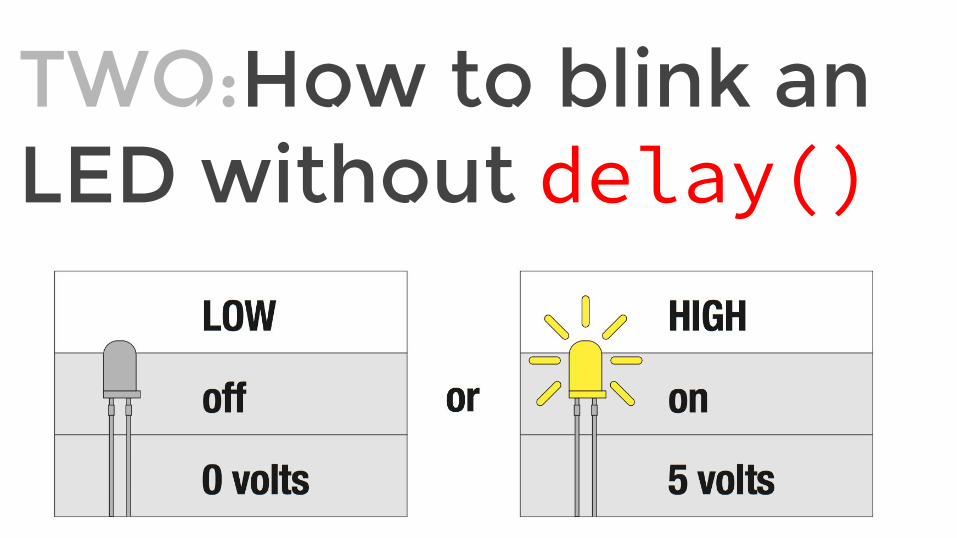
TWO:How to blink an LED without delay()
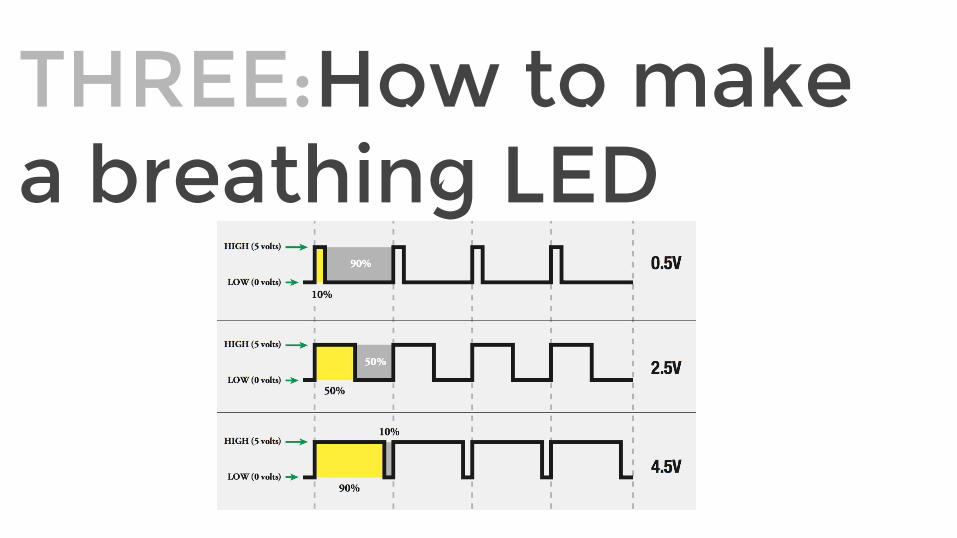
THREE:How to make a breathing LED

FOUR:How to sweep a servo back and forth
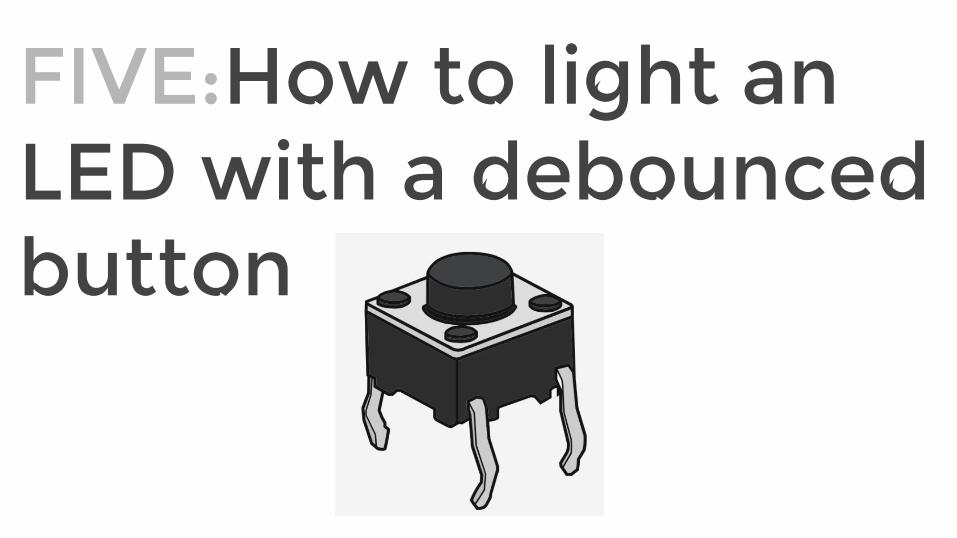
FIVE:How to light an LED with a debouncedbutton
This is how the official Arduino website teaches you how to blink an LED...
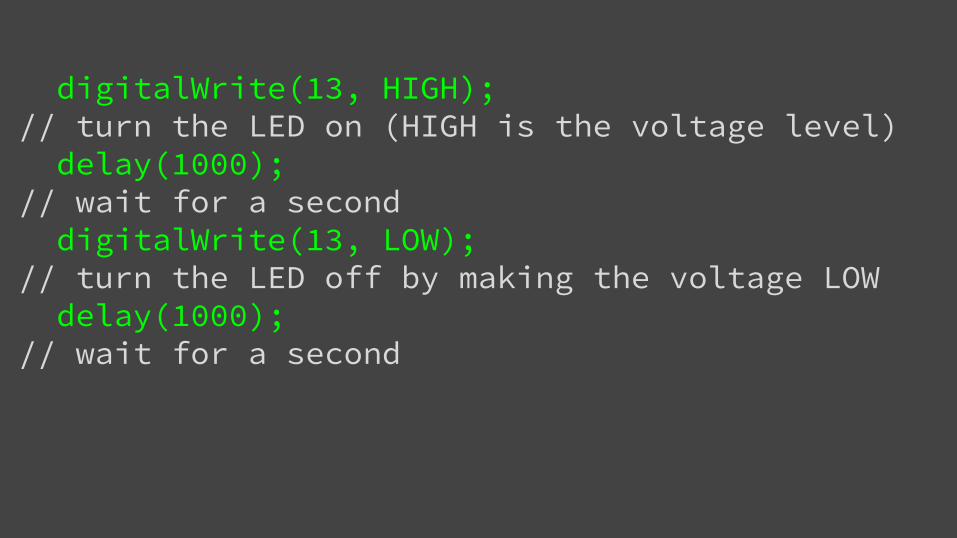
digitalWrite(13, HIGH); // turn the LED on (HIGH is the voltage level) delay(1000); // wait for a second digitalWrite(13, LOW); // turn the LED off by making the voltage LOW delay(1000); // wait for a second

We help you learn how you can do this instead:
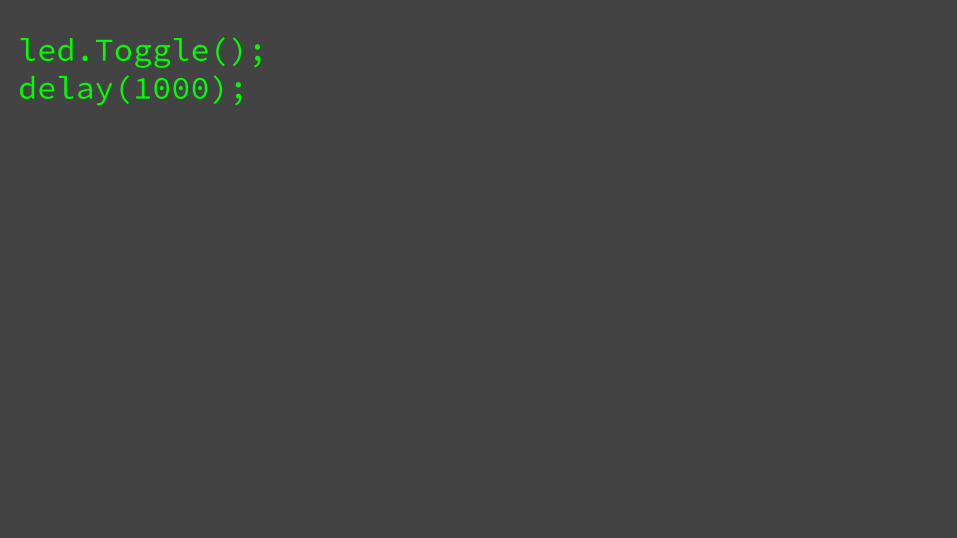
led.Toggle();delay(1000);

This is how the official Arduino website teaches you how to blink an LED without delay()...
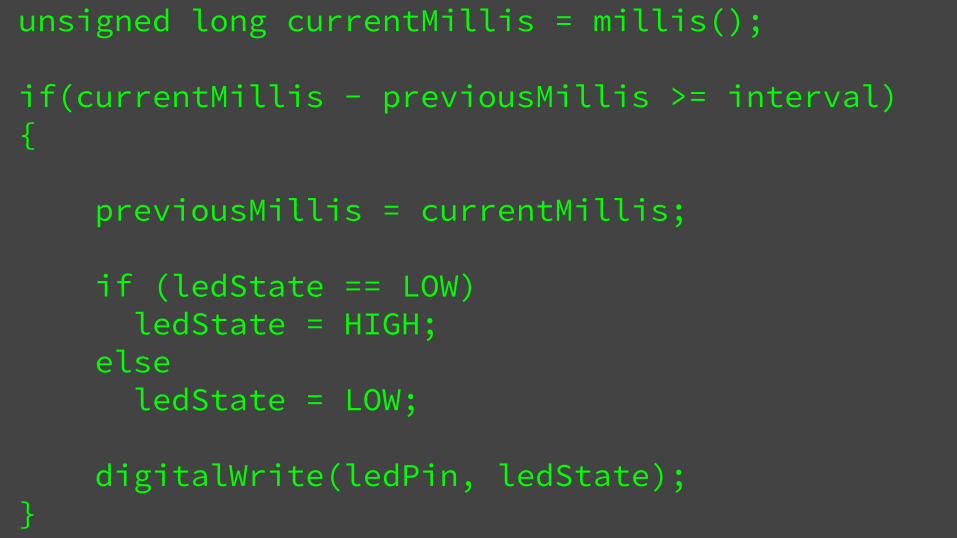
unsigned long currentMillis = millis(); if(currentMillis - previousMillis >= interval){
previousMillis = currentMillis;
if (ledState == LOW) ledState = HIGH; else ledState = LOW;
digitalWrite(ledPin, ledState);}

We help you learn how you can do this instead:
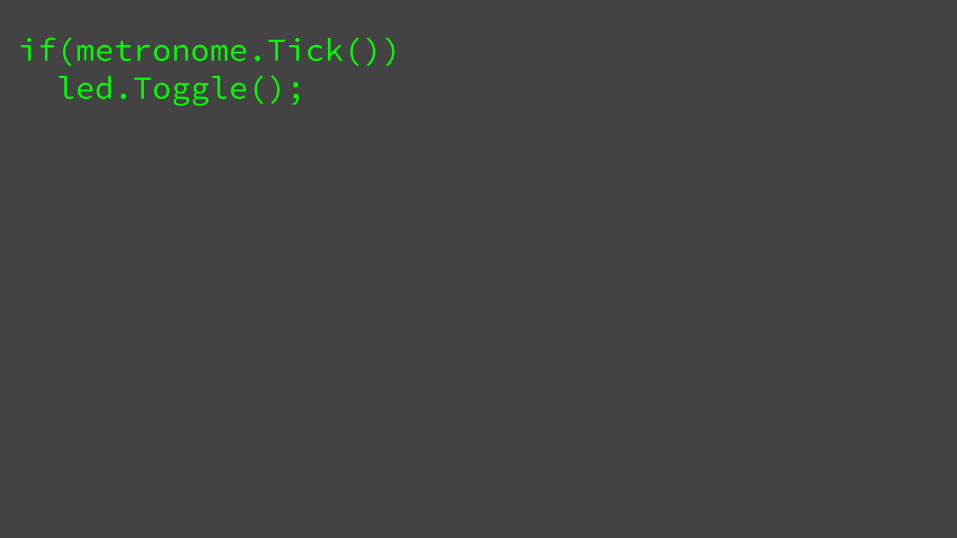
if(metronome.Tick()) led.Toggle();

This is how the official Arduino website teaches you how to make a breathing LED...
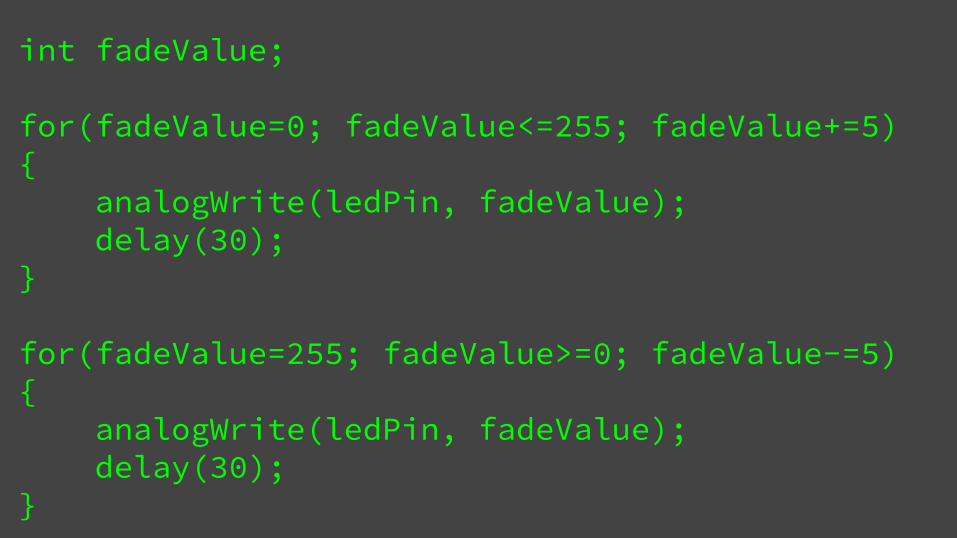
int fadeValue;
for(fadeValue=0; fadeValue<=255; fadeValue+=5){ analogWrite(ledPin, fadeValue); delay(30);}
for(fadeValue=255; fadeValue>=0; fadeValue-=5){ analogWrite(ledPin, fadeValue); delay(30);}

We help you learn how you can do this instead:
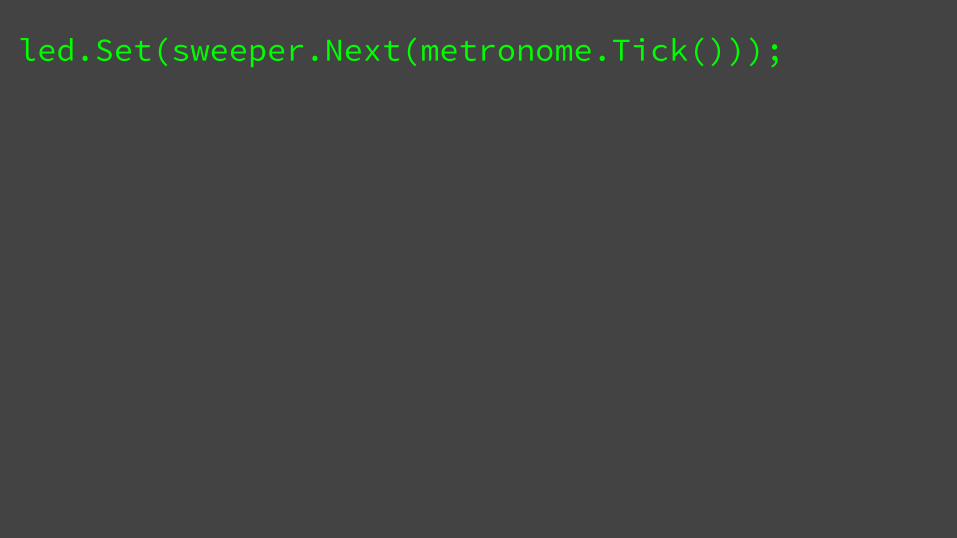
led.Set(sweeper.Next(metronome.Tick()));

This is how the official Arduino website teaches you how to sweep a servo...
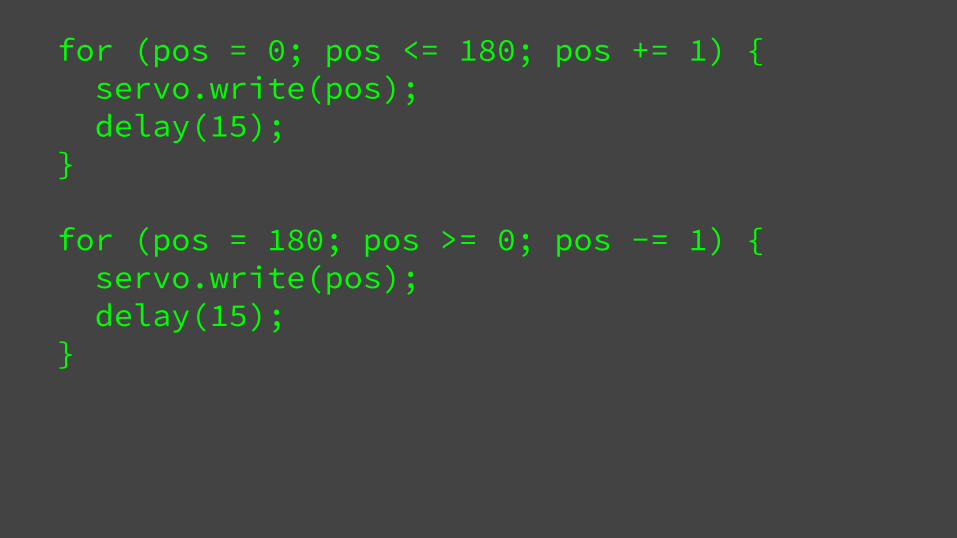
for (pos = 0; pos <= 180; pos += 1) { servo.write(pos); delay(15); }
for (pos = 180; pos >= 0; pos -= 1) { servo.write(pos); delay(15); }

We help you learn how you can do this instead:
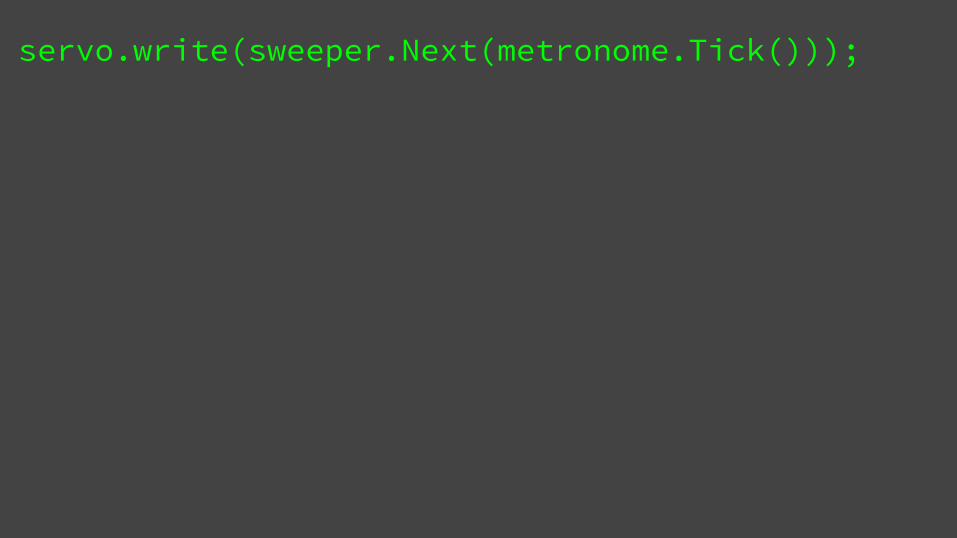
servo.write(sweeper.Next(metronome.Tick()));

This is how the official Arduino website teaches youhow to light an LED with a debounced button...
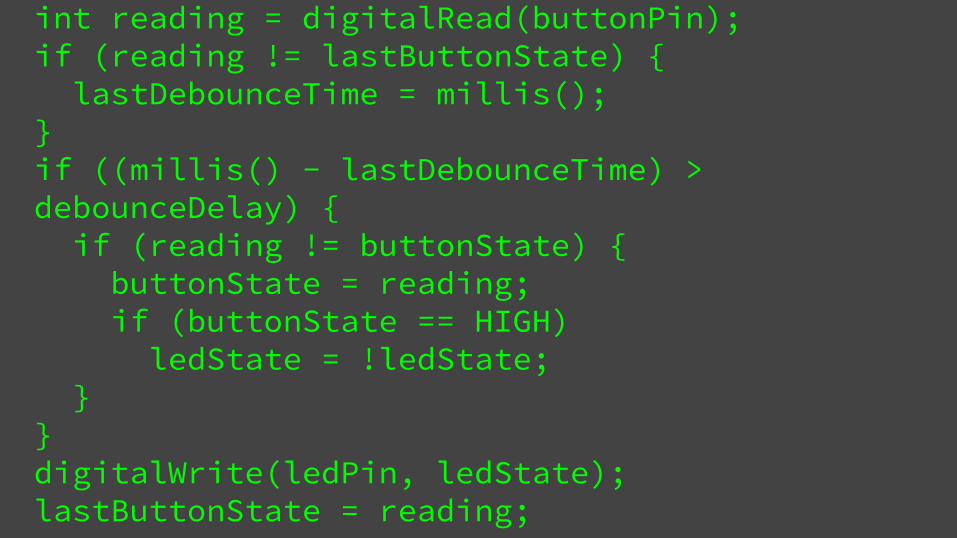
int reading = digitalRead(buttonPin);if (reading != lastButtonState) { lastDebounceTime = millis();}if ((millis() - lastDebounceTime) > debounceDelay) { if (reading != buttonState) { buttonState = reading; if (buttonState == HIGH) ledState = !ledState; }}digitalWrite(ledPin, ledState);lastButtonState = reading;

We help you learn how you can do this instead:

button.Pressed() ? led.On() : led.Off();
Basically, it’s different because it emphasizes the following things immediately:

ONE: CLEAN READABLE CODE
TWO: BASIC OBJECT-ORIENTED DESIGN
THREE: REDUCED USAGE OF delay()so you can multi-task anytime.

BUT HOW DO YOU DO THAT????!?
The obvious message here is how you can use the power of OOP design thinking...

... to abstract implementation details...

... so that you can focus at the things you want to do.

You get the beneficial side-effects as well:

Code that is easy to understand.
Code that is easy to debug.

Code that is multi-tasking ready.

Code that is scalable.Easily add as many buttons and LEDs as the Arduino can allow.
Code that allows more complex behavior.Add more features and functions without overwhelming yourself.

BUT… HOW DO YOU DO THAT EXACTLY ????!?
The first step is to identify the OBVIOUS objects

LED, BUTTON, and SERVO (the Arduino already has a built-in servo class in one of its libraries)
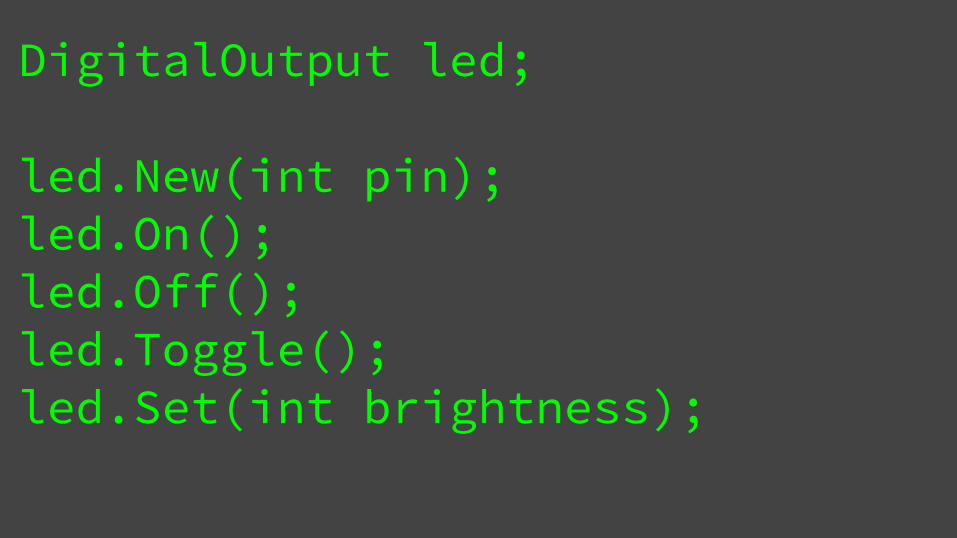
DigitalOutput led;
led.New(int pin);led.On();led.Off();led.Toggle();led.Set(int brightness);

Button button;
button.New(pin, debounceTime);bool state = button.Pressed();
The next step is to identify not so obvious objects

sweeper.New(x1, x2, inc, type); sweeper.Next(0/1);
// type = BACKANDFORTH/NORMAL/* if 0, returns current state** if 1, updates to and return ** next state */
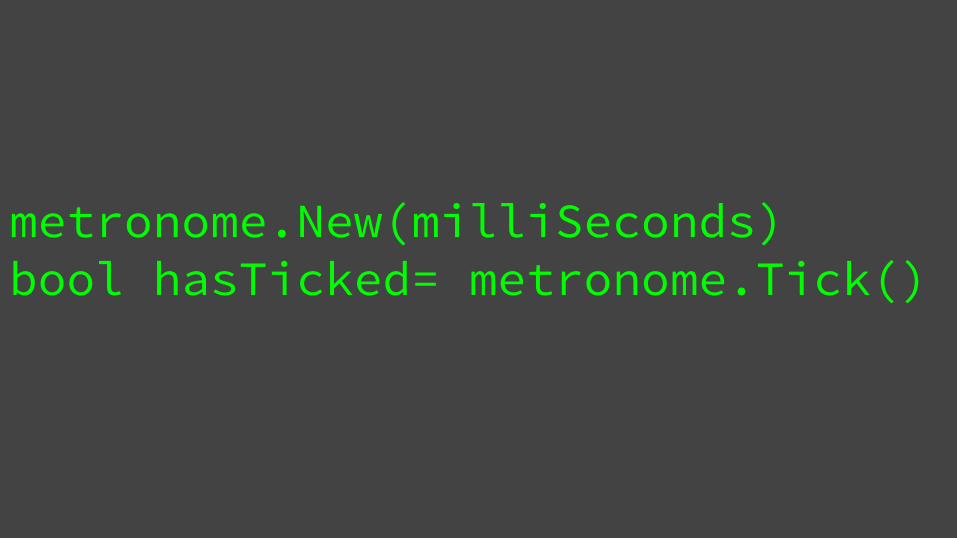
metronome.New(milliSeconds)bool hasTicked= metronome.Tick()
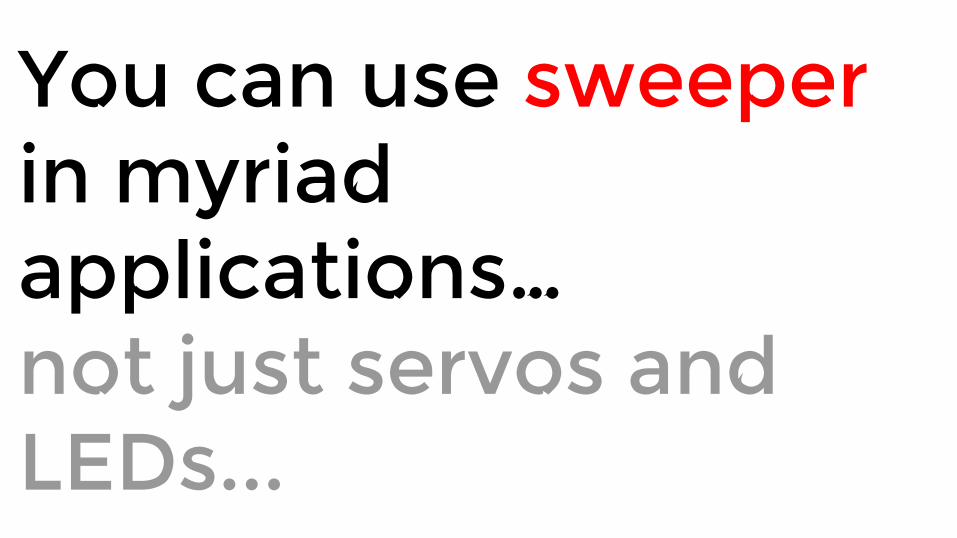
You can use sweeper in myriad applications…not just servos and LEDs...

You can use this to toggle buttons,play tunes, do countdowns...
and even do away with long subroutines because of for-loops.
Using metronome instead of delay(), you get a more readable code that’s even multi-tasking ready.

You can even sweep multiple servos….

...blink and sweep multiple LEDs...

...(simultaneously, and at different rates )...

...while catching as many buttons as you wish...
...without making your code a nightmare.
You can even sweep multiple servos, blink and sweep multiple LEDs, (simultaneously, at different rates)while catching as many buttons as you wish, without making your code a nightmare.

Awesome right?!!

There’s more where that came from!

Again, check it out!http://ArduinoBootCamp.xyz

But wait...

...what about performance?
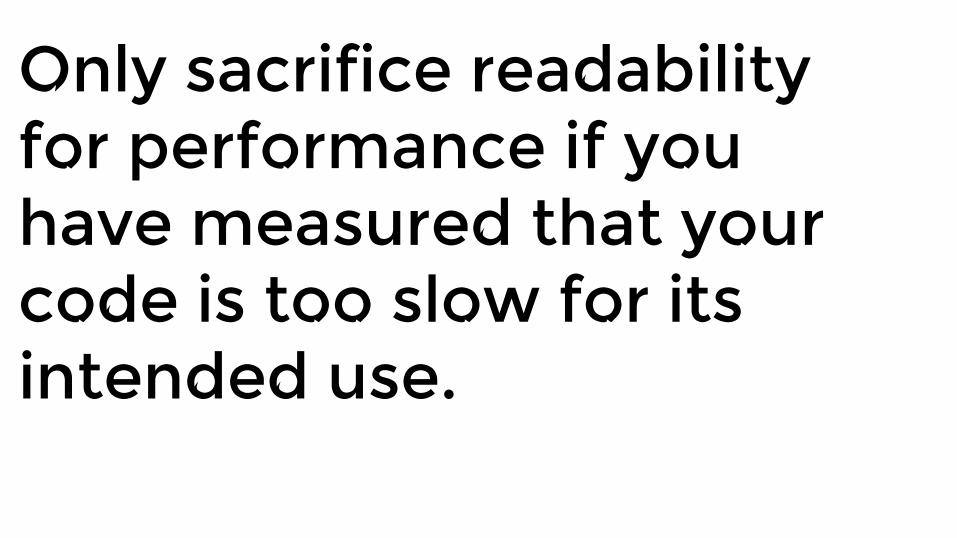
Only sacrifice readability for performance if you have measured that your code is too slow for its intended use.
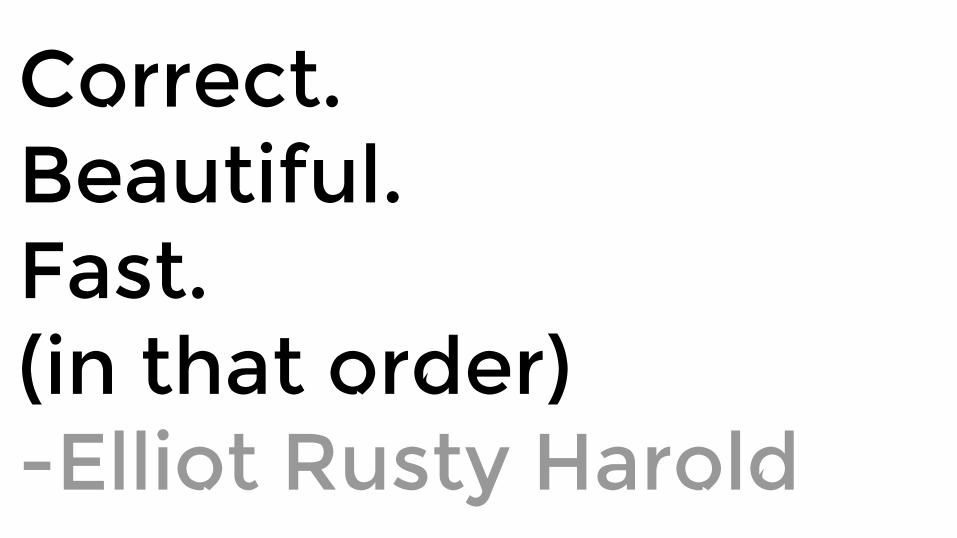
Correct. Beautiful. Fast. (in that order) -Elliot Rusty Harold

Premature optimization is the root of all evil. -Sir Tony Hoare

I hope to dispel the myth that fast code must be illegible ugly code... -Elliot Rusty Harold

...improvement in beauty can also lead to improvement in speed.-Elliot Rusty Harold

Hope you join ourArduino Boot Camp!!

One more thing though:My code is not God ;)


Again, hope you join ourArduino Boot Camp!!

And thank you for listening!
:)