arduino - wordpress.com · arduino 1 . objective of the lesson learn how to program an arduino in...
TRANSCRIPT

Arduino
1

Objective of the lesson Learn how to program an Arduino in S4A
• All of you will:
– Add a third LED to an Arduino and create Knight Rider
• Most of you will:
– Add a third LED to an Arduino and create a set of traffic lights
• Some of you will:
– Add a push button to an Arduino and create a pelican crossing
2
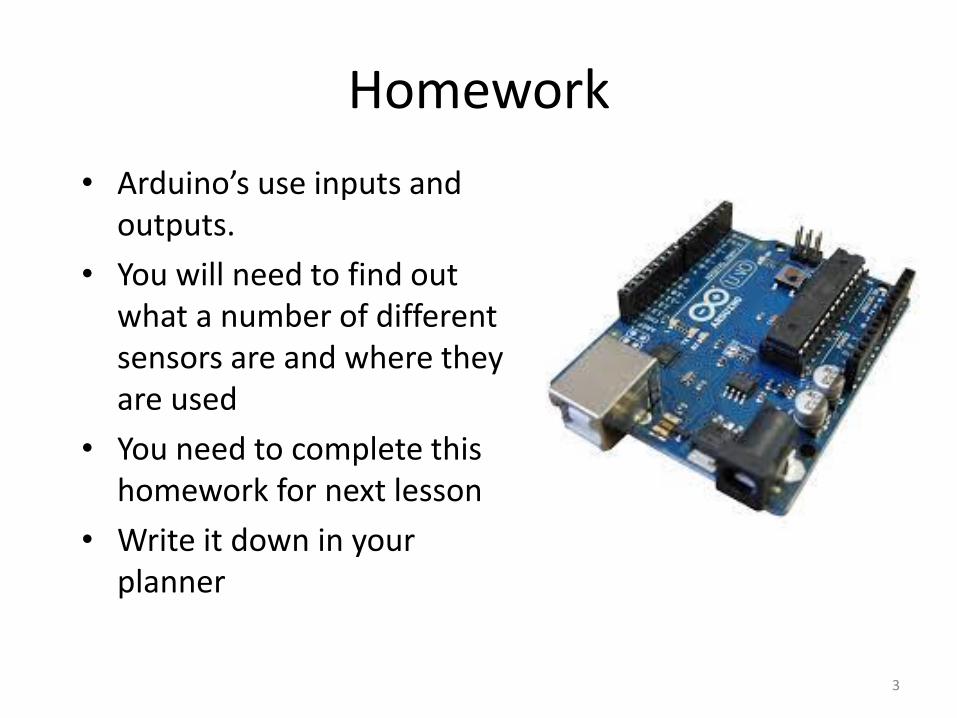
• Arduino’s use inputs and outputs.
• You will need to find out what a number of different sensors are and where they are used
• You need to complete this homework for next lesson
• Write it down in your planner
3
Homework

Attaching a third independent LED using a breadboard
Notice that you have a third wire, a green wire, from PIN 11 Connect another LED, a green LED, from PIN 11 to GND

Attaching a third independent LED using a breadboard
Did you connect it correctly?
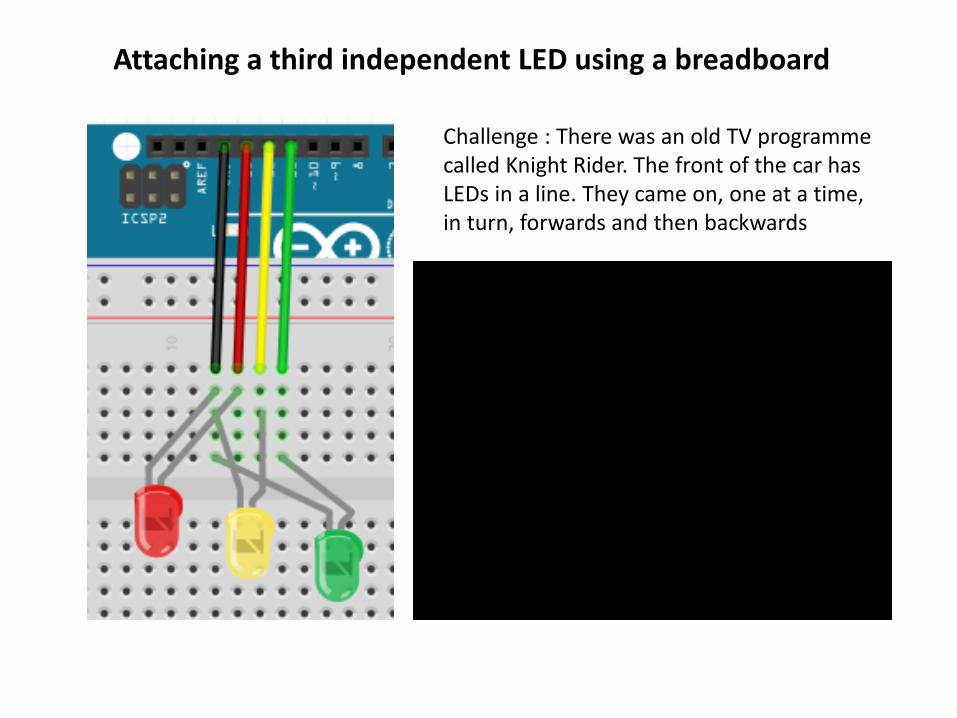
Attaching a third independent LED using a breadboard
Challenge : There was an old TV programme called Knight Rider. The front of the car has LEDs in a line. They came on, one at a time, in turn, forwards and then backwards

Attaching a third independent LED using a breadboard
Challenge : Make just the RED LED come on for 1 second (all other LEDs OFF) Make just the YELLOW LED come on for 1 second (all other LEDs OFF) Make just the GREEN LED come on for 1 second (all other LEDs OFF) Make just the YELLOW LED come on for 1 second (all other LEDs OFF) Put this in a repeat loop

Attaching a third independent LED using a breadboard
Did you get it correct? RED LED comes on for 1 second. All other LEDs OFF YELLOW LED comes on for 1 second. All other LEDs OFF GREEN LED comes on for 1 second. All other LEDs OFF YELLOW LED comes on for 1 second. All other LEDs OFF
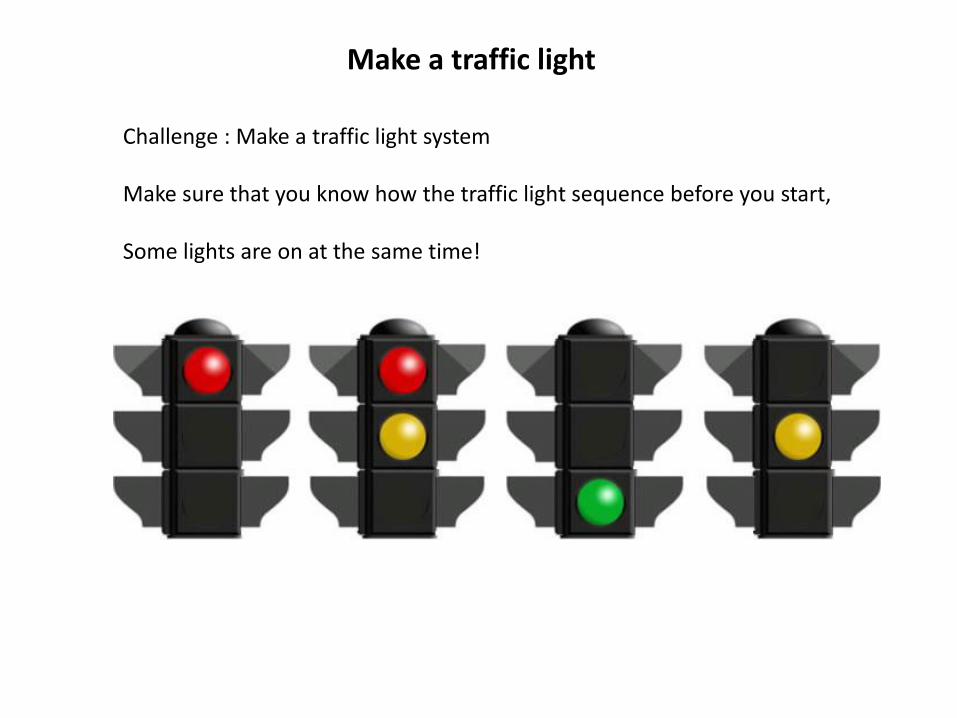
Make a traffic light
Challenge : Make a traffic light system Make sure that you know how the traffic light sequence before you start, Some lights are on at the same time!

Make a traffic light
Did you get it correct? RED LED comes on for 1 second. All other LEDs OFF RED and YELLOW LED come on for 1 second. GREEN LED OFF GREEN LED comes on for 1 second. All other LEDs OFF YELLOW LED comes on for 1 second. All other LEDs OFF

Use Ardublocks Open the Arduino software and click on Tools>Ardublock

Use Ardublocks to turn and LED on Use the blocks to switch the red LED on PIN 13 ON
Challenge : Make the light blink for 1 second intervals (Lighthouse)

Lighthouse solution

Challenges in Ardublocks 1. Make the zebra crossing
Red light ON / Yellow light OFF Wait one second Red light OFF / Yellow light ON Wait one second
2. Make the Knight Rider
Red light ON / Yellow light OFF / Green light OFF Wait one second Red light OFF / Yellow light ON / Green light OFF Wait one second Red light OFF / Yellow light OFF / Green light ON Wait one second Red light OFF / Yellow light ON / Green light OFF Wait one second
3. Make the traffic lights

void setup() { pinMode(13, OUTPUT); } void loop() { digitalWrite(13, HIGH); delay(1000); digitalWrite(13, LOW); delay(1000); }
Using the code This sets up PIN 13 to be an OUTPUT
This is the loop that repeats. DigitalWrite communicates with the PIN 13 is the pin it communicates with HIGH means turn ON Each command line must end with ; Delay means wait (1000) Means 1000 miliseconds = 1 second
DigitalWrite communicates with PIN 13 And turns is to LOW or OFF For 1 second

Challenges in Code Turn off Ardublocks See if you can make each of the following programs in Code only 1. Zebra Crossing 2. Night Rider 3. Zebra Crossing

Gifted and talented See if you can connect a pushbutton to turn the traffic light into a pelican crossing. When a button is pressed, the lights change from green to allow pedestrians to cross and then, after a short time, return to green. You will need a: 1. Pushbutton 2. 10K Ohm resistor 3. 3 extra wires You will need to research the schematic for a push button You will need to write the code in either Ardublocks or code

Answers - Schematic

void setup() { pinMode( 11 , OUTPUT); pinMode( 2 , INPUT); pinMode( 12 , OUTPUT); pinMode( 13 , OUTPUT); } void loop() { if (digitalRead( 2)) { digitalWrite( 11 , HIGH ); digitalWrite( 12 , LOW ); digitalWrite( 13 , LOW ); } else { delay( 1000 ); digitalWrite( 11 , LOW ); digitalWrite( 12 , HIGH ); digitalWrite( 13 , LOW ); delay( 1000 ); digitalWrite( 11 , LOW ); digitalWrite( 12 , LOW ); digitalWrite( 13 , HIGH ); delay( 3000 ); digitalWrite( 11 , LOW ); digitalWrite( 12 , HIGH ); digitalWrite( 13 , HIGH ); delay( 1000 ); } }