analysis of restriction enzyme cleavage of lambda dna an introduction to restriction enzymes &...
TRANSCRIPT

Analysis of Restriction Enzyme Cleavage of Lambda DNA
An Introduction to Restriction Enzymes & Gel Electrophoresis
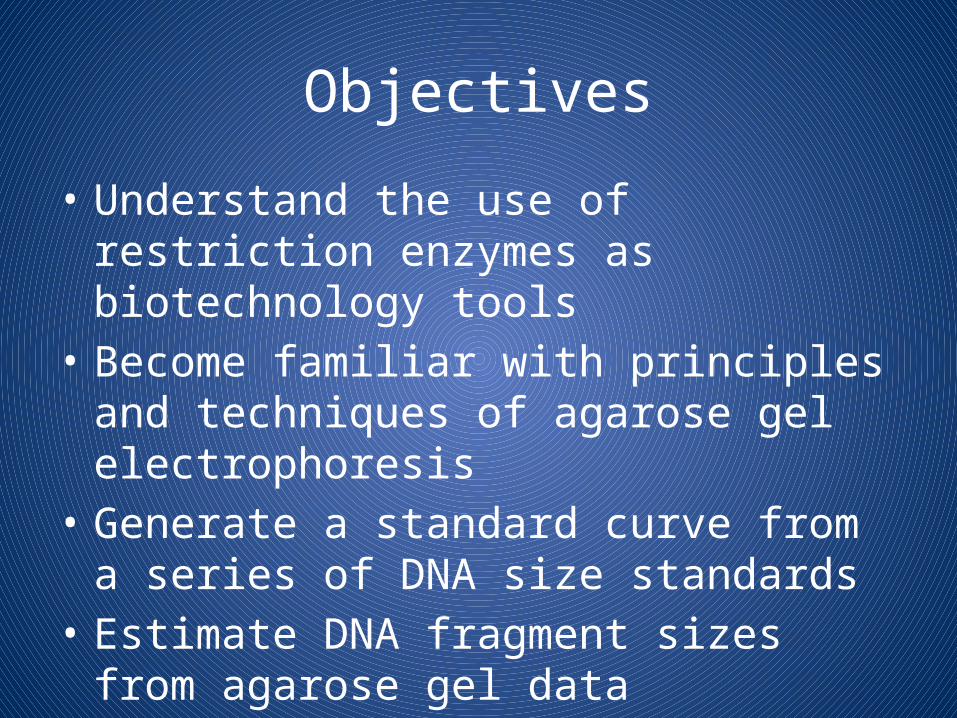
Objectives
• Understand the use of restriction enzymes as biotechnology tools
• Become familiar with principles and techniques of agarose gel electrophoresis
• Generate a standard curve from a series of DNA size standards
• Estimate DNA fragment sizes from agarose gel data

Restriction Enzymes
• Restriction enzymes, also known as restriction endonucleases, are biomolecules that cut DNA at specific sites
• Restriction enzymes were 1st discovered in bacteria as a defense mechanism against invading viruses called bacteriophages
• Any foreign DNA that’s encountered will be cut up by the Res and rendered ineffective
Restriction Enzymes
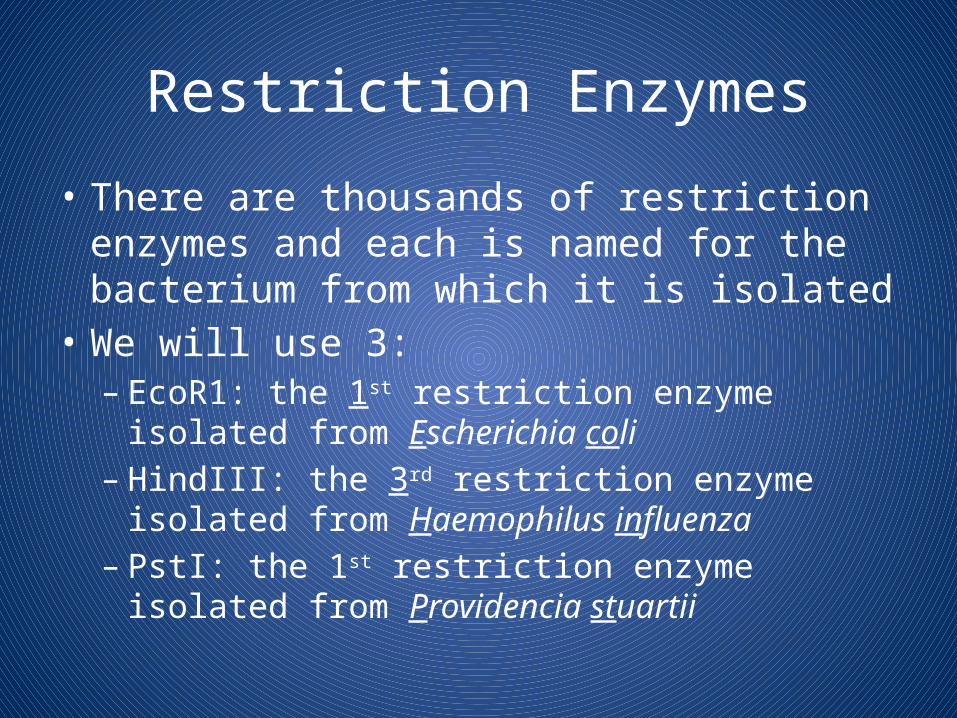
• There are thousands of restriction enzymes and each is named for the bacterium from which it is isolated
• We will use 3:– EcoR1: the 1st restriction enzyme isolated from
Escherichia coli– HindIII: the 3rd restriction enzyme isolated from
Haemophilus influenza– PstI: the 1st restriction enzyme isolated from
Providencia stuartii
Restriction Enzymes
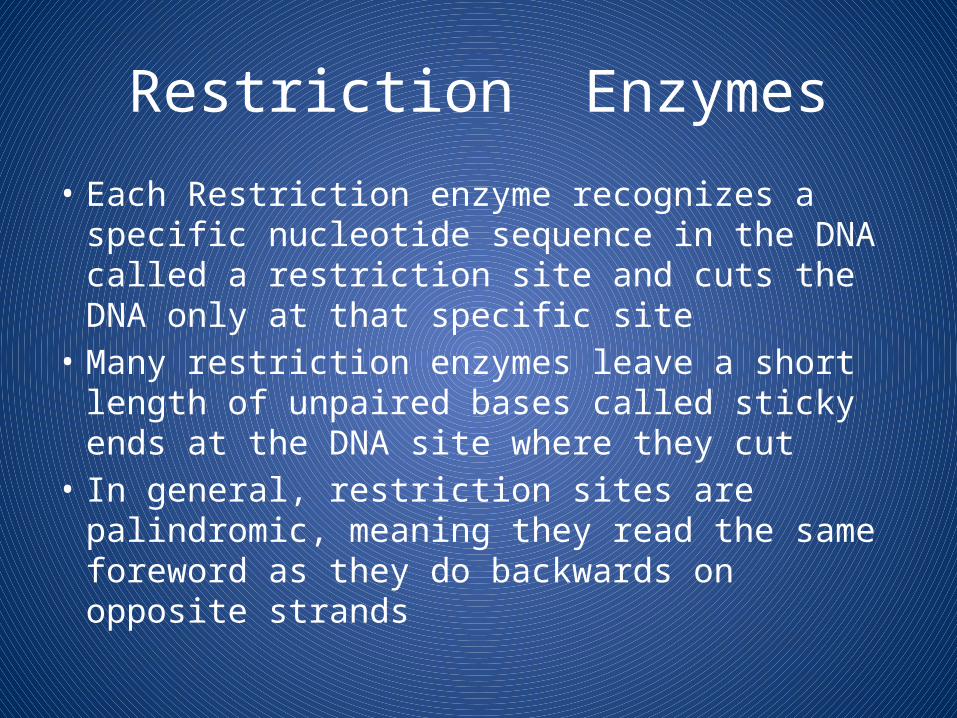
• Each Restriction enzyme recognizes a specific nucleotide sequence in the DNA called a restriction site and cuts the DNA only at that specific site
• Many restriction enzymes leave a short length of unpaired bases called sticky ends at the DNA site where they cut
• In general, restriction sites are palindromic, meaning they read the same foreword as they do backwards on opposite strands

Restriction Sites
HindIII Haemophilus influenza
Draw it yourself!

Restriction Enzyme Mechanism
• The three-dimensional structure or shape of a restriction enzyme allows it to fit perfectly in the groove formed by the two strands of a DNA molecule.
• When attached to the DNA, the enzyme slides along the double helix until it recognizes a specific sequence of base pairs which signals the enzyme to stop sliding.
• The enzyme then chemically separates, or cuts, the DNA molecule at that site — called a restriction site.

Restriction Fragments
• If a specific restriction site occurs in more than one location on a DNA molecule, a restriction enzyme will make a cut at each of those sites, resulting in multiple fragments of DNA.
• Therefore, if a given piece of linear DNA is cut with a restriction enzyme whose specific recognition sequence is found at five different locations on the DNA molecule, the result will be six fragments of different lengths.
• The length of each fragment will depend upon the location of restriction sites on the DNA molecule

Bacteriophage Lambda
• Lambda DNA comes from a bacterial virus which attacks bacteria by inserting its nucleic acid into the host bacterial cell
• Lambda is a lytic bacteriophage which replicates rapidly in host cells until the cells burst and release more phages to carry out the same infection process in other bacterial cells
• It is harmless to eukaryotic organisms making it an ideal source of DNA for experimental study

Bacteriophage Lambda
• Isolated as a linear molecule from E.coli bacteriophage lambda
• Contains about 48,000 base pairs

Electrophoretic Analysis of DNA Fragments
• A DNA fragment that has been cut with restriction enzymes can be separated using a process known as agarose gel electrophoresis. – The term electrophoresis means to carry with electricity.
• Agarose gel electrophoresis separates DNA fragments by size. • DNA fragments are loaded into an agarose gel slab, which is
placed into a chamber filled with a conductive buffer solution. • A direct current is passed between wire electrodes at each
end of the chamber. – Since DNA fragments are negatively charged, they will be drawn
toward the positive pole (anode) when placed in an electric field.

DNA will “Run to Red”

Electrophoretic Analysis of DNA Fragments
• The matrix of the agarose gel acts as a molecular sieve through which smaller DNA fragments can move more easily than larger ones.
• Therefore, the rate at which a DNA fragment migrates through the gel is inversely proportional to its size in base pairs.
• Over a period of time, smaller DNA fragments will travel farther than larger ones.
• Fragments of the same size stay together and migrate in single bands of DNA. – These bands will be seen in the gel after the DNA is stained.


Making DNA Visible
• DNA is colorless so DNA fragments in the gel cannot be seen during electrophoresis.
• A loading dye containing two blue dyes is added to the DNA solution.
• The loading dye does not stain the DNA itself but makes it easier to load the gels and monitor the progress of the DNA electrophoresis.
• The dye fronts migrate toward the positive end of the gel, just like the DNA fragments.
• The “faster” dye co-migrates with DNA fragments of approximately 500 bp, while the “slower” dye co-migrates with DNA fragments approximately 5 kb in size.

Making DNA Visible
• Staining the DNA pinpoints its location on the gel.
• When the gel is immersed in Fast Blast DNA stain, the stain molecules attach to the DNA trapped in the agarose gel.
• When the bands are visible, you can compare the DNA restriction patterns of the different samples of DNA.

Electrophoresis
• Separates mixtures of chemicals by their movement in an electrical field.
• Used for proteins and DNA• animation

In Your Lab Notebook
Table of Contents
• Title: Restriction Enzyme Cleavage of Lambda DNA & Electrophoresis
• P__

Restriction Enzyme Cleavage of DNA & Electrophoresis
• Objective: The objective of this experiment is to develop an understanding of the role of restriction enzymes and agarose gel electrophoresis to cut and size DNA
Restriction Enzyme Cleavage of DNA & Electrophoresis
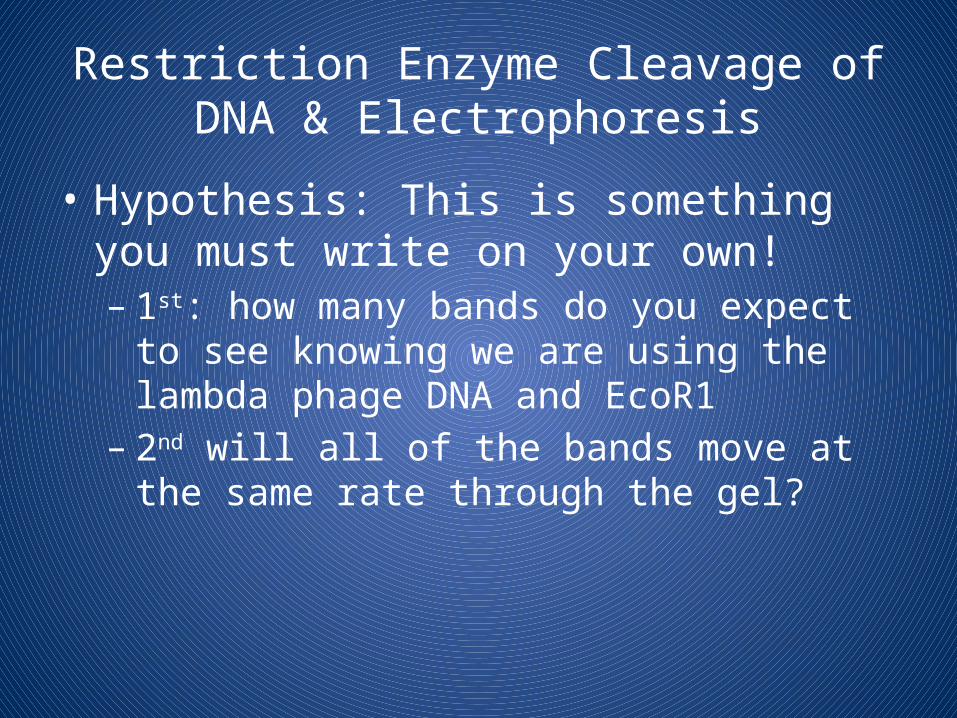
• Hypothesis: This is something you must write on your own! – 1st: how many bands do you expect to see
knowing we are using the lambda phage DNA and EcoR1
– 2nd will all of the bands move at the same rate through the gel?

Restriction Enzyme Cleavage of DNA & Electrophoresis
• Materials:– DNA Ladder– Lambda DNA cut with EcoR1– Lambda DNA cut with HindIII– Lambda DNA cut with PstI– Lambda DNA uncut– Agarose powder– Electrophoresis buffer (concentrated)– 100mL graduated cylinder– DI water– Balance
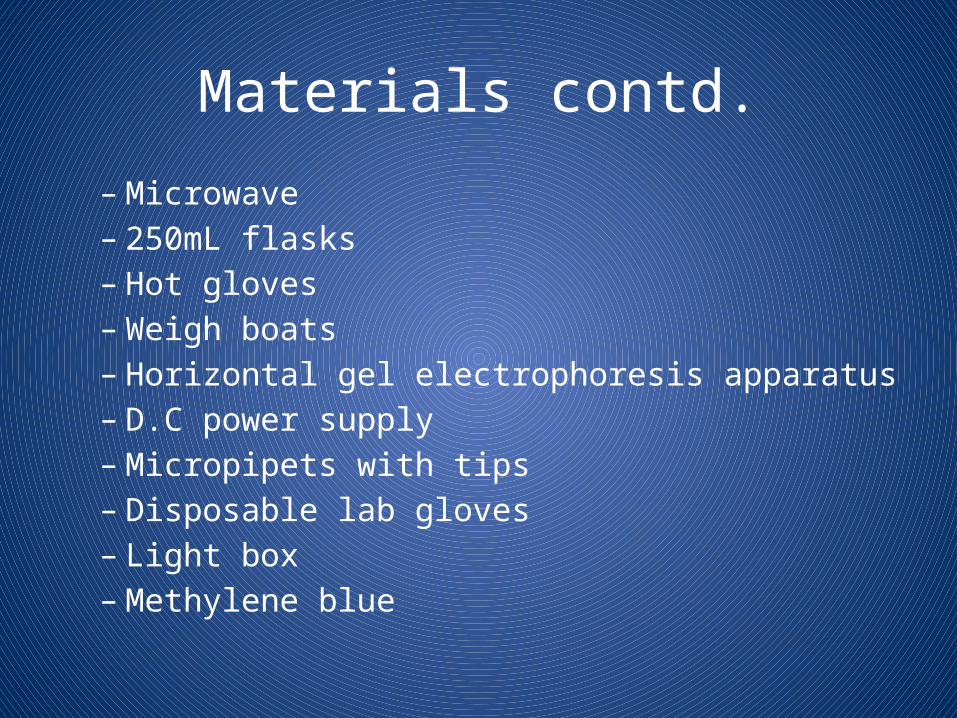
Materials contd.
– Microwave– 250mL flasks– Hot gloves– Weigh boats– Horizontal gel electrophoresis apparatus– D.C power supply– Micropipets with tips– Disposable lab gloves– Light box– Methylene blue

Procedure
1. Close off the open ends of a clean gel bed using rubber stopper or masking tape
2. Place a comb in the 1st set of notches at the end of the gel bed, making sure the comb is sitting firmly and evenly across the bed
3. Use a 250mL flask to prepare the gel solution according to the following chart

But 1st the most important math equation you’ll ever learn!
C1V1=C2V2The Buffer comes in a 50X concentrate (C1)
We need it to be a 1X concentrate (C2)
So what volume of the 50X (V1) do we need to make the 1X (V2)?

C1V1=C2V2
• 50 X V2 = 1 X 3000mL• V2 = 3000mL/50• V2= 60mL• But Wait! We’re not done…– So we need 60mL of concentrate but how much
water do we add it to?
The final volume needs to be 3000mL60 of the 3000 will be 50X buffer so3000mL-60mL = 2,940mL of water

Recommended agarose concentration for gels is 1% agarose for this lab
• To make a 1% agarose solution, use 1 gram of agarose for each 100 ml
• of 1x TAE electrophoresis buffer.Individual 1% Agarose Gel
Size of Gel(cm)
Amt of Agarose (g)
Concentrated Buffer(1X) (mL)
Total Volume(mL)
7 X 7 0.3 30 30
8 X 9 .45 45 45
7 X 14 0.6 60 60

Procedure Contd
4. Add all contents to your 250mL flask, and swirl to disperse clumps
5. Use a permanent marker to indicate the level of the solution volume on the outside of the flask
6. Cover Flask with plastic wrap and heat mixture in the microwave for 1 minute
7. Using glove, swirl mixture and then put back into the microwave for 25s intervals until all the agarose is completely dissolved– Solution will appear clear
Procedure
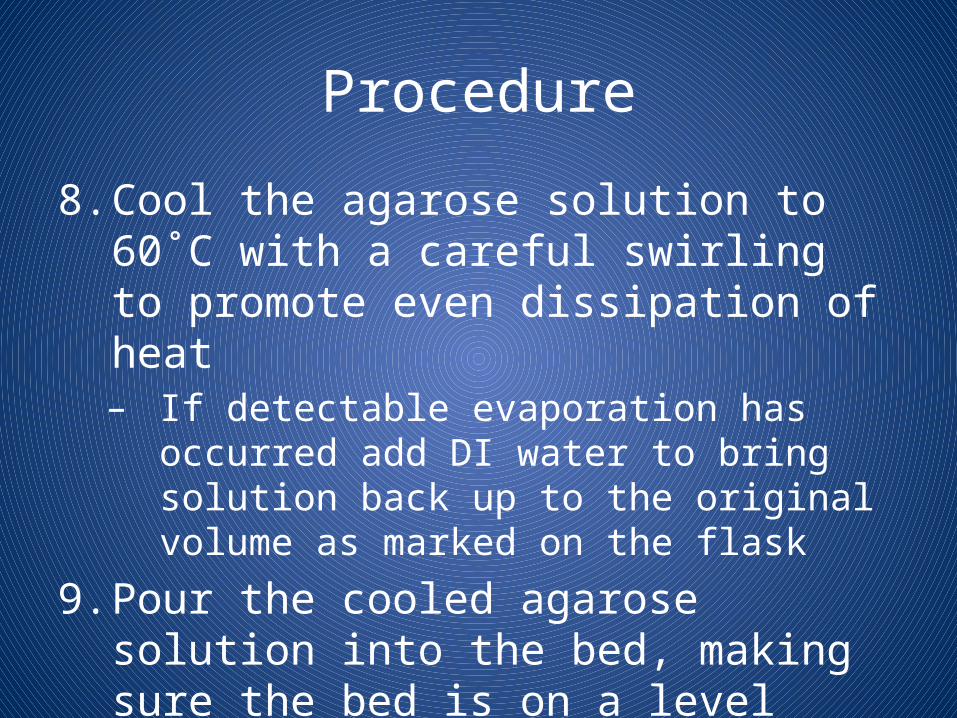
8. Cool the agarose solution to 60˚C with a careful swirling to promote even dissipation of heat– If detectable evaporation has occurred add DI
water to bring solution back up to the original volume as marked on the flask
9. Pour the cooled agarose solution into the bed, making sure the bed is on a level surface.

Procedure contd.
10.Allow the gel to completely solidify – It will become firm and cool to touch after about
20min
11.After the gel is completely solidified, carefully and slowly remove the rubber dams
12.Remove the comb by slowly and gently pulling straight up
13.Leaving the gel on its bed, place it into the electrophoresis chamber with the correct orientation as indicated in diagram

14. Fill the electrophoresis chamber with the appropriate amount of diluted 1X Buffer

Procedure Contd. Loading the Gel
16.Make sure Gel is completely submerged under buffer before loading the samples
17.Using a micropipetor, load the DNA samples into the wells in consecutive order as follows
Lane Tube1 A Standard DNA
Fragment Ladder
2 B Lambda DNA cut with EcoR1
3 C Lambda DNA (uncut)
Procedure contd. Running the Gel
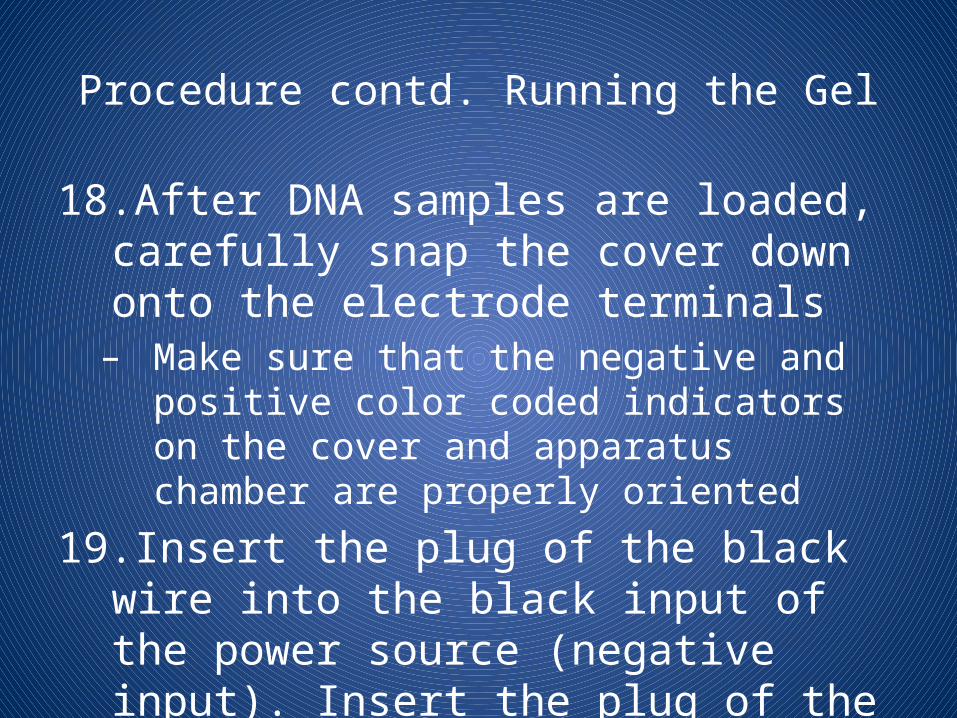
18.After DNA samples are loaded, carefully snap the cover down onto the electrode terminals – Make sure that the negative and positive color
coded indicators on the cover and apparatus chamber are properly oriented
19.Insert the plug of the black wire into the black input of the power source (negative input). Insert the plug of the red wire into the red input of the power source (positive input)

Procedure Contd. Running the Gel
20.Set the power source at the required voltage as indicated below and conduct electrophoresis for the length of time indicated by the chart below
Time & Voltage Reccomendations
Volts Minimum / Maximum
150 15/20 min
125 20/30 min
70 35/45 min
50 50/80 min

Procedure Contd. Running the Gel
21.Check to see that current is running properly- you should see bubbles forming on the 2 platinum electrodes
22.After electrophoresis is completed, turn off the power, unplug the power source, disconnect the leads, and remove the cover
23.Remove the gel from the bed for staining
