adria altea 432px instructional guide by perfect break ......adria altea 432px instructional guide...
TRANSCRIPT

0/6
Adria Altea 432PX Instructional guide by Perfect Break Caravans Setting up to tow European caravans must not attach to a normal tow ball setup. Although the tow ball itself is the same size as normal it must be coupled with a bracket below it to stop it undoing. This must be fitted before the caravan is placed on the tow bar. Below is an example of one type of bracket which shows how the tow ball cannot come undone as it cannot rotate.
Setting up the Toilet- See video on this for extra visual cues. This is on the website: www.perfectbreakcaravans.com. Link for this is https://www.youtube.com/watch?v=L0Su44E9-UQ
1. Open the side hatch on the driver’s side of the caravan towards the front- see Toilet waste cassette hatch below.
2. Carefully pull the base locking lever up whilst pulling out the toilet waste
cassette.
Copyright Michael Phipps 2017
1/6
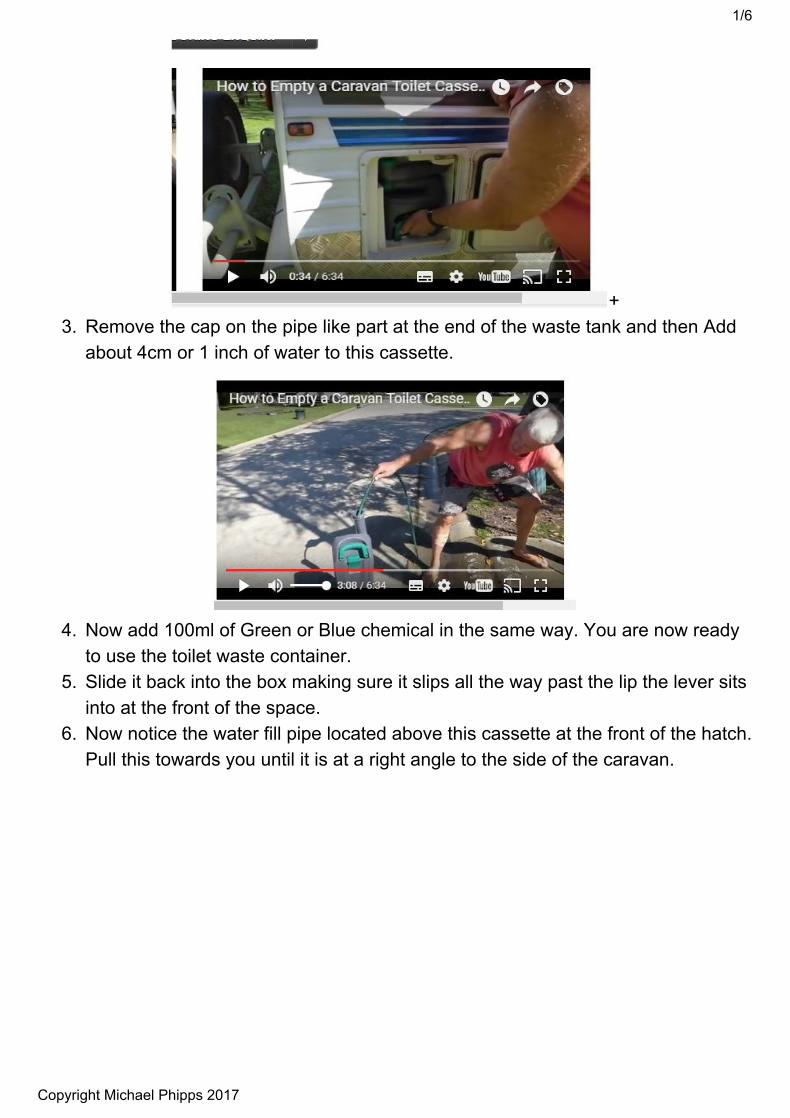
+ 3. Remove the cap on the pipe like part at the end of the waste tank and then Add
about 4cm or 1 inch of water to this cassette.
4. Now add 100ml of Green or Blue chemical in the same way. You are now ready
to use the toilet waste container. 5. Slide it back into the box making sure it slips all the way past the lip the lever sits
into at the front of the space. 6. Now notice the water fill pipe located above this cassette at the front of the hatch.
Pull this towards you until it is at a right angle to the side of the caravan.
Copyright Michael Phipps 2017

2/6
7. Undo the cap on this and fill with fresh water. Notice the Clear water level indicator on the left and below this to see when full.
8. When full just above the filling pipe or level add 100ml of Pink deodorizing chemical.
To use the toilet- open the lever at the top showing a hole down to the waste tank. Do what you need to do then flush using the Blue button on the top left of the toilet. Once all waste has been removed to the waste tank simply slide the lever back to original position so the hole is now closed and close the lid for the next exciting ablution!
Copyright Michael Phipps 2017

3/6
Hot water system This caravan has a Gas hot water system. Before starting the hot water system you must first either fill up the water tank located under the seat next to the TV point OR attach the hose to the outside of the caravan. This is located down towards the back of the caravan just past the water tank filling point cap.
Hose connection- Found towards back exterior of the caravans on the drivers side.
Copyright Michael Phipps 2017

4/6
Turning on the system Once the water is connected turn on the gas located in the front boot of the caravan. Next switch the grey button up or down to start the heater. You should hear a small clicking sound under the main bed when this happens which is the heater lighting. It will take some time for the water to heat up. Probably around 30- 60 minutes initially.
Turning off The heater should be turned off by switching the grey switch to the middle setting and turning the gas off after use at the front of the caravan. NEVER leave the gas on at the front of the caravan when in transit. Electrical system information This caravan can run on a 12 volt system for power or 15 amp mains power. The switch for this is located near the TV connection point next to the dinette. Turn this off when NOT in use to reduce battery drain. The always connected deep cycle battery will automatically charge when mains power has been connected through the normal 15 amp cord located in the fron book. The connection for this on the caravan can be found in the hatch next to the battery on the passenger side of the caravan. Fuses and Mains switch The main switch for power in the caravan is located in the long vertical cupboard near the door. Use this to switch back on the power should you short this out by running too many appliances at once eg- Microwave and Toaster. The fuses are located under the bed as well as one hidden behind a small panel on the right of the toilet waste cupboard although this is hard to find.
Copyright Michael Phipps 2017

5/6
Fridge- Please be aware that the fridge will not work if the caravan is not completely level. It will also take at least 4 hours to get cold and if the ambient temperature is quite high outside will not work as well as a normal house fridge. Microwave- Should only be operated with the Cupboard door open at all times. TV and Reception Under the Microwave is a booster switch which looks like a powerpoint with a small circular switch on it. Switch this on for boost of signal. It will be lit when on. The TV is located in a cupboard behind the dinette and should never be left on its bracket when in transit. Make sure you connect the coaxial aerial cable for the TV for reception. If needed the Aerial can be wound up from inside the back cupboard near the door. IF you do this though you MUST remember to wind it back down before travelling again. Water system Can run from the tank under the dinette seat OR from mains pressure with the hose connected to the outside. Please do not turn the exterior garden tap on full but just a small amount after connection. Also Run the taps all the way back on hot to remove the air from the system on initial setup. Note: Any other instructions etc can be found in the manuals found in the cloth sleeve on the wall near the TV. Thank you and hope you have a nice break with Perfect Break Caravans.
Copyright Michael Phipps 2017