abbott pxp glucose meters 2012 - gwinnett medical center blood glucose 2012... · •test strips or...
TRANSCRIPT

Abbott PXP Glucose Meters 2012
Resource: Lin Gustafson, MT, Point of Care Coordinator Laboratory

Objectives
After you complete this Computer-Based Learning (CBL) module, you should be able to:
• Explain meter operation and maintenance.
• Describe glucose meter testing protocol.
• Describe documentation requirements for patient and control results.
• Explain basic glucose meter troubleshooting.

Basic Operation
To operate the Abbott PXP glucose meters, you must know:
• How to use the Scan key.
• How to use the Clear button.
• When and how to replace batteries.
• How to enter the operator ID and the patient ID.

Basic Operation
Scan Key
The Scan key turns on the laser scanner to read bar codes.
• To operate, press and hold Scan key.
• Move the red beam over the bar code. • Meter beeps when it reads bar code.
• Hold Scan key until meter verifies bar code ID.
• This generally takes only two to three seconds.

Basic Operation
Scan Key Precautions
• Never look into the bar code scanner. • This may cause permanent eye damage.
• Do not hold scan key continuously for 60 seconds. • Scanner automatically resets to prevent
overheating.
• The meter displays error “Laser on Time Out.”
• The PCx becomes out of service for 15 minutes.

Basic Operation
Clear Button
• Use the Clear button to: • Clear a bar code scanned by mistake.
• Back up one space.
• Clear a numerical code from the monitor after pressing enter.
• Return to a previous screen.
• Press Clear two times to clear all numbers shown in the display.

Basic Operation
Battery Replacement
A “low battery power” message is a critical alert.
• Change batteries immediately! • Meter requires two AA batteries.
• The battery indicator signal is located in the upper right hand corner of the meter screen.

Basic Operation
Enter Operator ID To enter your operator ID:
• Scan your employee badge bar code to enter your operator ID. • If your ID is invalid and your certification is
current, place the PXP in a docking station to upload the meter again.
• This reinstalls the list of valid operators.
• If you have a problem, phone Lin Gustafson, POCC, at 678-312-2902.
• Never allow anyone to use your badge bar code. • Remember you are legally responsible for all tests
performed using your operator ID.

Basic Operation
Enter Patient ID • To enter the patient ID:
• Scan the patient’s billing account number, found on the patient’s wrist band. • If you can’t scan the wrist band, inform the charge nurse
immediately to get a new wrist band for the patient.
• Scanning is for positive patient identification.
• Scanning prevents manual entry errors and results going to the wrong patient chart.
• If you must manually enter a number, double-check it before you press the Enter button. • This should be a rare issue.

Quality Control (QC) Testing
When you open a new set of control solutions: • Discard old set of controls. • Control solutions expire 90 days after opening
or at the expiration date on the bottles, whichever comes first. • Write the new expiration date on the control bottles
using the expiration labels in the meters boxes. • For more labels call 2-2902 (Lawrenceville) or 2-6700
(Duluth). • Do not write on the barcode.
• Test low and high levels of controls once every twelve hours.

Performing a QC Test
To perform a control test: • Swirl the control solution several times
before applying it to a test strip.
• Discard first drop to get rid of any air bubbles.
• Apply and hold QC solution to test strip until the meter to beeps.
• Keep the meter in a horizontal position whenever performing patient or QC testing.

Out-of-Range QC Results
• If your QC test result is “Fail,” enter the appropriate comment code. For example: • “Repeat test” (code #1).
• “Procedure error” (code #4).
• “Wrong control used-test repeated” (code #21).
• Check QC solution expiration date and fluid level. • If QC solution is adequate, repeat test using
same solution.
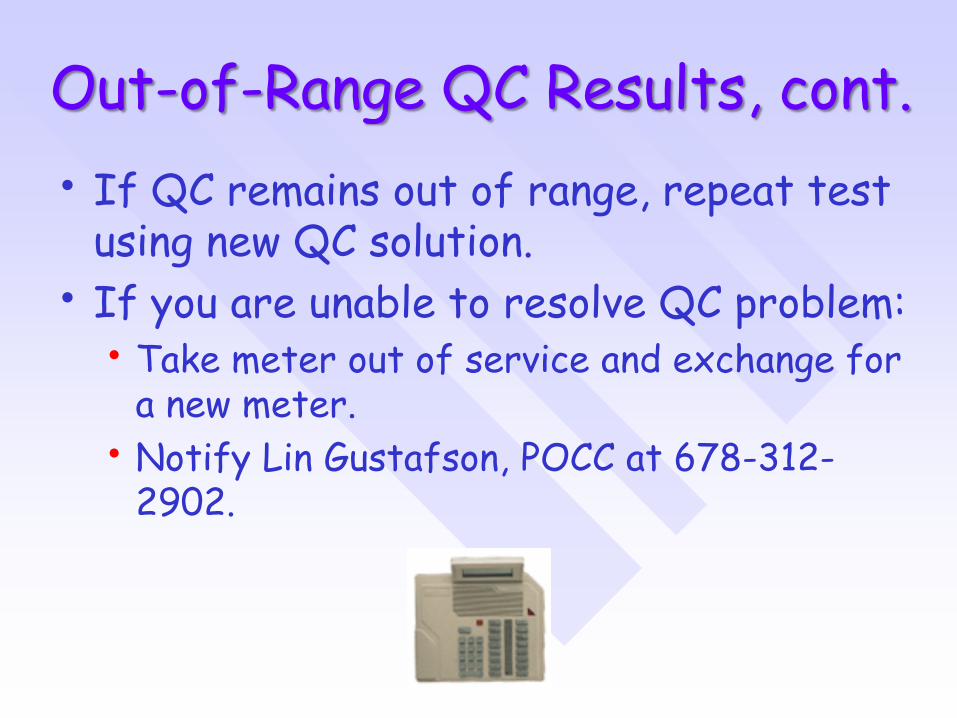
Out-of-Range QC Results, cont.
• If QC remains out of range, repeat test using new QC solution.
• If you are unable to resolve QC problem: • Take meter out of service and exchange for
a new meter.
• Notify Lin Gustafson, POCC at 678-312-2902.

Out-of-Range QC Results, cont.
Possible causes of out-of-range QC results:
• Air bubbles in control solution
• Test strips or solutions compromised because of improper storage
• QC solution opened for more than 90 days
• Controls not mixed prior to testing

Docking the Meter
• Dock the meter every four hours. • Place the PXP glucose meter in the docking
station after performing the QC test.
• A two-way data transfer occurs. • The meter transmits patient and control
results to the Abbott computer system.
• The computer system transmits new operator and lot information to the meter.

Data Upload Procedure
• Place the PXP in a docking station to start the data upload.
• Do not remove the meter until the arrows are replaced by the Menu Mode screen.
• The PXP meter displays: “Upload successful, turning off.”

Patient Blood Glucose Testing
When obtaining a capillary finger stick blood glucose sample:
1. Use the patient’s middle finger or ring finger.
2. To clean finger, wipe with alcohol.
3. Allow alcohol to air dry. • Finger must be dry before puncture.
4. Puncture patient’s finger. • Avoid sides and tips of finger.
• Avoid squeezing the finger excessively.

Patient Blood Glucose Testing, cont.
5. Wipe away the first drop of blood.
6. Use a second drop for testing. • Do not allow blood to enter the strip port.
• To avoid this, perform all testing with the meter in a horizontal position.

Patient Blood Glucose Testing
Repeat Testing
If you have to repeat the test because of an out-of-range result or error, you can use the same puncture site.
1. Wipe the puncture site with alcohol to get the blood flowing again.
2. Wipe away first drop.
3. Use second drop for repeat testing.

Venous, Arterial Blood Testing
• You must use venous or arterial specimens within 30 minutes of collection.
• If not used immediately, use only anti-coagulated samples.
Specimen Source Collect in: Special Instructions
Venous Green- or purple-top tube
Arterial Syringe containing heparin or EDTA
IV start
• Use immediately to avoid specimen clotting.
• Micro clots interfere with biosensor technology

GHS Blood Glucose Ranges
• Adults: 60-400 mg/dl
• Newborn: 40-200 mg/dl
• Take action for every result outside these ranges. • The meter displays the result and an arrow pointing up
(if >400) or down (if <60) and prompts you to input a comment code. • Enter comment code #1 (repeat test).
• Repeat test immediately to verify first result. • If the repeat test remains outside of the range, enter an
appropriate comment code. Examples:
• MD/charge nurse notified (code #11), hypoglycemia protocol (code #9).

GHS Blood Glucose Ranges, cont.
• A STAT lab draw is required for any result remaining >400 mg/dl after a repeat test.
• A STAT lab draw is recommended for any result: • Remaining <60 mg/dl after a repeat test, and
• Not consistent with physical symptoms, and
• Technical errors have been ruled out.
• Click here to review Nursing Policy #6137, Diabetes and Blood Glucose Management.
• Click here to review Laboratory Policy #701-007, Precision Glucose Systems.

Use Proper Test Strip
• Only use the test strip from the package you scan. • This is important because unique information
is associated with each lot number.
• Scanning the test strip bar code enters the strip lot number and expiration, control ranges and expiration, and calibration information into the meter.

Out-of-Range Results
• Possible causes for out-of-range patient results lower than expected: • Capillary/arterial blood tested in venous mode.
• Patient is hypoglycemic.
• Water or alcohol remaining on puncture site.
• Venous or arterial blood sample not tested within 30 minutes of collection.
• Test results may be erroneously low if the patient is: • Severely dehydrated,
• Severely hypotensive,
• In shock, or
• In a hyperglycemic-hyperosmolar state, with or without ketosis.

Out-of-Range Results, cont.
• Possible causes for out-of-range patient results higher than expected: • Serum or plasma used instead of whole
blood.
• Venous blood tested in capillary mode.
• Document all patient results in the patient’s chart.

Patient Test Review
1. Press the On/Off button to turn the monitor on.
2. Press the Menu button.
3. Press 1 to select Data Review.
4. Scan operator ID.
5. Choose the category of data to review.

Unregistered Newborns
• You can find glucose logs for unregistered babies in both the NICU and in the Well Nursery.
• You may use an assigned number for the patient ID along with the patient’s last name.
• Place the patient’s label on the log as soon as possible.
• Fax log to laboratory daily: 678-312-3371.

Unregistered ED Patients
• You can find glucose logs for unregistered ED patients at different locations in the Lawrenceville and Duluth EDs.
• Please see managers for specific locations.
• Enter Date and Time (mmdd0000) on log under “Number Used as the patient identifier.”
• Ex: Enter “Jan 8th at 1400” as: 01081400
• Record results and your operator ID on log.
• Place the patient’s label on log ASAP.
• Fax log to Laboratory daily: 678-312-3371.

Testing Patients in Isolation
Before testing: • Prepare all testing materials prior to
entering the patients room.
• Place meter in a biohazard bag and seal the bag.
• Use any necessary Personal Protective equipment (PPE) and enter the room.
• Take only your meter and one test strip into the room. • Do not take entire meter case.

Testing Patients in Isolation, cont.
Testing: 1. Scan/enter your operator ID.
2. Scan the patients armband.
3. Push the test strip through the bag, making a small hole.
4. Perform test.
Testing Patients in Isolation, cont.
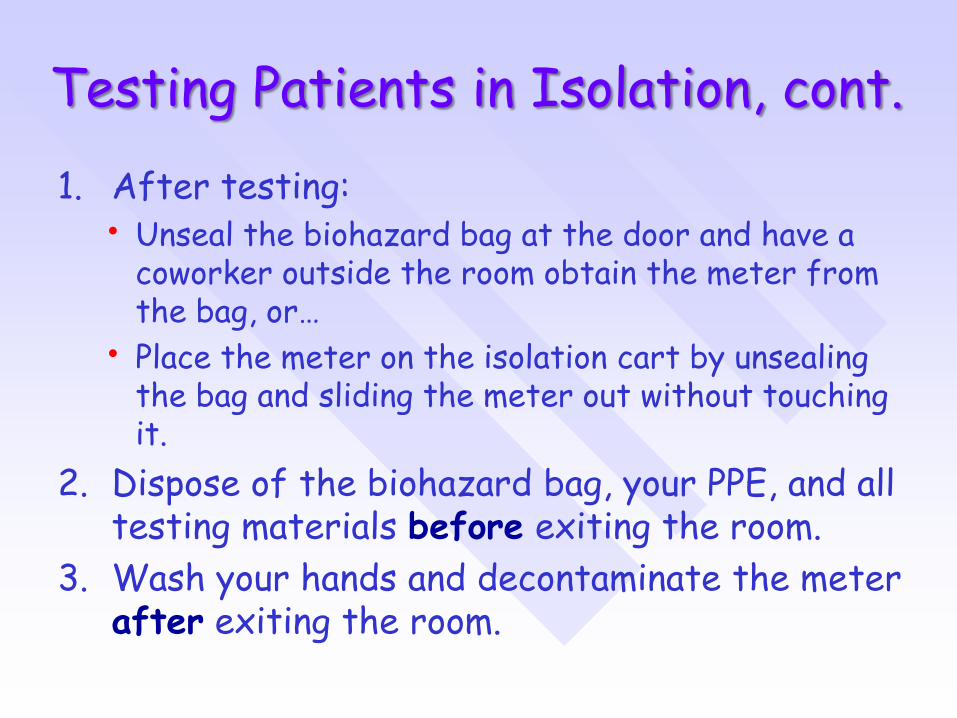
1. After testing: • Unseal the biohazard bag at the door and have a
coworker outside the room obtain the meter from the bag, or…
• Place the meter on the isolation cart by unsealing the bag and sliding the meter out without touching it.
2. Dispose of the biohazard bag, your PPE, and all testing materials before exiting the room.
3. Wash your hands and decontaminate the meter after exiting the room.

Keeping the Meters Clean
• Clean the PXP meters with a hospital approved disinfectant wipe after each patient use.
• Follow directions “for use as a disinfectant” on back of wipe container.
• Turn the meter off while cleaning it.
• Do not immerse, flood with any liquid or autoclave the meter.

Meter Care
To reduce meter down time and extend meter life:
• Avoid meter drops and falls. • Do not place meter on beds or cluttered tray
tables.
• Avoid getting QC solution or patient blood inside meter. • Use small drops of control solution and patient
blood.
• Keep meter in a horizontal (flat) position during testing.

Meter Care, continued
• Avoid getting QC solution or patient blood inside meter, con’t. • Remove test strips before lifting the meter
to read the screen. • Excessive specimen may run down the strip
into the strip port opening and onto the circuit board.
• This results in a strip error “4305.”
• Wetting the internal circuits repeatedly damages the meter and causes inaccurate test results.

Congratulations!
• You have completed this CBL module.
• Click on Take Test to continue.
• Questions? Contact: • Lin Gustafson
• Point of Care Coordinator, Laboratory
• 678-312-2902