180 mt example - mips7kh plsv bjhwpysfrqwuro pdfur uhdgv wkh 093&rqwurouhjlvwhu , fohdu wkh (93...
TRANSCRIPT

1
In the next 2 sections I will show you a simple example of the use of Multi threading.

2
+ This example show you how to start three threads.
+ you will see the effect of threading

3
In this section I will do a code walk through. At each step I’ll show the registers involved, the C code lines and assemble code for each step.
In the next section I will go through the compiling and running the code in the debugger.

4
I have already shown you some of the macros that allow you to program in C. Just a reminder these are located in the include/mips/mt.h file.

5
The first thing the code needs to do is to put the processor into a mode where we can use the CP0 registers to configure the threads we want to run.
The MVPControl register has 2 fields, VPC and EVP.
+ Setting the VPC field will allow us to write registers that a normally are not writable on a single core MIPS processor.
+ Clearing EVP disables all multi processing so we can configure all the threads.
+ The mips32_getmvpcontrol macro reads the MVPControl register.
I clear the EVP bit using the MVPCONTROL_EVP #define
and set the VPC bit using the MVPCONTROL_VPC #define
The write is back using the mips32_setmvpcontrol macro.
+ Here is what the assemble code looks like

6
Assuming the thread we are executing on is thread 0, the target TC needs to be configure for thread 1. To do this use the TargTC field in the VPEControl register
Once this done the mttr - move to thread register instruction and the mftr - move from thread register instruction will be directed to Thread 1.
+ This is simple to do in C using the mips32_mt_settarget macro
+Here is the assemble code

7
Before continuing, the target thread needs to be halted otherwise the change being made will be unpredictable. To make sure Thread 1 is halted before configuring it; set the H field in its TCHalt register.
+ In C I can use the mips32_mt_settchalt macro and the TCHALT_H #define
+ Here is the assemble code

8
Bind thread 1 to VPE 0 using its TCBind register
+ The mips32_mt_settcbind macro will write the register
+ Here is the assemble code

9
I now setup the stack pointer and global pointer of the thread.
I have previously allocated space for the threads stack and set the variable TC1_stack_top to the last word entry in the stack since stacks grow down.
I use the mips32_mt_setsp macro to write the stack pointer register.
+ Here is the assemble code
The Global pointer is used to reference the global variables in the small data areas. These variables are shared by all threads.
+ To set the global pointer I will use an external variable set up by the linker called _gp and the mips32_mt_setgp macro
+ Here is the assemble code notice I just copy the current threads gp register to the target thread

10
Use the TCRestart register to tell the CPU where to start fetching instructions from for the target TC. Use the function pointer for the startTC1 function as the address to start TC from.
+ The macro mips32_mt_settcrestart sets the starting address using the startTC1 function pointer which points to the starting function for the thread.
+ Here is the assemble code

11
Next activate the thread and make it available for use with Fork and Yield instructions using the TCStatus register.
+ To active the thread, set the A field (activated)
+ To make the thread Yieldable it must be marked a Dynamically Allocatable, set the DA bit
Note: This example does not use the fork instruction but it will use the Yield instruction at the end of execution so we do need to enable Dynamic Thread allocation by setting the DA field.
+ I use the mips32_mt_gettcstatus to get the curent value and the TCSTATUS_A and TCSTATUS_DA #define to set the bits and the mips32_mt_settcstatus macro to write the value to the register.
+ Here is the assemble code

12
The last step in configuring the Thread is to un-halt it. By doing this the thread can be scheduled and instructions can be fetched once I enable multi threading. Clearing the H bit in the TCHalt register un-halts the thread.
+ The mips32_mt_settchalt macro with a zero argument will clear the H bit in the TCHalt register.
+ Here is the assemble code

13
To setup thread 2 I just set the Target TC to 2 and then set it up the same as thread 1.
+ The one thing that must be different for each thread is the stack other wise the stack will be corrupted. You can use the same starting code address since each thread will have its own stack and therefore each will have its own context. However this example will use slightly different code for each thread.

14
After I have initialized all the threads I need to enable threading on the VPE. I do this by setting the TE bit in the VPEControl register.
+ To do this I use the mips32_mt_getvpecontrol to get the current value of the VPEControl register then I use the VPECONTROL_TE #define to set the TE bit and the mips32_mt_setvpecontrol to write it back.
+ here is the assemble code

15
Last, to finally enable Multi threading and start all enabled threads executing I need to turn off configuration mode and Enable Virtual Processing. These are set in the MVPControl register.
+ I use the mips32_getmvpcontrol macro to read the register
Then the MVPCONTROL_VPC #define to clear the VPC bit to turn off the configuration state
and the MVPCONTROL_EVP #define to set the EVP bit to enable virtual processing.
Then write the register using the mips32_setmvpcontrol macro.
+ Here is the assemble code

16
At this point all threads will be scheduled and will start running code.
Now put the current thread that executed the initialization code, thread 0 into the mix by calling the count function.
Note; the code will never execute the return call because all threads will be yielded including thread 0.
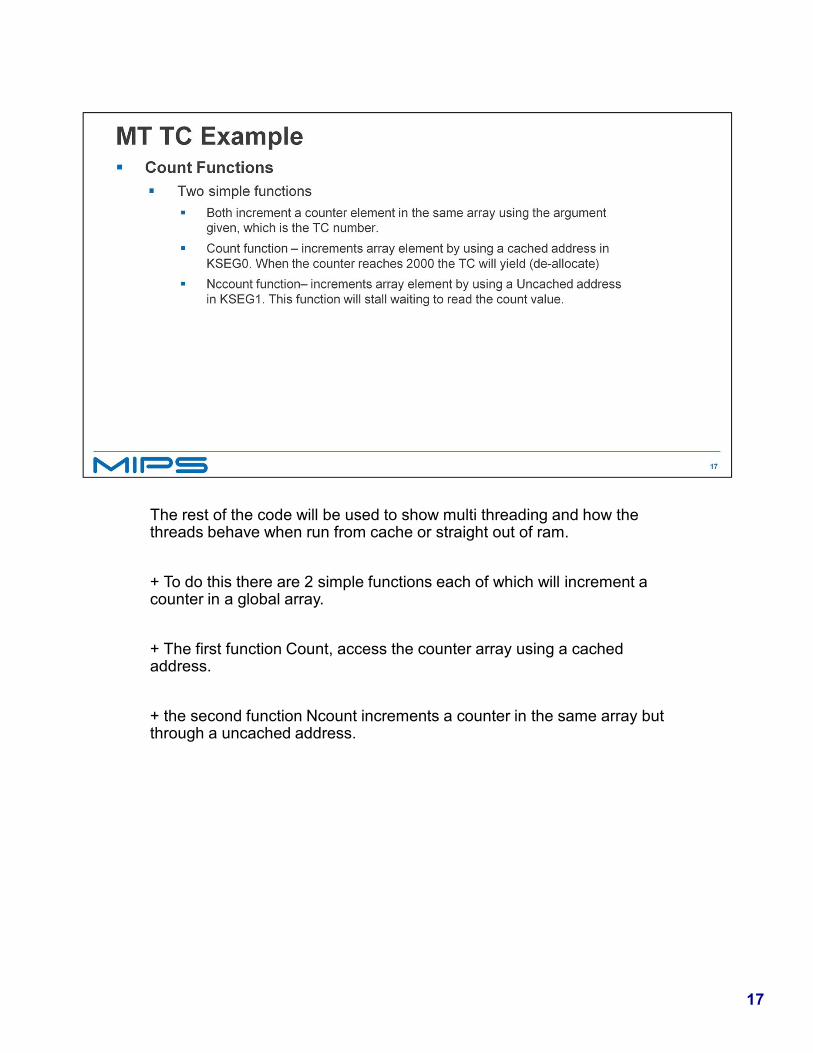
17
The rest of the code will be used to show multi threading and how the threads behave when run from cache or straight out of ram.
+ To do this there are 2 simple functions each of which will increment a counter in a global array.
+ The first function Count, access the counter array using a cached address.
+ the second function Ncount increments a counter in the same array but through a uncached address.

18
What you will see is the threads that use the cached address to increment their counter will not stall and these threads will execute more then the thread that is writing to the uncached address. This is because the threads using the cached address will be allowed to execute while the thread that uses the non cached address stalls waiting for the load to complete.
Fine grain multi threading allows other threads to execute while another thread is stalled. Normally stall cycles would be wasted in a non threaded CPU.

19
The thread shows the effect of the Yield command.
+ Each thread will use the Yield command to terminate itself once terminal count has been reached.
+ You’ll see that the threads using the count function will terminate before the thread executing the Ncount function because they have gotten to run while the Ncount function was stalled.