1. software installation - alignms.align.com.tw/mpeg/manuals/flybarless_system/3g fl760...
TRANSCRIPT

3G FL760 install instruction This CD-ROM included 3G V2.1 update software, restore to V2.0 software and PC
configuration GUI (graphical user interface). Following you can find the instructions
for software installation, update, and how to use the PC configuration GUI:
1. Software installation:
Please click “setup.exe” to start install.

A dialog box will be poped up. Click “Next” to the next step.
Select where you do want to install and click “Next”.

Click “Next” to start the installation.
When the installation is complete, click “Close” to exit the installation.
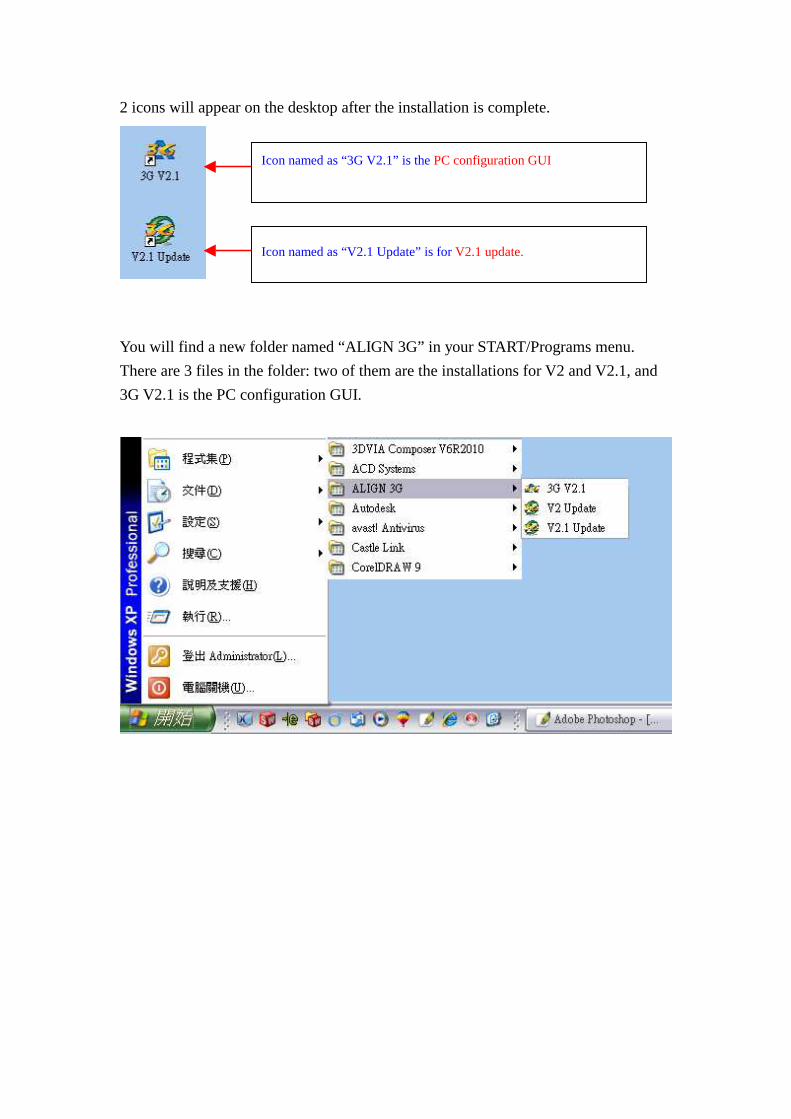
2 icons will appear on the desktop after the installation is complete.
You will find a new folder named “ALIGN 3G” in your START/Programs menu.
There are 3 files in the folder: two of them are the installations for V2 and V2.1, and
3G V2.1 is the PC configuration GUI.
Icon named as “3G V2.1” is the PC configuration GUI
Icon named as “V2.1 Update” is for V2.1 update.
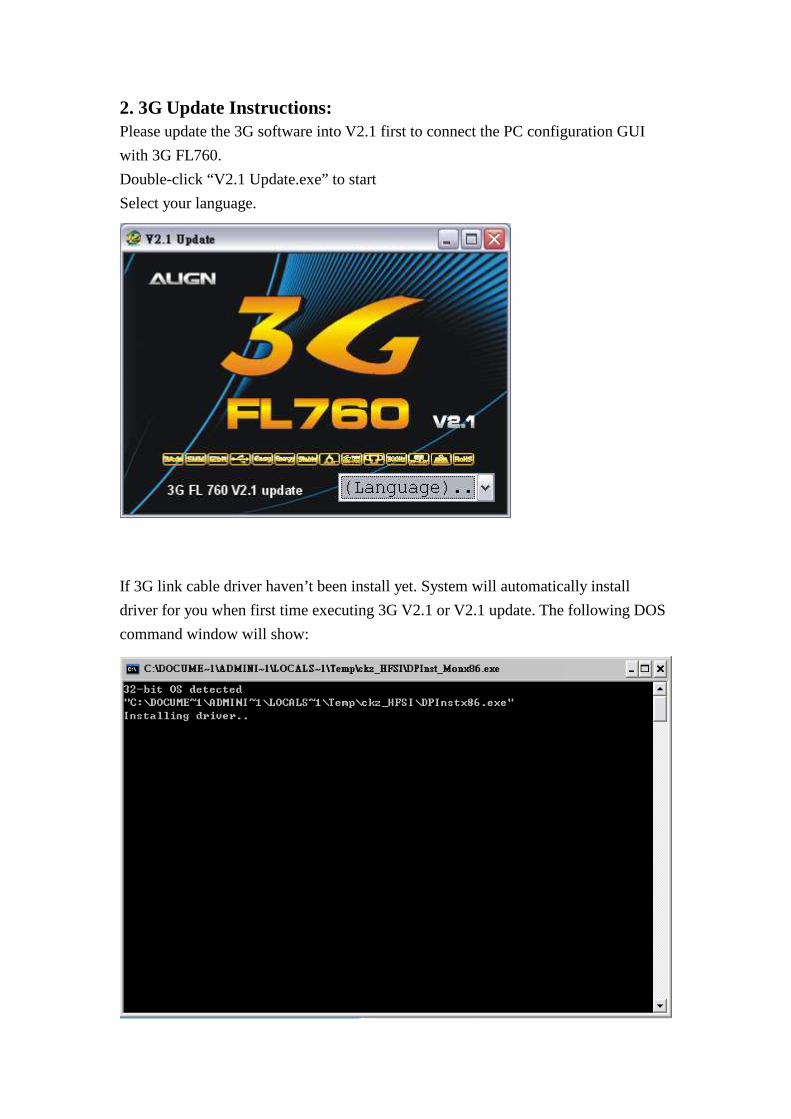
2. 3G Update Instructions: Please update the 3G software into V2.1 first to connect the PC configuration GUI
with 3G FL760.
Double-click “V2.1 Update.exe” to start
Select your language.
If 3G link cable driver haven’t been install yet. System will automatically install
driver for you when first time executing 3G V2.1 or V2.1 update. The following DOS
command window will show:

Connect 3G link USB cable as shown and click YES to the next step
Connect the Y-cable harness with 3G sensor and 3G link cable as shown.
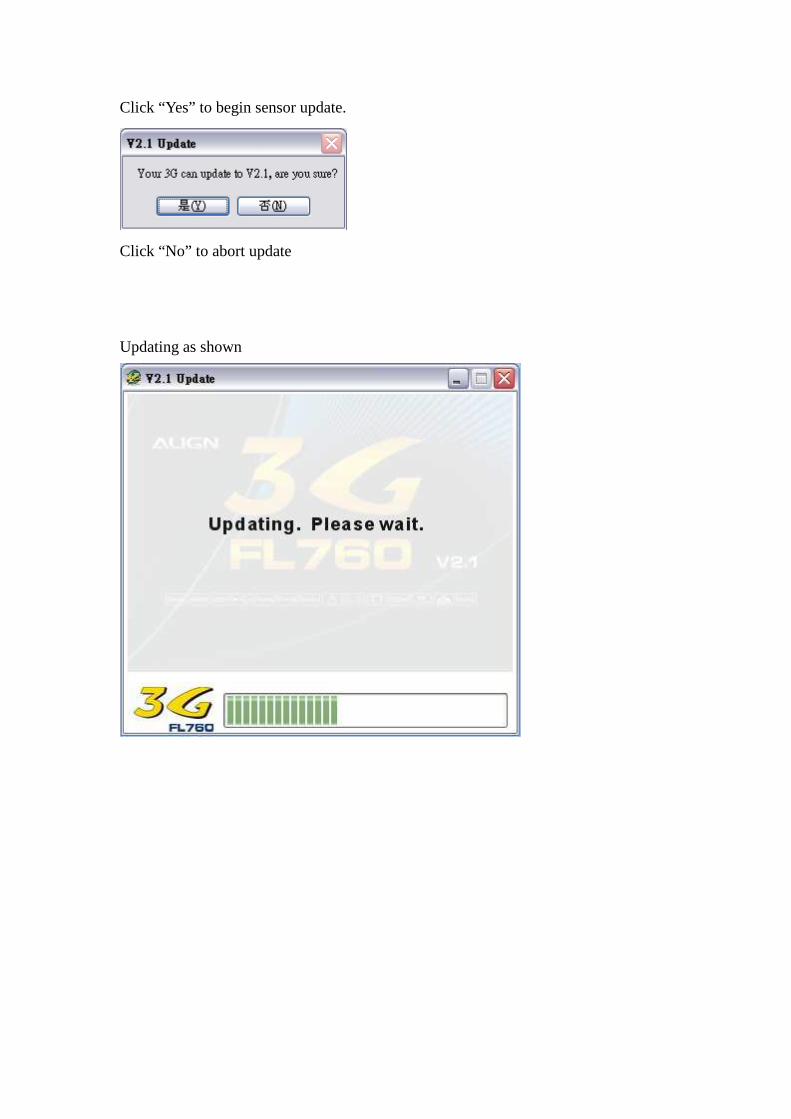
Click “Yes” to begin sensor update.
Click “No” to abort update
Updating as shown

Please check again if the 3G link USB cable is connected. Click “Yes” to the next
step.
Connect the Y-cable harness with 3G controller unit and 3G link cable as shown.

Click “Yes” to begin controller update.
Click “No” to abort update.
Updating as shown

After the update is completed, reset the AIL/ELEV gain dial to 12 0'clock position.
Click “OK” to exit
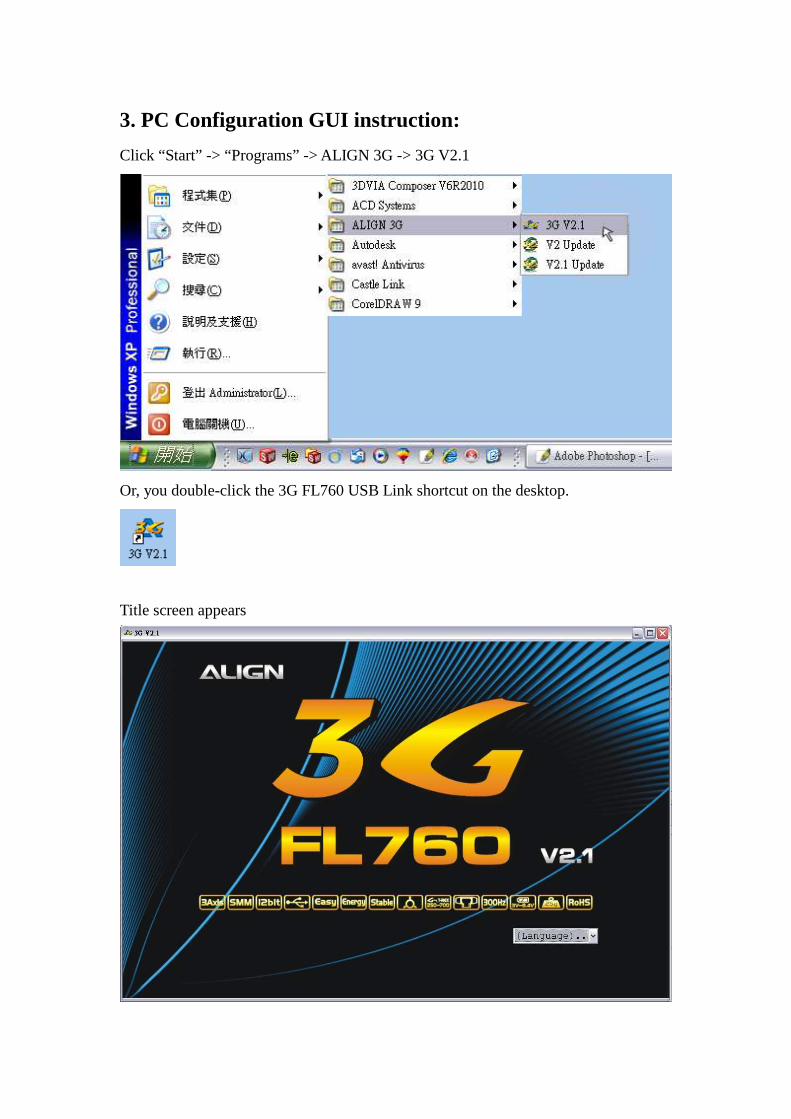
3. PC Configuration GUI instruction:
Click “Start” -> “Programs” -> ALIGN 3G -> 3G V2.1
Or, you double-click the 3G FL760 USB Link shortcut on the desktop.
Title screen appears

Select your language. We use Engiish as example here.
The software will enter the PC Configuration GUI after you selected the language.
This interface makes you to adjust aileron parameter setting, elevator parameter
setting, rudder parameter setting, and miscellaneous setting with the values you need.
The command display and 3G setting display functions for you to check your 3G
settings.

Please connect the Y-cable harness with 3G controller unit, 3G sensor and 3G Link.
After everything connected, turn on the power of transmitter and the receiver.
Caution: Please disconnect any 2 cables of the motor to avoid the motor rotates while
doing the setting.
Connecting illustration
After turn on the 3G, click 3G link button to start connect PC and 3G controller unit.
Below the “3G link” button you will see the connect status. The software will load
the value in 3G controller automatically.
Linking up

Connected
You can click “Write Settings” button to send the value to 3G. Or click “Read
Settings” button to read current settings from 3G. The status will be show as linking
up during writing or reading.

You can click “Open Setting File” button to open setting file from PC or click “Save
Setting File” button to save current settings to PC.
You can find the common settings in the dropdown list. There are 2 build-in setting
as T-REX500~T-REX700 and T-REX250~T-REX450. Any saved setting will be
appear in the list as well.
Suggested settings by Align
Saved setting from the user.

You can change languages anytime. Simply select the language you need from the
language dropdown list.