1 chapter overview basic troubleshooting techniques windows troubleshooting tools client relations
Post on 22-Dec-2015
242 views
TRANSCRIPT

1
Chapter Overview
Basic Troubleshooting Techniques Windows Troubleshooting Tools Client Relations
2
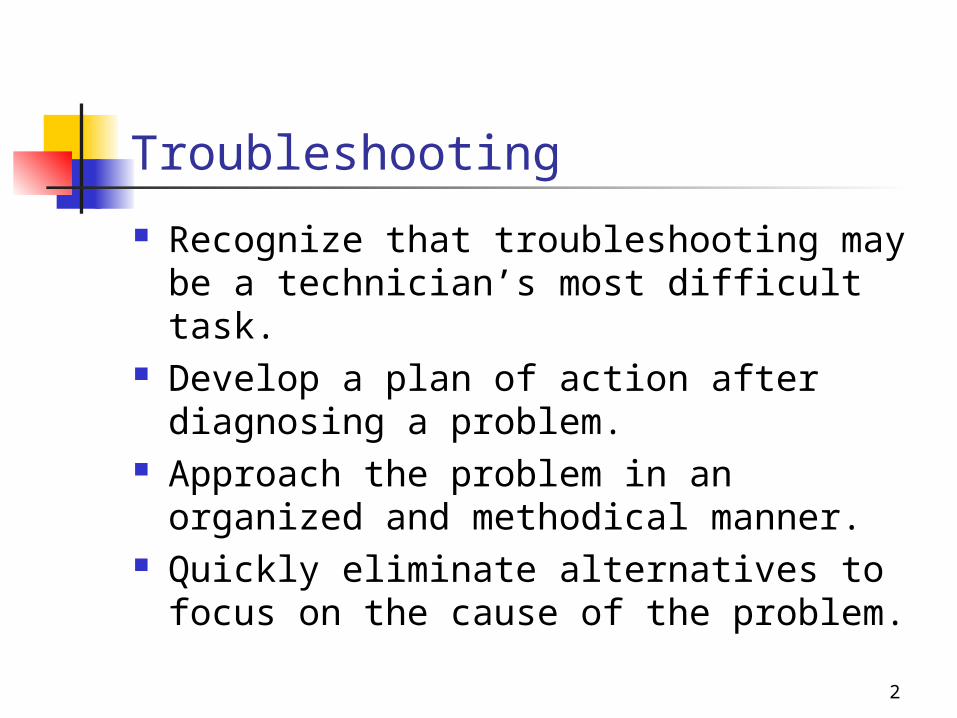
Troubleshooting
Recognize that troubleshooting may be a technician’s most difficult task.
Develop a plan of action after diagnosing a problem.
Approach the problem in an organized and methodical manner.
Quickly eliminate alternatives to focus on the cause of the problem.

3
The Five Phases of Troubleshooting

4
Basic Windows Troubleshooting Approach
Start by gathering information about the problem and the system.
Determine if the system will boot, and look for an obvious problem.
Localize and identify the problem. Define an action plan that uses
appropriate tools.

5
Basic Windows Troubleshooting Approach (Cont.)
Resolve the problem. Minimize the potential for recurrence by
taking steps to eliminate further harm to the system.
Document your work.

6
Performing a Differential Diagnosis
Differential diagnosis involves examining system behavior and filtering out the most likely problem.
If a symptom is linked to an action, then that action is the most likely cause.
In developing a differential diagnosis, you should Identify possible causes and work to eliminate all
but one Validate your assumption by testing the solution Observe where in the operational cycle the
problem occurs

7
Three Components of the Operational Cycle

8
Experience Is Key
Check out initial “hunches” first. If the problem is not solved, follow the plan.
Have a disaster recovery plan that uses backups to restore systems in the case of a corrupt operating system (OS) or hard disk drive crash.
Follow the natural order of working through each phase.

9
Startup Issues
If the OS fails to load, hardware or driver problems are often the cause. Identify any changes to the system. Ask questions to determine the user’s skill
level. Explore the possibility of a virus. Identify the proper tools to use.

10
Operational Issues
Applications, network connections, and system services can cause isolated problems.
If a device attached to the system is not working, the problem may be the driver or conflicts with another device.
System-wide devices or services might cause erratic problems.

11
Shutdown Issues Some of the most difficult problems to
diagnose are computers that Hang unexpectedly during normal operation Restart unexpectedly Hang during shutdown or refuse to shut down
These problems can stem from faulty device drivers, runaway system processes, malfunctioning applications, memory management problems, or hardware problems.
12
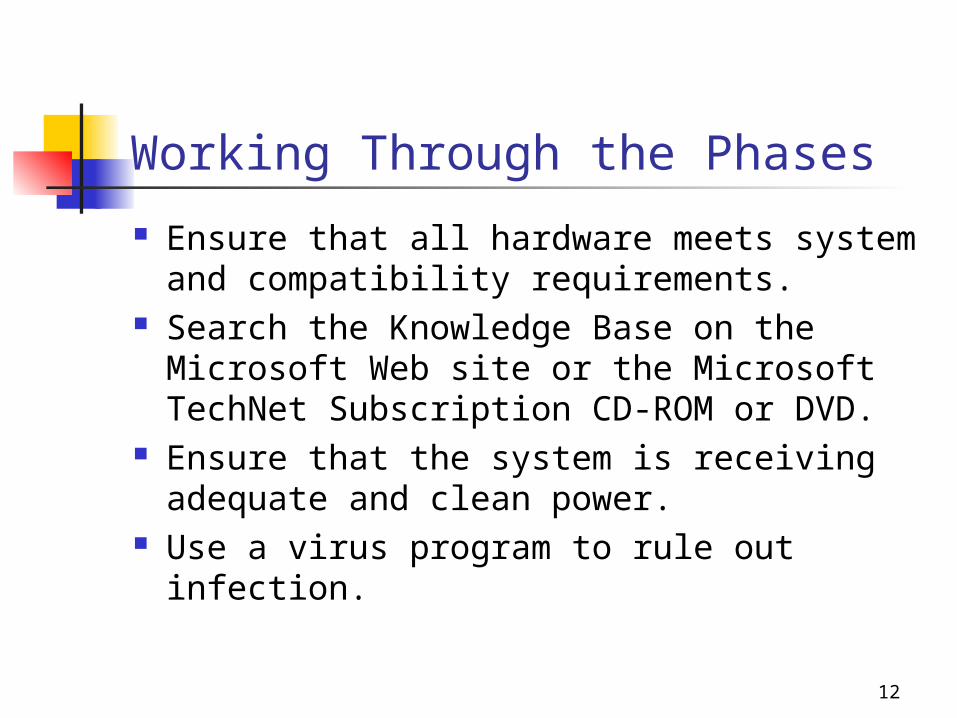
Working Through the Phases
Ensure that all hardware meets system and compatibility requirements.
Search the Knowledge Base on the Microsoft Web site or the Microsoft TechNet Subscription CD-ROM or DVD.
Ensure that the system is receiving adequate and clean power.
Use a virus program to rule out infection.

13
System Startup in Safe Mode and Command Mode
Problems during the power-on self test (POST) are almost always directly related to hardware.
If the system still fails after you remove suspect hardware, you should use safe mode.
Pressing F8 after the POST invokes safe mode. If safe mode is not possible, you can use
command mode. Microsoft Windows 2000 and Microsoft
Windows NT can start the system in “Last Known Good Configuration.”

14
Operating System Management Tools

15
Operating System Management Tools (Cont.)

16
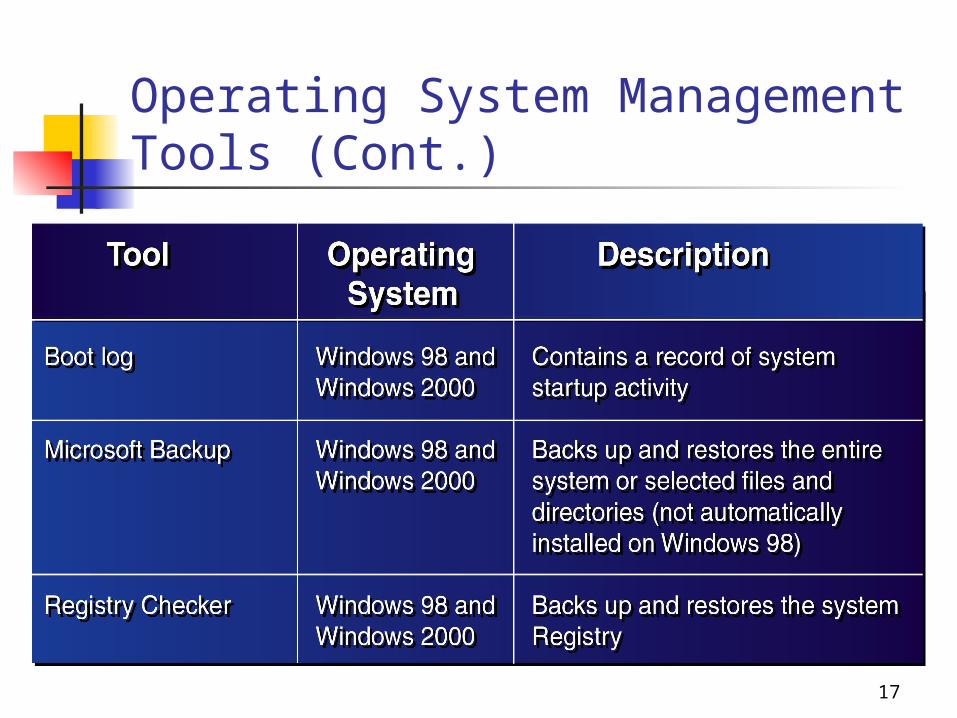
Operating System Management Tools (Cont.)
17
Operating System Management Tools (Cont.)

18
Operating System Management Tools (Cont.)

19
Operating System Management Tools (Cont.)

20
Operating System Management Tools (Cont.)

21
Operating System Management Tools (Cont.)

22
Operating System Management Tools (Cont.)

23
The Windows 2000 Computer Management Snap-In

24
The Windows 98 MSI Tool

25
Using the Windows 98 System Configuration Utility

26
Using Device Manager to Troubleshoot Windows

27
Shutdown and Related Problems Shutting down Microsoft Windows improperly
can corrupt data. Technicians should educate users on the
proper way to shut down their computers. When a system hangs during shutdown, it is
typically due to an application that is not releasing resources.
Two useful troubleshooting tools are selective startup and Task Manager.
Selectively choosing the options to load during startup can help isolate the problem.

28
Using Task Manager
Task Manager is not available in Microsoft Windows 9x.
Pressing Ctrl+Alt+Del invokes Task Manager.
If there is unusually high CPU usage, the system might be running low on resources.
If you suspect an application, you should close it and observe the result in Task Manager.

29
The Performance Tab

30
The Windows 98 System Monitor

31
The Windows 98 Resource Meter

32
Registry Recovery
Registry recovery is a necessary skill for any technician because Registry corruption is a fact of life.
The Registry recovery process varies, depending on whether Windows 98 or Windows 2000 is installed on the system.
33
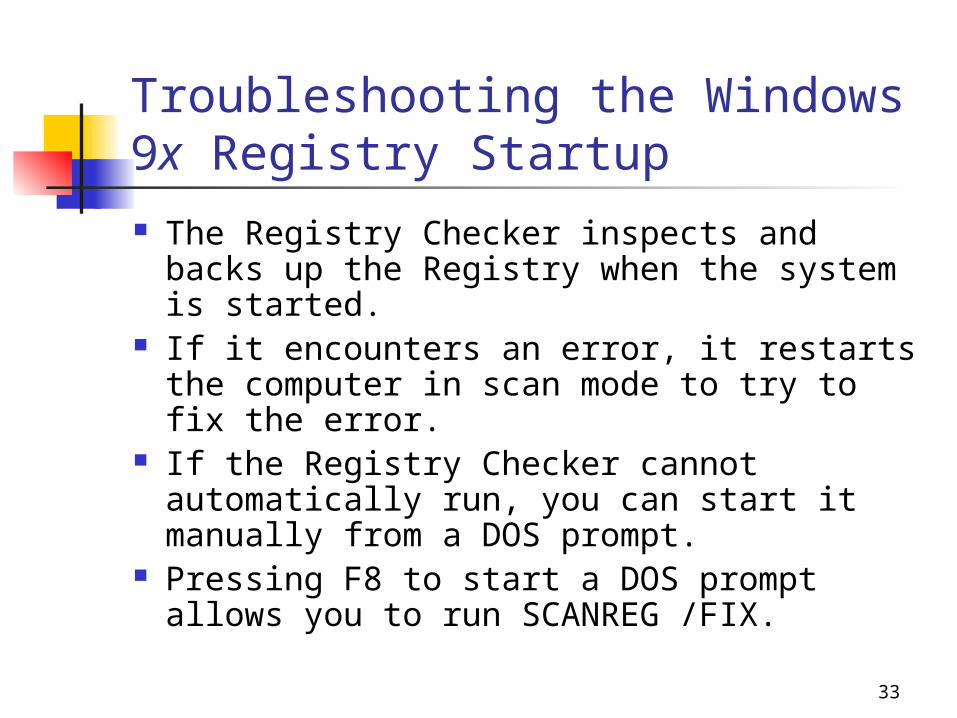
Troubleshooting the Windows 9x Registry Startup The Registry Checker inspects and backs up
the Registry when the system is started. If it encounters an error, it restarts the
computer in scan mode to try to fix the error.
If the Registry Checker cannot automatically run, you can start it manually from a DOS prompt.
Pressing F8 to start a DOS prompt allows you to run SCANREG /FIX.

34
Restoring the Windows 9x Registry from a Backup
Replace the current Registry from a backup copy if the Registry is corrupt. Press F8 to restart the system in MS-DOS mode. Type scanreg /restore to start the Registry
Checker in restore mode. Select the last known good Registry backup
from the list of .cab files. If new hardware caused the problem,
remove it from the system before the Registry repair.
35
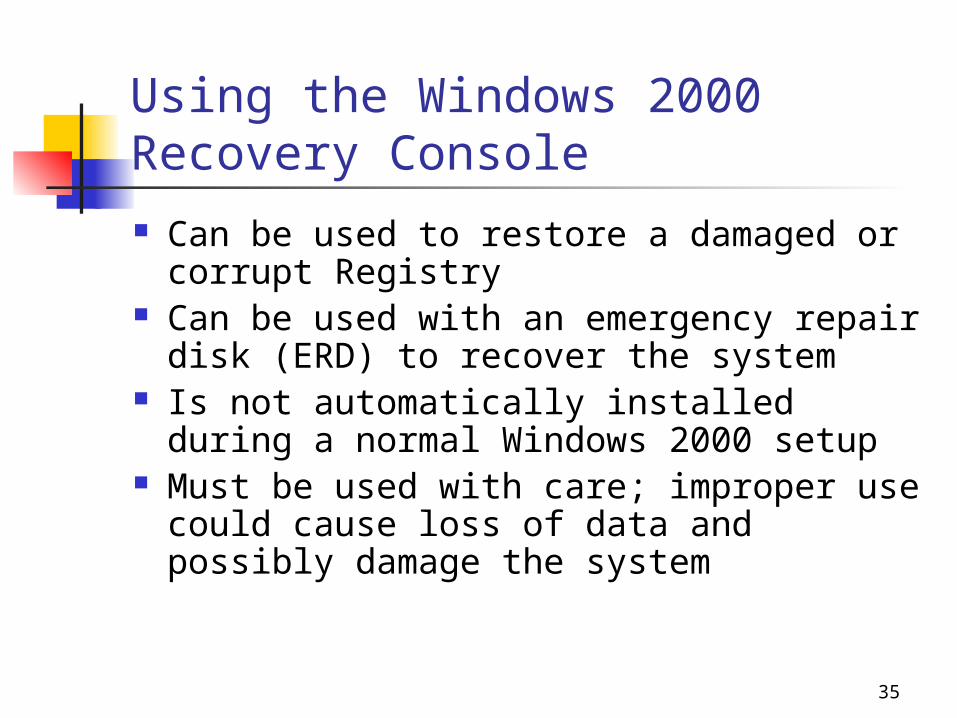
Using the Windows 2000 Recovery Console Can be used to restore a damaged or
corrupt Registry Can be used with an emergency repair
disk (ERD) to recover the system Is not automatically installed during a
normal Windows 2000 setup Must be used with care; improper use
could cause loss of data and possibly damage the system

36
Recovery Console Procedure Start the Recovery Console rather than the OS. Use the CD command to change to the X:\
Winnt\Repair\Regback directory. Copy files you want to restore to the X:\
System Root\System32\Config directory. Completely restore the Registry by copying five
files from the Regback directory: Default, SAM (Security Account Management), Security, Software, and System.
Ensure that all files have been copied to the Config directory; then exit and restart the system.

37
MS-DOS Application Incompatibilities Windows 9x and Windows 2000 might have
problems with some MS-DOS applications. Improved memory management allows most
MS-DOS applications to run better in newer versions of Windows than in Microsoft Windows 3.11.
Some MS-DOS applications cannot locate a recognizable MS-DOS version and do not run.
Some legacy MS-DOS applications use resources in a way that is incompatible with Windows and can cause the system to hang.

38
Supporting MS-DOS Legacy Applications
MS-DOS applications check the version number of MS-DOS before running.
If the application reads a version it does not recognize, it crashes.
To trick the application into reading the version it expects, include the following line in the CONFIG.SYS file: device=c:\windows\setver.exe

39
Supporting Legacy Windows 3.x Applications
Find the name of the application’s module by using QuickView.
If necessary, install QuickView with Add/Remove Programs in Control Panel.
Add the following section to the WIN.INI file:[Compatibility]module_name = 0x00200000

40
Other MS-DOS Workarounds

41
Advanced Options for MS-DOS Workarounds

42
Printing Problems
The Windows 9x online help includes the Print Troubleshooter.
If the Print Troubleshooter does not help solve the problem, you can use the Enhanced Print Troubleshooter (EPTS). You can copy it from the EPTS directory on
the distribution CD-ROM to the hard disk drive.
EPTS.EXE runs a more detailed version of the standard online help troubleshooter.

43
If the Printer Does Not Print Make sure the power
is on and the printer is online.
Check the cable connections.
Verify that the printer has paper.
Clear any paper jams. Clear the print buffer.
Make sure the driver and printer are in the same mode.
Send a print job directly to the printer.
Print from another application.
Delete and reinstall the printer.
Print to a file and copy the file to the printer port.

44
If the Printer Takes Too Long to Print
Ensure that spooling is enabled and Windows is spooling.
Make sure the drive has enough disk space.
Defragment the hard disk.
Check for sufficient system resources.
Upgrade the printer driver if possible.
Make sure that Windows is sending TrueType fonts as outlines, not bitmaps.

45
If Printouts Contain Random Characters
Make sure the printer language and type are correctly identified.
Verify that there is enough printer memory.
Print directly to the printer.
Use ready to print (RAW) spooling instead of Enhanced Metafile Spooling (EMF).
Print one job at a time.
Make sure the printer can support the printable region.
46
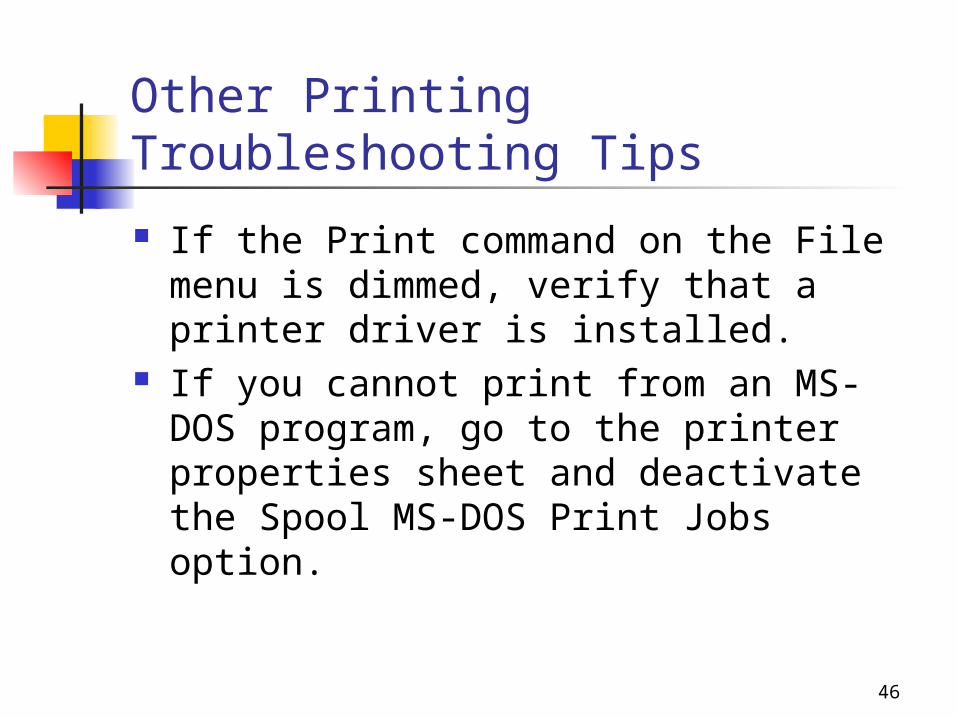
Other Printing Troubleshooting Tips
If the Print command on the File menu is dimmed, verify that a printer driver is installed.
If you cannot print from an MS-DOS program, go to the printer properties sheet and deactivate the Spool MS-DOS Print Jobs option.
47
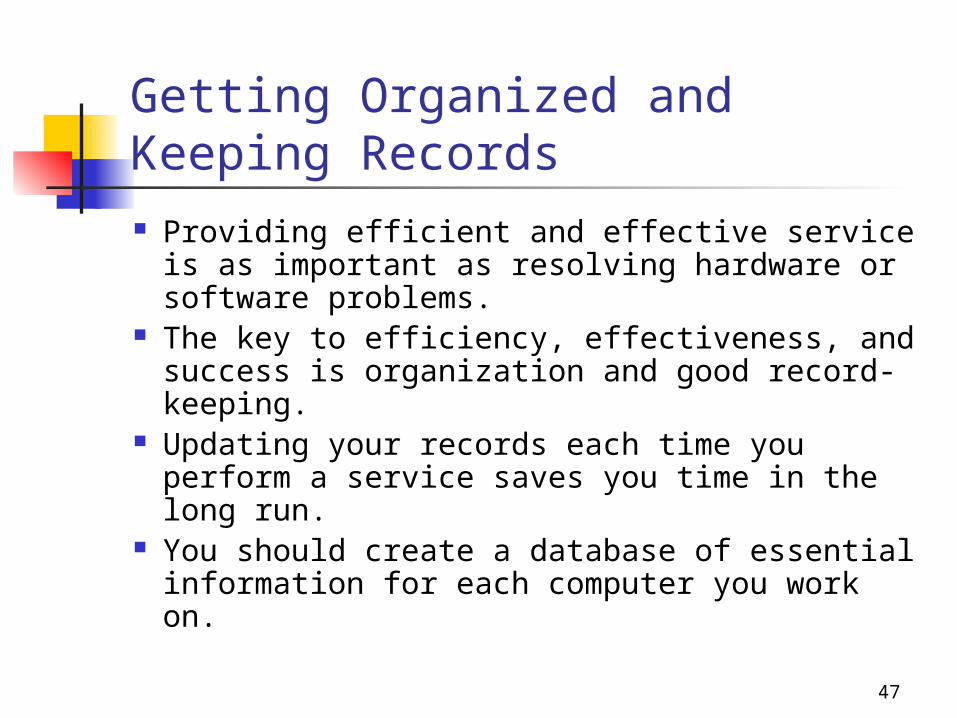
Getting Organized and Keeping Records Providing efficient and effective service is as
important as resolving hardware or software problems.
The key to efficiency, effectiveness, and success is organization and good record-keeping.
Updating your records each time you perform a service saves you time in the long run.
You should create a database of essential information for each computer you work on.

48
Suggested Types of Information to Document
Use unique and descriptive computer names.
Document all technical information about the system.
Save all unique data to floppy disks. Keep an incident log for each computer.

49
Levels of Support
Large organizations can separate support functions into several levels.
Some support can be delegated, based on user knowledge and organization size.
Proper delegation of technical support functions can save time for everyone.

50
Level 1: Designated, On-Site User
A designated user in each department can handle simple technical support and most trivial problems.
The designated user should have a basic knowledge of computers.
A knowledgeable on-site source can assist you effectively.

51
Level 2: Telephone Support
Telephone support offers a quick solution to common problems.
Getting information over the phone can help you prepare for on-site repair.

52
Level 3: On-Site Service
Decide whether to service the system on-site or bring it back to your workplace by asking the following questions: Will repairs interfere with the user’s work? Will the user’s location interfere with your
work? Is the computer in a high-traffic area? Will the user want to help? Do you have enough space to work?
53
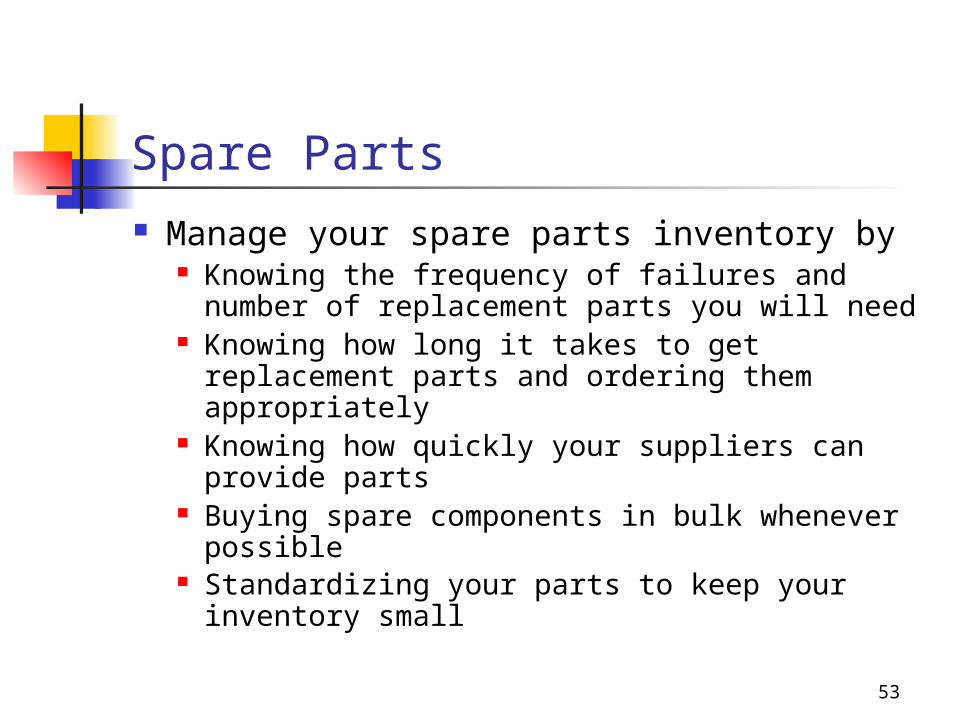
Spare Parts Manage your spare parts inventory by
Knowing the frequency of failures and number of replacement parts you will need
Knowing how long it takes to get replacement parts and ordering them appropriately
Knowing how quickly your suppliers can provide parts
Buying spare components in bulk whenever possible
Standardizing your parts to keep your inventory small

54
Standardization In large organizations, standardization
reduces the number of spare parts required. Standardization is not always possible. You should standardize whatever you can
control. You should establish standards for groups of
similar systems. When you have computers with little in
common, setting standards such as common interrupt requests (IRQs) can be very worthwhile.

55
Customer Service The bottom line in computer repair is
customer service The following are two methods for
handling initial support calls: The call is routed to a central help desk, and
then routed to a support team member Any member of the support team can
respond to a call Handling support calls professionally is
critical to your business success

56
Handling a Support Call
1. The greeting: briefly identify the caller and nature of the problem
2. The description: obtain a description by guiding the conversation and keeping it focused
3. The interview: ask short, logical, and simple questions
4. The closure: assess, evaluate, and provide a plan of action
57
Reports and Logs Keep a client profile log describing each
client and their business. Ask the client for referrals and ask if you can
use them as a reference. Keep written records of referrals and contact
the referred person as soon as possible. Leave business cards with clients and ask
them to distribute the cards. Call the client after a few days to ensure
that the problem has been resolved.

58
Difficult Clients and Coworkers
Provide training information to users who need training.
Put instructions in writing for clients who cannot remember instructions.
Make advanced users part of the solution, not the problem.
Require users who complain about trivial problems to put them in writing.

59
Escalating Problems and Documenting the Closure If the problem is outside your expertise, track
the progress of the responsible person. If you are an independent service provider,
find a solution. If you resolved the problem previously but did
not document the solution: Pass the information along to other team members Keep good documentation for future reference
Document the closure once the service call is completed.

60
Chapter Summary Effective troubleshooting requires approaching the
problem in an organized and methodical manner. Make a plan, follow it, and document everything you
do. Windows 2000 and Windows 98 share many
common troubleshooting tools. Basic troubleshooting principles apply to OS and
hardware problems. You should understand the three levels of support
and delegate service requests to the appropriate level.
Outstanding customer service is critical to being a successful computer technician.