· web viewfor the purposes of this tutorial, ... open all the .stl files you ... then you...
TRANSCRIPT
Steps for Printing in a 3D Maker Space
Below you will find a helpful guide with steps for printing a solar car on a 3D printer.
1. The first step is to open up whatever 3D printing program is compatible with your 3D printer. Many of these programs can be downloaded online for free. For the purposes of this tutorial, I will be walking through the steps of using MakerBot. My other favorite option is Flash Print, which is also free.
2. Make sure your build plate within the software is set to the same size as that of your 3D printer. In Flash Print, the printer type should be listed at the bottom, so you can click and choose which printer you are using.
3. Next, go back into your CAD or 3D building program and save all of your files as .STL files. For the solar car designs listed on the Clean Energy Institute website, they are already in this format.
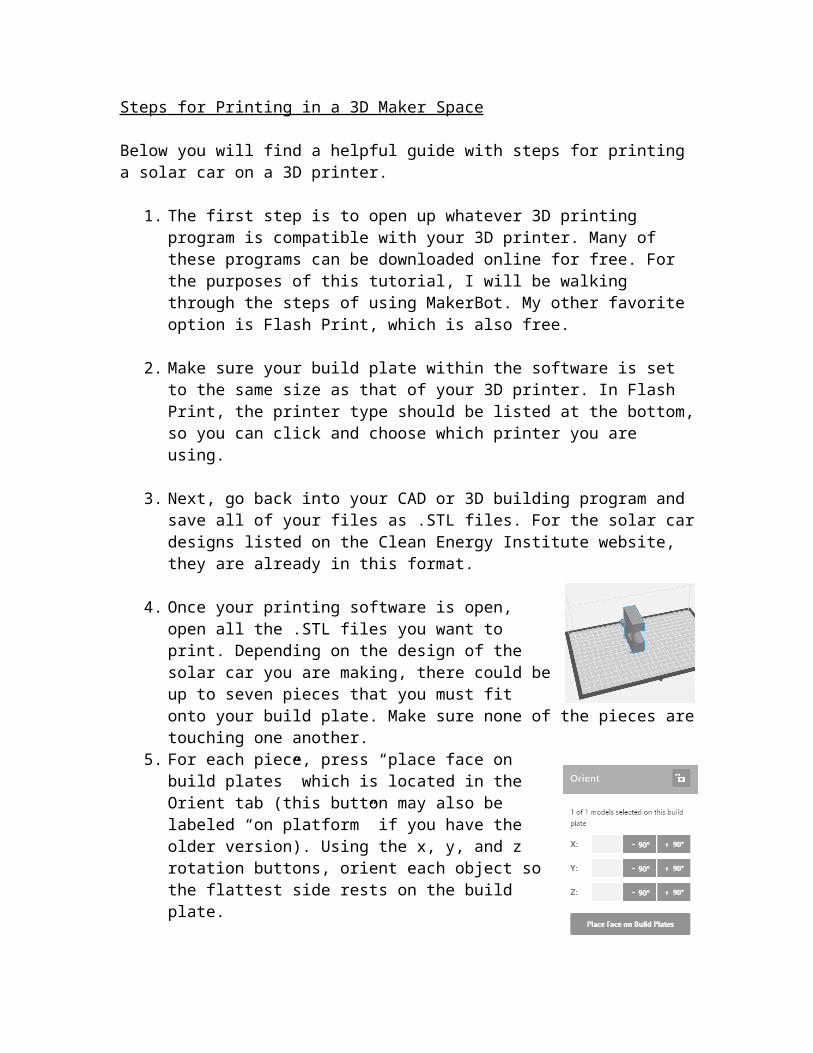
4. Once your printing software is open, open all the .STL files you want to print. Depending on the design of the solar car you are making, there could be up to seven pieces that you must fit onto your build plate. Make sure none of the pieces are touching one another.
5. For each piece, press “place face on build plates” which is located in the Orient tab (this button may also be labeled “on platform” if you have the older version). Using the x, y, and z rotation buttons, orient each object so the flattest side rests on the build plate.
6. Make sure to click the box that says “support”. This will automatically decide where to place scaffolding support so your pieces print well.
7. Set the print fill to 15% (standard for most prints).
8. Look through the settings and make sure nothing seems amiss.
9. Then you should be ready to export your file to a flashdrive or a sim card depending on what your printer takes.
10. Finally, on your printer, choose the file you just saved and print!

Tips: A lot of learning how to print pieces is just tinkering on whichever software
you choose. Research online can be very helpful if you have questions or concerns. There
are some great tutorials for using various printing programs.
Online tutorials:Flash Printhttps://www.youtube.com/watch?v=76D0zXPddX4
Makerbot:https://www.youtube.com/watch?v=FlDEK1WymhA