mrsjanacek.files.wordpress.com€¦ · web view4/1/2015 · when carrying a microscope, use both...
TRANSCRIPT

Class set do not write in booklet. Complete all work on student handout and in notebook
CELLS: The Basic Unit of Life
Objectives SWBAT make a microscope slide and bring the cells into focus using
proper microscope technique. SWBAT study and locate specific cell parts including the cell wall, cell
membrane, cytoplasm, nucleus, and chloroplasts. SWBAT compare and contrast the cell parts found in animal and plant
cells.Lab Practical QuizNote that during this lab, your teacher will be grading EVERY individual on their ability to prepare a slide and bring it into focus at high power. Therefore, make sure you and your partner both practice these skills. Microscope Use & CareGeneral Guidelines
1. When carrying a microscope, use both hands, one beneath the base and the other hand holding the arm of the microscope
2. Place the microscope on the lab table at least 5 cm (2 in) from the edge of the table3. Adjust the revolving nosepiece so that the lowest power objective is in line with the body.
Make sure it clicks into place or you won’t be able to see anything4. You will view organisms on glass or plastic slides. The slides are either pre-prepared or you
will learn how to prepare them yourself. When using the slide, place it on the stage and secure it with the clips. The slides are fragile and can be easily broken
5. The diaphragm regulates the amount of light coming through the stage. Making adjustments to the diaphragm can be very helpful in allowing you to see your specimen. Experiment with different light levels.
6. Starting with the stage raised to the top, use the coarse adjustment to move the stage downward until your slide is in focus. Then use the fine focus to refine your view.
7. Make sure the image is in the center of your field of vision. Now move to medium, then finally to high power. Do NOT lower the stage in between adjustments.
8. ONLY USE THE FINE FOCUS IN HIGH POWER!!!9. When you have finished, removed, clean, and dry the slide and cover slip and return to
materials area. Unplug the microscope, wrap the cord around the scope and return to the cart.
10.Sometimes the lenses or eyepiece will need cleaning. Clean ONLY with lens paper specifically designed for this purpose to avoid scratching the lens.
PART I: PreLabIdentifying Parts:Look over your microscope and identify the following parts. Use the diagram to guide you.

PreLab Questions: Answer the following questions in your notebook. Complete sentences!
1. Explain how you should carry a microscope from one part of the room to another. 2. Explain why you should never use the coarse adjustment knob under high power.3. When done using the microscope, describe what things you should do before returning it
to its proper place. 4. What is the magnification of the eye piece?5. What is the total magnification under:
a. Lower Powerb. Medium Power c. High Power
NOTE: To calculate total magnification, multiply the eyepiece magnification by the objective lens magnification.
PART II: Practice Viewing SpecimensThe Letter ‘e’- Procedure
1. Carefully cut out a small lower case ‘e’ from the newspaper. Place it on the center of a slide.
2. Place a drop of water on the newspaper cut-out3. Get a small coverslip and hold it by the edges. Place it on top of the newspaper cutout.
Gently lower the coverslip at an angle, this helps prevent air bubbles (see picture)

4. On your student handout sketch the letter as it appears on the slide.
5. Using the low power objective, place the slide on the stage. Focus using coarse, then fine adjustments. On your student handout, sketch it as it appears under low power only.
6. Carefully rotate the objective lens to a higher power. Adjust using ONLY the fine focus now. On your student handout, sketch what you see.
7. On your student handout, answer questions #1-2:8. Clean slide and move to Part III.
PART III: Viewing CellsPlant Cells: ElodeaYou will be viewing the cell wall and the green chloroplasts found in the cells of an Elodea water plant. Procedure:
1. Retrieve one leaflet of the plant from the aquarium and place it on the slide.
2. Prepare a wet mount cell, by placing leaflet flat on slide. Add single drop of water if needed and place coverslip over top.
3. Bring cells into focus using low power.4. Then, examine these cells under medium and/or high
power. 5. Find the small, green organelles inside each cell. These
are the chloroplasts. 6. On your student handout, make a detailed drawing
of what you see. Label the cell wall and chloroplasts.
7. On your student handout, answer the corresponding question #3.
8. Remove and clean the slide. Throw the Elodea leaflet in the garbage.

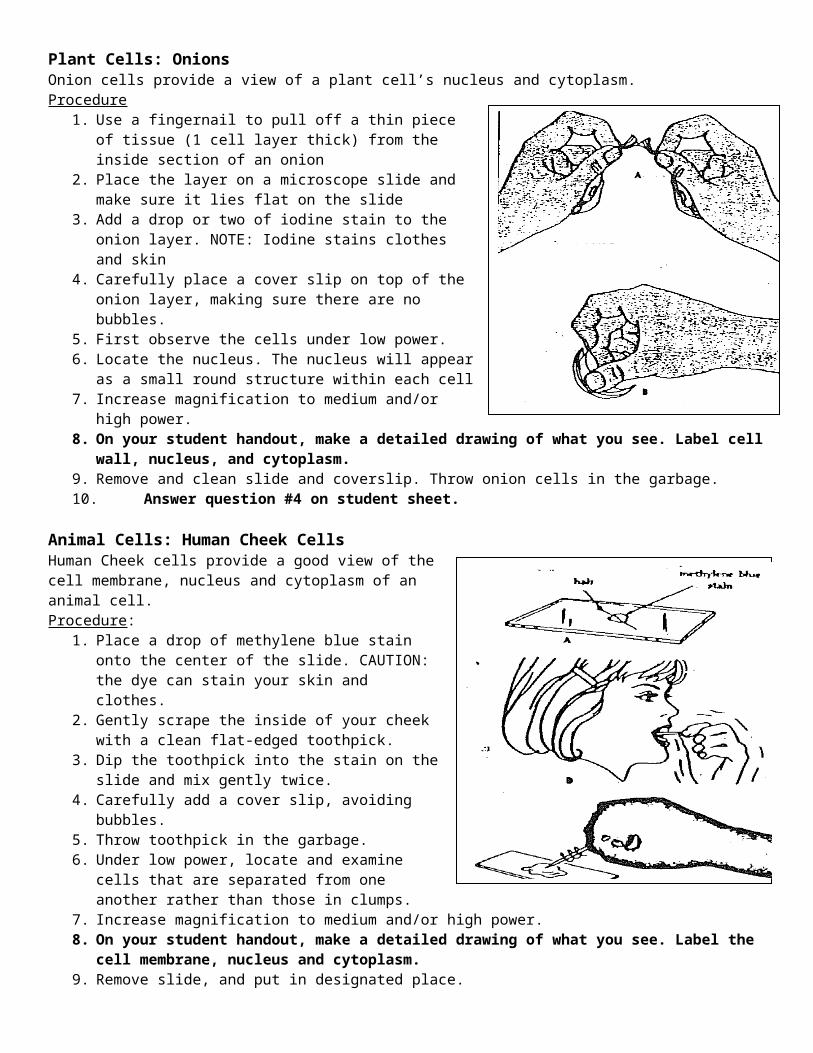
Plant Cells: OnionsOnion cells provide a view of a plant cell’s nucleus and cytoplasm. Procedure
1. Use a fingernail to pull off a thin piece of tissue (1 cell layer thick) from the inside section of an onion
2. Place the layer on a microscope slide and make sure it lies flat on the slide
3. Add a drop or two of iodine stain to the onion layer. NOTE: Iodine stains clothes and skin
4. Carefully place a cover slip on top of the onion layer, making sure there are no bubbles.
5. First observe the cells under low power. 6. Locate the nucleus. The nucleus will appear as a
small round structure within each cell7. Increase magnification to medium and/or high
power. 8. On your student handout, make a detailed
drawing of what you see. Label cell wall, nucleus, and cytoplasm.
9. Remove and clean slide and coverslip. Throw onion cells in the garbage.
10.Answer question #4 on student sheet.
Animal Cells: Human Cheek CellsHuman Cheek cells provide a good view of the cell membrane, nucleus and cytoplasm of an animal cell. Procedure:
1. Place a drop of methylene blue stain onto the center of the slide. CAUTION: the dye can stain your skin and clothes.
2. Gently scrape the inside of your cheek with a clean flat-edged toothpick.
3. Dip the toothpick into the stain on the slide and mix gently twice.
4. Carefully add a cover slip, avoiding bubbles.5. Throw toothpick in the garbage.6. Under low power, locate and examine cells
that are separated from one another rather than those in clumps.
7. Increase magnification to medium and/or high power.
8. On your student handout, make a detailed drawing of what you see. Label the cell membrane, nucleus and cytoplasm.
9. Remove slide, and put in designated place. 10.Answer #5 on student sheet.
Student Worksheet name:___________PART I: PreLab Answer PreLab Questions 1-5 in your notebook. Questions can be found in the Class Copy of the Microscope Lab.PART II: The Letter ‘e’ After making each drawing, students should have their teacher initial that they have correctly located and focused the specimen.
Letter ‘e’ Low Power
Drawing of letter ‘e’ with unaided eye; without use of microscope:
Magnification:
Answer the following questions:
1. Compare the orientation of the ‘e’ when viewed through the microscope vs. without the microscope (on the stage)?
2. What happens to your view through the eyepiece as you move the slide LEFT on the stage?
Magnification:
PART III: Viewing Cells
Elodea Cells Onion Cells
Teacher Initials
Teacher Initials
Letter ‘e’ Medium or High Power

Magnification: Magnification:
Review Questions Human Cheek Cell3. On the elodea slide, you can see and
have labeled the chloroplasts (green structures). What is the function of the chloroplasts?
4. Although, onions are also plants why were you unable to see chloroplasts in the slide you prepared?
5. Why do you think the animal cells (cheek cells) do not have a cell wall while plant cells do?
Teacher Initials
Teacher Initials
Teacher Initials
Magnification: