oracleboss.files.wordpress.com€¦ · web view2017-06-21 · the dbua can be started directly...
TRANSCRIPT
Contents:
Introduction to DBUA
Performing Upgradation
Introduction to DBUA:The preferred upgrade method to upgrade any database is to use the Database Upgrade Assistant (DBUA), a GUI tool that performs all necessary prerequisite checks and operations before upgrading the specified instances. The DBUA can be started directly from the Oracle Universal Installer (OUI) during installation, or separately after the software installation is complete. Make sure the database is running and run the database upgrade assistant. Direct upgrades to 12c are possible from existing databases with versions 10.2.0.5+, 11.1.0.7+, or release 11.2.0.2+. Upgrades from other versions are supported only via intermediate upgrades to a supported upgrade version. If your database was created manually, make sure the entry for the database is present in ‘oratab’ file located in ‘/etc’. With out an entry in ‘oratab’ file, DBUA won’t recognize the database hence you cannot upgrade. Database entry should be present in ‘oratab’ in the following format. Append the following string into the file without hash as shown in the picture.
# sid:/u01/app/oracle/product/11.2.0.4:N
Assuming our Oracle 11g RDBMS software version is 11.2.0.4, we are going to see how we can upgrade our database to 12.1.0.1 using DBUA. Firstly, export ORACLE_HOME to the path of 12.1.0.1 software location and ORACLE_SID to SID (instance name) of the database you want to upgrade. And check for entry in ‘oratab’ file. Then start DBUA using command shown below.
$ export ORACLE_HOME=/u01/app/oracle/product/12.1.0.1

$ export ORACLE_SID=testdb
Performing Upgradation: In this screen, select the “Upgrade Oracle Database” option, then click the “Next” button.
Select the database you wish to upgrade and click the “Next” button. If you do not see your database listed here, please add an entry in “/etc/oratab” as shown above.

It can take a few minutes before the next screen is available. Wait at the “Getting database information. Please wait…” message. Wait while the prerequisite checks takes place.

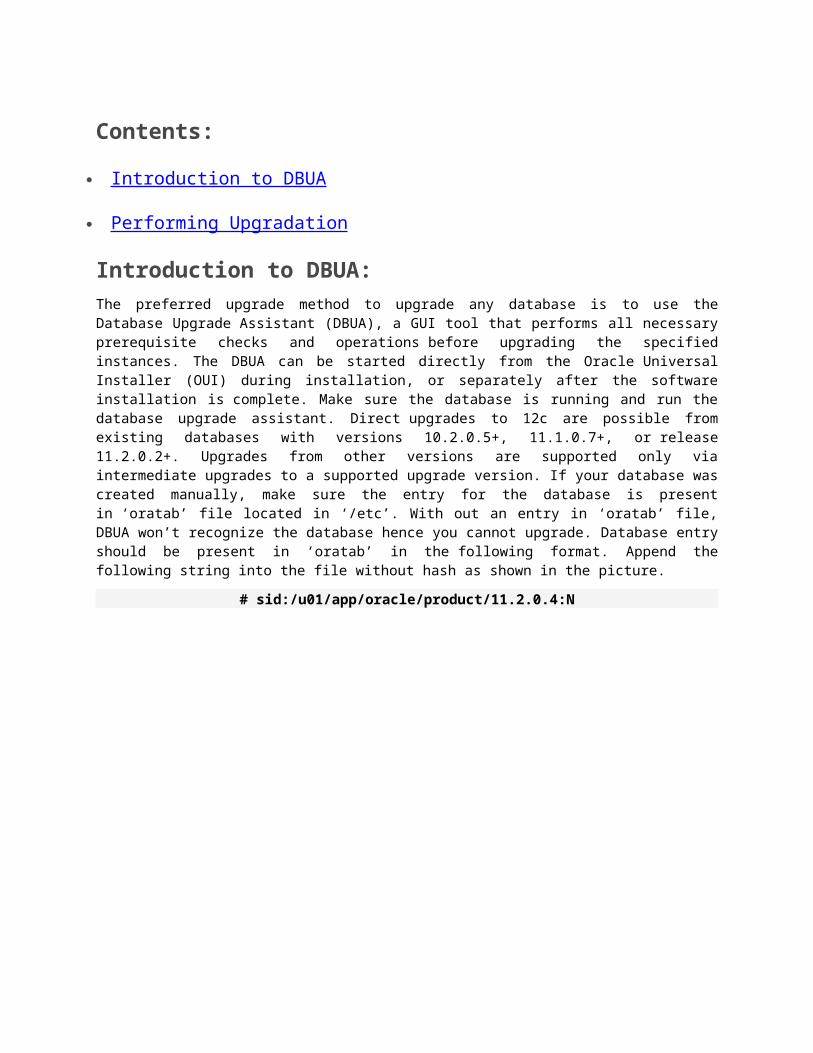
If the prerequisite checks highlight any issues, take the appropriate action to fix the issues. If all the prerequisite checks are passed, click the “Next” button.
Amend the upgrade options if necessary, then click the “Next” button.

Select the desired management options, then click the “Next” button.

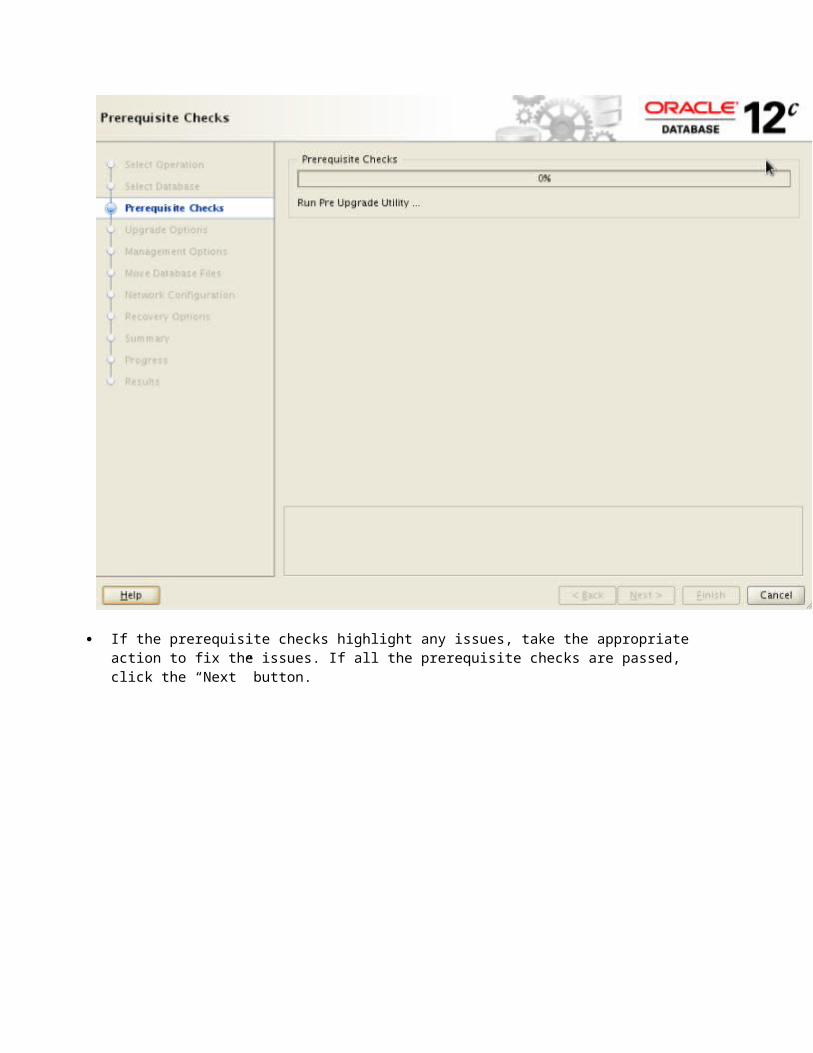
If you need to move the database files and/or the fast recovery area from file system to ASM or vice versa, check the relevant option and enter the destination. Click the “Next” button.

If this database is the only one using the 11g listener, accept the defaults, so the listener will be upgraded. If you prefer to manually define a new listener, you can do that now too and click the “Next” button.
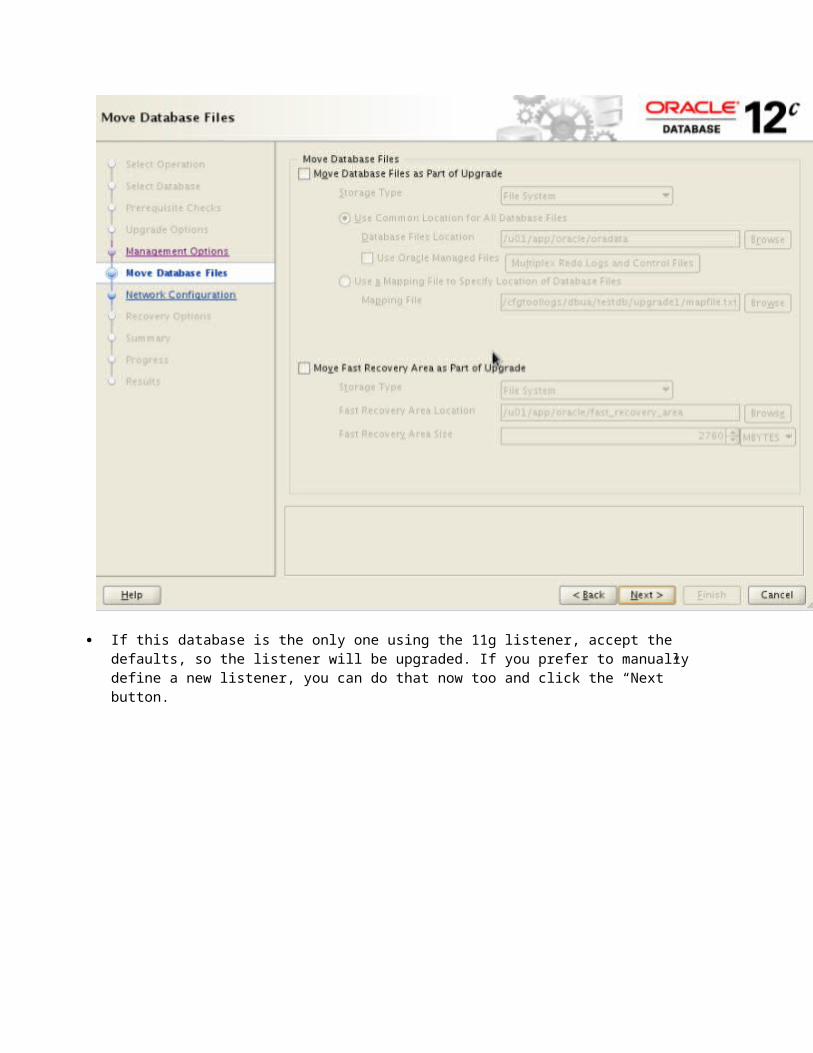
Select the recovery options for use in the event of an upgrade failure, then click the “Next” button.
Now if you get any error like as shown in the picture, click “more details” in the panel below and fix it accordingly. In case of insufficient space in a tablespace, you can add required space or turn auto extend on as shown below.

Now, click next to continue.

Re-check the summary information and click “next”.
Wait while the upgrade takes place.

When the upgrade is complete, click the “Upgrade Results” button.

Check the upgrade results, then click the “Close” button to leave the DBUA. Here you can optionally restore the database to old version by clicking on “Restore Database”.

Now the database upgrade is complete and the database is ready for normal use. The entry in “/etc/oratab” file will be automatically upgraded by the DBUA as shown below and for confirmation of successful upgrade, you can check the version of home the database is running on by connecting to SQL*PLUS, as shown below.
