wavemaker visual ajax studio 4.0 training basics: building your first application binding basics
TRANSCRIPT
WaveMaker Visual AJAX Studio 4.0 Training
Basics: Building Your First ApplicationBinding Basics
2
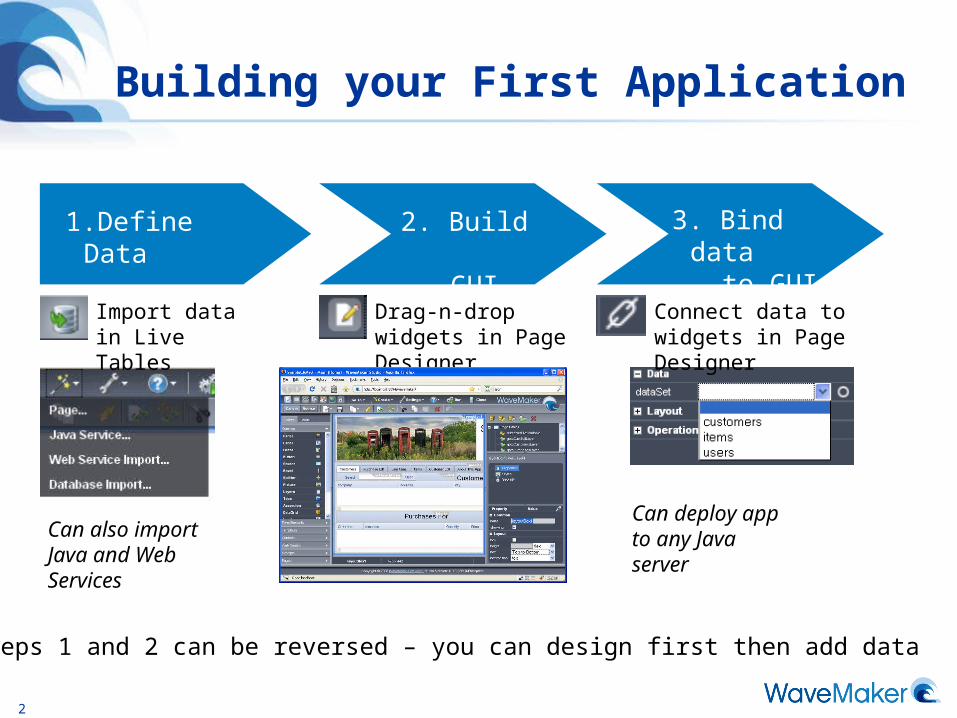
Building your First Application
Import data in Live Tables
Drag-n-drop widgets in Page Designer
Connect data to widgets in Page Designer
1.Define Data
2. Build GUI
3. Bind data
to GUI
Can also import Java and Web Services
Can deploy app to any Java server
** Steps 1 and 2 can be reversed – you can design first then add data
3
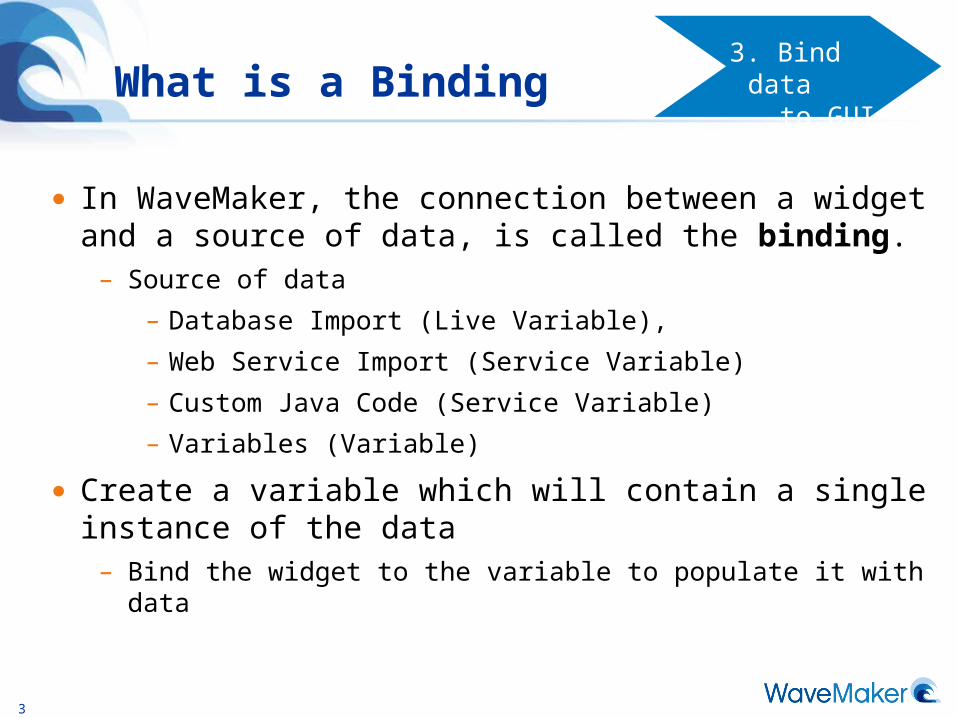
What is a Binding
● In WaveMaker, the connection between a widget and a source of data, is called the binding.
– Source of data
– Database Import (Live Variable),
– Web Service Import (Service Variable)
– Custom Java Code (Service Variable)
– Variables (Variable)
● Create a variable which will contain a single instance of the data
– Bind the widget to the variable to populate it with data
3. Bind data
to GUI
4
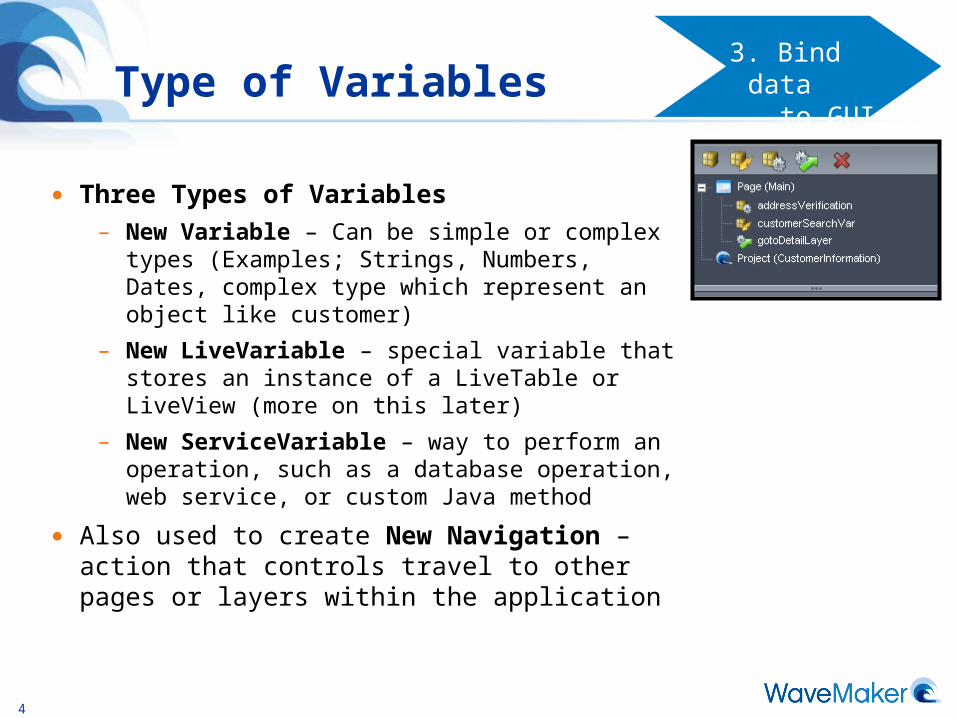
Type of Variables
● Three Types of Variables– New Variable – Can be simple or complex types
(Examples; Strings, Numbers, Dates, complex type which represent an object like customer)
– New LiveVariable – special variable that stores an instance of a LiveTable or LiveView (more on this later)
– New ServiceVariable – way to perform an operation, such as a database operation, web service, or custom Java method
● Also used to create New Navigation – action that controls travel to other pages or layers within the application
3. Bind data
to GUI

5
Binding Examples
● Hello World Label
– Create variable of type string with the value “Hello World”
– Add a Label widget to the page
– Bind the Labels caption property to the testVar.dataValue
3. Bind data
to GUI
6
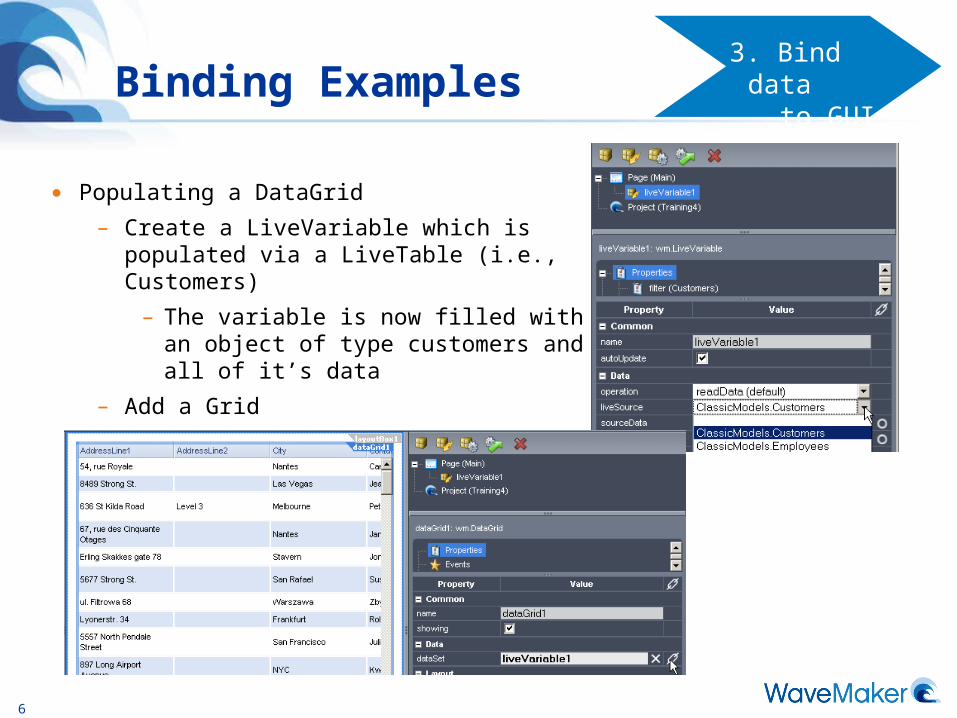
Binding Examples
● Populating a DataGrid
– Create a LiveVariable which is populated via a LiveTable (i.e., Customers)
– The variable is now filled with an object of type customers and all of it’s data
– Add a Grid
– Bind the Grid’s dataset to the liveVariable1
3. Bind data
to GUI
7
How to Bind
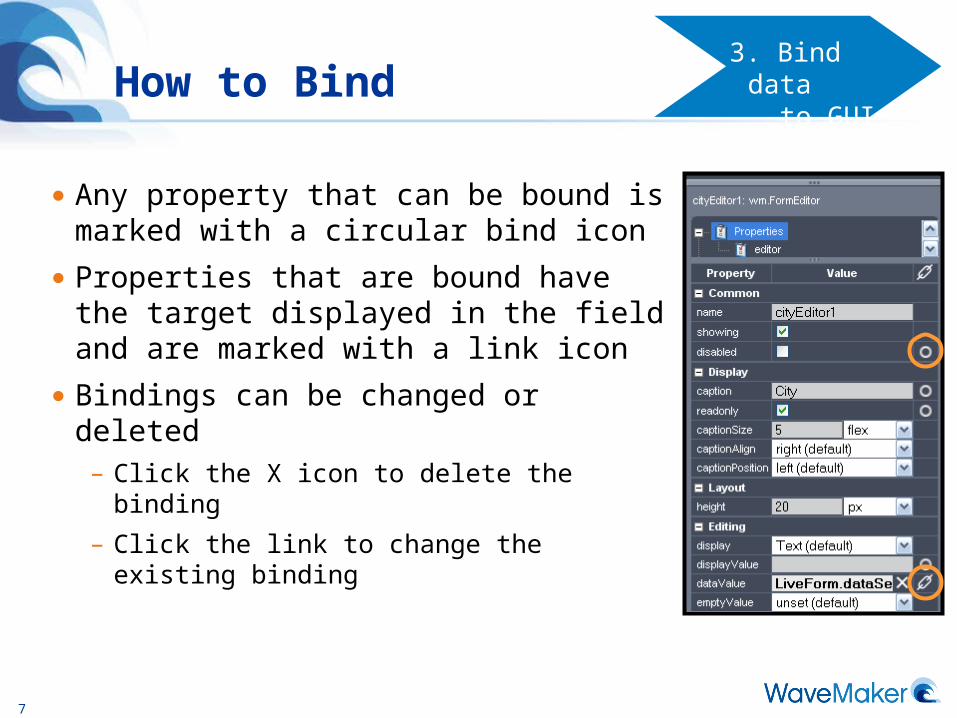
● Any property that can be bound is marked with a circular bind icon
● Properties that are bound have the target displayed in the field and are marked with a link icon
● Bindings can be changed or deleted– Click the X icon to delete the binding
– Click the link to change the existing binding
3. Bind data
to GUI
8
How to Bind
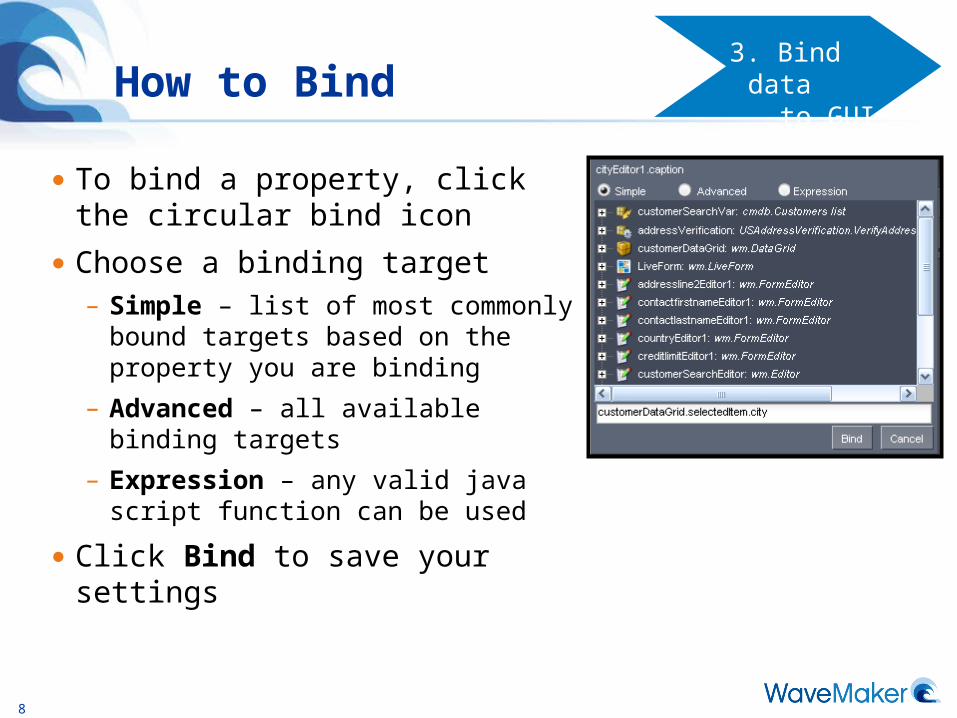
● To bind a property, click the circular bind icon
● Choose a binding target– Simple – list of most commonly
bound targets based on the property you are binding
– Advanced – all available binding targets
– Expression – any valid java script function can be used
● Click Bind to save your settings
3. Bind data
to GUI
9
Binding Tips
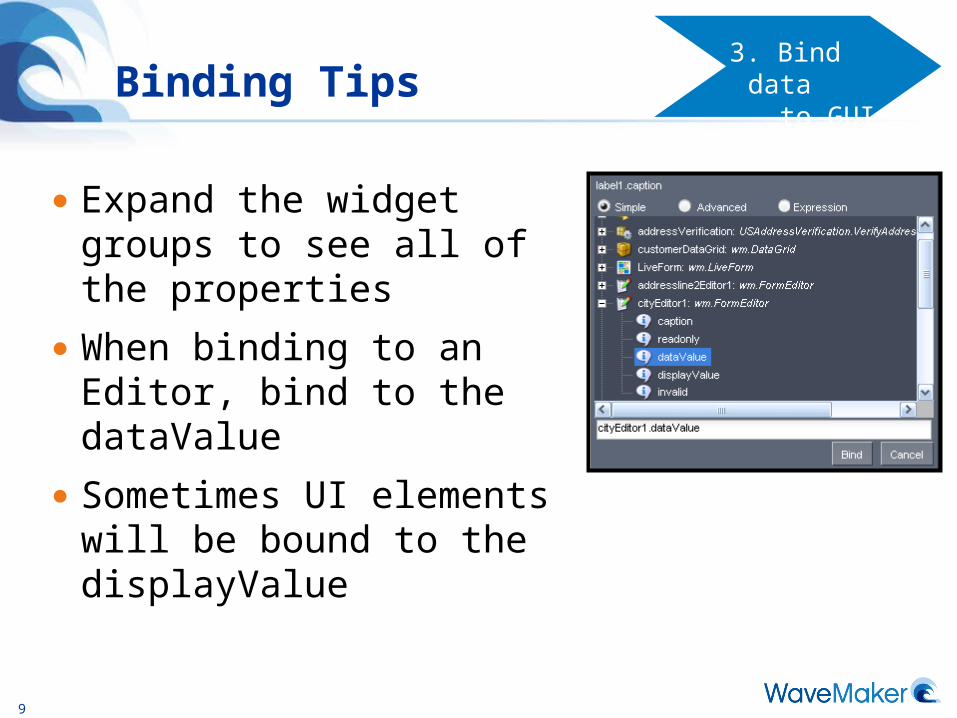
● Expand the widget groups to see all of the properties
● When binding to an Editor, bind to the dataValue
● Sometimes UI elements will be bound to the displayValue
3. Bind data
to GUI
10
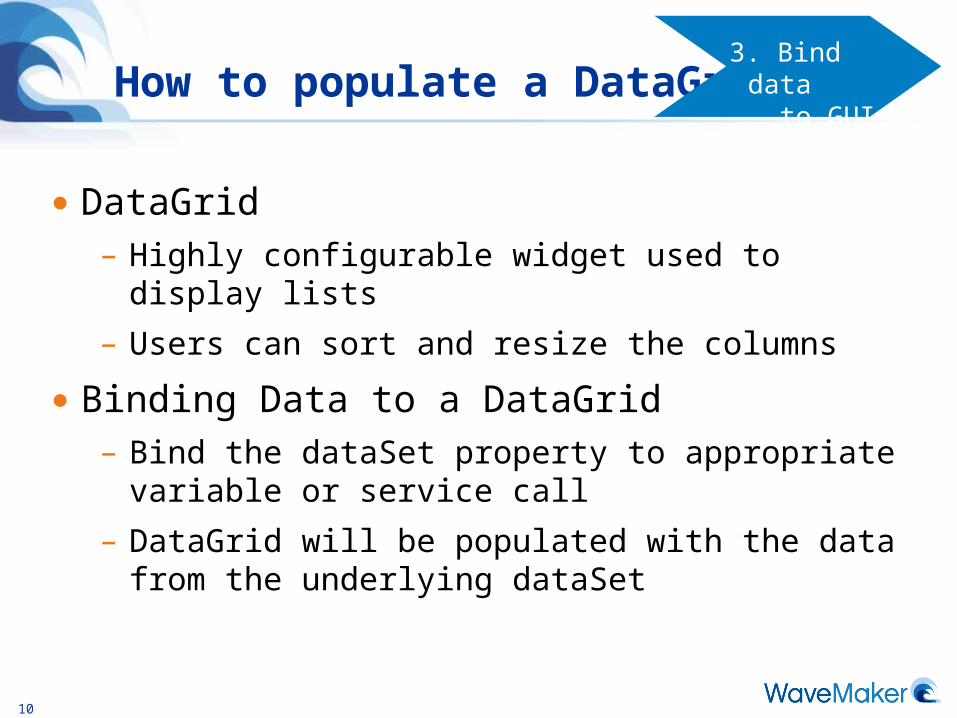
How to populate a DataGrid
● DataGrid– Highly configurable widget used to display lists
– Users can sort and resize the columns
● Binding Data to a DataGrid– Bind the dataSet property to appropriate variable or
service call
– DataGrid will be populated with the data from the underlying dataSet
3. Bind data
to GUI
11
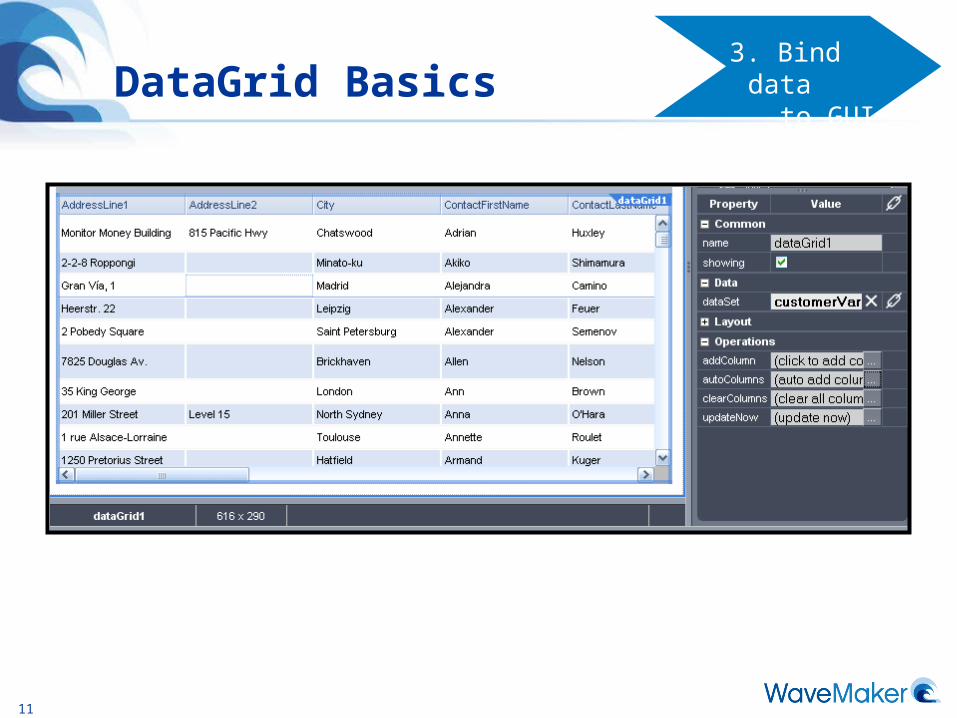
DataGrid Basics 3. Bind data
to GUI

12
Populating the DataGrid
● Data Properties– dataSet – list of all object you would most
likely display in a list.
– If you don’t see your choice click the bind button to manually find the object
– After selecting the dataSet, each type in the dataSet will be displayed as a column in the DataGrid.
– You will see a real-time representation of the data in the Designer.
3. Bind data
to GUI
13
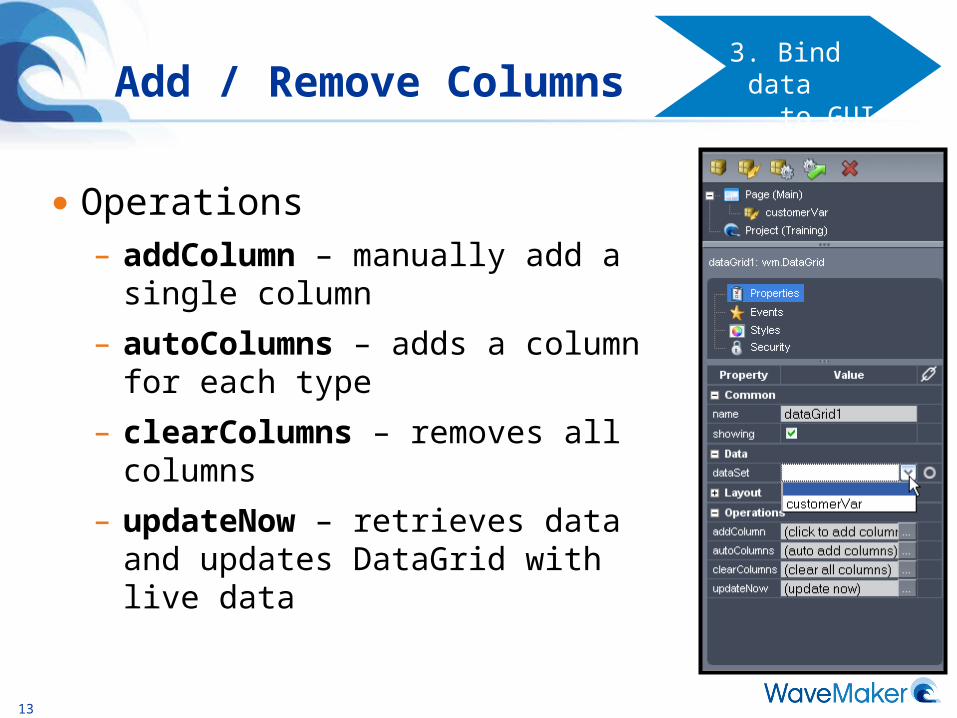
Add / Remove Columns
● Operations– addColumn – manually add a single
column
– autoColumns – adds a column for each type
– clearColumns – removes all columns
– updateNow – retrieves data and updates DataGrid with live data
3. Bind data
to GUI
14
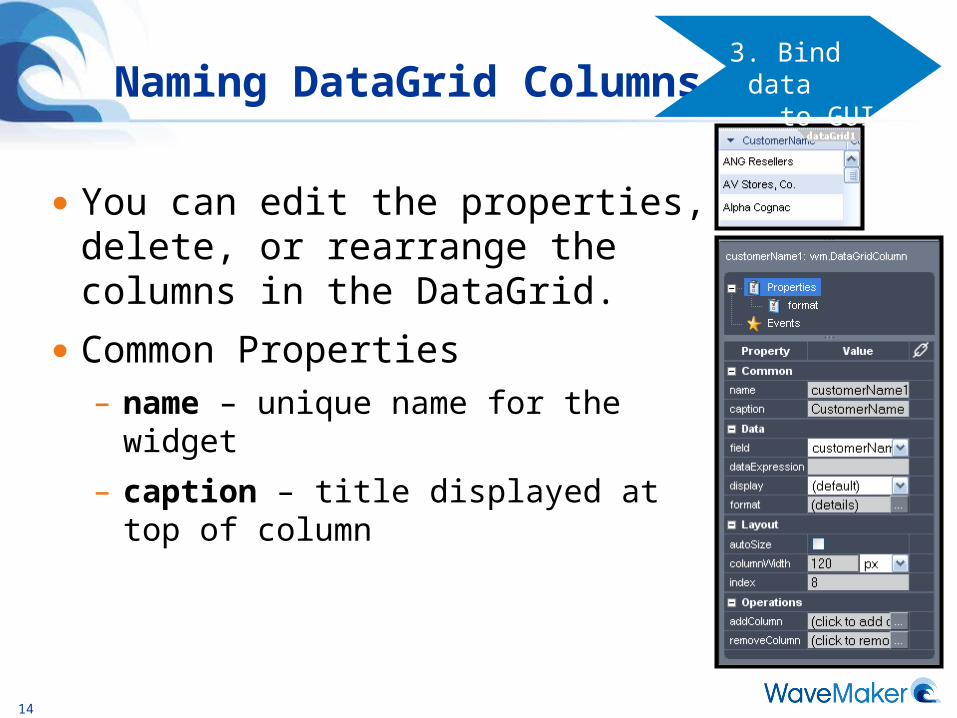
Naming DataGrid Columns
● You can edit the properties, delete, or rearrange the columns in the DataGrid.
● Common Properties– name – unique name for the widget
– caption – title displayed at top of column
3. Bind data
to GUI
15
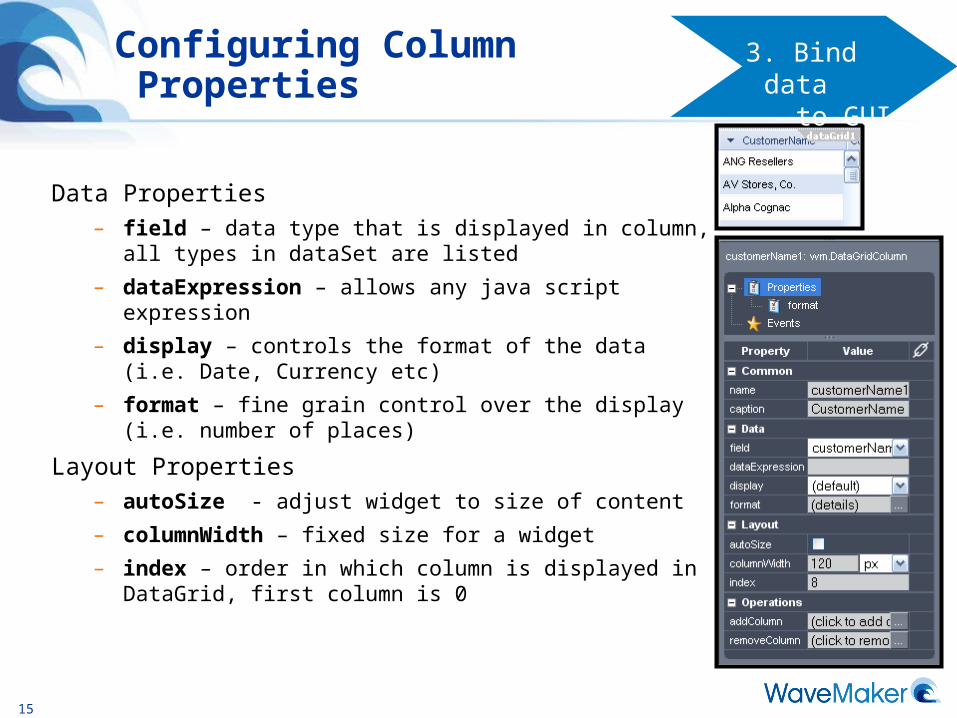
Configuring Column Properties
Data Properties– field – data type that is displayed in column, all types in
dataSet are listed
– dataExpression – allows any java script expression
– display – controls the format of the data (i.e. Date, Currency etc)
– format – fine grain control over the display (i.e. number of places)
Layout Properties– autoSize - adjust widget to size of content
– columnWidth – fixed size for a widget
– index – order in which column is displayed in DataGrid, first column is 0
3. Bind data
to GUI
16
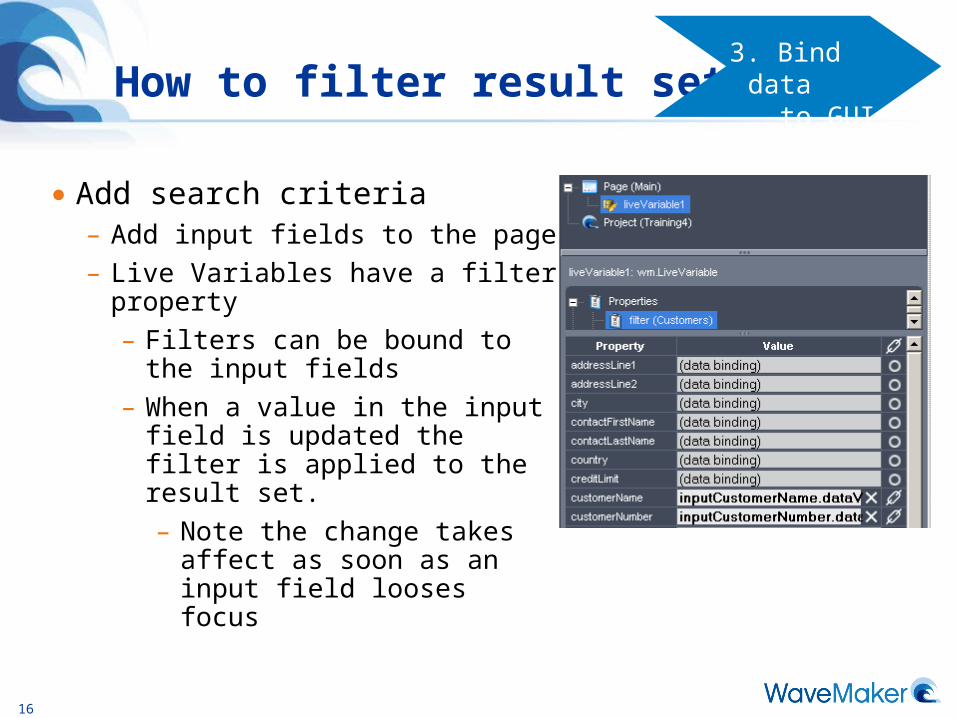
How to filter result sets
● Add search criteria– Add input fields to the page
– Live Variables have a filter property
– Filters can be bound to the input fields
– When a value in the input field is updated the filter is applied to the result set.
– Note the change takes affect as soon as an input field looses focus
3. Bind data
to GUI
17
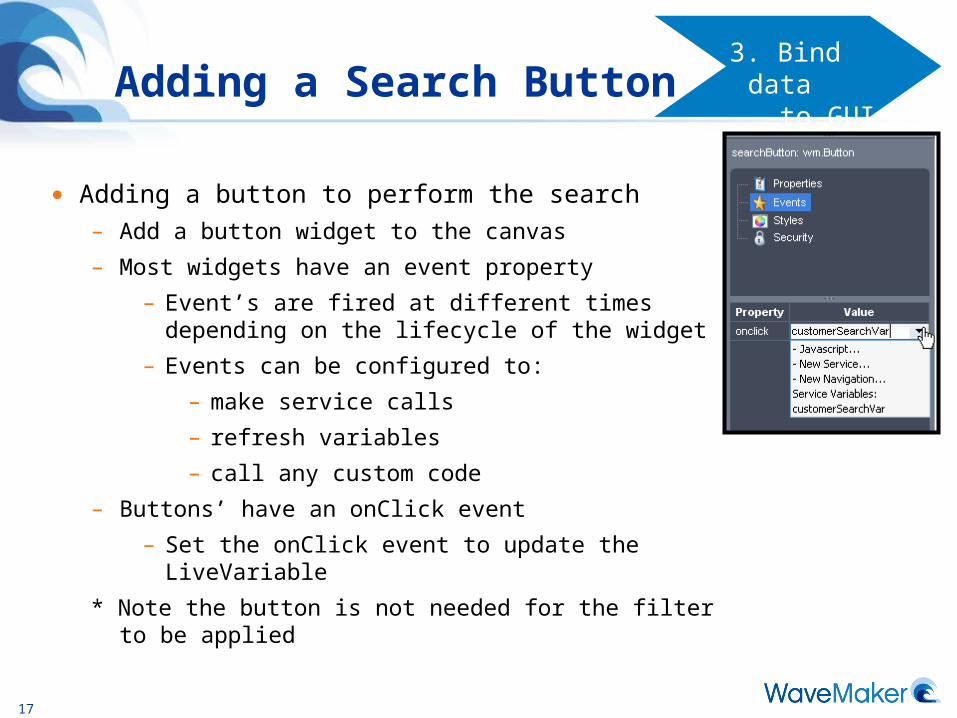
Adding a Search Button
● Adding a button to perform the search– Add a button widget to the canvas
– Most widgets have an event property
– Event’s are fired at different times depending on the lifecycle of the widget
– Events can be configured to:
– make service calls
– refresh variables
– call any custom code
– Buttons’ have an onClick event
– Set the onClick event to update the LiveVariable
* Note the button is not needed for the filter to be applied
3. Bind data
to GUI
18
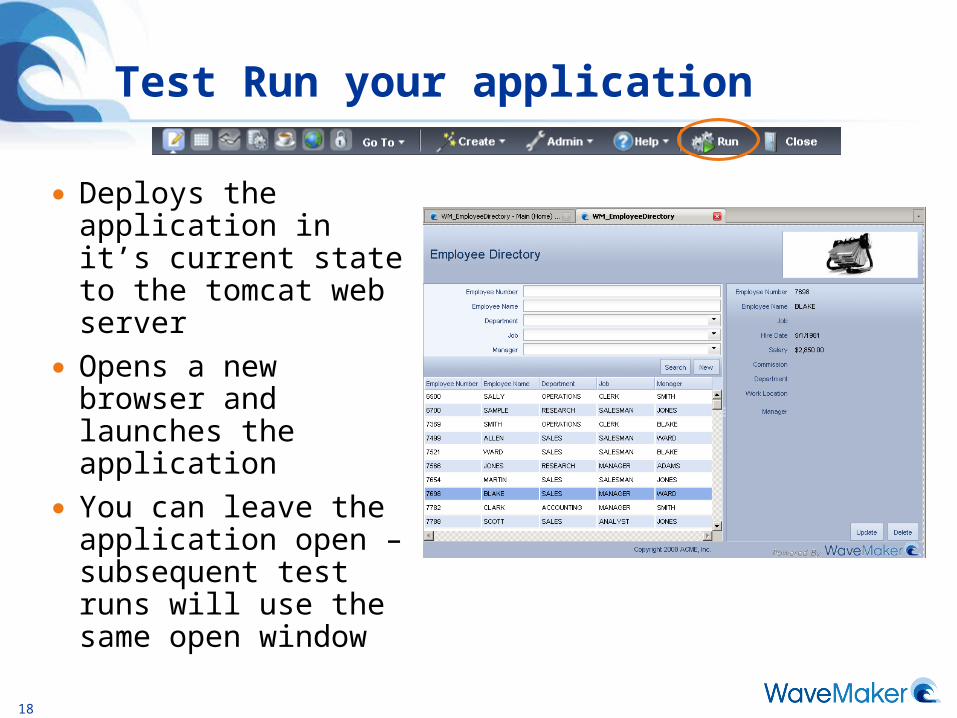
Test Run your application
● Deploys the application in it’s current state to the tomcat web server
● Opens a new browser and launches the application
● You can leave the application open – subsequent test runs will use the same open window
19
Questions?

20
Exercise 4
● Add a Live Variable
● Bind Variable to Grid
● Add text fields– Bind the Variables filter to the text fields
● Add a button– Change the buttons event to update the variable
● Test Run the Application