visor lights - ocean reef diving
TRANSCRIPT

VISOR LIGHTS FOR NEPTUNE SPACE, PREDATOR AND RAPTOR MASKS

Visor Lights Manual rel 2.3 3
#UN
DER
WAT
ERN
ATU
RALL
Y
For nearly 70 years, OCEAN REEF has been involved in the underwater diving industry. We have contributed much to this industry, from fins and snorkels to the most modern systems of underwater communication. Through the spirit of intrepid pioneers, brilliant inventors, passionate divers, and dynamic entrepreneurs, OCEAN REEF has been able to turn dreams into reality in the underwater world.
In order to limit our paper consumption, and as a part of our environmental friendly and responsible approach, OCEAN REEF prefers to put user documentation online rather than print them out.
Please refer to our web site:diving.oceanreefgroup.com/support/
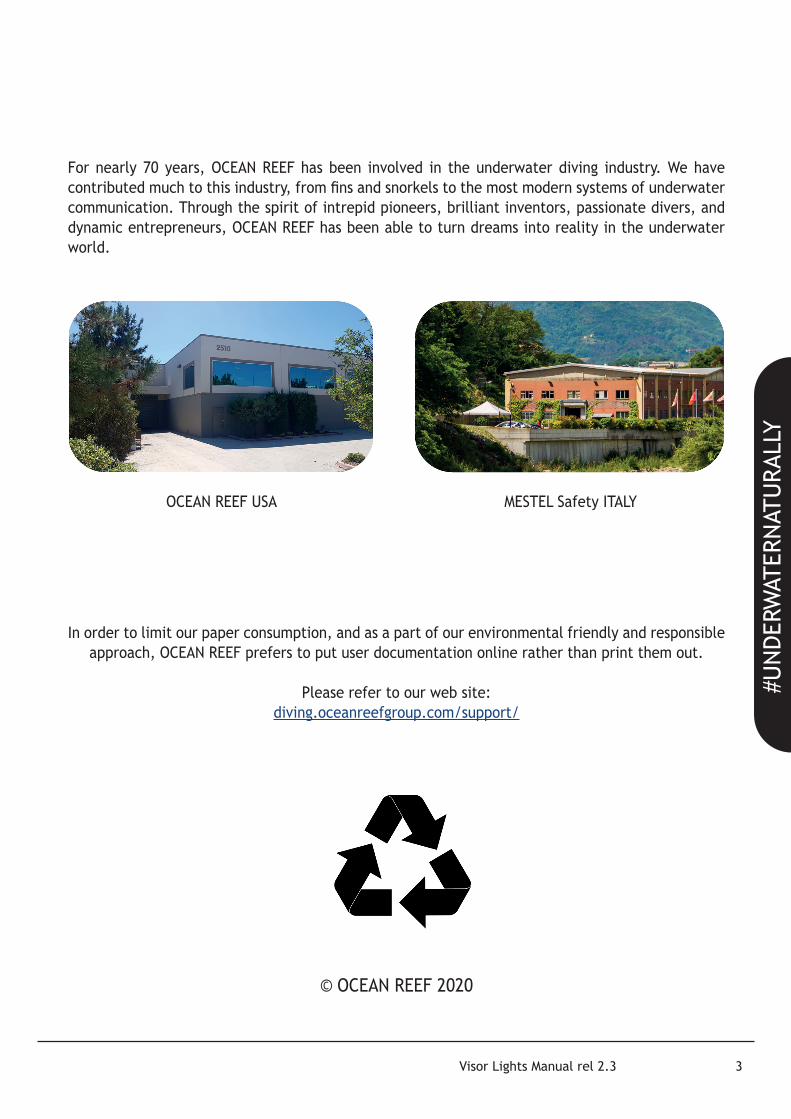
OCEAN REEF USA MESTEL Safety ITALY
© OCEAN REEF 2020

Visor Lights Manual rel 2.34
NEPTUNE SPACE OWNER’S MANUAL
INTRODUCTION
FEATURES
COMPONENTS
PROCEDURE FOR ASSEMBLING THE VISOR LIGHTS
HOW IT WORKS
WARRANTY
5
6
7
8
12
14
TABLE OF CONTENTS

Visor Lights Manual rel 2.3 5
#UN
DER
WAT
ERN
ATU
RALL
Y
Illuminate the undersea world with this row of 6 powerful LEDs, assembled in a removable system placed inside the mask visor.Visor Lights is a system for the illuminating of the underwater environment, it is made not to feel it being completely integrated into the mask.It is not intended to be a primary light source but being so compact and comfortable you can always bring it with you, also, it can be very useful for professional divers who need to be free with their hands, the visor light will illuminate your work.
Now it is possible to have the Visor Lights attached to the SPACE masks in two different ways;
• with a strong water resistant double sided 3M tape.• with two screws
VISOR LIGHTS
INTRODUCTION

Visor Lights Manual rel 2.36
• 75 lumen output/LED• 100,000-hour light life• 12 degree beam angle• Light color TYP 5,500 – MAX 10,000 Kº• 3 hour burn time, depending on the type of rechargeable battery.• Waterproof to 80 m (260 ft)• Rechargeable CR 123 lithium battery included• Battery charger with vehicle lighter connector cable included• Anodized anticorodal alloy body• Integrated surface air valve• Two different ways for attaching it to the mask: double sided tape or screws.
FEATURES

Visor Lights Manual rel 2.3 7
#UN
DER
WAT
ERN
ATU
RALL
Y
COMPONENTS

Visor Lights Manual rel 2.38
PROCEDURE FOR ASSEMBLING THE VISOR LIGHTS(ONLY BY AN AUTHORIZED SERVICE CENTER)
For both versions, tape and screws
a) Remove the surface air valve from the visor
b) Insert the Visor Light LED through the visor. Make sure to have the NG 12 O-ring Di. 47x1.5 on the visor seat before inserting the visor light switch base into the visor.
c) Insert the MP-2 (modified) for Visor Light through the LED support

Visor Lights Manual rel 2.3 9
#UN
DER
WAT
ERN
ATU
RALL
Y
d) Screw the MP-2 (modified) for Visor Light onto the surface air valve body by using the compass wrench.
e) Clean the inside of the visor where the Visor Light must be fixed from oil, grease or dust.
h) bring the Lights body near the visor in the upper part and line the screw seat with the visor hole
Only for the tape version (for the assembling of the screws version go to step h)
Only for the screw version

Visor Lights Manual rel 2.310
f) Remove the sticker covers
i) screw in the two screws having care that the o-ring 2010 is in its position
l) do not over tighten the screws not to damage the o-rings
g) Fix the Visor Light inside the top part of the visor
Only for the tape version (for the assembling of the screws version go to step h)
Only for the screw version

Visor Lights Manual rel 2.3 11
#UN
DER
WAT
ERN
ATU
RALL
Y
FOR BOTH VERSION
m) The wire from the LED to the battery compartment goes under the face seal not interfering with the face.
i) Insert the battery into the battery compartment and screw on the switch. Turn the black bezel to firmly close it.

Visor Lights Manual rel 2.312
HOW IT WORKS
To switch on the light simply turn the black bezel clockwise; to turn off the unit bring the bezel back.

Visor Lights Manual rel 2.3 13
#UN
DER
WAT
ERN
ATU
RALL
Y
To charge the battery remove it from the battery compartment by unscrewing the switch.A 220/110 v charger and a vehicle power adapter are included with the visor lights.Insert the battery into the charger, the red light indicate that the battery is charging, wait until the green light turn on indicating that the battery has been fully charged.

Visor Lights Manual rel 2.314
1. OCEAN REEF electronic devices are guaranteed to be free of material or manufacturing defects for a period of 24 months from the time the unit is purchased. For the duration of the guarantee, the Company’s responsibility is limited to replacement of any parts that are defective in our opinion, and that have not been used incorrectly or handled negligently. The unit must be returned to the outlet from which it was bought, along with the warranty card.
2. Even during the guarantee period, this guarantee shall not be valid where: • Damage was caused by incorrect handling or carelessness. • Damage was caused by the unit falling after it was purchased. • Damage caused by fire, earthquake, floods, lightning, or other natural disasters,
pollution or electrical charges. • The warranty card is not produced. • Warranty not registered
3. Additional warranty cards cannot be issued. Keep your certificate in a safe place where it cannot be lost.
• Before diving, check that the switch cap is properly closed• Use rechargeable batteries only• Rechargeable CR 123 lithium battery is included
WARRANTY

Visor Lights Manual rel 2.3 15
#UN
DER
WAT
ERN
ATU
RALL
Y
NOTE:

OCEAN REEF Inc2510 Island View Way
Vista, CA 92081Phone +1 760 744 9430Fax +1 760 744 9525
E-mail: [email protected]
MESTEL Safety s.r.lVia Arvigo 2, 16010 Genova (Italia)
Phone +39 010 7082011E-mail: [email protected]
div ing .oceanree fg roup .comoceanree fg roup .com
ACCESSORY INTEGRAT ION• E x tenderK itInlcuded..• Surfaceairvalveintegrated.• Customizeyourmasktoyourprofess ionalneeds .