updating the plugin is a 2 stage process. stage 1 – clear...
TRANSCRIPT
Section 7C Page 1
Section 7CCricut® Plugin (PC)
Cricut® Plugin (PC) – Google ChromeIn order to access all the creative features of Cricut Design Space™, you’ll need to do a one-time install of the Design Space® plugin. As new features become available, Cricut Design Space™ will be updated automatically. It’s installed on your computer and executed by your browser, so if you use Design Space® on more than one computer, you’ll need to install it on each device. However, it is not necessary to install the plugin in order to use the Cricut Design Space™ app on iPad®.
Updating the plugin is a 2 stage process.
• Stage 1 – Clear browsing history, cache and cookies• Stage 2 – Download and install the Cricut plugin
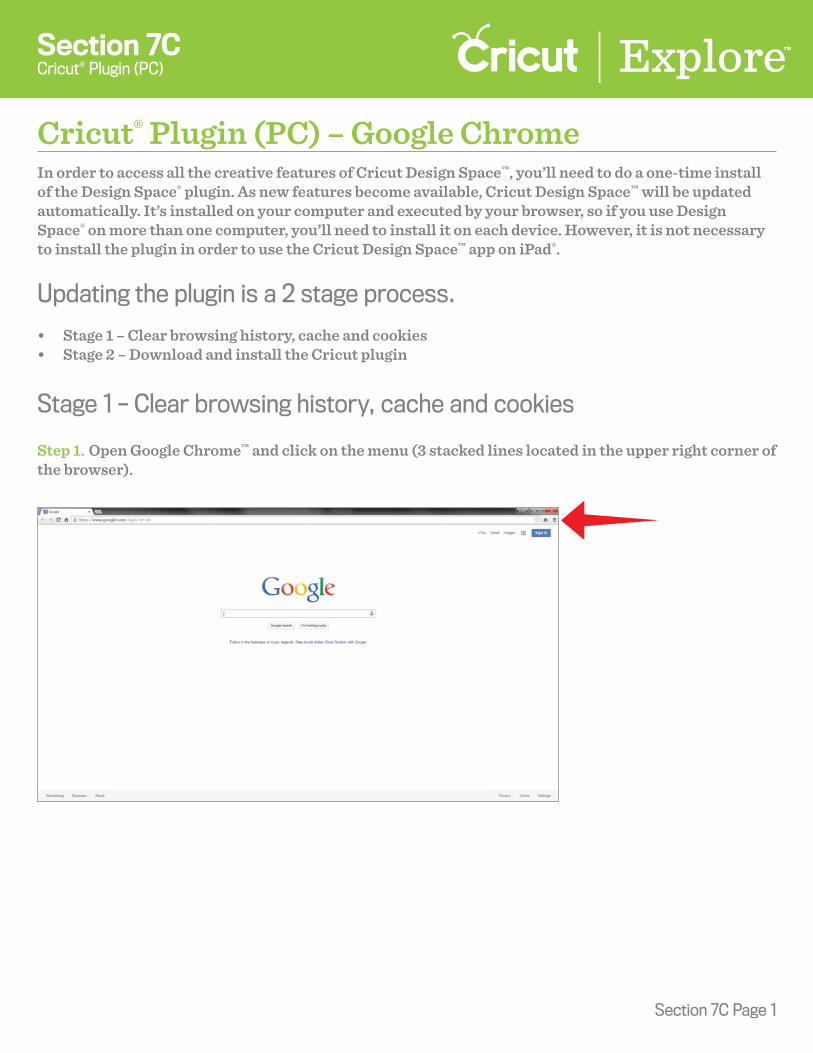
Step 1. Open Google Chrome™ and click on the menu (3 stacked lines located in the upper right corner of the browser).
Stage 1 – Clear browsing history, cache and cookies
Section 7C Page 2
Section 7CCricut® Plugin (PC)
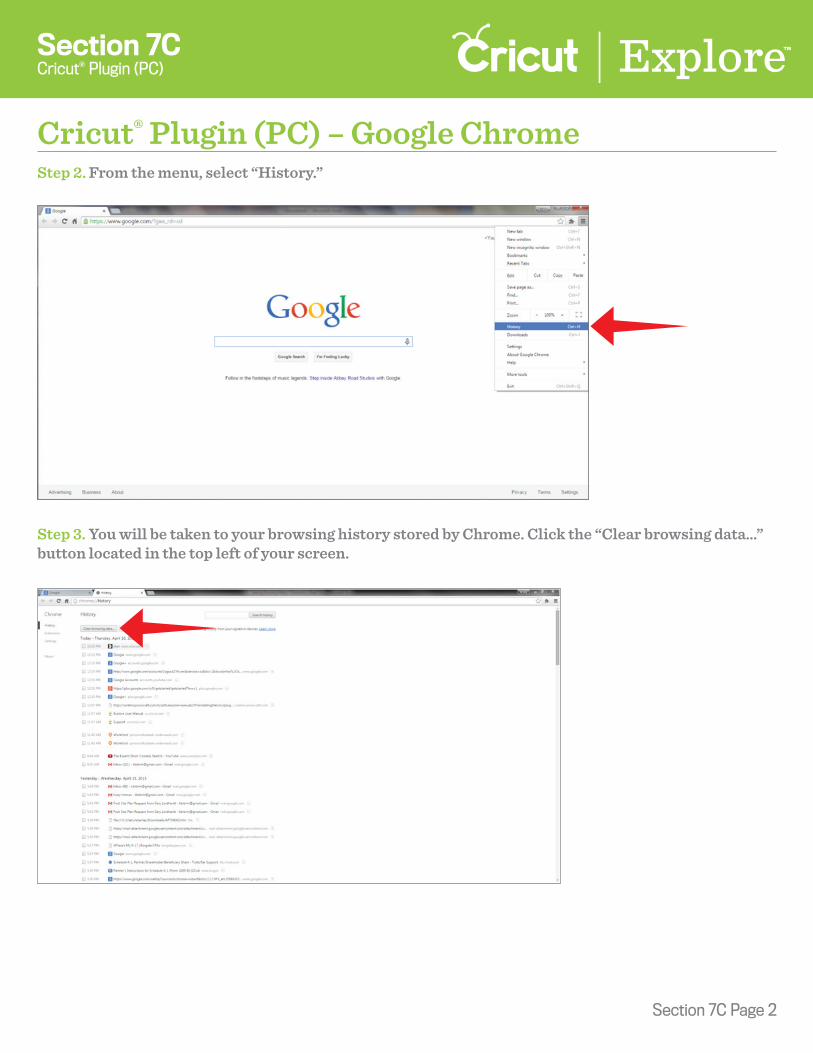
Cricut® Plugin (PC) – Google ChromeStep 2. From the menu, select “History.”
Step 3. You will be taken to your browsing history stored by Chrome. Click the “Clear browsing data…” button located in the top left of your screen.
Section 7C Page 3
Section 7CCricut® Plugin (PC)
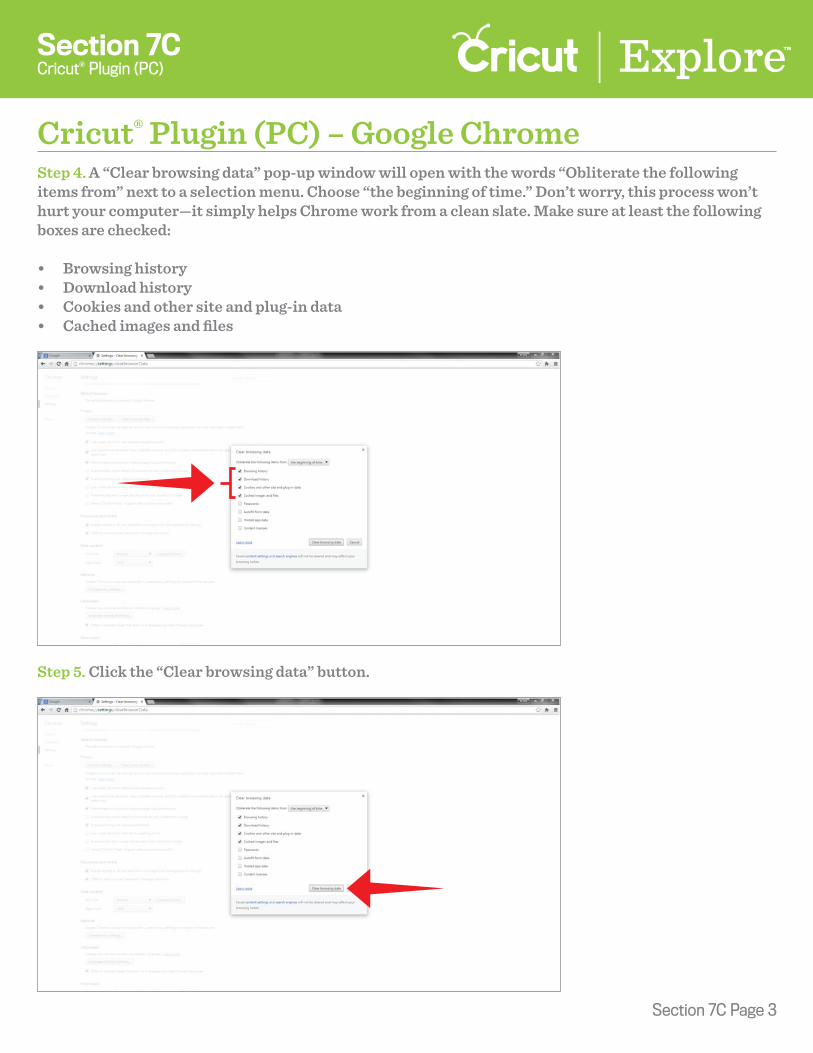
Cricut® Plugin (PC) – Google ChromeStep 4. A “Clear browsing data” pop-up window will open with the words “Obliterate the following items from” next to a selection menu. Choose “the beginning of time.” Don’t worry, this process won’t hurt your computer—it simply helps Chrome work from a clean slate. Make sure at least the following boxes are checked:
• Browsing history• Download history• Cookies and other site and plug-in data• Cached images and files
Step 5. Click the “Clear browsing data” button.
Section 7C Page 4
Section 7CCricut® Plugin (PC)
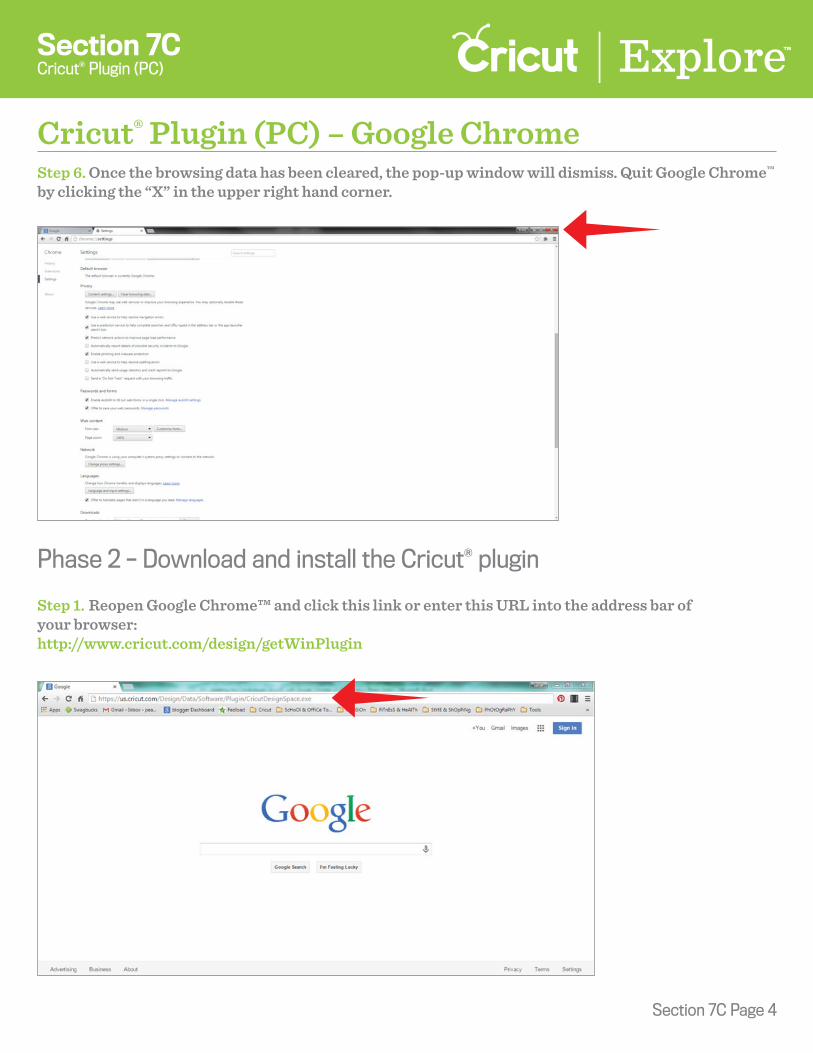
Cricut® Plugin (PC) – Google ChromeStep 6. Once the browsing data has been cleared, the pop-up window will dismiss. Quit Google Chrome™ by clicking the “X” in the upper right hand corner.
Step 1. Reopen Google Chrome™ and click this link or enter this URL into the address bar of your browser: http://www.cricut.com/design/getWinPlugin
Phase 2 – Download and install the Cricut® plugin
Section 7C Page 5
Section 7CCricut® Plugin (PC)
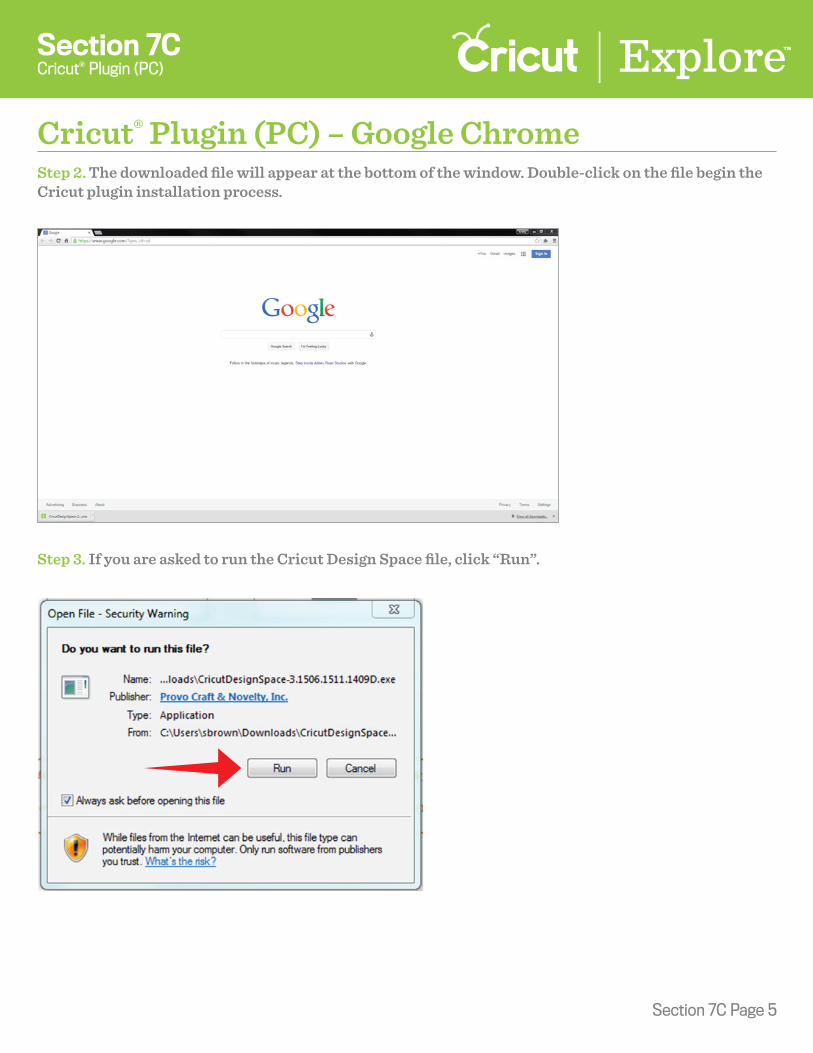
Cricut® Plugin (PC) – Google ChromeStep 2. The downloaded file will appear at the bottom of the window. Double-click on the file begin the Cricut plugin installation process.
Step 3. If you are asked to run the Cricut Design Space file, click “Run”.
Section 7C Page 6
Section 7CCricut® Plugin (PC)
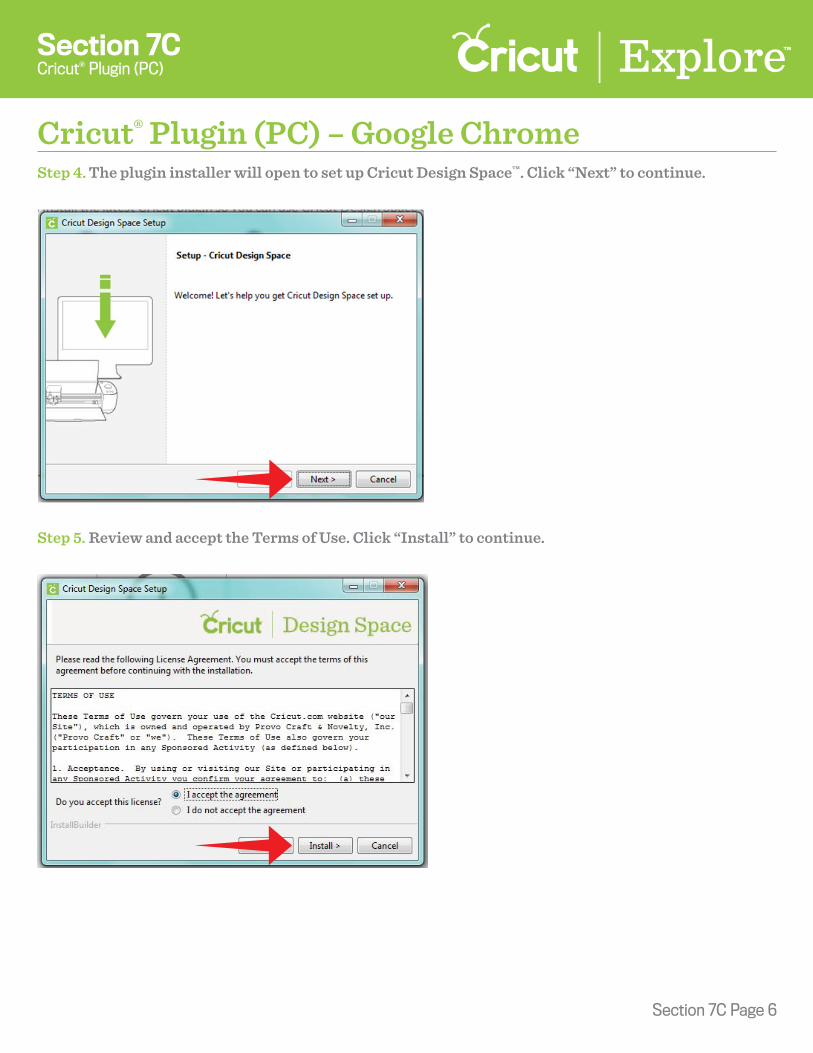
Cricut® Plugin (PC) – Google ChromeStep 4. The plugin installer will open to set up Cricut Design Space™. Click “Next” to continue.
Step 5. Review and accept the Terms of Use. Click “Install” to continue.
Section 7C Page 7
Section 7CCricut® Plugin (PC)
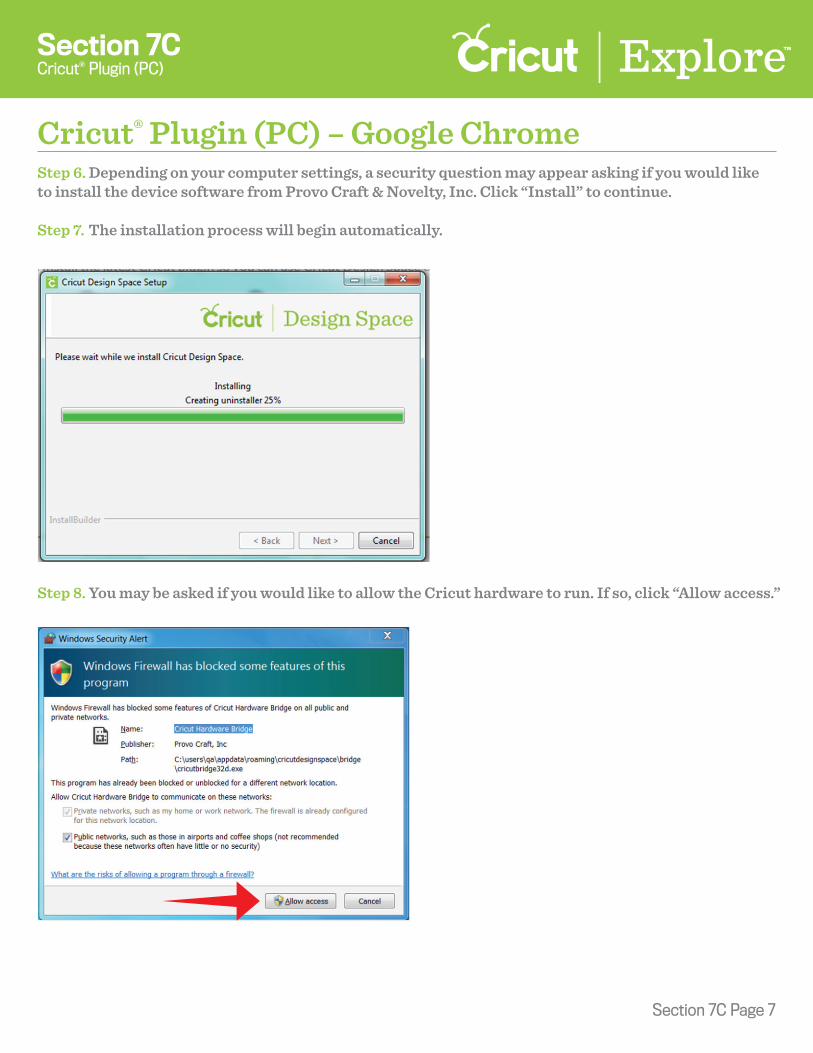
Cricut® Plugin (PC) – Google ChromeStep 6. Depending on your computer settings, a security question may appear asking if you would like to install the device software from Provo Craft & Novelty, Inc. Click “Install” to continue.
Step 7. The installation process will begin automatically.
Step 8. You may be asked if you would like to allow the Cricut hardware to run. If so, click “Allow access.”
Section 7C Page 8
Section 7CCricut® Plugin (PC)
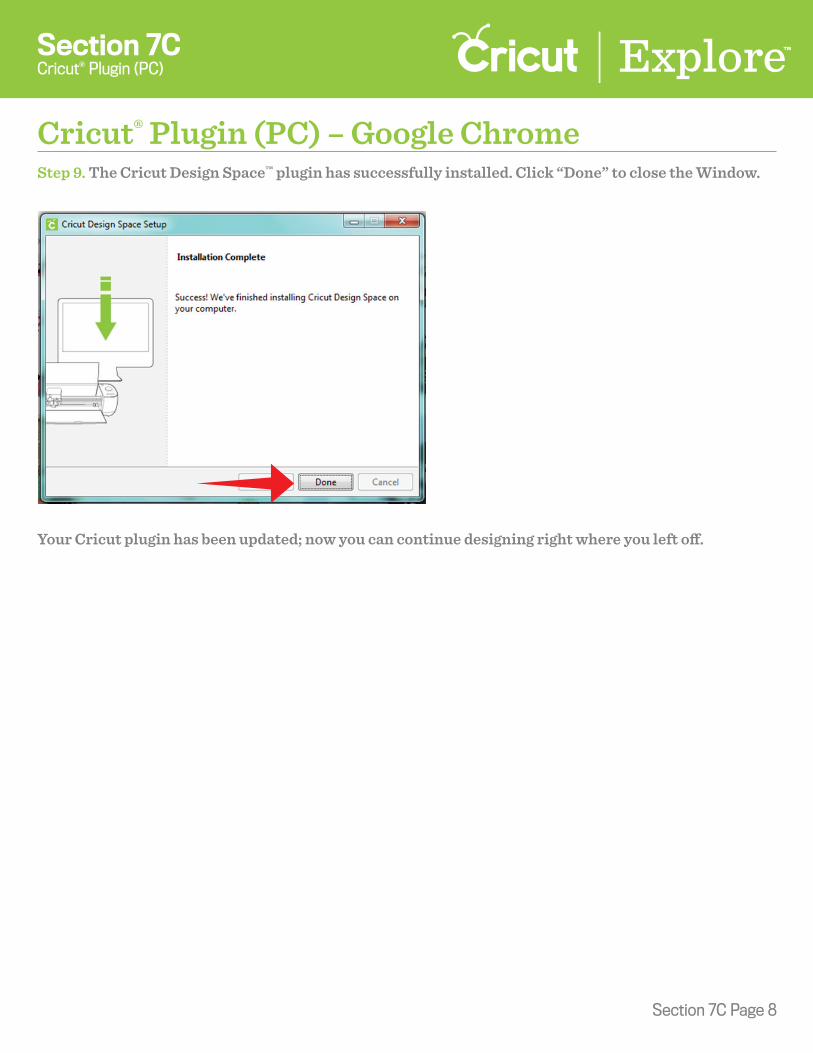
Cricut® Plugin (PC) – Google ChromeStep 9. The Cricut Design Space™ plugin has successfully installed. Click “Done” to close the Window.
Your Cricut plugin has been updated; now you can continue designing right where you left o�.